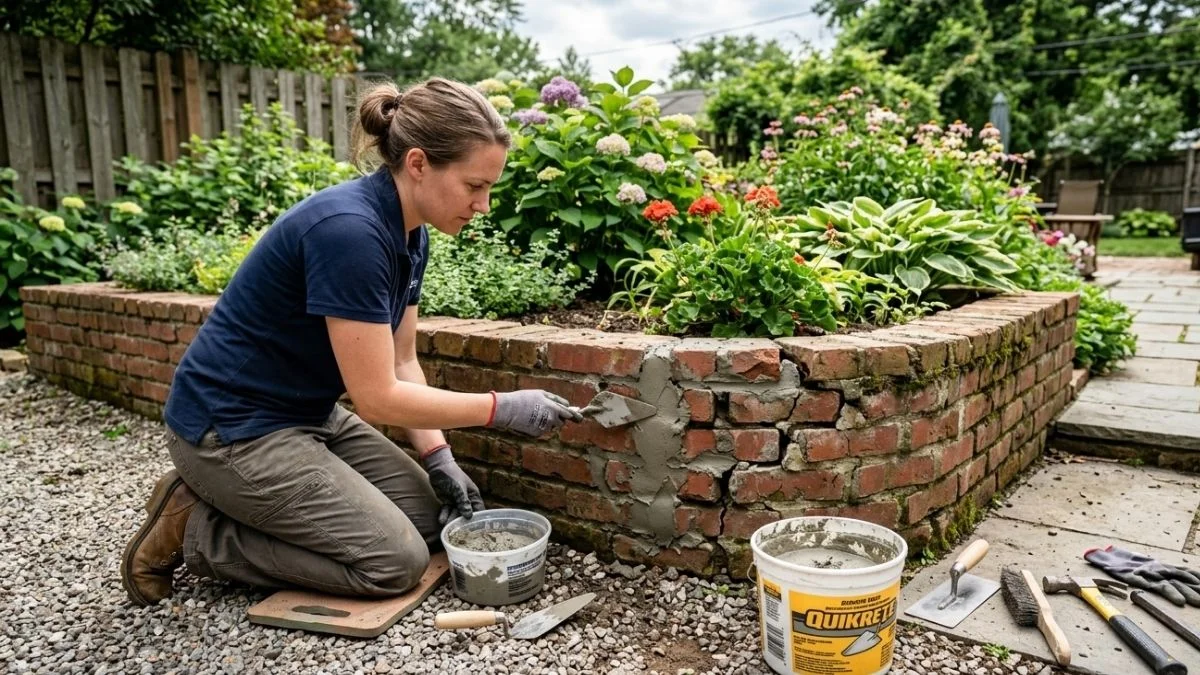
If you’ve noticed cracks in your brick planter box, crumbling mortar, or bricks that seem loose, you’re not alone. This is one of the most common outdoor masonry problems homeowners face — and the good news is, you don’t need to hire a professional to fix it. With the right tools, the right materials, and a little patience, you can repair a brick planter box yourself and make it look as good as new.
This guide walks you through everything — from diagnosing the damage to finishing the repair with a waterproof seal. Whether you’re dealing with minor mortar cracks or a few loose bricks, this step-by-step process will help you get the job done right the first time.
Why Brick Planter Boxes Break Down Over Time

Brick planter boxes are built to last, but they’re also exposed to some of the harshest conditions in your yard. They deal with constant moisture from watering, shifting soil pressure from growing plants, and the repeated freeze-thaw cycles that come with changing seasons. Over time, these forces wear down even the most solidly built planter.
The most common culprit is water. When water seeps into small cracks in the mortar and then freezes, it expands — widening those cracks a little more each winter. After a few seasons, what started as a hairline crack becomes a crumbling joint, and a crumbling joint eventually leads to loose bricks. Soil pressure from inside the planter also pushes outward against the brick walls, especially if the planter lacks proper drainage and the soil stays wet and heavy.
Age plays a role too. Mortar has a lifespan. Most standard mortar mixes last 20 to 30 years under normal conditions, but outdoor planters experience more stress than a typical brick wall — so that timeline can be shorter.
Signs Your Brick Planter Box Needs Repair
You don’t need to be a mason to spot the warning signs. Here’s what to look for:
- Crumbling or missing mortar joints between bricks
- Loose or wobbly bricks that shift when you press them
- Visible cracks running horizontally or vertically through the mortar
- Spalling bricks — where the brick surface is flaking or chipping off
- White powdery deposits (called efflorescence) on the brick surface, caused by water carrying minerals through the wall
- A leaning or bowing wall — this signals a more serious structural issue
Catching the damage early saves you a lot of money and effort. A single cracked mortar joint is a 30-minute fix. Left alone for two winters, that same joint can turn into a wall section that needs full rebuilding.
How to Repair a Brick Planter Box — Step by Step

Assess the Full Extent of the Damage
Before you pick up a chisel, walk around the entire planter and take a close look at every side. Use a piece of chalk to mark any cracks, crumbling joints, or damaged bricks. This gives you a clear picture of how much work you’re dealing with.
Press on bricks gently with your hand. Any brick that moves even slightly needs attention. Also check the corners — corners carry more structural stress than flat sections and tend to deteriorate faster.
At this point, decide whether you’re doing a partial repair (fixing specific joints and a few bricks) or whether the damage is widespread enough to require rebuilding a full section. If more than a third of the planter is damaged or any wall is visibly leaning, consult a masonry contractor before proceeding.
Prepare the Work Area
Clear everything out of and around the planter box. Remove plants, soil, and any decorative stones or mulch near the base. Lay a drop cloth on the ground to catch debris — mortar chips and brick dust can be a pain to clean off your lawn or patio.
Put on your safety goggles and gloves before you do anything else. Flying mortar chips are a real eye hazard, and the alkaline content in cement-based mortar can irritate skin with prolonged contact.
Remove Damaged Mortar (Tuckpointing)
This is the most labor-intensive part of the repair, but it’s also the most important. Using your cold chisel and hammer, chip out all crumbling, loose, or cracked mortar to a depth of at least ¾ inch. Don’t just scrape the surface — if you apply new mortar over compromised old mortar, the repair won’t hold.
Work carefully around the bricks to avoid chipping them. Hold the chisel at a low angle and use controlled hammer strikes rather than heavy blows. After chipping, use your wire brush to scrub out all loose debris from the joint.
Once you’re done, blow or brush out any remaining dust from the joints. A clean joint is critical for good mortar adhesion.
Pro Tip: Work in small sections — about 2 to 3 feet at a time. This keeps the process manageable and ensures your fresh mortar doesn’t dry out before you can finish the joint.
Replace Any Damaged Bricks
If a brick is cracked all the way through, spalling badly, or simply won’t stay in place, it needs to be replaced. Use your chisel to carefully break the damaged brick into pieces and remove it from the cavity. Take your time — you want to avoid disturbing the surrounding bricks.
Once the cavity is clean, apply a thin coat of masonry bonding agent to all interior surfaces. This dramatically improves how well the new mortar grips the old surrounding material.
Spread a generous layer of fresh mortar in the bottom of the cavity, set your replacement brick in place, and press it firmly. Check that it’s level and flush with the surrounding bricks. Pack mortar into the side joints and strike off the excess. Let it set before moving on.
Mix and Apply Fresh Mortar
Mix your Type S mortar according to the package directions. The right consistency is key — it should look and feel like thick peanut butter. Too wet, and it won’t hold its shape in the joint. Too dry, and it won’t bond properly.
Before applying mortar, lightly dampen the joint area with a spray bottle. Dry bricks absorb moisture from fresh mortar too quickly, which weakens the bond.
Using your pointing trowel, pack the mortar firmly into the cleaned joints. Work the mortar all the way to the back of the joint, pressing out any air pockets. Overfill the joint slightly — you’ll trim it back when you strike the joint.
Getting Clean, Professional-Looking Joints
Once the mortar has stiffened slightly (usually 20 to 30 minutes after application), use a jointing tool or the edge of your trowel to finish the joint surface. Match the joint profile of the existing mortar — most brick planters use a concave or flush joint. Run the tool along the joint in one smooth, even motion.
Wipe away any excess mortar from the brick face with a damp sponge immediately. Dried mortar on brick is much harder to remove.
Clean the Brick Surface
Once your mortar work is done, clean the entire surface of the planter. Wipe off any smears or residue with a damp cloth while the mortar is still fresh. For dried mortar spots or staining, use a diluted brick cleaner solution — follow the product directions carefully, and always rinse thoroughly with clean water afterward.
If you’re dealing with efflorescence (those white mineral deposits), a diluted muriatic acid wash works well, but wear gloves and eye protection and neutralize the acid with baking soda and water before rinsing.
Allow the surface to dry completely — at least 24 to 48 hours — before moving to the next step.
Apply a Waterproof Masonry Sealer
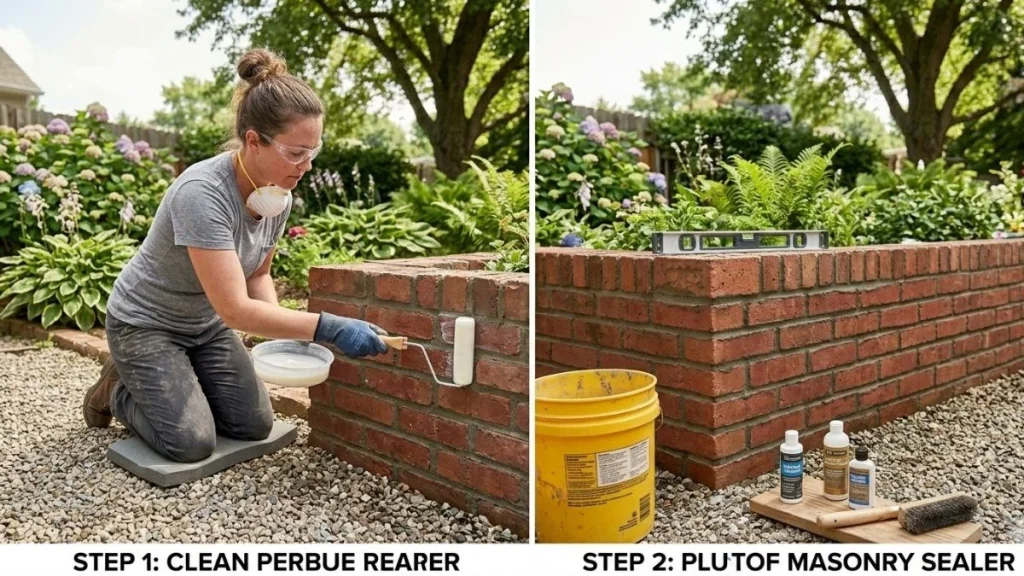
Sealing is the step most DIYers skip, and it’s the reason so many repairs don’t last. A good penetrating masonry sealer soaks into the brick and mortar, blocking water infiltration without trapping moisture inside the wall. Avoid film-forming sealers that sit on the surface — they tend to peel over time.
Apply the sealer with a brush or roller in thin, even coats. Two coats are usually better than one. Allow the first coat to penetrate fully before applying the second. Most sealers need 24 to 48 hours of cure time before the planter is ready to use again.
Reapply sealer every 2 to 3 years as part of your regular outdoor maintenance routine.
How Much Does It Cost to Repair a Brick Planter Box?
One of the biggest reasons homeowners tackle this repair themselves is cost. DIY brick planter repair is very affordable compared to hiring a contractor.
| Item | Estimated Cost |
| Type S mortar mix | $10 – $25 per bag |
| Replacement bricks (if needed) | $1 – $5 per brick |
| Masonry bonding agent | $10 – $20 |
| Penetrating masonry sealer | $20 – $50 |
| Tools (if buying new) | $30 – $80 |
| Total DIY Estimate | $50 – $150 |
Hiring a professional masonry contractor for the same job typically runs $200 to $800 or more, depending on the extent of the damage and your location. For minor repairs involving cracked mortar joints and a few loose bricks, DIY is absolutely the smarter financial choice.
When should you call a pro? If the planter wall is visibly leaning, if the foundation has shifted, or if more than 40% of the structure needs replacement — those are situations where professional masonry work is worth the investment.
Tips to Prevent Future Damage
Repairing your brick planter box is worth protecting. A few simple habits will dramatically extend the life of your repair and the planter itself.
Improve drainage. Poor drainage is the number one accelerator of brick planter damage. Make sure your planter has drainage holes at the base and consider adding a layer of gravel before your soil. A drainage liner inside the planter also reduces direct water contact with the brick walls.
Don’t overwater. Consistently wet soil inside a brick planter creates constant moisture pressure on the walls. Water plants based on their actual needs, not on a fixed schedule.
Inspect every spring. After winter, do a quick walk-around inspection. Look for new cracks, loose bricks, or mortar joint damage. Catching small issues in March is far easier than dealing with major damage in June.
Reapply sealer every few years. Mark it on your calendar. It takes less than an hour and adds years of life to the planter.
Protect the planter in winter. If you live in a climate with hard freezes, consider covering the top of the planter with burlap or a waterproof cover during the coldest months to reduce water infiltration.
Conclusion
Repairing a brick planter box is one of those satisfying weekend projects that makes a real, visible difference in your yard. The work isn’t complicated — it just requires the right approach and a bit of patience. Clean out the old mortar properly, use the right type S mortar mix, take your time with the joints, and finish with a good sealer. Do that, and your repair will hold up for years.
The biggest mistake homeowners make is waiting too long. Small cracks are cheap and easy to fix. Give them another year or two of freezing and thawing, and you’re looking at a much bigger project. If you spotted damage while reading this guide, this weekend is the right time to take care of it.