Repairing plaster walls with joint compound seems straightforward — until the patch bubbles up, cracks along the edges, and falls off within a year.
The problem is chemistry. Traditional plaster is lime- or gypsum-based and cures through carbonation or hydration, creating a dense, alkaline surface. Most modern premixed joint compounds are formulated for porous drywall paper, not that hard, low-absorption substrate — so they shrink as they dry, breaking the bond before the repair even cures.
Understand this one compatibility issue and you will know exactly which product to reach for, how to prepare the surface, and how to make a plaster patch that actually holds.
The Science of Why Premixed Compounds Don’t Stick to Plaster
Most premixed joint compounds — think Sheetrock All Purpose or DAP Drydex — use polyvinyl acetate (PVA) as their primary binder. PVA is flexible, water-based, and designed to grip porous drywall paper through mechanical absorption. Old plaster walls give it almost nothing to grab.
What Plaster Surface Actually Is
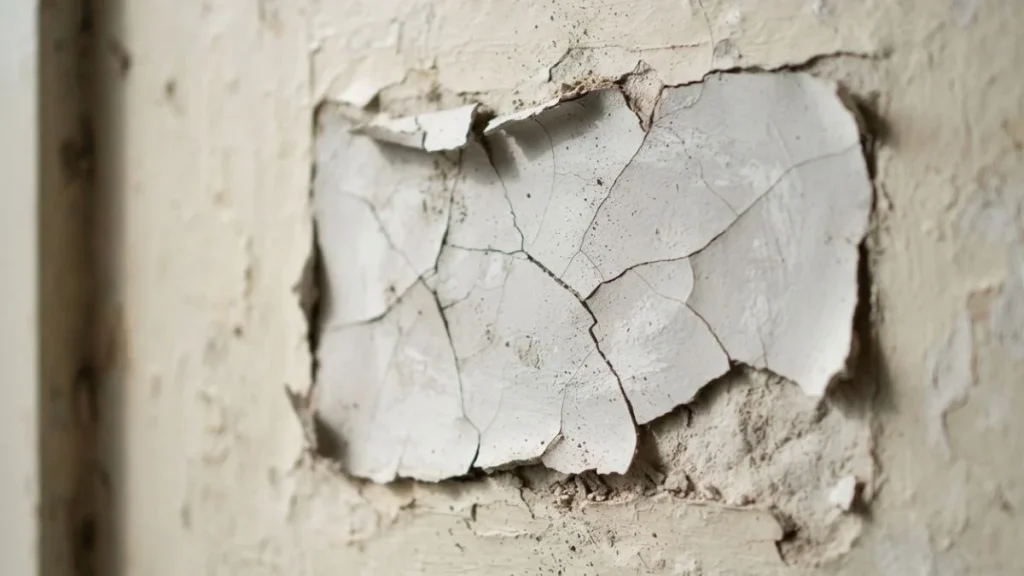
Traditional lath and plaster walls are dense, non-porous, and slightly alkaline. The finish coat — often a lime putty or hard-finish gypsum plaster — was troweled smooth and has spent decades hardening further. When premixed compound meets that surface, the water in the mix absorbs unevenly, the PVA binder stays near the surface instead of penetrating, and the compound shrinks 10–15% as it dries. The result is a patch that lifts, cracks at the edges, or pops off entirely within months.
How Setting-Type Compound Cures Differently
Setting-type compounds — sold as powders like Durabond 20, Durabond 45, or Easy Sand — cure through a chemical hydration reaction, not by drying out. Water triggers a crystalline gypsum formation that expands slightly as it sets. That expansion creates mechanical interlocking with the rough edges of a plaster break or a properly scarified surface, rather than relying on absorption. The bond is fundamentally harder and more durable than anything a ready-mix compound produces on a plaster substrate.
The Role of a Bonding Agent
For smooth or painted plaster — where mechanical keying is minimal — a PVA bonding agent like Elmer’s Glue-All or a dedicated product like Plaster-Weld bridges the gap. Applied directly to the plaster substrate and allowed to become tacky, it gives the repair material a chemically compatible surface to grip. Skipping this step on sealed plaster is the single most common reason DIY plaster wall patches fail.
Which Joint Compounds Actually Work on Plaster
Not every product at the hardware store is a viable plaster wall patch material. Three categories work reliably — and two common ones fail almost every time on old plaster.
Setting-Type Compounds: The Reliable Base
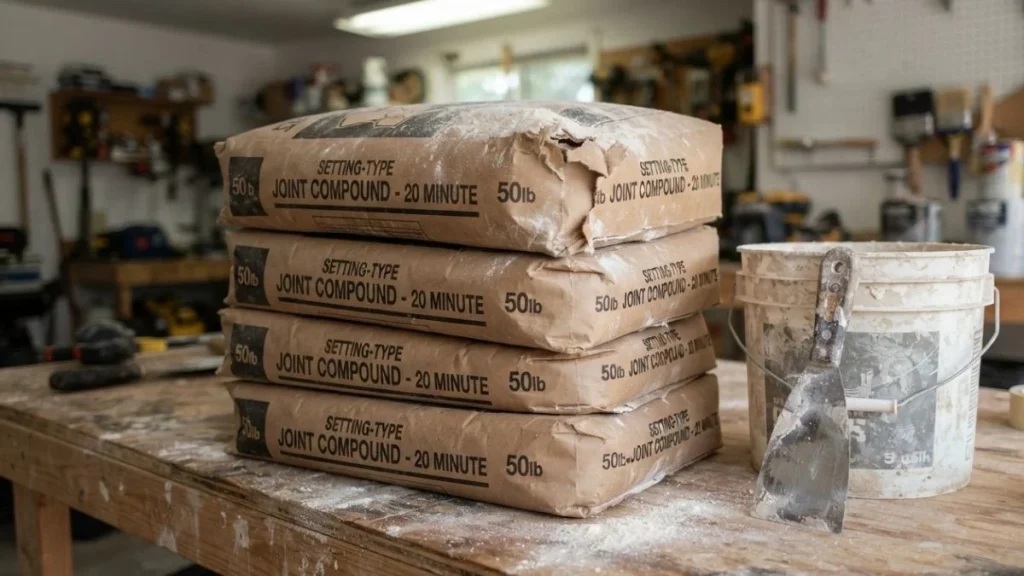
Durabond 20 and Durabond 45 (the numbers indicate working time in minutes) are the workhorses for lath and plaster repair. Their crystalline-set chemistry bonds directly to the plaster substrate without requiring a bonding agent on raw, unpainted breaks. Sheetrock Hot Mud is a comparable alternative. Use these for filling deep voids, re-adhering loose sections, and building up thickness in layers. The tradeoff: once set, they are extremely hard and nearly impossible to sand — so apply them carefully and keep them slightly below the final surface level.
The Hybrid Approach: Two Coats, Better Results
Setting-type compound as a base coat, followed by a thin finish coat of premixed all-purpose compound, is the method This Old House recommends for plaster repairs that need a smooth, paintable surface. The setting-type layer handles adhesion; the premixed layer handles workability and feathering. This combination gives you durability where it counts and sandability where you need it.
What to Avoid
Lightweight spackling — products like Lightweight Spackling by DAP or 3M High Strength — has low density and poor adhesion on hard plaster surfaces. All-purpose premixed compound used alone on plaster is equally problematic. Both shrink too much and bond too weakly to justify the cost, even though they are cheaper upfront. A failed patch means buying materials twice and doing the labor twice — the setting-type compound is the less expensive choice over time.
Substrate Prep That Actually Changes Adhesion Outcomes
Surface preparation determines whether a plaster repair lasts 20 years or peels off in 20 months. The compound is only half the equation — the plaster substrate preparation you do before applying anything is what actually controls adhesion.
Clean the Damage Zone First
Start with a stiff wire brush or a carbide scraper to remove all loose plaster, dust, and friable edges around the damaged area. Any material that moves or crumbles under light pressure will break the bond from underneath — the repair patch is only as stable as what it’s attached to. Vacuum the area thoroughly after scraping. Plaster dust left on the surface acts as a release layer between the old wall and the new compound.
Mechanical Keying: Roughing the Surface
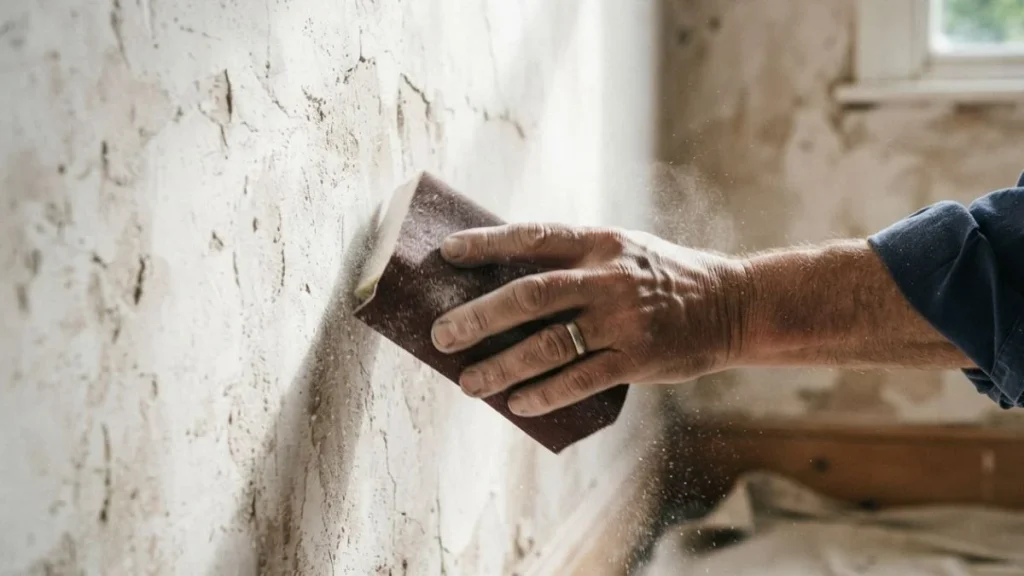
Smooth, hard plaster gives compound nothing to grip mechanically. Run 80-grit sandpaper aggressively over the repair area and 2–3 inches beyond its edges. This creates microscopic surface texture — called mechanical keying — that lets the repair material physically interlock with the plaster substrate rather than just sitting on top of it. For larger damaged areas on lath and plaster walls, a scoring tool or utility knife drawn in a crosshatch pattern adds additional grip depth.
Bonding Agent Application
On any plaster surface that has been painted, sealed, or troweled to a hard finish, mechanical keying alone is not enough. Apply a dedicated bonding agent — Plaster-Weld by Larsen Products or undiluted Elmer’s Glue-All both work — directly to the prepped surface with a brush. Let it reach a tacky, nearly-dry state before applying compound. Applying compound into wet bonding agent dilutes it; waiting for full tack gives the chemical grip that keeps the patch locked in place.
Critical Mistakes That Guarantee Failure
Most plaster repair failures trace back to 4 specific errors — not bad luck, not inferior tools, and not the age of the wall. Each mistake is avoidable once you know the mechanism behind it.
Using Premixed Compound Without a Bonding Agent
Applying all-purpose premixed compound directly to bare or painted plaster is the most common source of adhesion failure in DIY plaster repairs. The PVA binder in products like Sheetrock All Purpose has no chemical affinity for the alkaline plaster substrate and no porous paper surface to absorb into. Without a bonding agent creating a compatible interface layer, the compound is essentially resting on the surface rather than gripping it. It may look fine for weeks before shrinkage stress pulls it free.
Applying the First Coat Too Thick
Setting-type and premixed compounds both fail when applied more than 1/4 inch thick in a single coat. Thick applications trap moisture at the center, causing uneven drying and differential shrinkage — the edges cure first and pull the center away from the plaster wall. Build depth in multiple thin layers, allowing each coat to fully cure before adding the next.
Skipping Surface Preparation
Homeowners working on a tight schedule frequently skip wire brushing and sanding and go straight to compound. Loose plaster dust and smooth surfaces guarantee a failed patch regardless of which product you use. Prep is not optional — it is the repair.
Not Waiting for Bonding Agent to Reach Full Tack
Plaster-Weld and similar bonding agents need 30–60 minutes to reach the tacky state where they grip effectively. Applying compound into a still-wet bonding agent dilutes the adhesive chemistry and eliminates the benefit entirely. Set a timer — patience at this stage costs nothing and prevents the most frustrating type of failure: a patch that looked right but never had a chance.
Related Read: How to Repair Plaster Walls Like a Pro
Your Repair Will Last Only If the Foundation Is Right
Repairing plaster walls with joint compound works reliably when you match the product to the substrate — setting-type compound on raw plaster, bonding agent on painted or sealed surfaces, and never premixed compound alone as a first coat.
Before buying anything, run a fingernail across your damaged area: if the surrounding plaster is hard and smooth, add Plaster-Weld and Durabond 45 to your list before you leave the hardware store. Get those two products right and the repair handles itself.