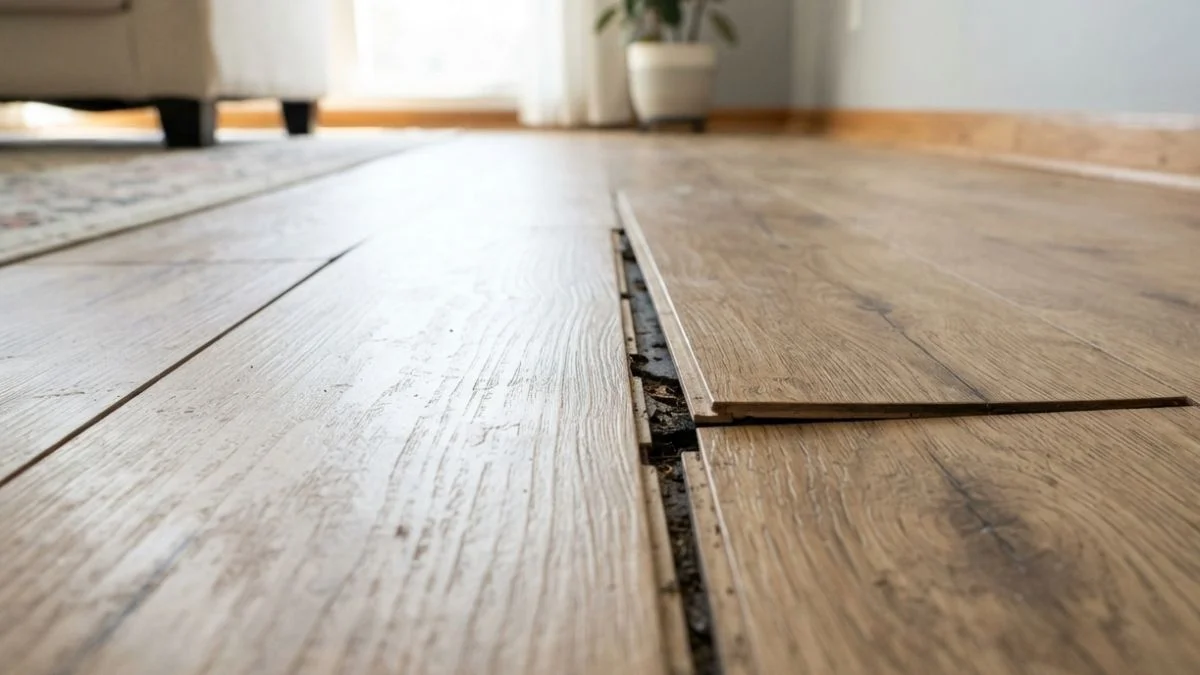
If your laminate flooring won’t stay together, you’re not alone. This is one of the most common complaints homeowners have after installing a beautiful new floor — and it’s frustrating, especially when the floor looked perfect just a few months ago.
The good news? Most of the time, laminate flooring separation is fixable without replacing the entire floor. But to fix it properly, you need to understand why it’s happening in the first place.
We’ll walk you through the 7 most common reasons laminate flooring comes apart, exactly what you can do to fix each problem, and how to prevent it from happening again.
Why Laminate Flooring Comes Apart — The Basics You Need to Know
Before jumping into the reasons, it helps to understand how laminate flooring actually works.
Most laminate floors use a click-lock system — each plank has a tongue on one side and a groove on the other. When installed correctly, the planks snap together tightly, creating a smooth, seamless surface. This system is strong, durable, and doesn’t require glue or nails. That’s what makes laminate a popular DIY flooring choice.
But here’s the thing — because laminate is a floating floor (meaning it isn’t fastened to the subfloor), it relies entirely on the locking joints and proper installation conditions to stay together. When something disrupts those conditions — moisture, poor prep, temperature changes — the joints start to fail and planks pull apart.
Is This a DIY Fix or a Professional Job?
Before spending money on a contractor, ask yourself:
- Is the separation limited to one or two planks, or is it widespread?
- Do the planks look warped, swollen, or discolored?
- Is there any soft or spongy feeling when you walk on the floor?
If the problem is small and isolated, a DIY fix is usually very doable. If the separation is across large areas or you notice signs of subfloor damage, it’s worth calling a professional.
7 Reasons Your Laminate Flooring Won’t Stay Together
Reason 1 — Moisture and Humidity Problems
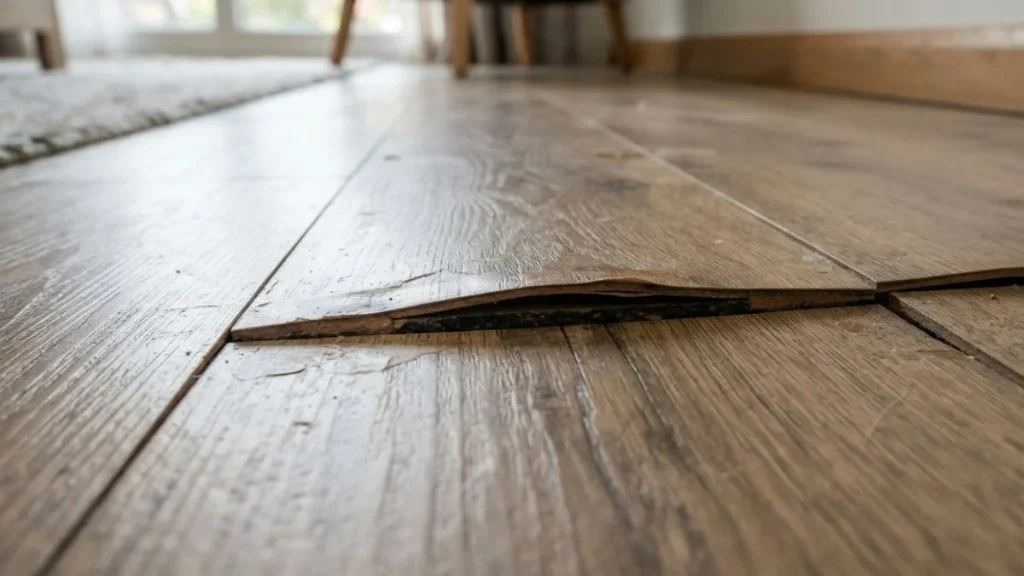
Moisture is the number one enemy of laminate flooring. When humidity levels in your home rise, laminate planks absorb moisture from the air and expand. When the air gets dry again, they contract. This constant cycle of expanding and contracting puts enormous stress on the click-lock joints — and eventually, they give way.
Water spills that aren’t cleaned up quickly, leaky pipes under the floor, and even moisture rising from a concrete subfloor can all cause planks to swell, warp, and separate. You’ll often notice soft spots, slight cupping at the edges of planks, or a musty smell if moisture is the culprit.
How to Fix It:
- Use a dehumidifier to bring indoor humidity to the recommended range of 35–65%
- Check under the floor for subfloor moisture or leaks
- Replace any planks that are visibly warped or swollen — they won’t re-lock properly once damaged
How to Prevent It:
- Always install a moisture barrier or vapor barrier beneath your laminate
- Avoid installing laminate in bathrooms or laundry rooms without proper waterproofing
- Use a hygrometer to monitor your home’s humidity year-round
Reason 2 — Improper Installation
A lot of laminate floor failures come down to how the floor was installed — not the floor itself. Even a high-quality laminate will come apart if it wasn’t put down correctly.
The most common installation mistakes include skipping the acclimation period (where planks sit in the room for 48–72 hours before installation to adjust to the room’s temperature and humidity), not leaving proper expansion gaps around the perimeter, and incorrectly staggering the plank joints. When end joints line up in a row instead of being offset, the floor loses structural stability and the joints are more likely to pop open under pressure.
How to Fix It:
- Check expansion gaps — pull back baseboards to see if planks are pressed tight against the wall
- Re-seat any sections that have shifted using a tapping block and rubber mallet
- In severe cases, the floor may need to be pulled up and reinstalled properly
How to Prevent It:
- Always let planks acclimate for at least 48–72 hours before laying them
- Leave a minimum ¼-inch expansion gap around all walls, cabinets, and door frames
- Stagger end joints by at least 6–8 inches between rows
Reason 3 — Poor Subfloor Preparation
Your laminate floor is only as good as the surface underneath it. If the subfloor is uneven, has soft spots, or wasn’t properly cleaned before installation, it creates pressure points that stress the locking joints constantly — every time someone walks across the floor.
Even a small dip or hump in the subfloor can cause planks in that area to flex slightly with each step. Over time, that repeated flexing cracks or separates the click-lock tabs, and the floor starts coming apart from that spot outward.
How to Fix It:
- Pull up the affected flooring and inspect the subfloor underneath
- Fill low spots with a self-leveling floor compound
- Sand down any high spots until the surface is flat
- Remove all debris and dust before reinstalling
How to Prevent It:
- The subfloor must be flat within 3/16 of an inch over a 10-foot span — this is the industry standard
- Inspect the entire subfloor before installation, not just the areas that look obvious
- Use the right underlayment for your specific subfloor type (concrete vs. wood)
Reason 4 — Lack of Expansion Space
Laminate flooring expands and contracts with changes in temperature and humidity — that’s just the nature of the material. The expansion gap around the perimeter of the room exists for one reason: to give the floor somewhere to go when it expands.
When that gap is missing — or when furniture, cabinets, or door thresholds are blocking the floor’s movement — the planks have nowhere to expand. Instead, they push against each other and the joints buckle, separate, or peak upward in the middle of the room.
How to Fix It:
- Remove baseboards to check if expansion gaps are present
- If planks are tight against the wall, trim the edge planks slightly to create proper spacing
- Use transition strips in doorways to allow independent movement between rooms
How to Prevent It:
- Use ¼-inch spacers along every wall during installation
- Never secure a floating floor to the subfloor with nails or staples
- Make sure transition strips between rooms are installed correctly and aren’t restricting movement
Reason 5 — Heavy Foot Traffic and Furniture Weight
Over time, physical stress wears down the click-lock joints. High-traffic areas — hallways, kitchens, living rooms — take a beating every single day. Each footstep puts a small amount of lateral stress on the joints, and after thousands of steps, those joints start to weaken.
Heavy furniture sitting on laminate for years can compress the planks and shift them slightly out of alignment. Dragging furniture across the floor is even worse — it can actually snap the locking tabs right off the edges of planks, making it impossible for them to re-lock.
How to Fix It:
- Re-snap minor separations using a pull bar and tapping block
- Replace planks with broken or snapped locking tabs — they can’t be repaired
- Redistribute heavy furniture using felt furniture pads and floor coasters
How to Prevent It:
- Place felt pads under all furniture legs
- Use area rugs in high-traffic zones to reduce direct wear on the floor
- Always lift furniture when moving it — never drag it across laminate
Reason 6 — Damaged or Defective Planks
Sometimes the floor comes apart because of problems with the planks themselves — not anything you did wrong. Manufacturing defects in the click-lock mechanism, warped planks from improper storage, or planks that were damaged during shipping can all cause joints that never lock securely from day one.
You might notice these planks during installation — they feel slightly loose even when snapped in, or you can see a small gap that won’t close no matter how much pressure you apply. Unfortunately, these planks are easy to miss during installation, especially on large floor projects.
How to Fix It:
- Walk the floor carefully and press down on planks to find any that feel loose or hollow
- Remove defective planks individually using a pull bar and pry bar
- If the floor is still under warranty, document the defects with photos and contact the manufacturer
How to Prevent It:
- Inspect every single plank before installation — don’t skip this step
- Store planks flat in a dry, climate-controlled area before laying them
- Purchase from reputable brands that offer solid product warranties
Reason 7 — Temperature Fluctuations
Extreme or frequent temperature changes are tough on laminate floors. When a room gets very warm, the planks expand. When it gets cold, they contract. In rooms with poor insulation, south-facing sunlight, or inconsistent heating and cooling, this cycle happens more aggressively — and more frequently.
Over a full year of seasonal changes, the cumulative expansion and contraction can gradually push planks out of alignment. You might notice it gets worse in summer and seems to improve slightly in winter, which is a telltale sign that temperature fluctuation is driving the separation.
How to Fix It:
- Maintain a consistent indoor temperature between 60–80°F year-round
- Re-seat planks that have shifted during extreme seasons using a tapping block
- Install transition strips in larger rooms to break the floor into sections, reducing the total expansion load
How to Prevent It:
- Improve insulation in rooms prone to temperature swings
- Use window treatments to reduce direct sunlight on the floor during summer
- Choose a laminate with a higher AC rating (AC4 or AC5) for better dimensional stability
Recommended: Changing Direction of Laminate Flooring Between Rooms
How to Fix Laminate Flooring That Won’t Stay Together — Step-by-Step
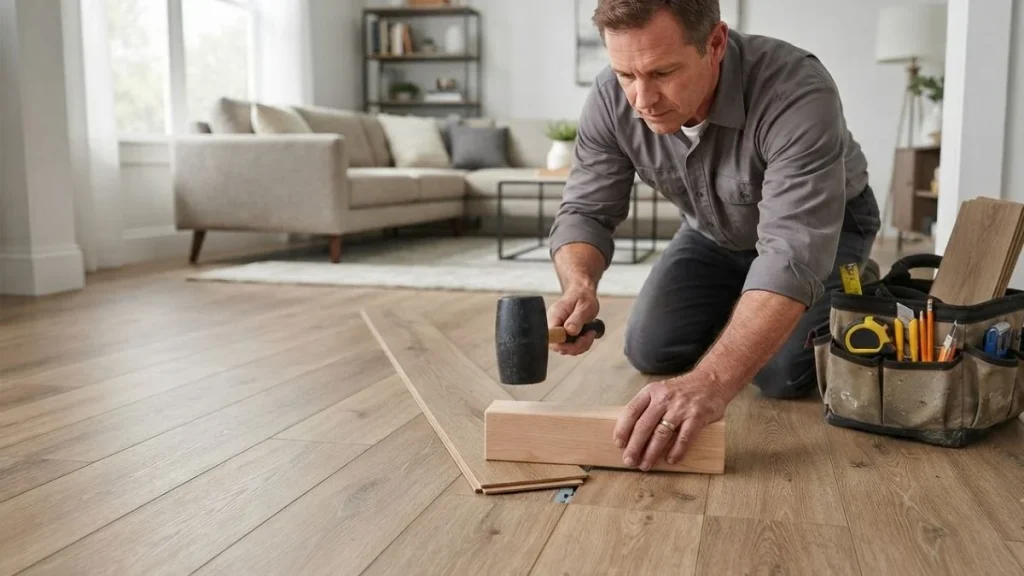
Once you’ve identified the cause, here’s what you’ll need to make the repair:
Tools You’ll Need:
- Tapping block
- Pull bar
- Rubber mallet
- Flat pry bar
- Replacement planks (from the same batch if possible)
- Utility knife
Quick Fix — Re-snapping Separated Planks
If the planks have simply shifted apart but the locking tabs are still intact, this is a straightforward fix:
- Clear the area of furniture and rugs
- Place the tapping block against the edge of the separated plank
- Use the rubber mallet to tap the plank gently back into position
- Work along the length of the plank, not just one spot
- Check that the joint is fully closed with no visible gap
This works best when the separation is minor and caught early. If the tabs are broken or the plank is warped, you’ll need to replace the plank entirely.
Full Repair — Replacing a Damaged Plank
- Starting from the nearest wall or doorway, carefully remove planks row by row until you reach the damaged one
- Remove the damaged plank and inspect the subfloor underneath
- Address any subfloor issues before replacing the plank
- Snap the new plank into place, ensuring the locking joint is fully engaged
- Reinstall the remaining planks in reverse order
When to Call a Professional Instead of DIY
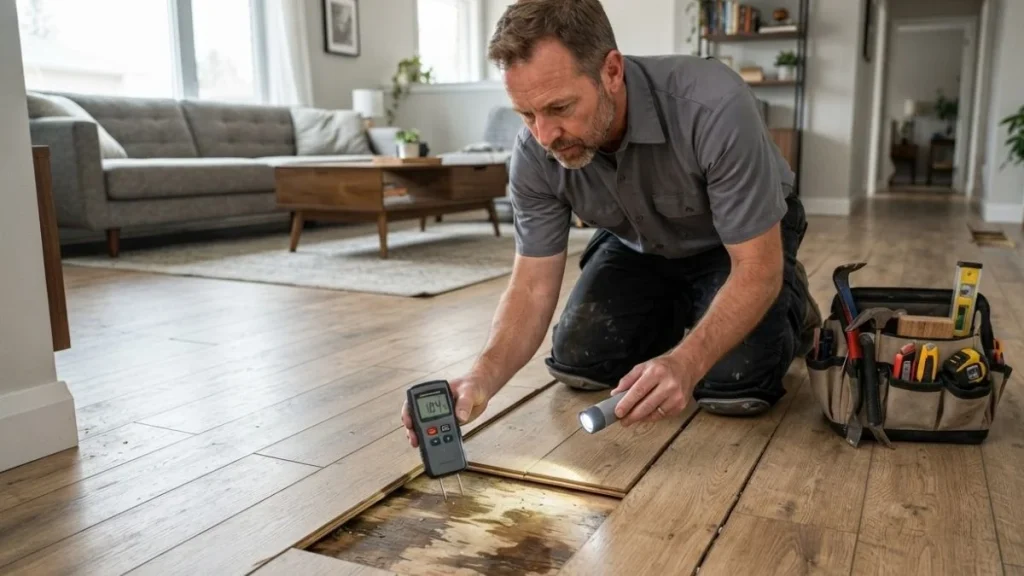
DIY repairs work well for small, isolated problems. But there are situations where calling a flooring professional is the smarter move:
- The separation is widespread across multiple rooms
- You find subfloor damage, rot, or moisture beneath the planks
- The floor has been glued down incorrectly and planks are breaking during removal
- Your floor is still under warranty — some warranties are voided by DIY repairs
Professional laminate floor repair typically costs between $200–$600 depending on the extent of the damage and your location. In many cases, that’s far cheaper than a full floor replacement.
Conclusion
Laminate flooring coming apart is frustrating — but it’s rarely a death sentence for your floor. In most cases, the problem comes down to one of these seven causes: moisture, bad installation, poor subfloor prep, missing expansion gaps, heavy traffic, defective planks, or temperature swings.
The key is to diagnose the root cause before you start fixing anything. Treat the symptom without addressing the cause, and the same problem will come back within months. Treat the cause correctly, and your floor can last for decades.
If you’re unsure what’s driving the separation, start with moisture and expansion gaps — they’re the most common culprits by far. And when in doubt, a flooring professional can assess the situation and save you from a costly mistake.