Retiling a shower floor costs $300–$600 in materials for most standard tub-surround or walk-in shower floors — a fraction of the $1,500–$3,000 a contractor typically charges — and with the right process, it’s a project most homeowners can complete in a weekend.
Cracked grout, lifting tiles, and dark staining around the drain are signs that moisture has already started working against your subfloor, and every week you wait makes the underlying damage worse and the repair more expensive.
This guide walks you through every step — from demolition and waterproofing to tile setting and grouting — along with the exact tools you need, the mistakes that cause early failures, and clear indicators that a professional should take over instead.
Should You Remove Old Tile or Overlay?
The choice between removing old tile and tiling over it determines how long your new floor lasts. Get this decision wrong and you’re redoing the job in 2–3 years instead of 15–20.
Why Complete Removal Is Almost Always the Right Call
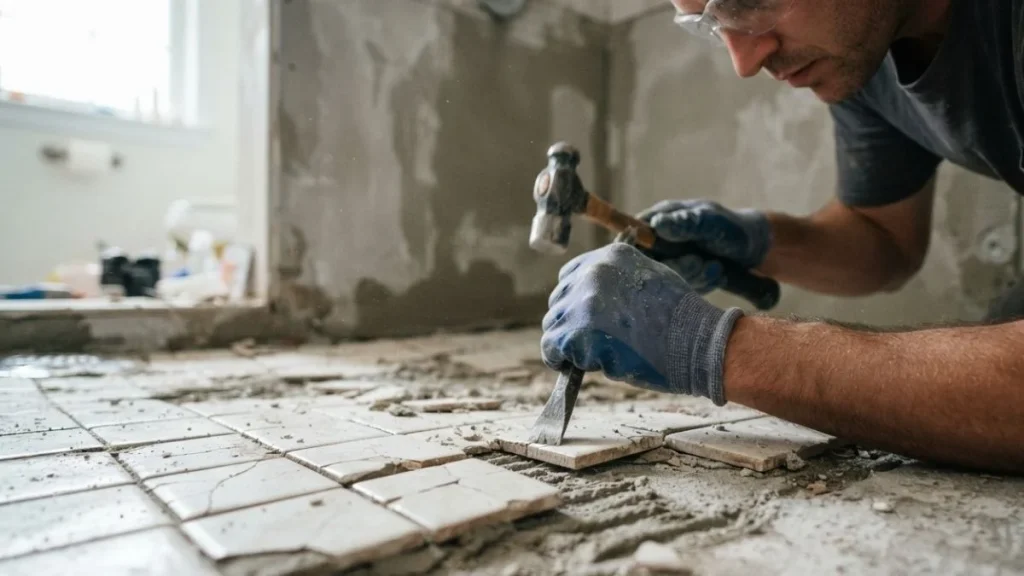
Removing old shower tile gives you direct access to the substrate — the mortar bed, cement board, or tile pan beneath the tile. That access lets you inspect for soft spots, rot, or delamination before you commit to new materials. It also lets you reapply a fresh waterproofing membrane, which is the single most important layer in any shower floor system.
The Tile Council of North America specifies a minimum 1/4-inch-per-foot slope toward the drain for proper drainage. If your existing floor has settled or was installed incorrectly, removal is the only way to correct that slope.
When Overlaying Is Acceptable
Tiling over existing tile is only viable when 3 conditions are all true:
- Every existing tile is fully bonded — no hollow spots when tapped
- There is zero evidence of moisture damage, staining, or soft substrate beneath
- The added tile height won’t interfere with the door threshold or drain assembly
Even then, overlay raises the floor height by 3/8–1/2 inch, which can affect drain function and door clearance.
How to Inspect Before Deciding
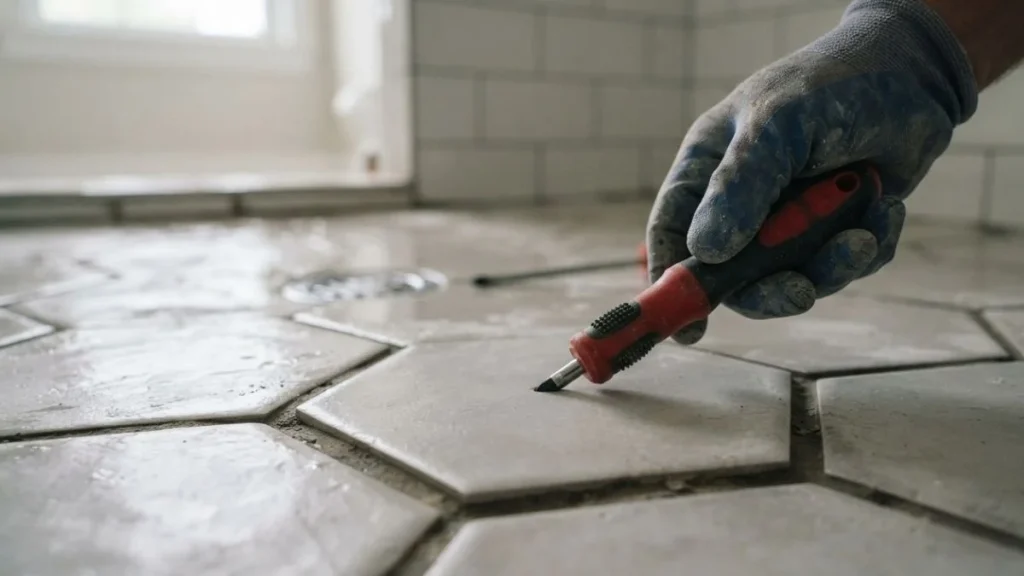
Tap every tile with a wooden dowel or the handle of a screwdriver. A hollow sound means the thinset bond has failed. Check grout lines for dark discoloration, which signals trapped moisture. If more than 10–15% of tiles sound hollow, remove everything. No substrate inspection shortcut exists — skipping this step is the most common cause of early shower floor failure.
Removing Old Tile: Method and Hazard Management
Before swinging a hammer, check your home’s construction date. Homes built before 1980 may have floor tiles containing asbestos — if you’re unsure, have a sample tested by a certified lab before proceeding.
Tile Removal Techniques
Two tools handle most shower floor tile removal:
- Oscillating multi-tool with a grout removal blade — the right starting point for most DIYers. It cuts through grout lines cleanly without the broad impact damage a chisel creates.
- Cold chisel and hammer — effective but aggressive. Angling the chisel at 30 degrees under the tile edge reduces substrate gouging.
Always remove grout first, working the perimeter before moving inward. Once grout lines are open, tiles release with far less force. For stubborn tiles bonded with thick thinset mortar, a heat gun set to 200–250°F softens the adhesive enough to reduce resistance. Work slowly — forcing tiles off intact substrate causes the gouges and cracks you’ll spend hours repairing later.
Substrate Assessment After Removal
Once tiles are off, the substrate tells the real story. Press firmly across the entire surface with your hand and inspect for:
- Soft or spongy areas (indicates water-damaged mortar bed or subfloor)
- Visible cracks wider than 1/8 inch
- Black or green discoloration signaling mold growth
- Delaminated cement board or deteriorated tile pan
Small cracks under 1/8 inch can be bridged with fiberglass mesh tape and patched with thinset. Soft spots require full section replacement — no patch product compensates for a compromised base. If you find extensive mold or structural damage to the subfloor, stop and consult a contractor before continuing.
Installation: Preparation Through Grouting
This is the phase where most DIY shower floors either succeed for 20 years or fail within 3. Each step builds directly on the one before it — skipping or rushing any stage creates compounding problems.
Steps 1–2: Substrate Prep and Tile Layout Planning
Mark your drainage slope before anything else. Snap chalk lines from each wall to the drain and verify a 1/4-inch drop per linear foot using a level and tape measure. Correct any low spots with floor-leveling compound before waterproofing.
For tile selection, prioritize slip resistance over aesthetics. The Americans with Disabilities Act recommends a minimum coefficient of friction (COF) of 0.6 for wet surfaces — most porcelain mosaic tiles meet this, while large-format stone often does not without texturing. Porcelain absorbs less than 0.5% water; ceramic absorbs up to 3%. For shower floors, porcelain wins on durability.
Plan your layout by finding the visual center of the floor and dry-fitting tiles outward. Avoid cuts narrower than half a tile at the perimeter — they look unfinished and crack more easily.
Steps 3–4: Waterproofing, Thinset, and Setting Tile
Apply your waterproofing membrane — products like Schluter Kerdi or Laticrete Hydro Ban are industry standards — strictly per manufacturer specs. Most require two coats at the seams and full coverage at the drain flange. No thinset goes down until the membrane is fully cured.
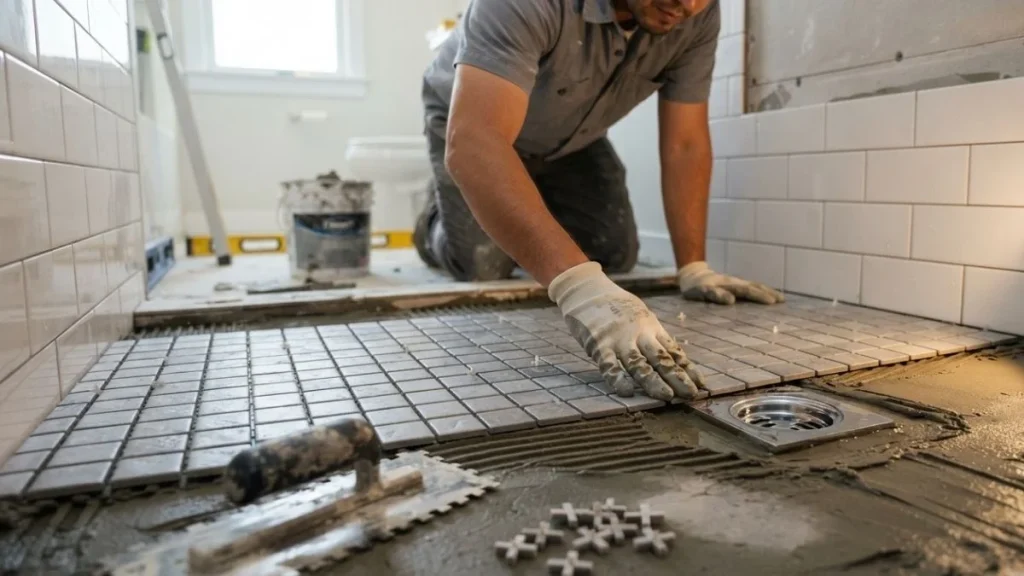
Mix thinset mortar to a peanut-butter consistency. Hold your notched trowel at a 45-degree angle to create uniform ridges, then back-butter each tile for full contact. Spot-bonding tiles — applying thinset only at corners — is the leading cause of cracked shower tiles.
Use tile spacers to keep grout lines consistent, and check level every 3–4 tiles.
Steps 5–6: Curing, Grouting, and Sealing
Wait the full thinset cure window — typically 24–48 hours at 70°F — before walking on tiles or grouting. Humidity and temperatures below 50°F extend that window significantly.
Apply unsanded grout for joints under 1/8 inch, sanded grout for anything wider. Work in small sections, pressing grout diagonally across joints with a rubber float, then clean haze with a damp sponge before it hardens. Tool the joints slightly concave for water runoff.
At wall-to-floor transitions, skip grout entirely — use silicone tile caulk instead. Grout at movement joints cracks within months. Apply a penetrating sealer to grout lines after a full 72-hour cure.
Common Mistakes That Cause Failure
Most shower floor failures trace back to one of five errors — and none of them are obscure. They’re predictable, well-documented, and entirely avoidable with the right information upfront.
Incorrect Drainage Slope
A floor that doesn’t pitch 1/4 inch per foot toward the drain holds standing water after every shower. Standing water feeds mold, degrades grout, and works moisture under tiles through even hairline cracks. Fix the slope at the substrate preparation stage — there is no correction available after tiles are set.
Skipping or Underperforming Waterproofing
Applying a single thin coat of waterproofing membrane instead of following manufacturer coverage specs is one of the most expensive mistakes in tile work. Water that breaches the tile layer and reaches an unprotected subfloor causes structural rot that can cost $3,000–$8,000 to remediate — far beyond the original retiling budget. Some homeowner insurance policies exclude water damage resulting from improper installation.
Wrong Thinset for the Substrate
Standard thinset mortar does not bond reliably to all surfaces. Large-format porcelain tiles require a medium-bed mortar. Glass tiles need a white, non-sagging thinset. Using the wrong product causes adhesion failure — tiles pop loose within months.
Rushing Curing Time
Using the shower before thinset and grout fully cure is the leading cause of early grout joint failure. Water penetrating uncured grout lines reaches the thinset layer and weakens the bond permanently.
Inconsistent Grout Mix
Grout mixed too wet loses compressive strength and becomes porous. Follow the manufacturer’s water-to-powder ratio exactly — grout consistency should resemble smooth peanut butter, not pancake batter. Weak grout creates open pathways for water ingress directly into the substrate.
Cost and Timeline Reality Check
A realistic budget prevents the most common mid-project problem: running out of money before the shower is usable. Here’s what the numbers actually look like for a standard 9–16 square foot shower floor.
Material Cost Breakdown
| Material | Typical Cost | Notes |
|---|---|---|
| Porcelain or ceramic tile | $2–$8/sq ft | Add 10% for cuts and waste |
| Thinset mortar | $20–$35/bag | One bag covers ~40–50 sq ft |
| Waterproofing membrane | $40–$80 | Schluter Kerdi, Laticrete Hydro Ban |
| Grout | $10–$20/bag | Sanded or unsanded per joint width |
| Penetrating sealer | $15–$25 | One bottle covers multiple applications |
| Fiberglass mesh tape + silicone caulk | $10–$15 | Seams and movement joints |
| Total materials (9–16 sq ft floor) | $150–$250 | Excludes tools |
Tool Costs: Rent vs. Buy
For a one-time project, renting makes more sense than purchasing for high-cost items. An oscillating multi-tool rents for $25–$40/day at Home Depot or Lowe’s tool rental centers. A wet tile saw rents for $45–$65/day. Budget $80–$120 for a two-day tool rental window.
If you plan to tile elsewhere in your home within the next few years, purchasing an oscillating multi-tool ($60–$120 for a Ryobi or Fein model) pays for itself quickly.
Realistic Timeline
| Phase | Time Required |
|---|---|
| Tile removal and substrate inspection | 4–8 hours |
| Substrate repair and waterproofing | 4–6 hours + 24-hour cure |
| Tile layout, setting, and cleanup | 4–6 hours |
| Thinset cure before grouting | 24–48 hours |
| Grouting, sealing, final cure | 2–3 hours + 72-hour cure |
| Total elapsed time | 3–7 days |
When to Hire a Professional Instead
Three situations make professional hire the financially sound choice:
- Subfloor damage extends beyond the shower pan into the surrounding floor structure
- The drain requires repositioning or the existing tile pan needs full replacement
- The shower geometry includes multiple angles, niches, or curved walls requiring complex tile layout planning
In these cases, a licensed tile contractor typically charges $800–$1,500 for labor on a standard shower floor — still less than the cost of a structural repair done wrong.
You May Like Also: How to Raise Shower Floor
Your Shower Floor Awaits
Waterproofing and slope are the two variables that determine whether your retiled shower floor lasts 5 years or 25 — every other step exists to support those two. Start your project today by tapping every existing tile with a screwdriver handle to assess bond integrity, then measure your current floor slope with a 4-foot level to confirm whether you’re working with a sound foundation or starting from scratch. Those two checks take 20 minutes and tell you exactly what you’re dealing with before you spend a dollar.