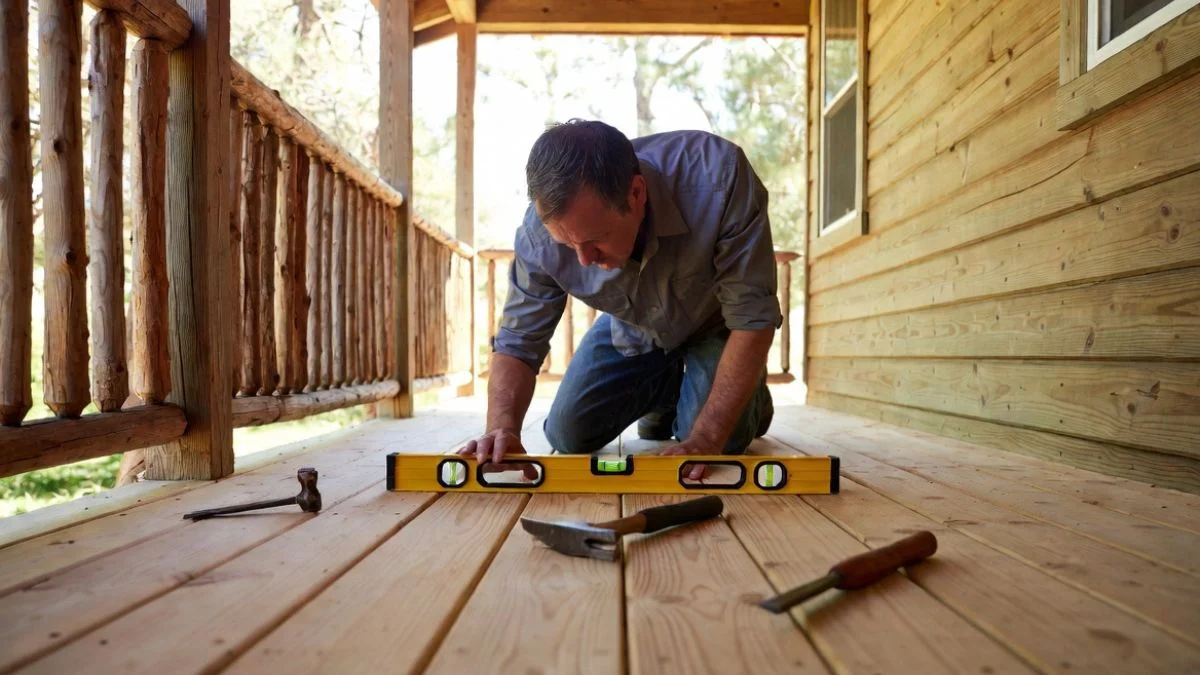
Is your porch floor uneven or sloping? It can make your outdoor space feel uncomfortable and even unsafe.
But don’t worry—leveling your porch floor is easier than you might think. In this guide, you’ll discover simple steps to fix those dips and bumps, making your porch smooth and sturdy. Whether you want to enjoy relaxing evenings or create a safe spot for your family, learning how to level your porch floor will transform your space.
Keep reading to find out exactly what you need to do, and get ready to take control of your porch’s look and feel.
Preparing The Porch Floor
Preparing the porch floor is the first crucial step in leveling your porch. A clean and well-inspected surface ensures the leveling process goes smoothly and lasts longer. Proper preparation helps identify any hidden problems that could affect your work. Taking time to prepare saves effort and money later.
Clearing The Area
Start by removing all furniture, plants, and decorations from the porch. Clear away any loose dirt, leaves, and debris. A clean workspace is safer and makes it easier to see the floor’s condition.
Use these steps to clear the porch effectively:
- Sweep the entire porch surface with a stiff broom.
- Use a vacuum or blower to remove fine dust and small particles.
- Take off any old rugs or mats and set them aside.
- Remove nails, screws, or staples sticking out of the floor.
Check for any water puddles or damp spots. These can hide damage or cause slipping. Dry the porch completely before moving forward.
Inspecting For Damage
After clearing, examine the porch floor carefully for any signs of damage. Look for cracks, holes, soft spots, or rotting wood. These issues must be fixed before leveling.
Use a flashlight and a small tool like a screwdriver to test the floor. Press the tool gently on different areas to check for softness. Soft spots mean the wood or concrete is weak or rotten.
| Common Porch Floor Problems | Signs to Look For | Action Needed |
| Cracks | Visible lines or gaps in concrete or wood | Fill with patching compound or replace damaged boards |
| Rotting Wood | Soft, crumbly areas; dark stains | Cut out and replace rotten sections |
| Loose Boards | Boards that move or squeak when stepped on | Nail or screw boards securely |
Note any areas needing repair. Complete these repairs before leveling for best results.
Gathering Necessary Tools
Having the right tools ready makes the leveling process quicker and easier. Prepare all items before starting work on the floor.
Essential tools include:
- Level: A carpenter’s level or laser level to check the floor’s flatness.
- Screwdriver or drill: For tightening or removing screws.
- Hammer: To remove nails or fix boards.
- Pry bar: To lift damaged boards or remove old flooring.
- Patching compound or wood filler: To fix cracks and holes.
- Measuring tape: To measure areas needing repair or leveling.
- Safety gear: Gloves, safety glasses, and a dust mask.
Organize your tools on a nearby table or in a toolbox. This keeps everything within reach. Double-check that all tools work well before starting the job.
Checking The Current Level
Checking the current level of your porch floor is a crucial first step before starting any repairs or adjustments. This process helps you understand how uneven the surface is and where exactly you need to focus your efforts. Knowing the level condition saves time and ensures a smooth, safe porch floor after leveling. The key is to be thorough and use the right tools to get accurate measurements.
Using A Level Tool
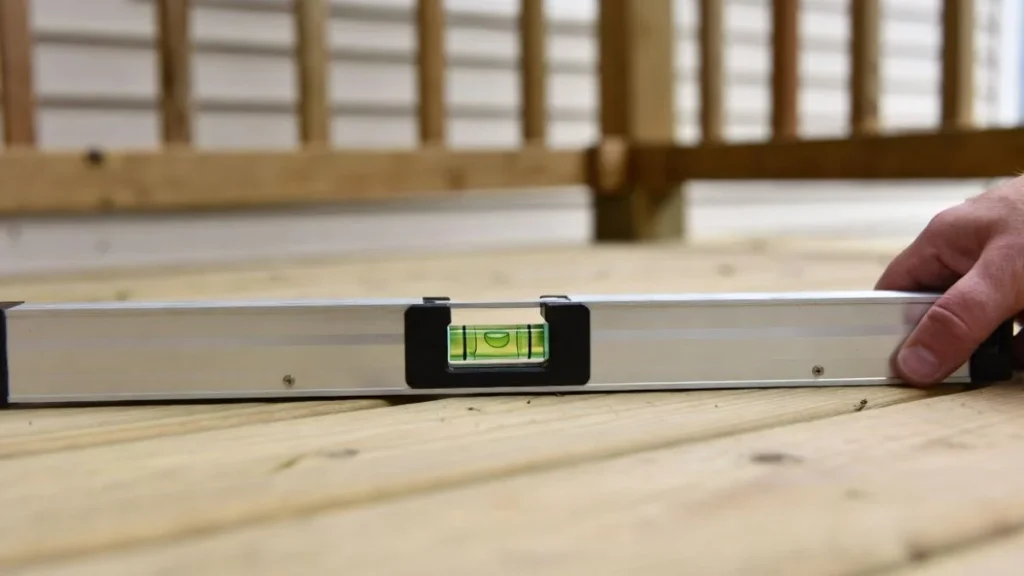
A level tool is the most straightforward way to check if your porch floor is flat. You can use a traditional spirit level or a laser level for better accuracy. Here is how to use them effectively:
- Place the level tool on different spots of the porch floor, especially at corners and the center.
- Check the bubble in a spirit level. It should be centered between the lines for a flat surface.
- With a laser level, project the beam across the floor to see height differences.
- Mark any spots where the bubble moves away from the center or the laser beam shows unevenness.
Using a level tool repeatedly across the porch helps create a map of high and low points. This map guides the next steps in fixing the floor. If your porch is large, consider using a longer level or a laser level for better coverage.
Identifying Uneven Spots
After measuring with a level tool, the next step is to identify specific uneven spots on the porch floor. These spots need to be fixed to make the surface safe and stable. Use simple methods to find these areas easily.
Walk slowly over the porch and pay attention to:
- Areas that feel higher or lower underfoot compared to the rest of the floor.
- Gaps or cracks between boards or flooring materials.
- Water puddles that collect in low spots after rain.
Mark these uneven spots with chalk or tape. Then, compare them with your level tool results. This double-check helps confirm the problem areas. You can also use a straightedge board to span across the floor. If you see gaps under the board, that spot is low. If the board rocks, the floor is uneven there.
Keep a list or diagram of all uneven spots. This record guides how much material you need for filling or sanding. It also shows where to start leveling first for the best results.
Fixing Low Spots
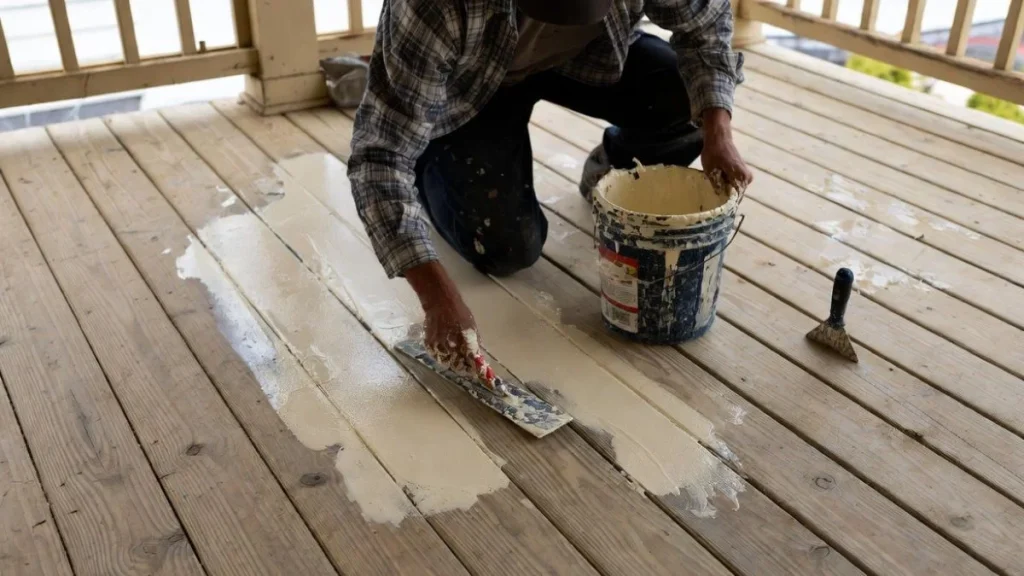
Uneven floors cause tripping hazards and make furniture wobble. Small dips or depressions collect water, leading to damage over time. Addressing these low spots makes the porch more comfortable and durable. Two common methods fix these issues effectively: applying self-leveling compound and using shims or plywood. Each method suits different situations depending on the size and depth of the low area. Choose the best approach to create a smooth, level surface ready for finishing.
Applying Self-leveling Compound
Self-leveling compound is a quick way to fix shallow low spots on concrete or wood porch floors. It is a liquid mixture that flows into dips and hardens to a flat surface. This method works well for low spots up to 1 inch deep. Follow these steps for best results:
- Clean the floor thoroughly. Remove dirt, dust, and loose paint.
- Mix the compound according to package instructions. Use a drill with a mixing paddle for smooth blending.
- Pour the compound slowly into the low areas. It will spread and level itself.
- Smooth the edges with a trowel to blend with the rest of the floor.
- Allow curing time as recommended, usually 4 to 6 hours.
Using Shims Or Plywood
Shims and plywood offer a practical solution for fixing deeper low spots or uneven wooden porch floors. This method builds up the floor height before applying the top layer. It works well when dips are larger than 1 inch. Follow these steps:
- Identify low areas by using a level or straightedge.
- Cut plywood pieces to fit the low spots.
- Place shims under plywood to raise it gradually.
- Secure plywood with screws to the existing floor structure.
- Sand edges to smooth transitions between old and new surfaces.
Key points to remember:
- Use exterior-grade plywood for weather resistance.
- Choose shims made of plastic or treated wood to prevent rot.
- Check level frequently during installation.
- Seal gaps and edges to avoid water damage.
Here is a quick comparison table of shim and plywood materials:
| Material | Pros | Cons |
| Plastic Shims | Waterproof, durable, easy to trim | Can be slippery, less flexible |
| Treated Wood Shims | Strong, good grip, easy to work with | May rot if exposed to moisture |
| Exterior Plywood | Weather-resistant, stable, strong | Needs sealing, can swell if not protected |
Using shims and plywood requires more labor but provides a strong, long-lasting fix for low spots. It prepares the porch floor for painting, staining, or installing new flooring.
Sanding And Smoothing
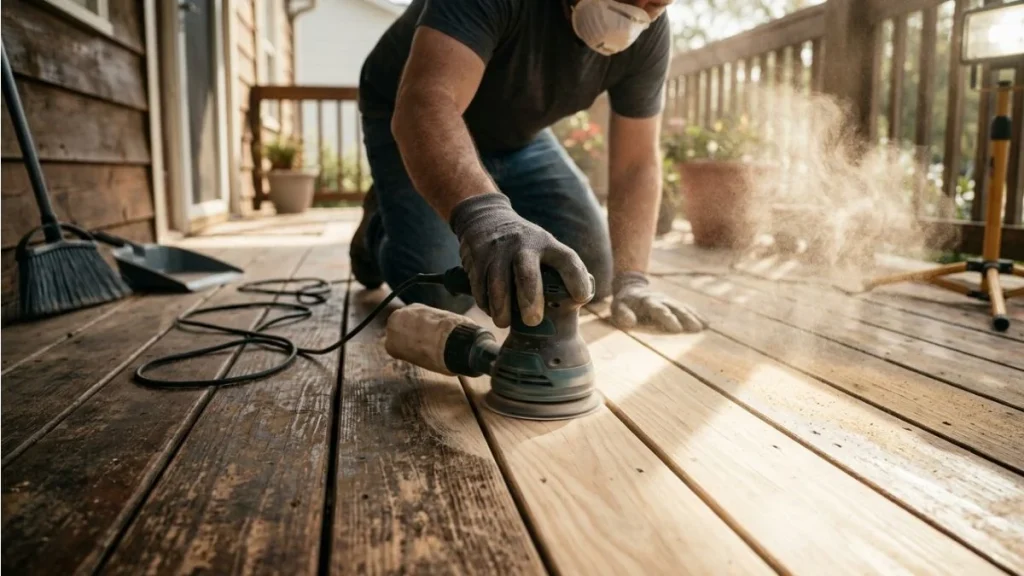
Leveling a porch floor requires more than just fixing dips or cracks. Sanding and smoothing create a clean, even surface that improves safety and appearance. This step removes rough spots and prepares the floor for paint, stain, or sealant. Taking time to sand and smooth ensures the porch feels nice underfoot and lasts longer.
Sanding Rough Areas
Start by identifying uneven or rough spots on the porch floor. These areas often feel bumpy or splintered. Use a medium-grit sandpaper (around 80 grit) to smooth these rough patches. For larger areas, a power sander works best. Move the sander in the direction of the wood grain to avoid damage.
Follow these steps for effective sanding:
- Wear a dust mask and safety glasses for protection.
- Sand all raised edges and splinters until smooth.
- Check the floor often by running your hand over it.
- Switch to finer sandpaper (120 to 150 grit) for a smoother finish.
Use a hand sanding block for corners and tight spaces. Avoid sanding too much in one spot; this can create uneven areas.
| Sandpaper Grit | Purpose |
| 80 grit | Remove rough spots and old paint |
| 120-150 grit | Smooth surface and prepare for finish |
Take your time. Proper sanding sets the foundation for a level and attractive porch floor.
Cleaning Dust And Debris
After sanding, the porch floor will have dust and debris. This layer can prevent paint or stain from sticking well. Cleaning thoroughly is essential for a smooth, clean finish.
Follow these cleaning tips:
- Use a broom or brush to sweep loose dust and dirt.
- Vacuum the surface to pick up fine dust particles.
- Wipe the floor with a damp cloth or sponge to remove remaining dust.
- Allow the floor to dry completely before applying any finish.
For stubborn debris, use a mild detergent mixed with water. Avoid soaking the wood, as excess moisture can cause damage.
Sealing And Finishing
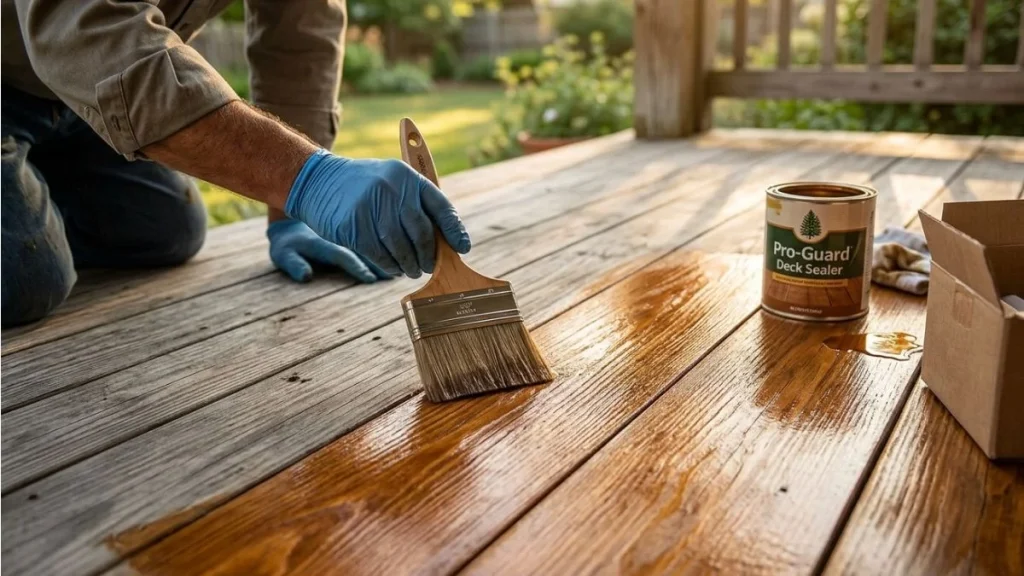
After leveling your porch floor, sealing and finishing it is essential for protection and appearance. These steps help prevent water damage, mold, and wear from foot traffic. A well-sealed porch floor lasts longer and looks better through all seasons. Proper sealing and finishing improve durability and keep the wood strong.
Applying Sealant
Sealant creates a waterproof barrier that protects the porch floor from moisture and dirt. Start by cleaning the surface thoroughly. Remove all dust, dirt, and debris using a broom or vacuum. If the floor is new wood, allow it to dry completely before applying the sealant.
Use a brush or roller for even coverage. Apply sealant in thin layers. Let the first coat dry fully—usually 24 hours—before adding a second coat. Two coats provide the best protection.
- Choose a sealant made for outdoor use.
- Pick one that is UV resistant to avoid sun damage.
- Opt for a clear or tinted sealant depending on your finish preference.
- Wear gloves and work in a well-ventilated area.
Choosing Paint Or Stain
Choosing between paint or stain depends on the look and protection level desired. Paint covers the wood fully, hiding any imperfections. Stain enhances the wood’s natural beauty and grain. Both options protect the porch floor but require different maintenance.
Consider these points before choosing:
- Paint offers a solid color and blocks UV rays well.
- Stain penetrates the wood and allows it to breathe.
- Paint usually lasts longer but may peel over time.
- Stain often needs reapplication every 2-3 years.
- Both need a clean surface and proper prep before applying.
You Should Read Also: How to Waterproof a Porch Floor
Conclusion
Leveling a porch floor is a simple way to improve safety and appearance. Start by checking the surface with a level tool. Remove any debris and fix low spots with the right materials. Take your time and work carefully for the best results.
A flat porch floor makes furniture sit better and stops water from pooling. Now, your porch looks neat and feels stable. Try these steps on your next project to make your porch safe and comfortable.