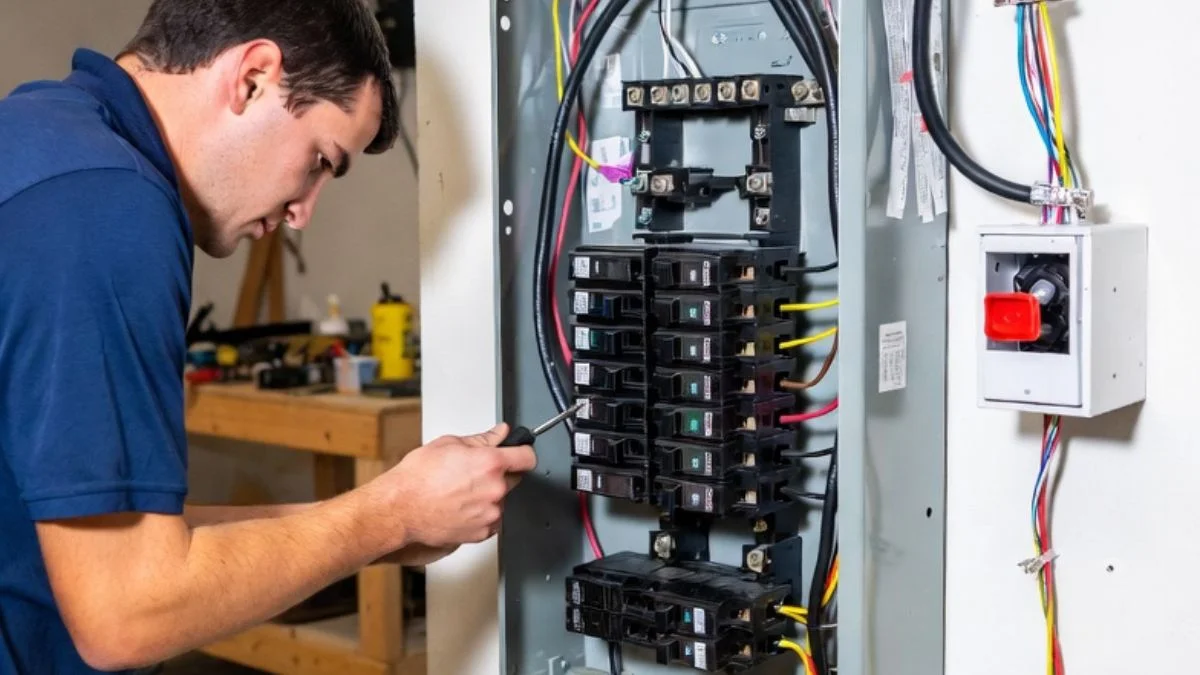
Are you ready to power up your detached garage but don’t know where to start? Installing a sub panel in your garage can give you the electricity you need for lights, tools, and more—without overloading your main electrical system.
But if you’re worried about the complexity or safety, you’re not alone. This guide breaks down every step in simple terms, so you can confidently handle the installation yourself or know exactly what to ask a pro. Keep reading to discover how easy it can be to bring reliable power right where you need it most.
Planning The Sub Panel Setup
Installing a sub panel in a detached garage requires careful planning to ensure safety and efficiency. Planning the sub panel setup helps avoid costly mistakes and meets electrical needs properly. This step involves understanding power requirements, following local rules, and picking the best spot for the panel. Proper planning makes the installation smoother and the system reliable for years.
Assessing Power Needs
Start by figuring out how much power the garage needs. Think about the tools, lights, and appliances you will use. Each device draws a certain amount of electricity, measured in amps or watts. Add these up to get the total power demand.
- List all electrical devices you plan to use in the garage.
- Note the wattage or amperage of each device, found on labels or manuals.
- Calculate total wattage by adding all device wattages together.
- Convert watts to amps if needed, using the formula: Amps = Watts ÷ Voltage.
For example, if you have a 1200-watt heater and a 600-watt light, the total wattage is 1800 watts. Dividing by 120 volts gives 15 amps.
| Device | Wattage | Amps (at 120V) |
| Workbench Lights | 600W | 5A |
| Power Tools | 1200W | 10A |
| Garage Heater | 1500W | 12.5A |
Always add a safety margin of 20% to your total amps. This prevents overloads and allows future expansion. For instance, if your total is 27.5 amps, plan for around 33 amps. Choose a sub panel with a breaker size that can handle this load safely.
Checking Local Codes
Every area has rules for electrical work. These codes protect people and property from hazards. Checking local codes before installing your sub panel is critical. It ensures your setup meets legal and safety standards.
Visit your local building department or check their website for code information. Some common requirements include:
- Breaker size limits for sub panels
- Wire type and size based on amperage
- Distance rules for running wires underground
- Grounding and bonding requirements
- Permits and inspections needed before and after installation
Ignoring local codes can cause failed inspections and unsafe installations. Hiring a licensed electrician can help you follow these rules correctly. They know the codes well and can advise on the best materials and methods.
Choosing The Right Location
Selecting the best spot for your sub panel in the garage affects convenience and safety. The panel should be easy to reach but away from moisture and damage risks. Planning the location beforehand saves time and effort.
Consider these factors:
- Accessibility: Place the panel where you can easily open and work on it.
- Clearance: Leave at least 30 inches wide and 36 inches deep of clear space in front of the panel.
- Height: Mount the panel so the top is no higher than 6 feet 7 inches from the floor.
- Protection: Avoid areas prone to water leaks, dust, or physical damage.
- Proximity: Locate near the main electrical source or meter for easier wiring.
Running The Feeder Cable
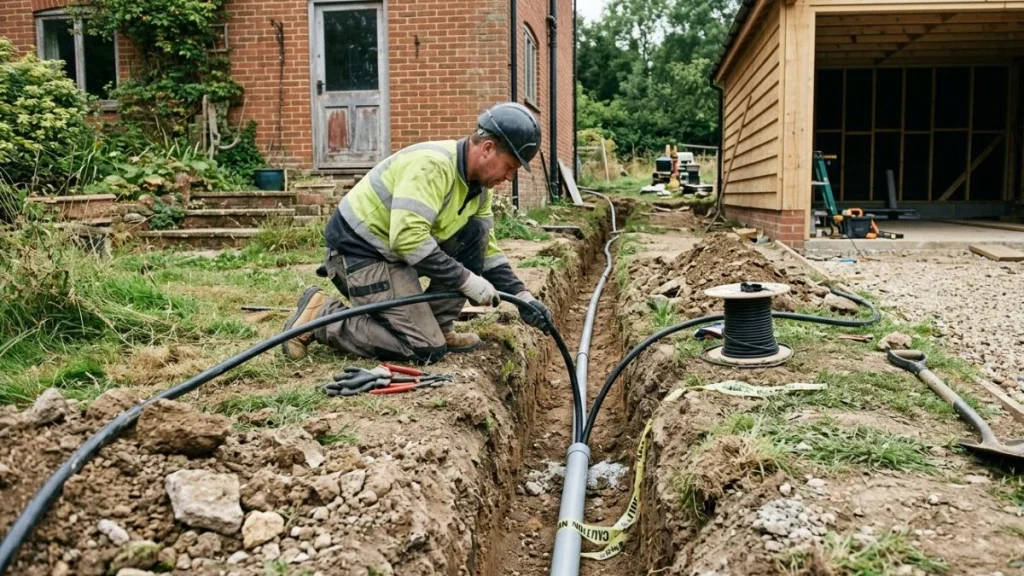
Running the feeder cable is a crucial step when installing a sub panel in a detached garage. This cable carries electrical power from the main panel to the sub panel. Proper installation ensures safety and efficient power delivery. The process requires careful planning, choosing the right materials, and following electrical codes. The feeder cable must be durable, correctly sized, and protected from damage.
Determining Cable Type And Size
Choosing the right cable type and size depends on the electrical load and distance from the main panel to the garage. The feeder cable must handle the expected amperage without overheating. Use copper or aluminum conductors designed for underground or outdoor use. Common cable types include THWN-2 wires inside conduit or direct burial cable like USE-2.
Follow these steps to determine the cable size:
- Calculate the total amperage needed for the garage equipment and lighting.
- Measure the distance from the main panel to the garage to account for voltage drop.
- Choose a cable size that supports the amperage and limits voltage drop to under 3%.
Use this table as a general guide for copper conductors:
| Amperage | Copper Wire Size (AWG) | Recommended Cable Type |
| 60 Amps | 6 AWG | THWN-2 in conduit or USE-2 direct burial |
| 100 Amps | 4 AWG | THWN-2 in conduit or USE-2 direct burial |
| 125 Amps | 3 AWG | THWN-2 in conduit or USE-2 direct burial |
Note: Always check local electrical codes and consider consulting a professional electrician.
Trenching And Conduit Installation
Running the feeder cable underground requires a trench between the main panel and the garage. The trench protects the cable and keeps it out of sight. Dig the trench at least 18 inches deep to meet most electrical codes. Mark the path clearly before starting.
Steps for trenching and conduit installation:
- Call local utility companies to mark underground lines.
- Dig a straight, clean trench at the required depth.
- Lay a bed of sand or fine soil at the bottom to protect the conduit.
- Install PVC conduit or metal conduit rated for underground use.
- Use conduit fittings and seal all joints to prevent moisture entry.
- Leave some extra conduit length at both ends for easy connection.
Use electrical tape or conduit straps to secure conduit inside the trench. Backfill carefully with soil, avoiding sharp rocks near the conduit.
Pulling The Cable
Pulling the feeder cable through the conduit requires patience and the right tools. Avoid sharp bends or kinks to prevent damage. Begin by lubricating the cable with wire-pulling lubricant to reduce friction. Use a fish tape or pull rope to guide the cable through the conduit.
Follow these steps:
- Attach the cable securely to the fish tape or pull rope.
- Have one person feed the cable at the garage end while another pulls from the main panel side.
- Pull steadily without forcing the cable if resistance occurs.
- Check periodically for damage or snags.
- Once the cable is fully through, leave extra length at both ends for connections.
After pulling the cable, strip the insulation carefully to prepare for connections. Use a multimeter to test for continuity and shorts before final wiring. Proper pulling and testing ensure long-term safety and reliable power supply to your detached garage.
Wiring The Main Panel
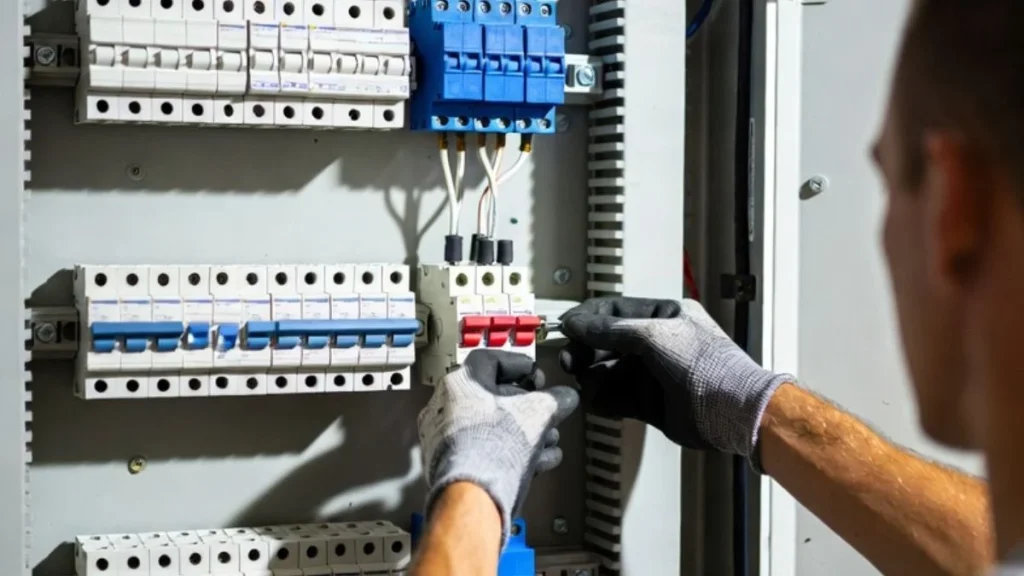
Wiring the main panel is a crucial step in installing a sub panel in your detached garage. This process involves careful handling of electrical components to ensure safety and compliance with electrical codes. Proper wiring allows your garage to have its own dedicated power source, reducing the risk of overloads and improving electrical efficiency. Before beginning, gather all necessary tools, including a voltage tester, wire stripper, and appropriate breakers.
Turning Off Main Power
Start by turning off the main power to avoid electric shocks. This step protects you and prevents damage to electrical devices. Locate the main breaker panel, usually found near the electric meter or inside the house. Use a flashlight if the area is dark.
- Open the panel cover carefully.
- Identify the main breaker switch, often a large switch at the top.
- Flip the main breaker to the “off” position.
After switching off, use a voltage tester to check that power is off. Test all circuits you will work with. Never skip this step.
| Step | Action | Reason |
| 1 | Open main panel cover | Access breakers safely |
| 2 | Turn off main breaker | Cut power supply |
| 3 | Verify power off with tester | Ensure safety |
Always wear insulated gloves and use tools with insulated handles during this process. Do not touch any bare wires or terminals before confirming the power is off.
Installing Breaker For Sub Panel
Next, install a breaker dedicated to the sub panel. This breaker controls the power flow from the main panel to the garage. Choose a breaker that matches the amperage rating of the sub panel. Common sizes are 60 or 100 amps, depending on the garage’s power needs.
Follow these steps:
- Remove the panel cover carefully.
- Select an open slot for the new breaker.
- Insert the breaker firmly into the slot.
- Connect the breaker’s line terminal to the main bus bar.
Use breakers that are compatible with your main panel brand. Mixing brands can cause poor connections and hazards.
| Breaker Size | Recommended Use | Notes |
| 60 Amps | Small garages or limited circuits | Lower cost, less capacity |
| 100 Amps | Larger garages with multiple circuits | Higher capacity, more future-proof |
After installation, do not turn on the breaker yet. Check connections and wiring before applying power.
Connecting Feeder Wires
Feeder wires carry electricity from the main panel to the sub panel. Use wires rated for the amperage of the breaker installed. Typically, use three wires:
- Two hot wires (usually black and red)
- One neutral wire (white)
- One ground wire (green or bare copper)
Follow this process to connect feeder wires:
- Strip insulation from each wire end carefully.
- Connect hot wires to the breaker terminals.
- Attach the neutral wire to the neutral bus bar.
- Connect the ground wire to the ground bus bar.
- Secure all connections firmly to prevent loose contacts.
Use a torque screwdriver to tighten terminals according to manufacturer instructions.
| Wire Type | Connection Point | Color Code |
| Hot Wires | Breaker terminals | Black, Red |
| Neutral Wire | Neutral bus bar | White |
| Ground Wire | Ground bus bar | Green or bare copper |
Run feeder wires through a conduit from the main panel to the detached garage. Secure conduit and wires properly to meet code requirements. Double-check all connections before restoring power.
Setting Up The Sub Panel
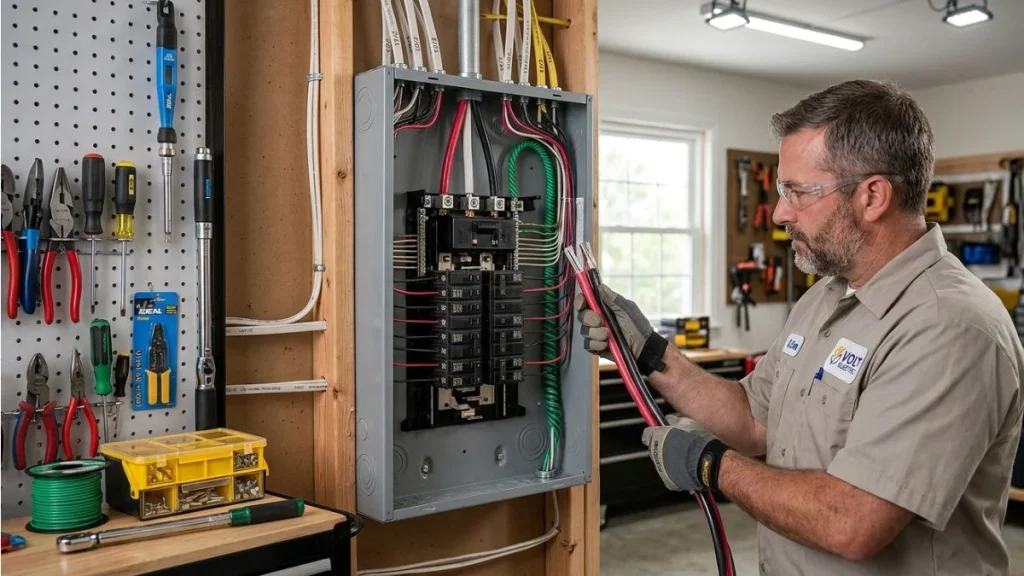
Setting up the sub panel in your detached garage is an important step. It allows you to control the electricity supply safely and separately from your main panel. A well-installed sub panel keeps your garage’s wiring organized and prevents overloads. Follow these steps carefully for a safe and efficient setup.
Mounting The Panel
Mounting the sub panel correctly is the first step. Choose a dry, accessible location inside the garage. The panel should be mounted at eye level for easy access. Use a sturdy wooden board or directly fix the panel to a wall stud. This ensures it stays secure and stable.
Follow these tips for mounting:
- Use a level to make sure the panel is straight.
- Leave enough space around the panel for wiring and future work.
- Mount the panel on a flat surface to avoid damage.
Use screws or bolts that fit the panel’s mounting holes. Avoid nails, as they may loosen over time. After mounting, check that the panel door opens easily without obstruction.
| Step | Action | Tip |
| 1 | Select location | Choose a spot away from moisture and heat sources |
| 2 | Mark mounting holes | Use the panel as a template for drilling |
| 3 | Attach panel | Use screws or bolts, ensure tight fit |
| 4 | Check alignment | Use a level for straight installation |
Connecting Neutral And Ground Bars
Neutral and ground bars inside the sub panel must be connected properly. This prevents electrical faults and keeps your garage safe. The neutral bar carries the return current, while the ground bar protects against electrical shock.
Important points to remember:
- Neutral and ground bars must be separate in a sub panel.
- Run separate neutral and ground wires from the main panel.
- Do not bond neutral and ground bars together inside the sub panel.
Follow these steps for connection:
- Attach the neutral wire from the main panel to the neutral bar.
- Attach the ground wire from the main panel to the ground bar.
- Connect all neutral circuit wires to the neutral bar.
- Connect all ground circuit wires to the ground bar.
Use a torque screwdriver to tighten screws firmly. Loose connections can cause dangerous overheating. Label the bars clearly to avoid confusion.
Installing Circuit Breakers
Installing circuit breakers protects your garage circuits from overload and short circuits. The sub panel holds these breakers, which automatically cut power if there is a problem.
Before starting, check the panel’s breaker type. Breakers must match the panel’s brand and size. Using wrong breakers can cause failure or hazards.
Follow these steps:
- Turn off power at the main panel.
- Insert breakers into the panel slots.
- Connect each circuit wire to its breaker terminal.
- Snap breakers firmly into place on the bus bar.
- Label each breaker for the corresponding garage circuit.
Use a voltage tester to verify no power before working. Tighten screws on the breaker terminals securely. Double-check all connections before turning power back on.
Final Checks And Safety Measures
Completing the installation of a sub panel in a detached garage requires careful final checks and strict safety measures. This step ensures the system works correctly and prevents any electrical hazards. Skipping this phase can lead to serious risks, including electrical shock or fire. Always prioritize safety and thorough inspection before using the new sub panel.
Inspecting Connections
Start by carefully inspecting all electrical connections. Loose or incorrect wiring can cause sparks or circuit failure. Use a flashlight to check each terminal and wire for firm contact. Look for signs of damage, corrosion, or frayed wires. Tighten all screws and clamps securely, but avoid over-tightening which can damage wires.
- Verify Wire Types: Ensure correct wire gauge matches the circuit breaker rating.
- Confirm Grounding: Check that the ground wire is properly connected to the grounding bus bar.
- Neutral Wire: Make sure neutral wires are connected only to the neutral bus and not mixed with grounds.
- Circuit Breakers: Ensure breakers are firmly seated and compatible with the panel.
Testing The Sub Panel
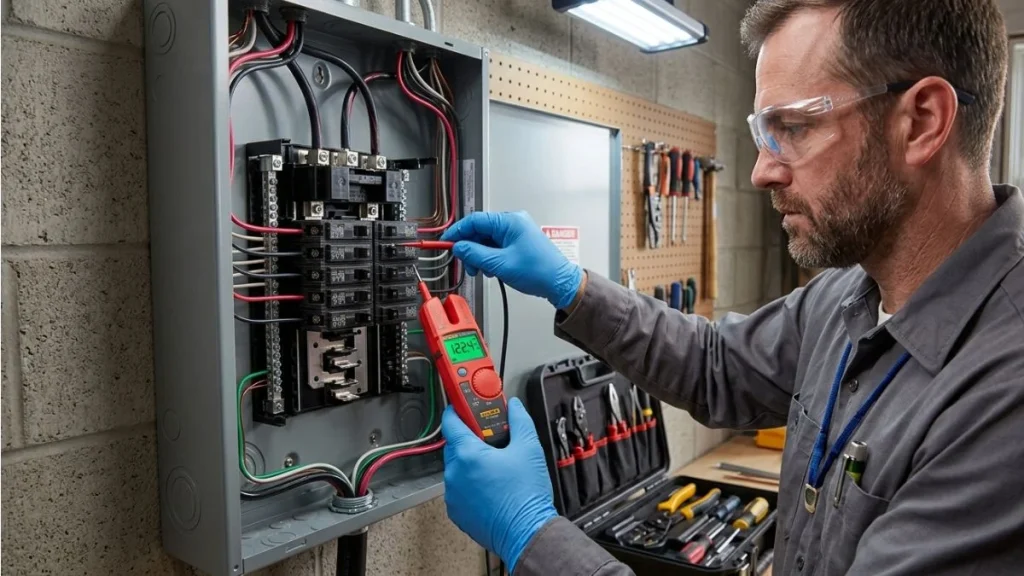
Testing the sub panel confirms it functions safely under load. Begin by switching off the main breaker. Use a multimeter to check voltage at the panel’s terminals. The readings should match your home’s supply voltage, typically 120/240 volts. Turn on the main breaker and test each circuit breaker by turning them on and off.
- Check Voltage: Measure voltage between hot and neutral, hot and ground.
- Load Test: Connect a light or small appliance to verify power flow.
- Breaker Operation: Flip breakers to ensure smooth function and no tripping under normal load.
- Look for Alarms: Listen for buzzing sounds or smell burning, which indicate issues.
Write down your testing results to track issues or future inspections. Testing ensures your sub panel will work safely and reliably.
Scheduling Electrical Inspection
After completing installation and testing, schedule a professional electrical inspection. Local codes require inspections to approve new sub panels. An inspector checks wiring, grounding, breaker sizing, and overall safety. Approval avoids legal problems and ensures insurance coverage.
Prepare for the inspection by:
- Gathering all permits and installation documents.
- Ensuring the panel door and wiring are accessible.
- Reviewing your checklist and test results.
- Notifying the inspector of any unusual wiring or components.
During the inspection, the inspector may use tools like:
- Voltage testers
- Continuity testers
- Thermal imaging cameras
Passing the inspection confirms your sub panel installation meets safety standards. It also gives peace of mind for your garage’s electrical system.
Recommended Read: How to Install a 100 Amp Sub Panel in a Detached Garage
Conclusion
Installing a sub panel in your detached garage is a smart way to add power safely. Follow the steps carefully to avoid mistakes. Always check local electrical codes before starting. Use the right tools and materials for a secure setup.
Take your time and work with caution. This project can save you money and add convenience. With patience, you can complete the job yourself. A well-installed sub panel keeps your garage powered and safe. Ready to get started?