Knowing how to fix a large hole in hardwood floor can save homeowners $200–$800 in professional repair costs — and with the right materials, a DIY result is nearly indistinguishable from a pro job.
The real challenge is not the repair itself but avoiding two common mistakes: choosing the wrong filler product and mismatching the stain finish, both of which turn a fixable problem into a visible, permanent eyesore — especially on vintage floors from the 1920s where original wood species are hard to source.
This guide walks you through every step — damage assessment, material selection, repair execution, and finish matching — so you leave with a solid, color-matched repair you can complete in a weekend.
Assessment: Determining Hole Size and Damage Type
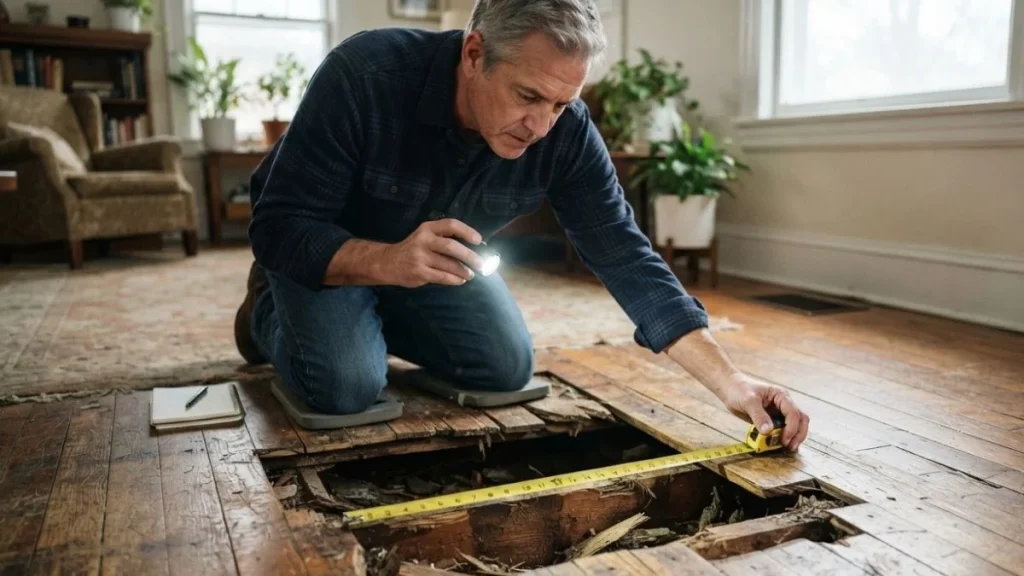
Before buying a single tube of wood filler, measure the hole. Hole size determines your entire repair method — use the wrong approach and you waste time, money, and materials.
Small vs. Large: Why Size Matters
| Hole Size | Category | Recommended Method | Finishing Required |
|---|---|---|---|
| Under 1/4 inch | Small | Wood filler only | Light sanding, touch-up stain |
| 1/4 inch to 2 inches | Medium | Filler or shallow wood patch | Moderate sanding, stain matching |
| 2+ inches | Large | Wood patch insert or replacement plank | Full refinishing required |
Large holes — anything above 2 inches — cannot hold wood filler reliably. Filler shrinks as it cures, and in a wide gap it will crack, sink, or pop loose within months. A wood patch insert or a full plank replacement is the only durable fix.
Beyond the Hole: Checking Surrounding Wood
The hole itself is rarely the whole problem. Press firmly around the damaged area with your thumb. Soft, spongy wood means moisture has been sitting there — possibly for years. Water damage weakens the subfloor and can compromise the joists underneath, turning a cosmetic repair into a structural one.
Check for these warning signs before proceeding:
- Dark staining or discoloration radiating outward from the hole
- Soft or crumbling wood within 6 inches of the damage
- Small, irregular exit holes about 1/16 inch wide (carpenter ant or termite damage)
- Visible gaps or flex when you press down on the surrounding planks
If you find rot, pest damage, or subfloor flex, stop. These issues require a licensed contractor before any hardwood floor hole repair begins. Patching over structural damage only hides the problem.
Step-by-Step Repair Process
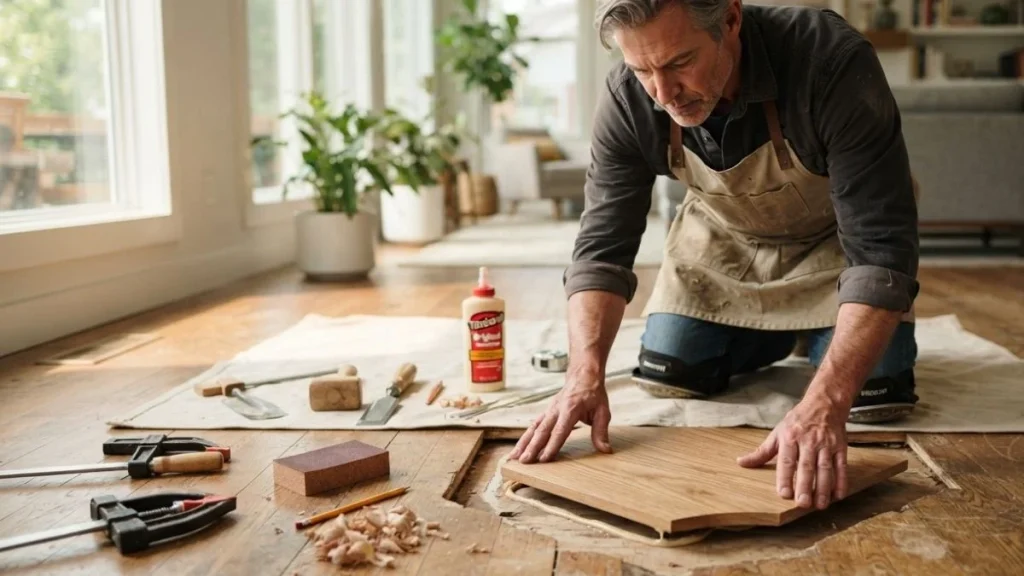
Work through these steps in order. Skipping prep or rushing dry times are the two most common reasons DIY hardwood floor hole repairs fail.
Prep Work Before Filling or Patching
Vacuum the hole and surrounding area thoroughly. Use a utility knife to trim any loose splinters or ragged wood fibers at the hole’s edge — a clean edge gives filler and patches something solid to bond against. Before applying anything to your floor, test your chosen filler or patch material on a scrap piece of matching wood. This single step saves you from an irreversible color mismatch on the finished floor.
Method 1: Wood Filler Application (Small-Medium Holes)
Overfill the hole slightly — all wood fillers for hardwood floors shrink as they cure, and a flush fill will sink below the surface. Minwax Wood Filler and Elmer’s Carpenter’s Wood Filler are two reliable options for pre-stainable repairs. Allow the full manufacturer-recommended drying time (typically 2–8 hours depending on hole depth) before touching it. Sand smooth with 220-grit sandpaper, feathering the edges outward so the patch blends into the surrounding floor rather than sitting as a visible island.
Method 2: Wood Patch Insertion (Large Holes)
Convert irregular hole shapes into a clean circle or square first — a hole saw or sharp chisel gives you predictable edges that hold a patch securely. Source a matching wood dowel, plug cutter insert, or custom-cut piece from the same species. Glue the patch using Titebond III wood glue for natural wood patches, or a two-part epoxy filler for gaps with irregular subfloor contact. Let the adhesive cure fully (minimum 24 hours) before sanding flush. Feather the sanding gradually — 80-grit to remove height, 120-grit to smooth, 220-grit to finish.
Staining and Finishing to Match
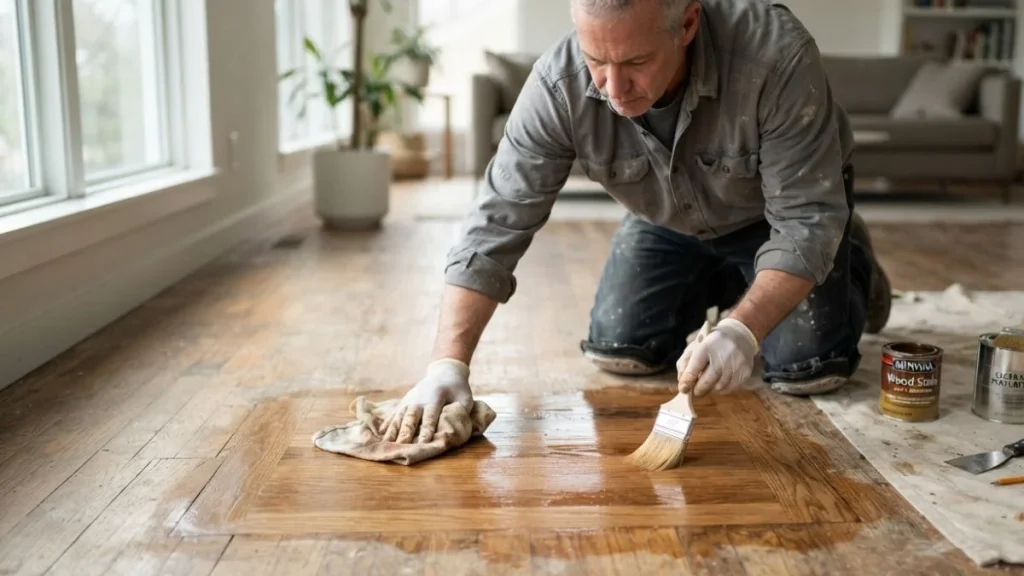
Apply your test stain on a cured patch in an inconspicuous area first, and check the color match in natural daylight rather than indoor lighting. Always apply stain in the direction of the wood grain — cross-grain application creates blotchy, uneven color. Once the stain matches, seal with polyurethane in the sheen that matches your existing floor: matte, satin, or gloss. Apply 2–3 thin coats rather than one thick coat, lightly sanding with 220-grit between each coat for the smoothest, most invisible blend.
Read Also: Repairing Bruce Hardwood Floors
FAQ
How do you fill a 2-inch hole in hardwood flooring?
A 2-inch hole is too large for wood filler alone. Use a hole saw to convert the damage into a clean circle, then glue in a matching wood plug or dowel using Titebond III, let it cure 24 hours, sand flush, and finish with matching stain and polyurethane.
Can you match wood grain and color after filling a hardwood floor hole?
An exact grain match is not possible with filler, but a close color match is achievable by testing stain on the cured patch in natural light before committing. Wood patch inserts cut from the same species — white oak, red oak, or Douglas fir — produce the most convincing visual match.
What causes large holes in hardwood floors and how do you prevent them?
Large holes typically result from 4 causes: impact damage from heavy objects, pest activity (termites or carpenter ants), advanced rot from prolonged moisture exposure, or improper removal of pipes and fasteners during renovations. Prevent future damage by controlling indoor humidity between 35–55%, inspecting for pest activity annually, and using felt pads under heavy furniture.
Ready to Repair: Next Steps
The single factor that determines whether a hardwood floor repair is invisible or obvious is not skill — it is material selection and stain testing before touching the damaged area. Start today by measuring your hole, identifying your wood species (check a door threshold or closet floor for an unfinished sample), and purchasing a pre-stainable wood filler or plug cutter kit matched to that species. If your floor shows any soft spots, rot, or pest damage around the hole, contact a licensed contractor before proceeding.