

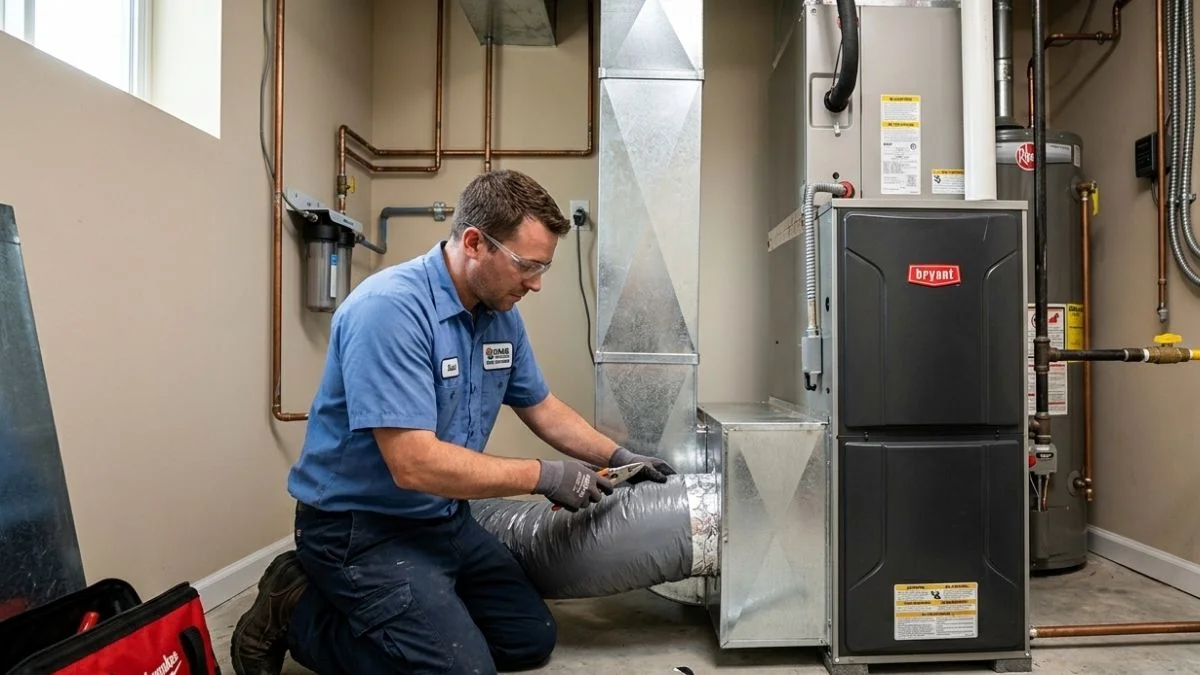
An undersized return air system is one of the most common causes of hot and cold spots, high energy bills, and an HVAC unit that runs constantly without ever catching up.
Most homeowners don’t realize the return side is the problem — they blame the furnace, the insulation, or the windows, while the real fix is adding return air capacity. Knowing how to add a return air duct can resolve these issues for a few hundred dollars in materials rather than a full system replacement.
This guide walks you through sizing, materials, cutting, and connecting a new return air duct — including when the job is straightforward DIY work and when local code requires a licensed contractor.
Why Return Air Matters (and When It’s Broken)
The return air side of your HVAC system pulls air back to the furnace or air handler to be filtered, conditioned, and recirculated. Without enough return capacity, the system struggles to move air — static pressure (resistance to airflow inside the duct system) rises, efficiency drops, and rooms never reach the set temperature.
5 Signs Your Return Air System Is Undersized
- Bedroom doors must stay open for the room to heat or cool properly
- Supply registers blow weakly even when the filter is clean
- The HVAC system runs in long cycles but never fully satisfies the thermostat
- Rooms far from the air handler feel stuffy or pressurized
- The return grille whistles or roars at high fan speeds — a sign the opening is too small for the airflow demand
What Actually Causes the Problem
Most return air problems trace back to one of three root causes.
Undersized return drops. A return drop is the duct section connecting a room or hallway to the main return plenum (the large box feeding air back to the air handler). Builders often install one undersized drop for the whole house, which works fine until rooms get sealed off.
Isolated bedrooms. When bedroom doors close, air has no return pathway back to the system. Pressure builds in the room, the supply vent backflows, and that room becomes uncomfortable — a direct argument for retrofit return ductwork in each bedroom.
Blocked or missing pathways. Finished basements, added walls, and attic conversions frequently cut off the original return air pathway without anyone adding a replacement route.
Step-by-Step Return Duct Installation

Locate and Plan Your System
Start at the air handler or furnace and find the return plenum — the large metal box on the intake side of the unit. Trace existing return ductwork back through the home to identify where pathways end and where gaps exist. Mark every room that lacks a dedicated return air pathway, prioritizing bedrooms and additions farthest from the air handler. Photograph everything before cutting anything.
Cut, Install, and Connect Components
Follow these steps in order:
- Measure the return drop size needed. A standard bedroom typically requires a 14×8-inch or 16×8-inch return grille backed by a duct sized to match — undersizing the duct here is the most common retrofit mistake.
- Mark and cut the opening in the wall, floor, or ceiling using a drywall saw or reciprocating saw. Check for wiring and framing with a stud finder before cutting.
- Connect duct sections from the new opening back to the return plenum using rigid sheet metal duct or UL 181-rated flexible duct. Rigid metal is preferred for long runs.
- Seal every seam with water-based mastic sealant or foil-backed UL 181 tape — never standard cloth duct tape, which fails within a few years.
- Insulate return ducts that run through unconditioned spaces like attics to prevent condensation and heat gain.
Common Retrofit Scenarios
Bedroom return drop. Run a dedicated duct from the bedroom wall cavity down to the return plenum. This directly solves the isolated room pressure problem.
Door transfer grille. Cut a grille into the wall above or beside the door, connecting two wall cavities as a passive air return pathway — a faster option when running full ductwork isn’t feasible.
Canned return air installation. In tight wall cavities, a pre-fabricated canned return unit mounts between studs and connects directly to flexible duct, requiring no custom sheet metal work.
Sizing and Code Compliance
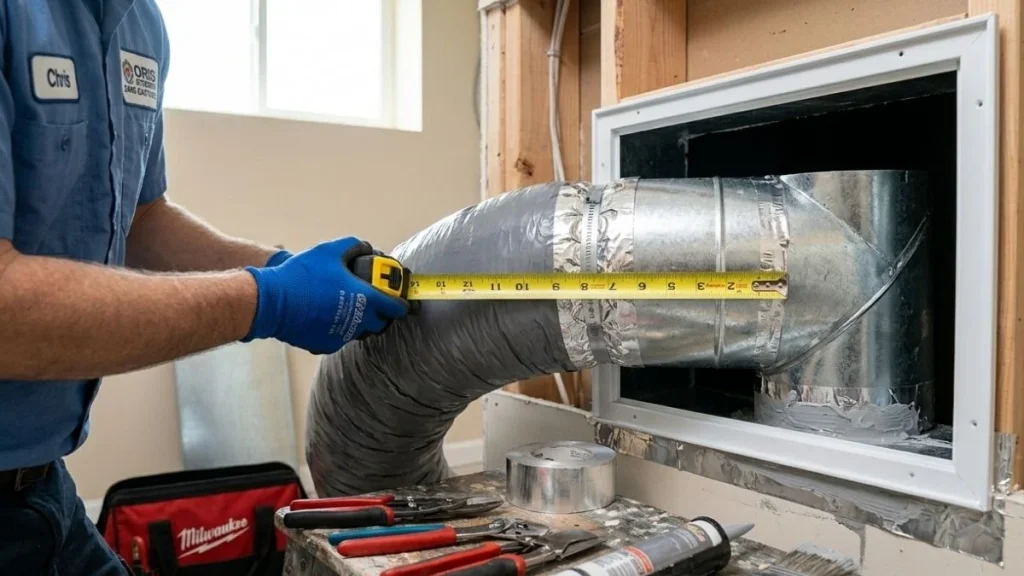
Guessing on return duct size is how most DIY retrofits fail. An undersized return drop creates high static pressure, which forces the blower motor to work harder, shortens equipment life, and still doesn’t fix the comfort problem you started with.
How to Calculate Return Duct Size
Return duct sizing starts with CFM — cubic feet per minute, the volume of air your system moves. A typical residential HVAC system moves 400 CFM per ton of cooling capacity. A 3-ton system moves roughly 1,200 CFM total across all return ducts combined.
Use this formula to find the minimum duct diameter needed: Duct Area (sq in) = CFM ÷ Velocity (FPM) × 144
Target velocity for return air is 600–900 feet per minute (FPM). At 700 FPM, a single bedroom return carrying 100 CFM needs approximately 20.6 square inches of duct area — which corresponds to a 6-inch round duct or a 10×4-inch rectangular duct.
Return grille sizing should run larger than the duct itself, typically 1.5 to 2 times the duct area, to keep face velocity low and prevent the whistling noise that signals an undersized grille.
Code Requirements to Know Before You Cut
According to ACCA Manual D guidelines, return duct systems must be sized to keep total external static pressure at or below the air handler manufacturer’s rated limit — commonly 0.5 inches of water column for residential systems.
The IECC (International Energy Conservation Code) requires all duct joints and seams in new and retrofit installations to be sealed with mastic or code-approved tape. Most jurisdictions also require a permit for new duct additions, though transfer grilles often fall below the permit threshold. Check with your local building department before starting any return air duct installation.
Recommended Read: Return Air Ducts in Wall Cavity
Tools, Materials, and Cost Breakdown
Having the right tools before you start prevents mid-project trips to the hardware store and keeps the installation clean and code-compliant. Most tools for a return air duct retrofit are either already in a homeowner’s kit or inexpensive to rent.
Tools You Need
- Aviation snips (left, right, and straight cut) for trimming sheet metal duct sections to length
- Duct crimper to reduce one end of a round duct section so it fits inside the next piece
- Reciprocating saw or drywall saw for cutting wall and ceiling openings
- Stud finder to locate framing and wiring before any cut
- Tape measure and marker for accurate layout
- Mastic brush or disposable gloves for applying sealant to duct joints
Materials and What They Cost
| Material | Typical Cost |
|---|---|
| 6-inch rigid round duct (per 5-ft section) | $8–$14 |
| Flexible duct 6-inch (per 25-ft roll) | $30–$50 |
| Return grille 14×8-inch | $10–$20 |
| Water-based mastic sealant (1 quart) | $12–$18 |
| Foil-backed UL 181 tape | $10–$15 |
| Duct insulation wrap (per linear foot) | $1–$3 |
| Canned return air unit | $40–$80 |
A single bedroom return air retrofit typically runs $80–$200 in materials for a DIYer versus $400–$800 when hired out to an HVAC contractor.
When to Hire a Pro Instead
Call a licensed HVAC contractor when the retrofit requires accessing a sealed return plenum, rerouting supply and return trunks, or when your jurisdiction requires inspected permits for ductwork additions. Energy Vanguard and similar building science firms also recommend professional static pressure testing any time you add more than one return drop — a manometer test confirms the system is balanced before you close up walls.
Frequently Asked Questions
Can I add a return vent to existing ductwork without opening the plenum?
Yes. The most practical approach is tapping into an existing return trunk line rather than the plenum itself — cut a collar opening into the trunk, install a take-off fitting, and run a new duct branch to the new grille location. A door transfer grille is even simpler and requires no duct connection at all.
What happens if a return air duct is undersized?
An undersized return raises static pressure throughout the HVAC system, forcing the blower motor to work harder while moving less air. The result is longer run cycles, uneven room temperatures, accelerated wear on the motor, and higher energy bills — all without any fault in the equipment itself.
How do I know if my home needs additional return air ducts?
Hold a lit incense stick or a thin piece of tissue near a closed bedroom door while the HVAC runs. If the smoke or tissue pushes away from the door gap, the room is positively pressurized — meaning supply air is entering but has no return pathway out. That room needs a retrofit return duct or transfer grille.
Ready to Improve Your Home’s Airflow
Most whole-home comfort problems trace back to the return side of the duct system, not the equipment — and adding a properly sized return drop is one of the highest-impact, lowest-cost HVAC improvements a homeowner can make. Start today by walking through your home with the HVAC running, holding a tissue near each closed bedroom door to identify which rooms lack a return air pathway. Those rooms are your first retrofit targets.


