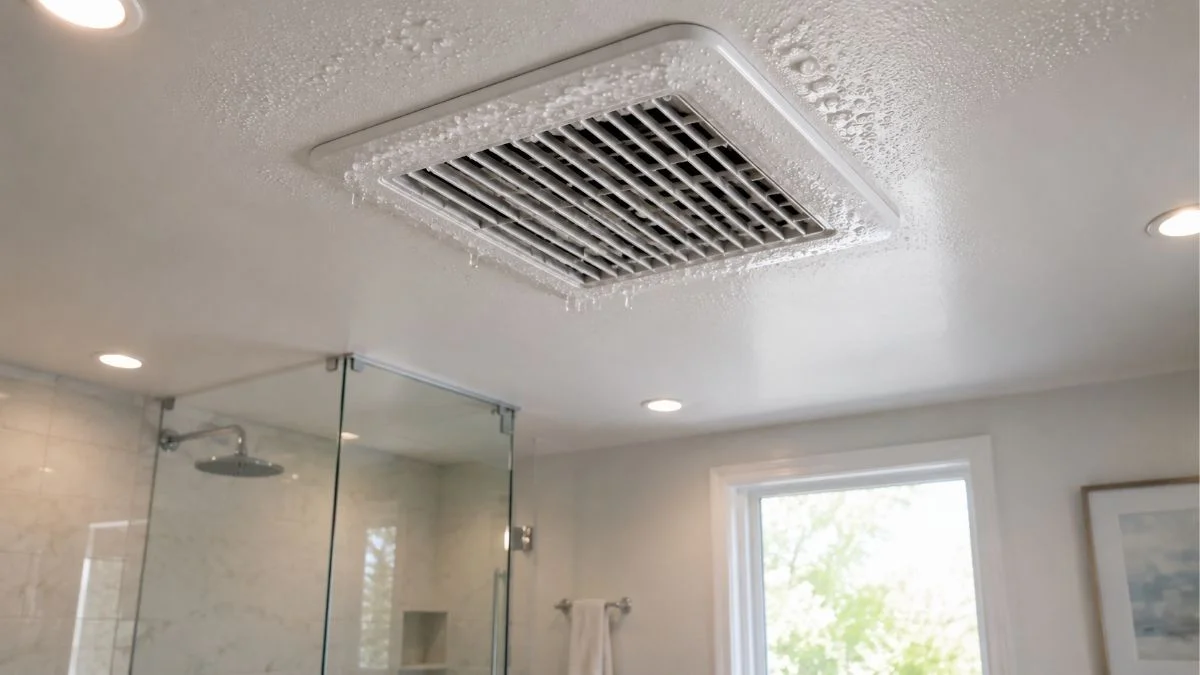
If you’ve noticed water droplets forming around your bathroom AC vent — or even dripping from it — you’re not alone. This is one of the most common HVAC complaints homeowners deal with, especially during hot and humid months. At first glance, it might seem like a minor annoyance. But left unchecked, condensation on an AC vent in the bathroom can lead to mold growth, ceiling damage, and a less efficient cooling system.
The good news? In most cases, this problem is completely fixable — and you don’t always need to call a professional right away. This guide breaks down exactly why this happens, what risks it carries, and how you can fix it step by step.
What Is Condensation on an AC Vent — And Is It Normal?
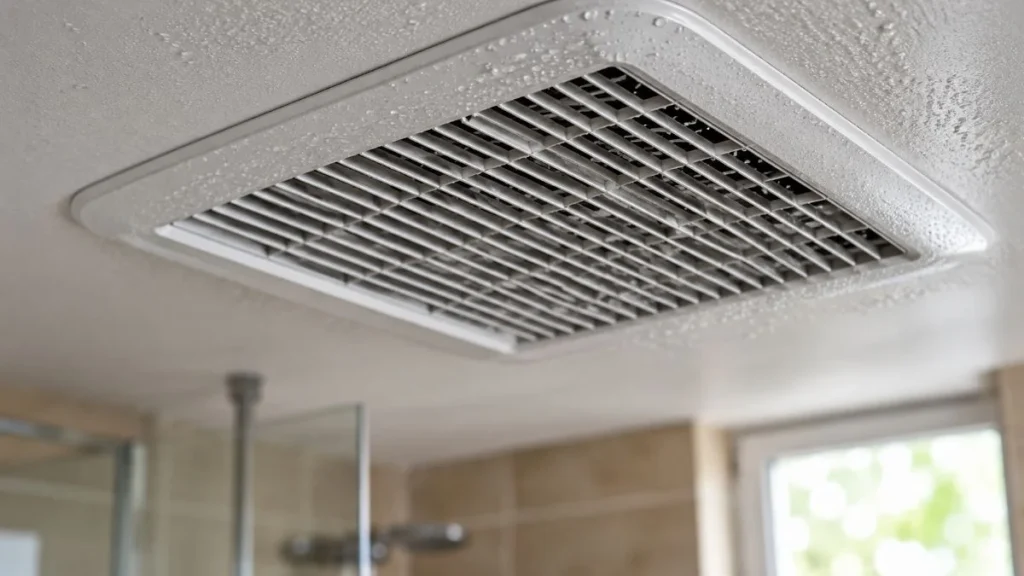
Before jumping to solutions, it helps to understand what’s actually happening. Condensation forms when warm, moist air comes into contact with a cold surface. Think about a cold glass of water on a hot summer day — the outside of the glass gets wet because the warm air around it hits the cold surface and releases moisture. Your bathroom AC vent works the same way.
Cold air travels through your ductwork and exits through the vent. In a bathroom — where steam from showers and baths constantly raises the humidity — the air around the vent is almost always warm and moist. When that humid air touches the cold metal vent surface, moisture forms. That’s condensation.
When Is It Normal vs. a Warning Sign?
A small amount of surface moisture on an AC vent during peak summer humidity isn’t unusual. However, if you’re seeing water actively dripping from the vent, staining forming on your ceiling, or a musty smell developing — that’s your home telling you something needs attention. Seasonal patterns matter too. If condensation only appears during the most humid months and disappears otherwise, the issue is likely manageable. But if it’s a year-round problem, there’s something deeper going on with your ventilation, ductwork, or HVAC system.
Common Causes of Condensation on AC Vents in the Bathroom
Understanding the root cause is the fastest path to a lasting fix. In most homes, condensation on bathroom AC vents comes down to one or more of the following reasons.
High Humidity Levels in the Bathroom
Bathrooms are naturally humid spaces. Every hot shower you take pumps steam into the air, and if that moisture has nowhere to go, it lingers. When humid air meets the cold surface of your AC vent, condensation is the inevitable result. Homes without properly functioning exhaust fans are especially vulnerable to this cycle.
Poor or Insufficient Ductwork Insulation
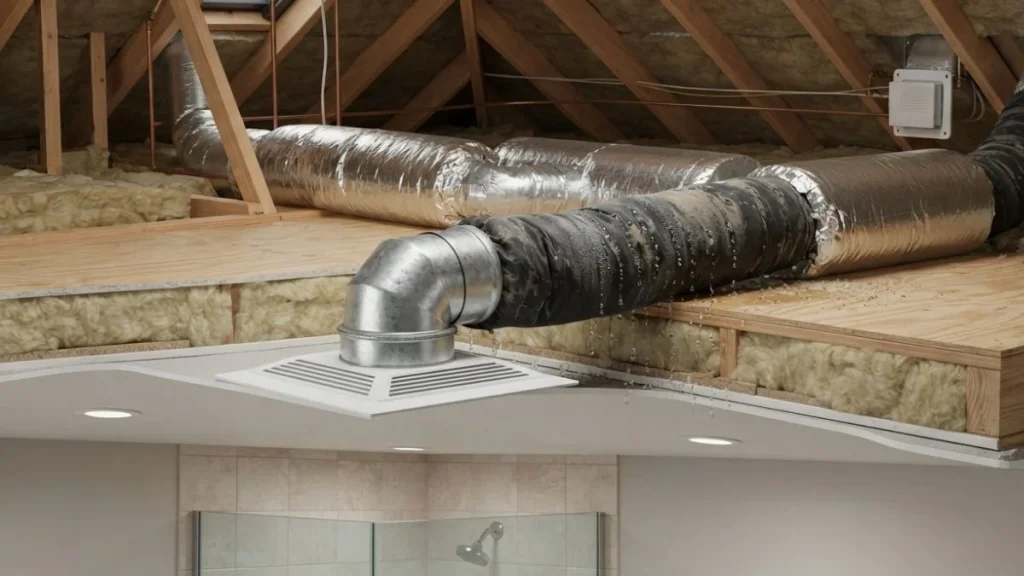
This is one of the most overlooked causes. If the ducts running through your walls, attic, or crawl space aren’t properly insulated, the outside of the duct gets cold while the surrounding air stays warm and humid. The duct itself starts to sweat — and that moisture eventually makes its way to the vent opening.
Oversized AC System
It might seem like a bigger AC unit is always better, but an oversized system actually causes problems. It cools the space too quickly without running long enough to properly dehumidify the air. This short cycling leaves indoor humidity levels higher than they should be — and that excess moisture has to go somewhere.
Clogged or Dirty Air Filters
When your air filter is clogged, airflow through the system is restricted. This causes the evaporator coil to get excessively cold. As a result, the air coming out of your vents is colder than normal — increasing the temperature gap between the vent and the surrounding bathroom air, which makes condensation worse.
Inadequate Bathroom Exhaust Fan
If your bathroom exhaust fan is undersized, broken, or simply not being used long enough, steam from showers has no way to escape. It builds up in the room and eventually settles on every cold surface — including your AC vent.
The Real Risks of Ignoring This Problem
Some homeowners assume a little moisture around a vent is harmless. That assumption can get expensive fast.
Mold and Mildew Growth
Mold thrives in exactly the conditions that condensation creates — a consistently moist, warm surface with poor airflow. Once mold takes hold inside or around an AC vent, it can spread through your ductwork and into the rest of your home. This isn’t just a cosmetic issue. Mold exposure causes respiratory problems, allergic reactions, and is particularly dangerous for children, the elderly, and anyone with asthma.
Water Damage to Ceilings and Walls
When condensation drips repeatedly from an AC vent, the water soaks into the surrounding drywall. Over time, this causes staining, bubbling paint, warped drywall, and even structural damage to ceiling joists. Repairs for water-damaged ceilings can easily run into hundreds or thousands of dollars — all from a problem that started with a sweating vent.
Higher Energy Bills and Reduced HVAC Efficiency
Condensation issues are often a sign that your HVAC system is working harder than it should. Whether it’s a clogged filter, leaky ducts, or an improperly sized unit — all of these inefficiencies translate directly into higher monthly energy costs and a shorter lifespan for your system.
How to Fix Condensation on AC Vent in Bathroom — Step by Step
Here’s where the real value is. These steps are organized from the simplest and cheapest fixes to the more involved solutions.
Step 1 — Improve Your Bathroom Ventilation
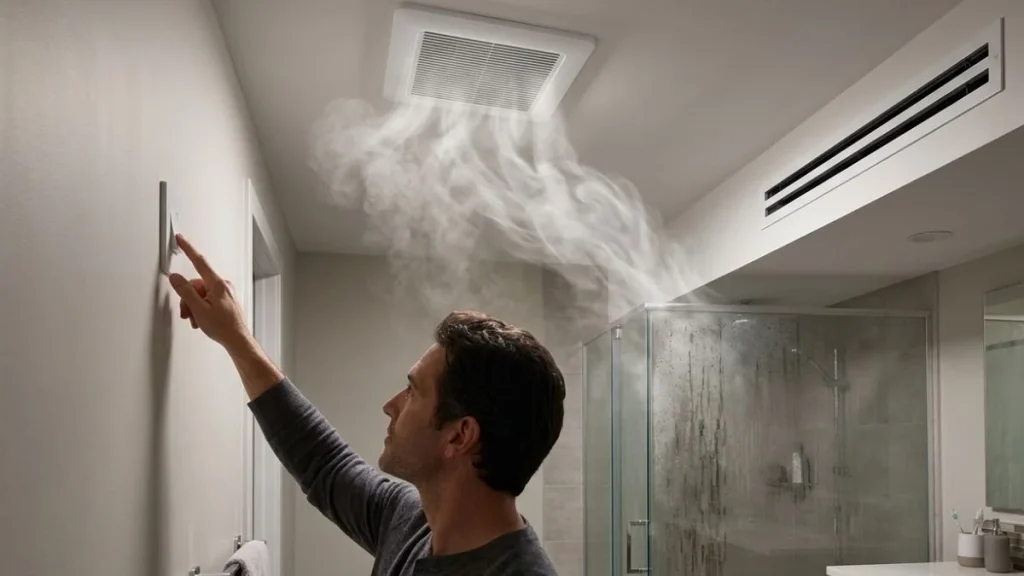
Start here before anything else. Your bathroom exhaust fan is your first line of defense against humidity buildup. To test if your fan is working properly, hold a tissue near the fan grille while it’s running. If the tissue is barely pulled toward the fan, it’s not moving enough air.
The general rule is that your exhaust fan should move at least 1 CFM (cubic feet per minute) of air per square foot of bathroom space. A 60 square foot bathroom needs at least a 60 CFM fan. Many older homes have fans that are far underpowered for the space they serve.
Make it a habit to run your exhaust fan during every shower and for at least 15 to 20 minutes afterward. This single habit can dramatically reduce bathroom humidity and significantly reduce condensation on your AC vent.
Step 2 — Insulate Your Ductwork
If the ducts near your bathroom aren’t insulated, this step can make an immediate difference. Duct wrap insulation — available at most hardware stores — is an affordable DIY solution. It works by creating a thermal barrier between the cold duct surface and the warm surrounding air, preventing the duct from sweating.
| Duct Insulation Type | Best For | Approximate Cost |
| Fiberglass Duct Wrap | Standard ducts in attics/crawlspaces | $0.50 – $1.00 per linear ft |
| Foam Pipe Insulation | Smaller round ducts | $1.00 – $2.00 per linear ft |
| Reflective Foil Insulation | High-heat attic environments | $0.75 – $1.50 per linear ft |
If ducts run through unconditioned spaces like an attic, professional insulation is worth the investment.
Step 3 — Clean or Replace Your Air Filter
This is the easiest fix on the list. Pull out your air filter and hold it up to a light source. If you can’t see light through it, it’s time for a replacement. For humid climates and homes with pets or allergy sufferers, changing your filter every 30 to 60 days is recommended. Choose a filter with a MERV rating between 8 and 11 — high enough to capture particles effectively without over-restricting airflow.
Step 4 — Control Indoor Humidity Levels
Pick up an inexpensive hygrometer (a humidity meter) from any hardware store and check your bathroom’s humidity levels. The ideal indoor humidity range is between 30% and 50%. Anything consistently above 50% in a bathroom is a red flag.
If your bathroom regularly runs above that range even with a functioning exhaust fan, consider adding a portable dehumidifier to the space. For whole-home humidity problems, a whole-house dehumidifier connected to your HVAC system is a more permanent and effective solution.
Step 5 — Seal Duct Leaks
Leaky ducts pull in warm, humid air from unconditioned spaces like attics and crawl spaces and push it into your living areas — adding to the humidity load your AC has to manage. You can seal accessible duct joints yourself using mastic sealant or aluminum foil tape (not regular duct tape, which degrades quickly). For ducts in hard-to-reach areas, professional duct sealing services use pressurized methods that are far more thorough.
Step 6 — Have Your HVAC System Professionally Inspected
If you’ve worked through the steps above and condensation is still a persistent problem, it’s time to bring in an HVAC technician. A professional inspection will evaluate whether your AC unit is properly sized for your home, check refrigerant levels, inspect the evaporator coil, and assess your overall duct system. An improperly sized unit is not something you can fix yourself — it requires professional evaluation and potentially system replacement.
Preventive Measures to Keep Condensation From Coming Back
Fixing the problem once is great. Making sure it doesn’t come back is better.
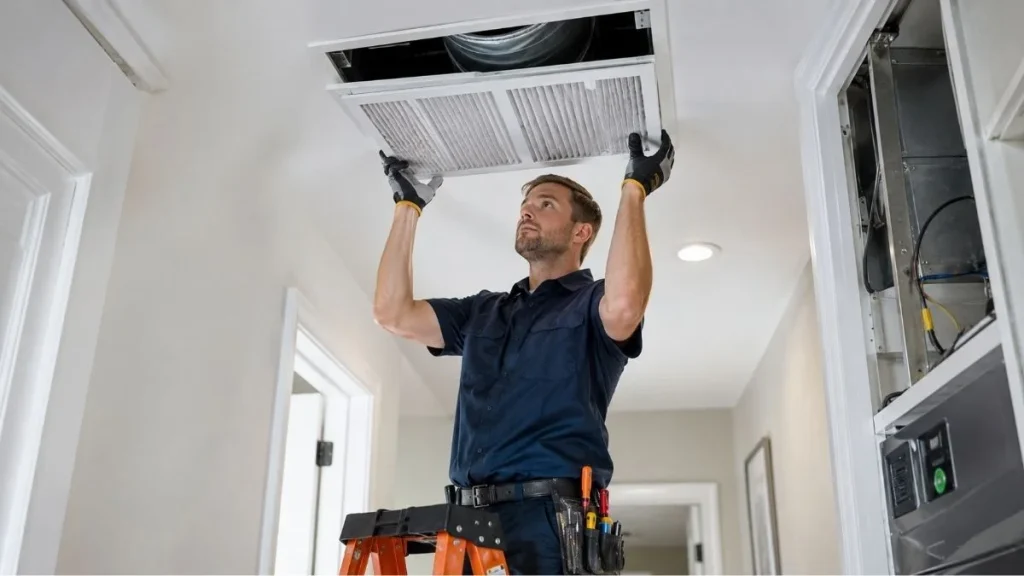
- Schedule annual HVAC maintenance — A yearly tune-up keeps your system running efficiently and catches humidity-related issues before they become visible problems.
- Use a smart thermostat with humidity control — Many modern smart thermostats allow you to set a maximum indoor humidity level. When humidity rises above your set point, the system automatically works to bring it down.
- Consider anti-sweat vent covers — These are insulated vent covers designed specifically to prevent condensation on AC vents. They work by warming the vent surface slightly so it doesn’t drop below the dew point of the surrounding air. They’re especially useful in older homes with high humidity climates.
- Upgrade to insulated flex duct — If your home has older, uninsulated rigid ductwork, upgrading to modern insulated flex duct with a vapor barrier provides long-term protection against condensation throughout your entire system.
When to Call a Professional — Red Flags You Shouldn’t Ignore
Most condensation issues can be resolved with DIY steps, but there are situations where professional help is non-negotiable:
- Water is actively dripping from the vent — not just surface moisture
- You can see or smell mold around or inside the vent
- Condensation is appearing on multiple vents throughout your home, not just the bathroom
- Your energy bills have increased noticeably without a clear reason
- DIY fixes have been tried and the problem keeps returning
In these cases, the underlying cause is likely beyond a filter change or improved ventilation. An HVAC professional can diagnose duct leaks, refrigerant issues, or system sizing problems that simply aren’t visible without the right tools.
You Should Read Also: Return Air Ducts in Wall Cavity
Conclusion
Condensation on an AC vent in the bathroom is frustrating, but it’s rarely a crisis — especially when you catch it early. In most homes, the fix comes down to improving ventilation, insulating ducts, keeping filters clean, and managing indoor humidity. Start with the simplest steps first, work through the list, and you’ll likely solve the problem without spending a lot of money.
If the issue persists after trying these fixes, don’t put off calling an HVAC professional. What starts as a sweating vent can turn into mold damage, ceiling repairs, and a failing AC system if left too long. A small investment in the right fix now will save you a much bigger bill down the road.