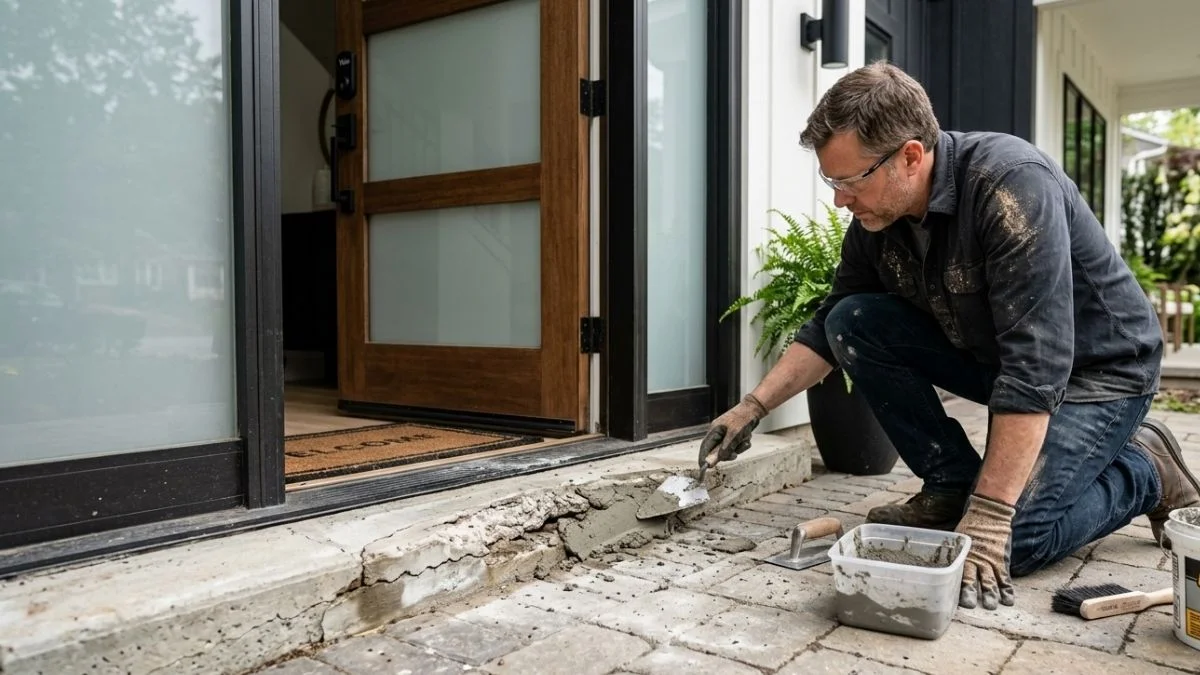
A cracked or crumbling concrete door sill might seem like a minor issue — but ignore it long enough, and you’re looking at water damage, structural problems, and a tripping hazard right at your front door. The good news? Most concrete door sill repairs are well within reach for an average homeowner with basic tools and a free weekend afternoon.
This guide walks you through everything you need to know — from assessing the damage to finishing with a protective seal — so you can fix it right the first time.
What Is a Concrete Door Sill and Why Does It Matter?
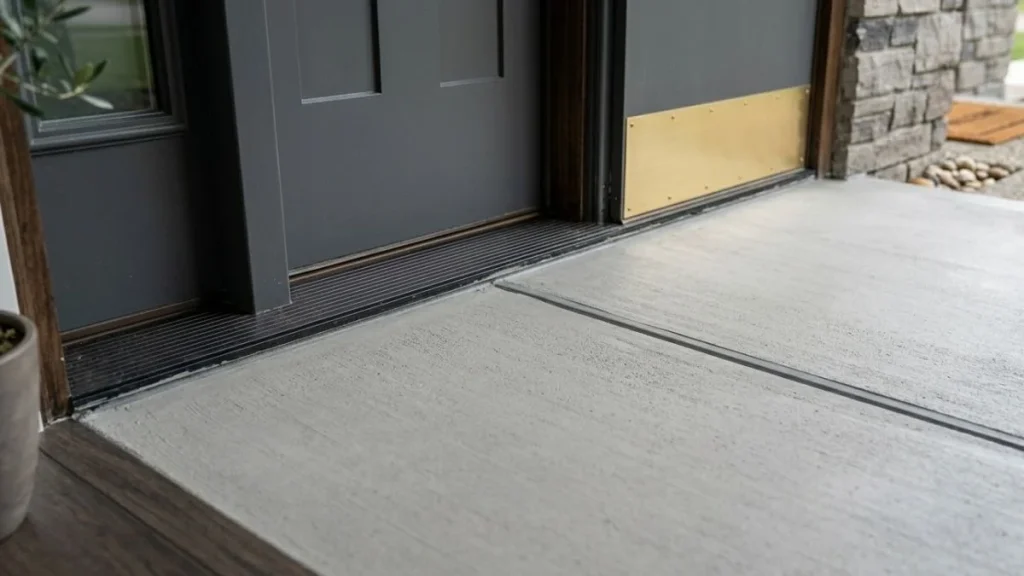
A concrete door sill (also called a door threshold) is the horizontal slab at the base of a door frame. It sits at the transition point between your interior floor and the outside, and it does more than just look structural — it actively protects your home.
Key Functions of a Door Sill
- Seals out rainwater, drafts, and pests from entering under the door
- Provides a stable, level base for the door frame
- Absorbs the impact of daily foot traffic
- Bridges the gap between flooring materials at entry points
When the sill cracks or deteriorates, water finds a way in. Over time, that leads to subfloor damage, mold growth, and foundation issues that cost far more to fix than a simple sill repair.
Why Concrete Door Sills Crack and Deteriorate
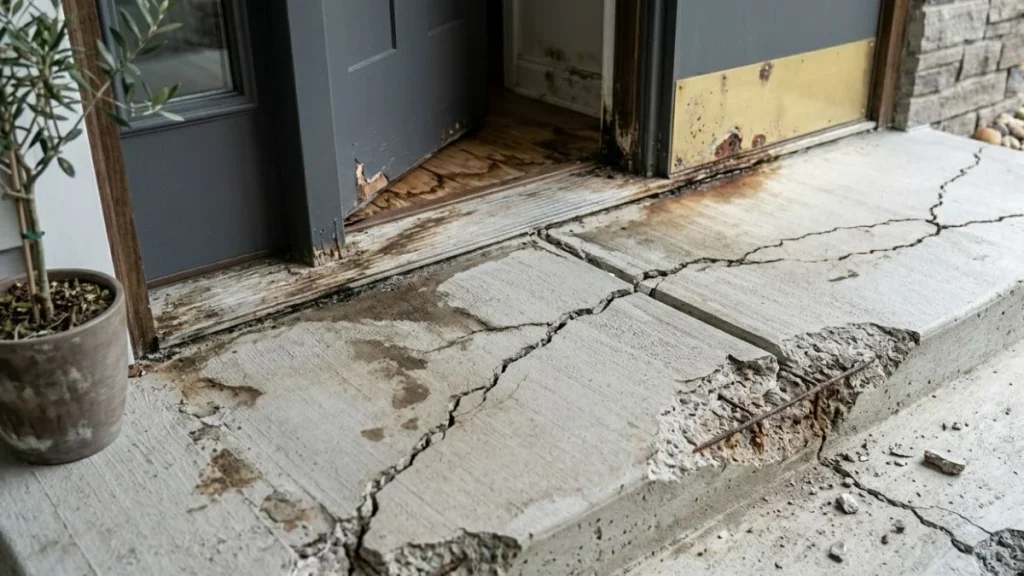
Understanding the cause of the damage helps you choose the right repair method — and prevent it from happening again.
| Cause | How It Damages the Sill |
| Freeze-thaw cycles | Water seeps into tiny pores, freezes, expands, and widens cracks |
| Heavy foot traffic | Daily impact gradually chips and wears down the surface |
| Water pooling | Standing water accelerates surface erosion and weakens the concrete |
| Poor original mix | Low-quality concrete breaks down faster under normal conditions |
| Age | Even well-made concrete deteriorates over 20–30+ years |
| Salt and de-icers | Rock salt corrodes the concrete surface, causing spalling |
How to Assess the Damage Before You Start
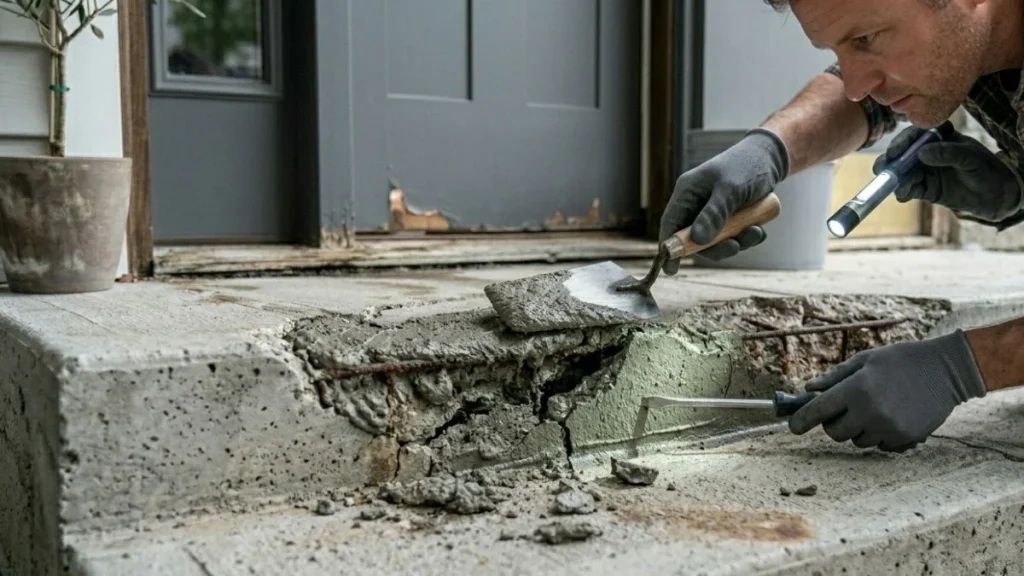
Never jump straight into repairs without a proper assessment. The type and severity of damage determines which products you’ll use and how involved the repair will be.
Signs That Your Concrete Door Sill Needs Repair
- Hairline cracks running across the surface
- Spalling — flaking or chipping of the top concrete layer
- Crumbling edges that break away easily
- Sunken or uneven surface that causes the door to stick or drag
- Water seeping under the door after rain
- Hollow sound when you tap the sill with a screwdriver handle
DIY Repair vs. Professional Replacement
Use this quick guide to decide:
| Damage Type | Recommended Action |
| Hairline surface cracks | DIY repair — crack filler or epoxy |
| Minor chipping and spalling | DIY repair — vinyl concrete patcher |
| Larger broken sections | DIY repair — concrete repair mortar |
| Deep structural cracks | Consider a professional assessment |
| Full sill collapse or severe undermining | Professional replacement |
Rule of thumb: If the concrete feels hollow in multiple spots, shifts when you press it, or the damage extends below the surface level, call a licensed mason before attempting a DIY fix.
Tools and Materials You’ll Need
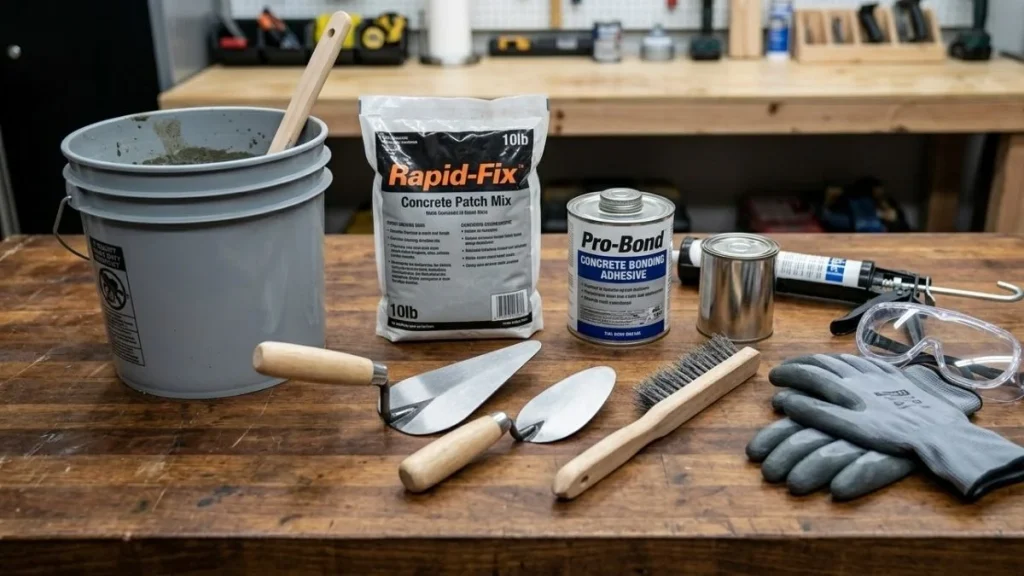
Getting everything together before you start saves time and prevents the repair from drying out mid-job.
Tools
- Cold chisel and hammer
- Wire brush or stiff bristle brush
- Angle grinder (for larger damaged areas)
- Margin trowel and finishing trowel
- Mixing bucket and paddle
- Shop vacuum or brush
- Safety goggles, work gloves, and dust mask
Materials — Choosing the Right Product
| Damage Type | Best Repair Product |
| Hairline cracks | Polyurethane or epoxy crack filler |
| Surface chipping / spalling | Vinyl concrete patcher |
| Larger voids or broken sections | Pre-mixed concrete repair mortar |
| Active water infiltration | Hydraulic cement |
| Gap between sill and door frame | Polyurethane caulk |
| Final protection | Concrete penetrating sealer |
Don’t skip the bonding adhesive. This is the product most homeowners overlook, and it’s often the reason DIY patches fail within a year. Bonding adhesive acts as the glue between your old concrete and the new patch material.
How to Repair a Concrete Door Sill — Step-by-Step
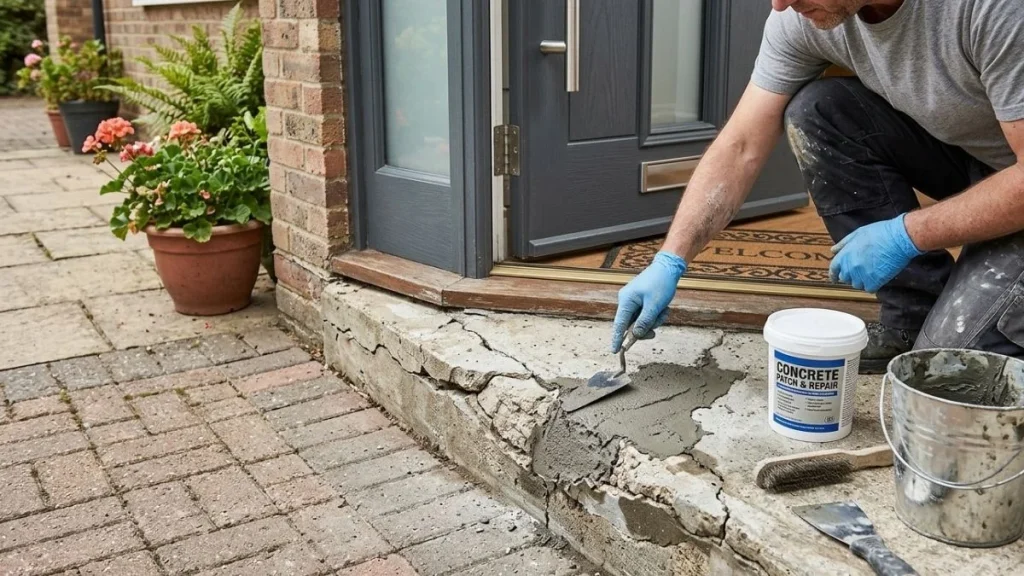
Prepare and Clean the Damaged Area
This is the most important step. A patch applied to a dusty, loose, or wet surface will fail — no matter how good the product is.
- Use a cold chisel and hammer to chip away all loose, crumbling, or hollow concrete
- Undercut the edges of the damaged area slightly (angle the chisel inward) so the patch has a lip to grip onto
- Scrub the entire repair area with a stiff wire brush
- Vacuum out all dust, debris, and fragments
- Rinse with clean water and allow the surface to dry — damp is fine, but not soaking wet
Pro Tip: The undercut is key. A flat-edged repair patch will eventually pop off. An undercut edge locks the patch in place mechanically.
Apply Concrete Bonding Adhesive
- Brush a thin, even layer of concrete bonding adhesive over the entire repair area, including the edges
- Let it sit until it becomes tacky — typically 20 to 30 minutes (check your product label)
- Don’t let it dry completely or it loses its bonding strength
This step dramatically improves patch adhesion and extends the life of your repair.
Mix Your Patching Compound
- Follow the manufacturer’s water-to-powder ratio exactly
- Mix to a consistency similar to thick peanut butter — firm enough to hold shape but workable
- Only mix what you can use within 15–20 minutes, as most products begin to set quickly
- Avoid adding extra water to make mixing easier — this weakens the finished patch significantly
Fill and Pack the Damaged Area
- Press the patching compound firmly into cracks and voids using a margin trowel
- Work the material in to eliminate air pockets, which create weak spots
- Slightly overfill the repair area to account for shrinkage as the material cures
- For deep repairs (more than ¾ inch): apply in layers, letting each layer firm up before adding the next — don’t try to fill deep voids in one application
Smooth and Shape the Surface
- Use a finishing trowel to level the patch flush with the surrounding sill
- Blend the edges carefully so there’s no visible raised lip or ridge
- Match the existing surface texture — if the original sill has a brushed finish, lightly drag a damp brush across the patch before it fully sets
- Use a damp sponge to feather the edges for a cleaner, more seamless appearance
Cure the Repair Properly
Rushing the cure is one of the most common mistakes homeowners make. The patch may look solid in a few hours, but it’s still chemically hardening underneath.
| Curing Guideline | Detail |
| Keep surface moist | Mist with water or cover with a damp cloth for the first 24–48 hours |
| Foot traffic | Avoid for at least 24 hours |
| Full cure time | 24–72 hours depending on product and conditions |
| Temperature | Do not repair below 40°F (4°C) or in direct hot sunlight above 90°F |
| Rain exposure | Cover with plastic sheeting if rain is expected in the first 24 hours |
Slow, moist curing produces a stronger, more durable repair than fast drying.
Seal the Repaired Concrete Door Sill
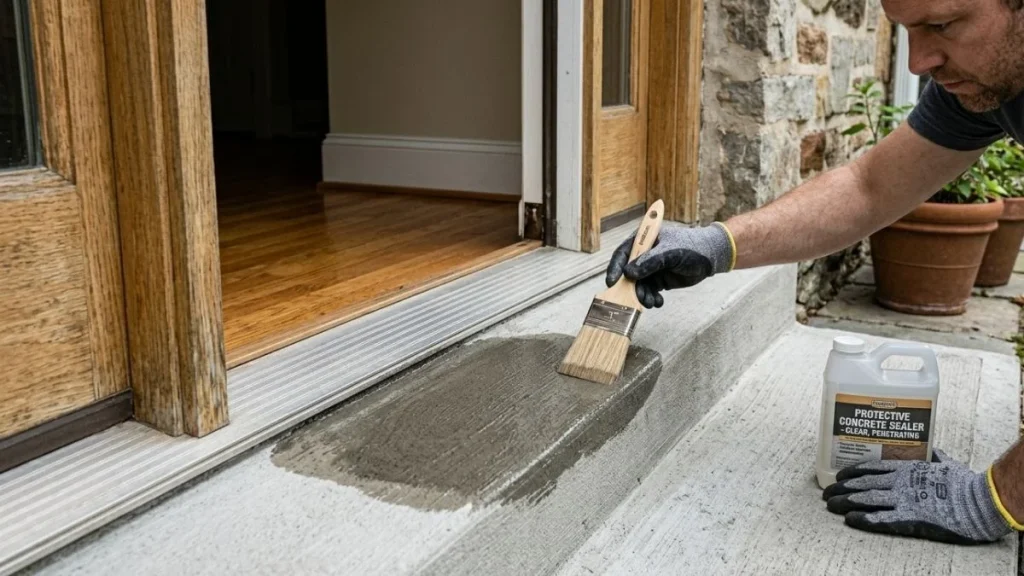
Once the patch is fully cured, apply a concrete penetrating sealer over the entire sill — not just the patched area.
- Use a brush or small roller for even coverage
- Apply two thin coats rather than one heavy coat
- Allow the first coat to absorb fully before applying the second
- Keep foot traffic off for 4–6 hours after sealing
Sealing protects the repair from water infiltration, freeze-thaw damage, and everyday wear. It also gives the sill a uniform, clean appearance.
Reseal every 1 to 3 years as part of your regular home maintenance routine.
Common Mistakes to Avoid
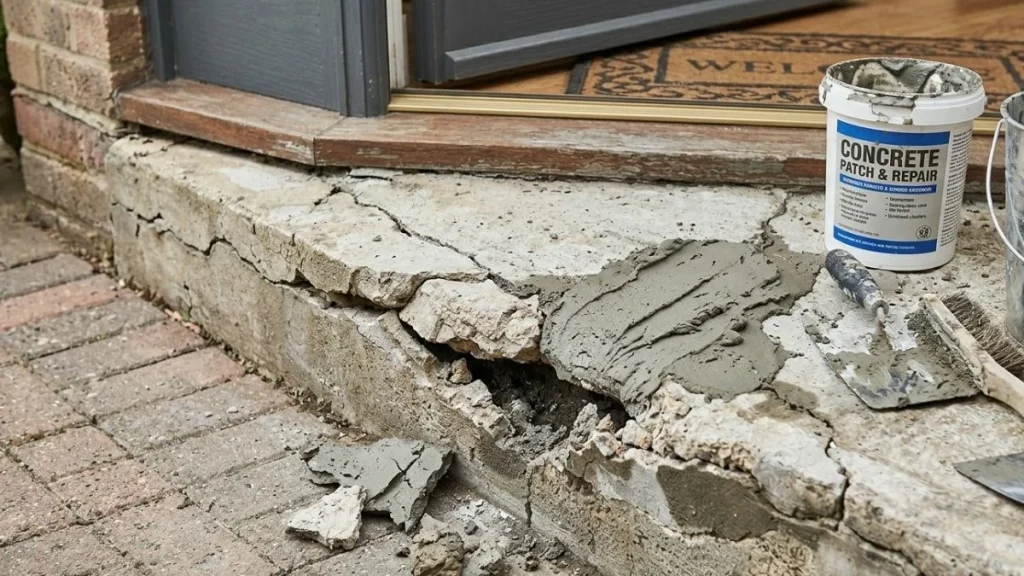
Even experienced DIYers make these errors. Knowing them upfront will save you from redoing the job.
- Skipping surface prep — loose debris prevents the patch from bonding properly
- Not undercutting the edges — flat edges cause patches to pop off over time
- Using the wrong product — a flexible crack filler won’t hold up in a structural void
- Watering down the mix — extra water weakens concrete significantly
- Rushing the cure — walking on it too soon causes cracking and surface damage
- Forgetting to seal — an unsealed patch absorbs moisture and breaks down faster
How Much Does Concrete Door Sill Repair Cost?
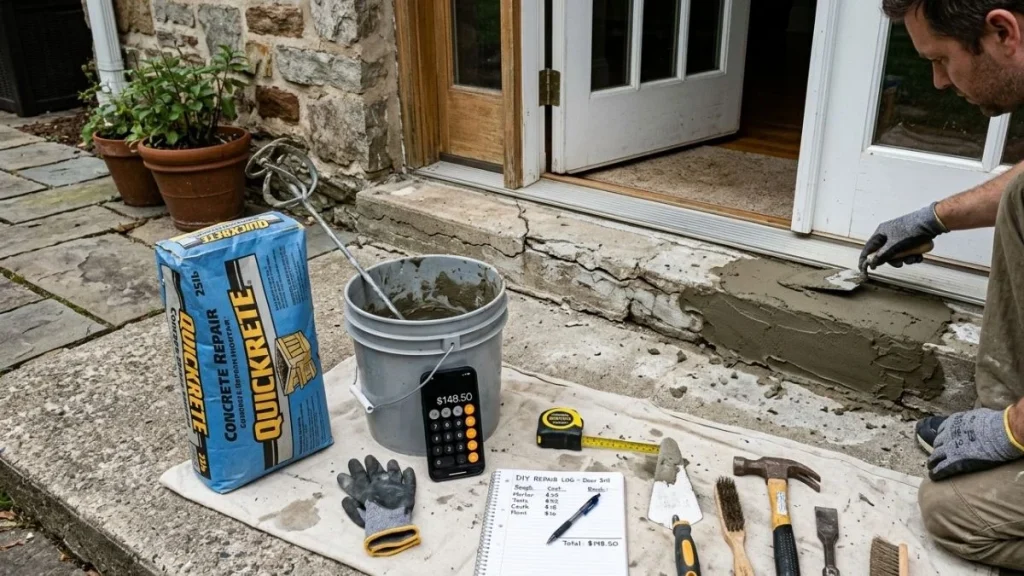
DIY Cost Breakdown
| Item | Estimated Cost |
| Vinyl concrete patcher or repair mortar | $10 – $30 |
| Concrete bonding adhesive | $8 – $20 |
| Polyurethane caulk | $5 – $12 |
| Concrete penetrating sealer | $15 – $40 |
| Basic tools (if not already owned) | $30 – $80 |
| Total DIY Estimate | $30 – $100 |
Professional Repair Cost
| Repair Type | Estimated Cost |
| Minor crack filling | $100 – $250 |
| Moderate surface repair | $250 – $500 |
| Full sill replacement (mason) | $500 – $1,200+ |
For most homeowners, DIY repair is the smart choice for surface-level and moderate damage. Hire a professional when the damage is structural, the sill is fully collapsed, or water damage has spread to the subfloor or frame.
How to Prevent Concrete Door Sill Damage in the Future
A little maintenance goes a long way. These habits will keep your concrete door sill in good shape for years:
- Seal annually or biannually — a penetrating concrete sealer is your best defense against moisture
- Fix drainage issues — make sure water flows away from your doorway, not toward it
- Replace worn weatherstripping — a failed door seal allows water to pool directly on the sill
- Use concrete-safe ice melt — avoid rock salt, which corrodes concrete; use calcium magnesium acetate instead
- Inspect every spring and fall — catching hairline cracks early means a 30-minute fix instead of a 3-hour one
- Avoid metal tools near the sill — snow shovels and scrapers chip and gouge concrete edges
You May Also Like: Repairing Concrete Slab After Plumbing
Conclusion
A damaged concrete door sill is never just a cosmetic problem. Left untreated, even a small crack can let in water, weaken your door frame, and create a safety hazard right at your entryway.
The repair process is straightforward — clean the surface properly, use the right patching product, let it cure fully, and finish with a concrete sealer. That’s really all it takes to get a solid, long-lasting result.
Keep these three things in mind going forward:
- Act early — a hairline crack is a 30-minute fix; a crumbling sill is a half-day job
- Always seal after repair — it’s the one step that protects everything else
- Inspect every season — spring and fall checks catch new damage before it spreads
For surface-level damage, DIY is absolutely the way to go. But if the sill feels hollow, shifts under pressure, or water has reached the subfloor — call a professional before the damage spreads further.