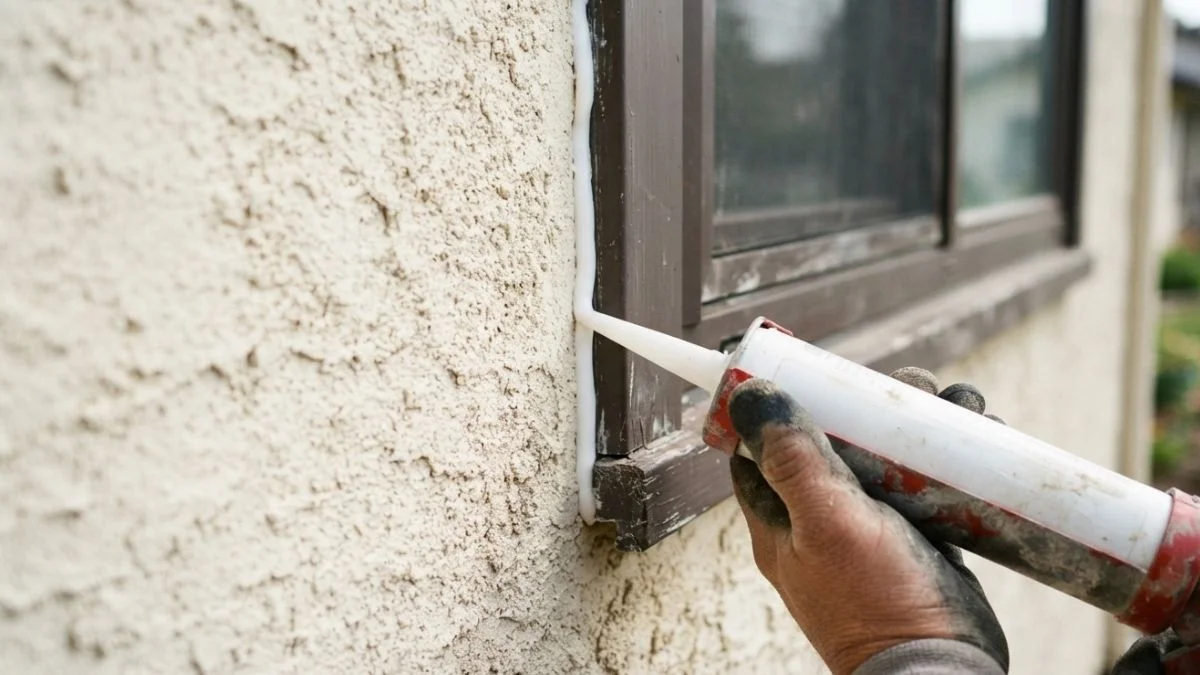
A missing or failed caulk joint between stucco and a window frame is one of the most common entry points for water damage in homes — and caulking stucco around windows correctly is what stands between a dry wall cavity and thousands of dollars in rot, mold, and structural repair.
Most homeowners don’t know whether caulking is even necessary, which product actually bonds to stucco, or how to apply it so it lasts more than a single season.
This guide gives you a clear, practical answer to all three questions — the right caulk materials, the exact application method, and the specific situations where caulking prevents water infiltration and where it doesn’t.
The Caulking Controversy: When to Seal and When to Skip
Caulking stucco around windows is not always the right move. Applied incorrectly, sealant can trap moisture inside the wall cavity instead of blocking it — turning a weatherproofing attempt into a rot accelerator.
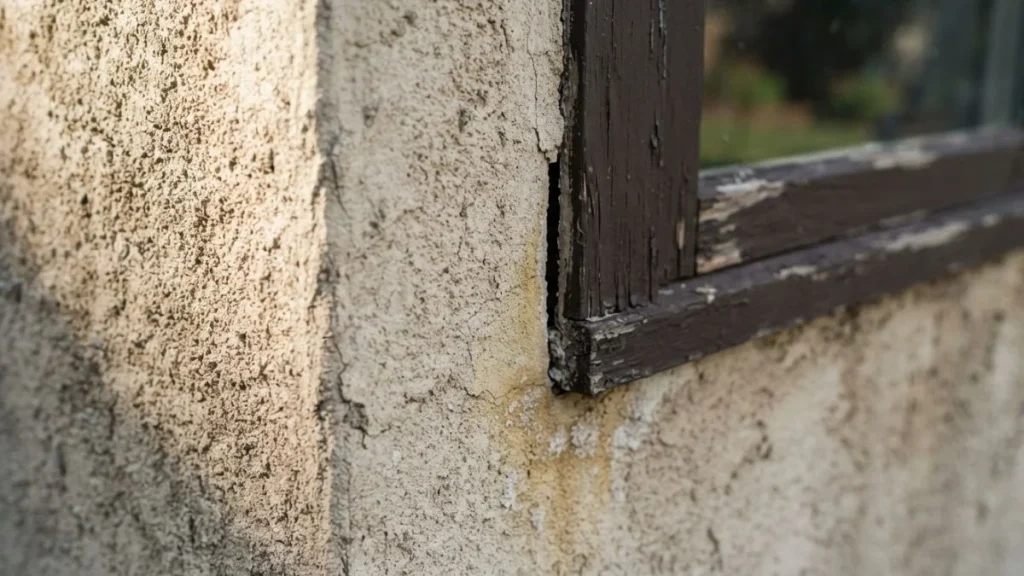
When Caulking Helps vs. When It Hurts
Stucco is a drainage-based cladding system. Water that gets behind the stucco finish is designed to weep out at the base through drainage channels and weep screeds. If you seal every gap at the window perimeter, including the bottom, you can block that drainage path. The rule used to follow: seal the top and sides of the window frame, leave the bottom unsealed or install a weep screed, and let gravity do the drainage work.
Caulking helps when there is a visible gap between the window frame and the stucco edge, when water staining appears on interior drywall near the window corners, or when you can feel a draft through the frame junction on a windy day.
Gap Size and Backing Material
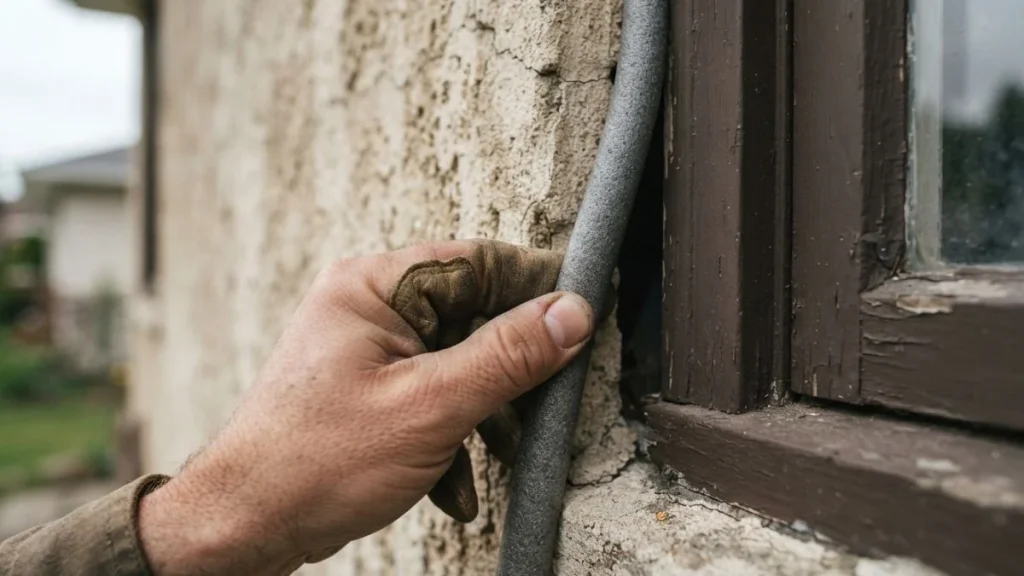
Gap size determines whether caulk alone is enough. For gaps wider than 3/8 inch, caulk will shrink, crack, and fail within one to two seasons. The correct fix is to install a foam backer rod — a compressible foam cylinder — into the gap first, then apply caulk over it. The backer rod gives the sealant a firm backing surface and limits how deep the caulk sinks, which improves adhesion and flexibility.
Where the window frame sits flush against a casing bead with little to no gap, a thin tooled bead of acrylic latex caulk is typically all that’s needed to seal the junction and allow for normal thermal movement.
Choosing the Right Caulk for Stucco Windows
The wrong caulk fails within a season. The right one lasts a decade. Here’s exactly what separates them.
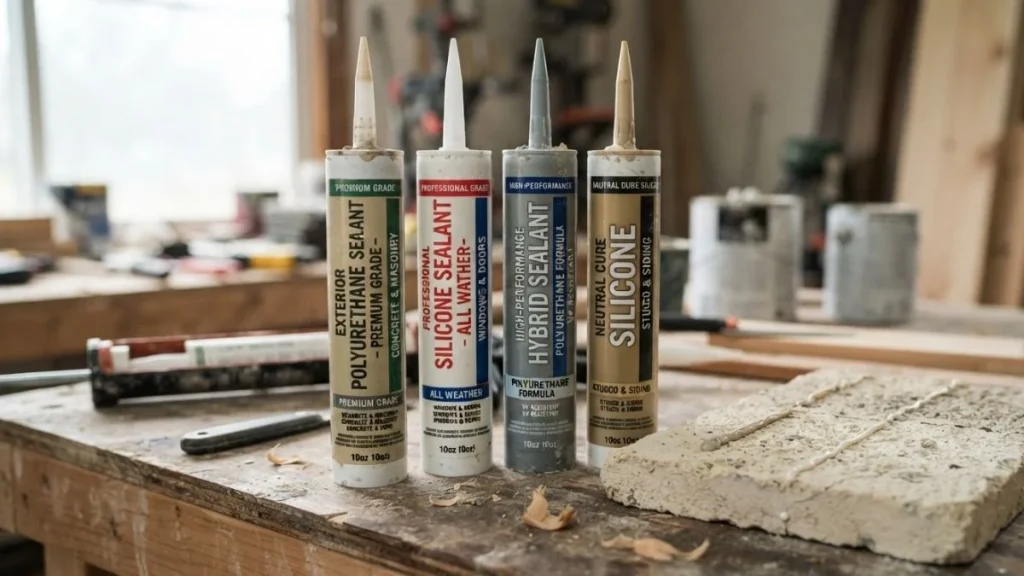
Acrylic-Latex Caulk
Acrylic latex is the most common choice for caulking stucco around windows, and for good reason — it’s affordable, easy to tool, cleans up with water, and accepts paint without adhesion problems. Products like DAP Alex Plus and GE Paintable Latex are widely available and work well where the gap between window frame and stucco is small and consistent.
The limitation is flexibility. Acrylic latex caulk has a typical lifespan of 3 to 5 years on exterior stucco surfaces, and it degrades faster in climates with hard freeze-thaw cycles. The material stiffens in cold, cracks under thermal expansion, and allows water infiltration at the joint within a few seasons.
Polyurethane and Silicone Sealants
Polyurethane caulk — products like Sikaflex 15LM or Tremco Dymonic — offers 10 to 15 years of service life, remains flexible across a wide temperature range, and bonds aggressively to both stucco finish and exterior window trim. It is paintable, which makes it the preferred choice among professional stucco contractors for visible joints.
Silicone sealant matches or exceeds polyurethane in water resistance and UV durability, but it cannot be painted. That makes color matching a real problem on tinted stucco finishes. Use silicone only where aesthetics are secondary and performance is the priority.
Paintable vs. Non-Paintable Trade-offs
Paintable caulk — whether acrylic latex or polyurethane — allows you to match the stucco finish color after curing, which is critical on colored or textured exterior walls. Non-paintable silicone comes in limited colors and will visibly stand out on most stucco surfaces over time as the surrounding finish weathers.
In high-humidity climates, silicone outperforms both alternatives in raw water resistance. In most residential applications, a high-quality paintable polyurethane sealant gives the best balance of weatherproofing performance, curing time flexibility, and finish aesthetics.
Application and Preparation: The Steps That Prevent Failure
Poor preparation causes more caulk failures than poor product choice. A clean, dry, correctly sized joint is what makes sealant last — not the brand name on the tube.
Surface Prep and Gap Sizing
Start by removing all old caulk residue with a stiff putty knife or an oscillating tool fitted with a scraper blade. Loose stucco, dust, and chalky surface material all break the bond between fresh sealant and the substrate — so wire brush the stucco edge and wipe both surfaces with a dry cloth before applying anything.
Measure the gap between the window frame and the stucco edge. The target working gap for caulk is 1/4 to 1/2 inch wide and no deeper than 1/2 inch. For gaps wider than 3/8 inch, press a foam backer rod into the joint until its surface sits roughly 1/4 inch below the stucco face. This controls caulk depth and prevents a three-sided bond, which restricts the sealant’s ability to flex and causes premature cracking.
Moisture testing matters before sealing. Press a piece of plastic sheeting against the stucco around the window frame and tape the edges. Leave it for 24 hours. If condensation forms underneath, the substrate is too wet to seal — caulking over wet stucco traps moisture and guarantees adhesion failure.
Cutting, Applying, and Smoothing
Cut the caulk tube tip at a 45-degree angle to produce a bead width that matches your joint — roughly 1/4 inch for most stucco window applications. Hold the gun at a 45-degree angle to the joint surface and push the gun forward rather than pulling it. Pushing forces the sealant into the joint and reduces voids.
Move at a steady, consistent speed. Slowing down creates bulges; moving too fast leaves gaps and thin spots that allow water infiltration. After laying the bead, smooth it immediately with a wet finger or a damp sponge in one continuous stroke — this is the wet sponge technique, and it produces a concave, tooled finish that sheds water rather than collecting it.
Acrylic latex caulk is typically dry to the touch in 30 to 60 minutes and fully cured in 24 hours. Polyurethane sealants require 24 to 72 hours of cure time depending on temperature and humidity. Do not paint over any caulk until it has fully cured — painting too early traps solvents and causes surface wrinkling.
Inspection, Maintenance, and When to Re-Caulk
Caulk is a consumable, not a permanent fix. Every sealant joint around a stucco window will eventually fail — the only variable is how soon you catch it.
How to Spot Failing Sealant
Walk the exterior perimeter of your home and examine every caulked joint at the window-to-stucco interface. Failing sealant shows 4 reliable warning signs:
- Yellowing or discoloration — UV degradation breaking down the binder
- Surface cracking or alligatoring — the sealant has lost elasticity and can no longer flex with thermal movement
- Gap separation — the caulk has pulled away from either the stucco finish or the exterior window trim, creating an open channel for water infiltration
- Interior water staining — damp patches or paint bubbling near window corners on interior drywall, which indicates active water infiltration behind the wall
Any one of these signs means re-caulking is overdue.
Inspection Frequency and Re-Caulking Timeline
Inspect stucco window seals at minimum once per year — ideally in early spring after freeze-thaw cycles have done their damage, and again in fall before the rainy season. In high-rainfall climates like the Pacific Northwest or Gulf Coast, twice-yearly inspection is standard stucco window seal maintenance practice.
Re-caulking timelines by product type:
| Caulk Type | Expected Lifespan | Re-Caulk Interval |
|---|---|---|
| Acrylic latex | 3–5 years | Every 3–4 years |
| Paintable polyurethane | 10–15 years | Every 8–10 years |
| Silicone | 10–20 years | Every 10–15 years |
The Real Cost of Skipping Maintenance
A tube of quality polyurethane caulk costs $8 to $15. Re-caulking a standard window perimeter takes under an hour. Compare that to the average water damage repair cost — according to HomeAdvisor, water damage remediation runs $1,300 to $5,600 depending on scope, with mold remediation adding another $1,500 to $3,500 on top.
Stucco window seal maintenance is one of the highest-return weatherproofing tasks a homeowner can perform. The math is straightforward.
Recommended: Exterior Window Trim on Stucco
Protect Your Stucco Windows Before Failure Costs More
The sealant joint between your window frame and stucco finish is the single most cost-effective water barrier on your exterior — and it requires a tube of caulk and one hour of work to maintain. This weekend, walk your home’s perimeter, press your finger against every window caulk joint, and replace any bead that feels hard, shows cracking, or has visibly separated from the stucco or frame.
For gaps wider than 3/8 inch, install a foam backer rod first, then apply a paintable polyurethane sealant for a weatherproof seal that will last a decade.