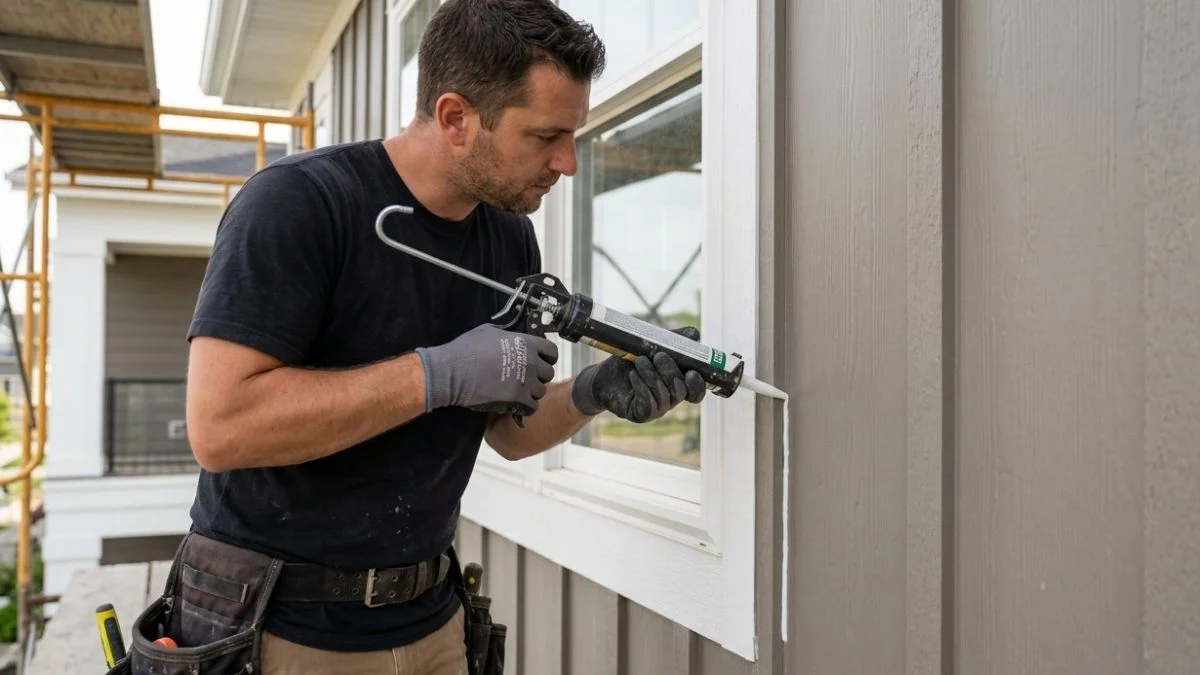
James Hardie’s own installation documentation states that caulking hardie board and batten siding is required in specific locations — yet thousands of installers skip it entirely or apply it in the wrong spots, voiding the product warranty without realizing it.
The core problem is that Hardie’s guidance is spread across multiple technical PDFs, and the official position has shifted over product generations, leaving homeowners and contractors working from outdated or incomplete information.
Read this guide and you will know exactly where caulk is required, which products meet Hardie’s specifications, and how to apply them correctly the first time.
What James Hardie Actually Recommends (And Why Installers Disagree)
Official Hardie Guidance: Trim Only, Not Battens or Field Joints
James Hardie’s installation guide specifies caulking at trim integration points — where siding meets window casings, door frames, corner trim, and other exterior millwork. It does not require caulking batten-to-panel seams or field joints between boards.
The reason is intentional. Board and batten’s vertical profile is engineered for passive water management — rainwater hitting the battens sheds downward and away from the panel face. Sealing those batten gaps with caulk can actually trap moisture behind the joint, which is the opposite of what you want with fiber cement siding.
The Gap Between Spec Sheet and Field Reality
Installers in the Pacific Northwest, Gulf Coast, and other high-moisture climates routinely caulk batten edges anyway — and they are not wrong to do so. Their logic: wind-driven rain doesn’t always follow gravity, and an unsealed vertical seam on a west-facing wall in Seattle takes on water differently than one in Phoenix.
Here’s what most people miss. Hardie prioritizes ventilation and drainage; experienced contractors prioritize water infiltration defense. Both positions reflect legitimate risk assessments for different exposures and climates.
The practical middle ground most seasoned installers land on:
- Caulk all trim-to-siding transitions (required per Hardie spec)
- Caulk butt joints and end cuts exposed to prevailing weather
- Leave batten-to-panel seams open on sheltered or low-moisture elevations
- Use a paintable, color-matching caulk rated for fiber cement on any sealed joint
Hardie’s warranty language does not explicitly penalize extra caulking applied correctly — it penalizes missing caulk at required locations.
Where to Caulk: Systematic Location Breakdown

Trim Transitions (Always Caulk These)
These locations are non-negotiable per Hardie’s installation guide:
- Rake board-to-siding seams along rooflines
- J-channel edges where siding meets window and door frames
- Under soffit and eave intersections where vertical siding terminates
- Corner board terminations at inside and outside corners
Any gap at these trim integration points creates a direct water infiltration path behind the moisture barrier. Caulk every one of them, full stop.
Batten-to-Panel Seams: When It Makes Sense
Climate drives this decision more than any blanket rule.
- Coastal and high-moisture climates: Caulk batten edges. Wind-driven rain pressurizes vertical seams in ways gravity-fed drainage cannot handle alone.
- Dry inland regions: Follow Hardie spec and leave batten gaps open for ventilation and drainage.
- Northern freeze-thaw zones: Seal battens to eliminate ice dam pathways that form when meltwater re-freezes inside unsealed joints.
Butt Joints Between Planks
Hardie does not require caulking horizontal butt joints as a primary seal — back-flashing is the correct first defense for vertical siding water management. That said, caulk butt joints when field conditions expose them directly to prevailing weather or when flashing details are compromised during installation.
The Water Management Layer Underneath
Caulk is a surface seal. It is not a substitute for proper board and batten flashing details and a continuous weather-resistive barrier behind the panels. Flashing stops bulk water entry; caulk handles incidental moisture at seams. An installation that relies on exterior caulking alone — without correct flashing — will fail regardless of how well the caulk is applied.
Selecting the Right Caulk Product
Paintable vs. Non-Paintable: Which Performs Better on Fiber Cement
The choice between paintable and non-paintable caulk comes down to finish priority versus flexibility.
Paintable caulks like OSI Quad Max and Solar Seal 900 accept latex paint cleanly, making them the standard choice when the siding will be painted after installation. The tradeoff is lower elasticity — paintable formulas move less before cracking, which matters in climates with significant temperature swings.
Non-paintable caulks are typically silicone-based and offer superior flex ratings, handling freeze-thaw cycling and thermal expansion better than paintable alternatives. They come pre-tinted to match common siding colors, which is the better route when color matching Hardie siding is the priority and no paint topcoat is planned.
Key Product Criteria for Hardie Board Applications
Not every exterior caulk adheres reliably to fiber cement. Evaluate any product against these 4 criteria before using it on a Hardie installation:
- Elasticity: Minimum 25% elongation rating for freeze-thaw zones
- Adhesion to fiber cement: Confirmed on product data sheet, not assumed
- UV resistance: 5-year minimum; 10-year rated products are worth the price premium
- Paintability: Required if a paint topcoat follows installation
OSI Quad Max, Solar Seal 900, and NP1 Polyurethane are three products with documented performance on fiber cement siding across varied climates.
Color Matching and Finish Consistency
Pre-tinted caulk tubes matched to James Hardie’s ColorPlus palette are available through most siding distributors. Custom color mixing at a paint counter is not recommended — mixed pigments rarely survive UV exposure without fading unevenly against the panel face.
When painting over caulk, prime the bead first with a latex bonding primer. Skipping the primer step is the most common reason paint peels at caulked seams within 2 to 3 years of installation.
Installation Execution and Common Failures
Surface Prep Before Caulking
Bad prep is the leading cause of premature caulk failure on fiber cement siding — not product quality, not technique.

Before applying any caulk to Hardie board and batten seams, complete these steps in order:
- Remove all dust, debris, and old caulk residue from the joint using a stiff brush or oscillating tool
- Wipe the joint faces with a dry cloth to confirm no surface contamination remains
- Wait a minimum of 48 hours after rainfall before caulking — fiber cement absorbs surface moisture that prevents proper adhesion
- Insert closed-cell backer rod foam into any joint wider than ½ inch to prevent the caulk bead from migrating too deep and losing its surface bond
Skipping the backer rod on wide joints is a common installer mistake. Caulk needs a shallow, consistent depth to cure correctly and flex without tearing.
Application Technique Essentials
A standard ¼-inch bead covers most trim integration points and batten edges on a Hardie installation. Wider butt joints or gap conditions may require up to a ⅜-inch bead — but bigger is not better. Oversized beads skin over before the interior cures, trapping uncured product underneath.
Apply caulk in a single continuous pass, then tool immediately with a dampened finger or a caulk finishing tool. Tooling presses the bead into the joint faces for mechanical adhesion and produces the smooth, paintable surface required for color matching caulk on Hardie panels.
Timing matters at both ends. Apply caulk after priming but before the finish paint coat. Always observe the manufacturer’s full cure window — OSI Quad Max, for example, requires 24 hours before painting in normal conditions — before applying any topcoat.
You May Read Also: Hardie Siding Over Concrete Block
Get the Caulking Right From Day One
The single most important rule for caulking Hardie board and batten siding is this: always caulk required trim transitions, then let your climate determine everything else. Pull James Hardie’s current installation guide PDF directly from JamesHardie.com, cross-reference the trim caulking requirements against your specific regional exposure, and build your caulk location checklist before the first panel goes up — not after.