
Most major LVP manufacturers, including Shaw and Armstrong, require a subfloor tolerance of no more than 3/16 inch over a 10-foot span — and knowing how to level floor for LVP to that spec is what separates a lasting install from one that fails in months.
The real problem is that most DIYers don’t know where to start: which tools to use, how bad “bad” actually is, or whether their subfloor needs a simple fix or professional intervention.
This guide gives you exact tolerance thresholds, the right tools for each subfloor type, and clear steps from diagnosis to finished surface.
Why LVP Leveling Matters
LVP is a rigid or semi-rigid product. Unlike carpet or sheet vinyl, it cannot conform to dips and bumps beneath it — so any unevenness in the subfloor transfers directly to the finished floor surface.
“Level” vs “Flat” — These Are Not the Same Thing
This distinction trips up nearly every first-time installer. A floor that is level is horizontally even relative to gravity — think a perfectly balanced tabletop. A floor that is flat has no localized dips, humps, or high spots between two nearby points. LVP installation requires flatness, not necessarily perfect levelness. A floor can slope gently across a room and still accept LVP fine, as long as there are no abrupt peaks or valleys within any 10-foot span.
The 3/16-Inch Flatness Standard
The benchmark for vinyl plank flooring tolerance requirements is 3/16 inch per 10-foot span, with no more than 1/8 inch per 6-foot span. Shaw, Armstrong, and Mohawk all publish this spec in their installation guides. Exceed it, and you void the warranty — full stop.
High spots cause planks to rock, creating stress at the locking joints. Low spots leave planks unsupported, which leads to flex, clicking sounds underfoot, and eventually joint separation. Both failure modes accelerate wear and shorten the floor’s lifespan significantly.
Why Subfloor Preparation Determines Installation Readiness
No amount of quality LVP compensates for a poorly prepared substrate. Skipping proper subfloor preparation for vinyl plank is the single most common reason DIY installations fail within the first two years. Addressing high spots and low spots before laying a single plank is not optional — it is the job.
Detecting High and Low Spots: Tools and Methods
Before touching a bag of leveling compound or a sander, you need a complete map of your subfloor’s problem areas. Guessing wastes material and time.
The 10-Foot Straightedge Method
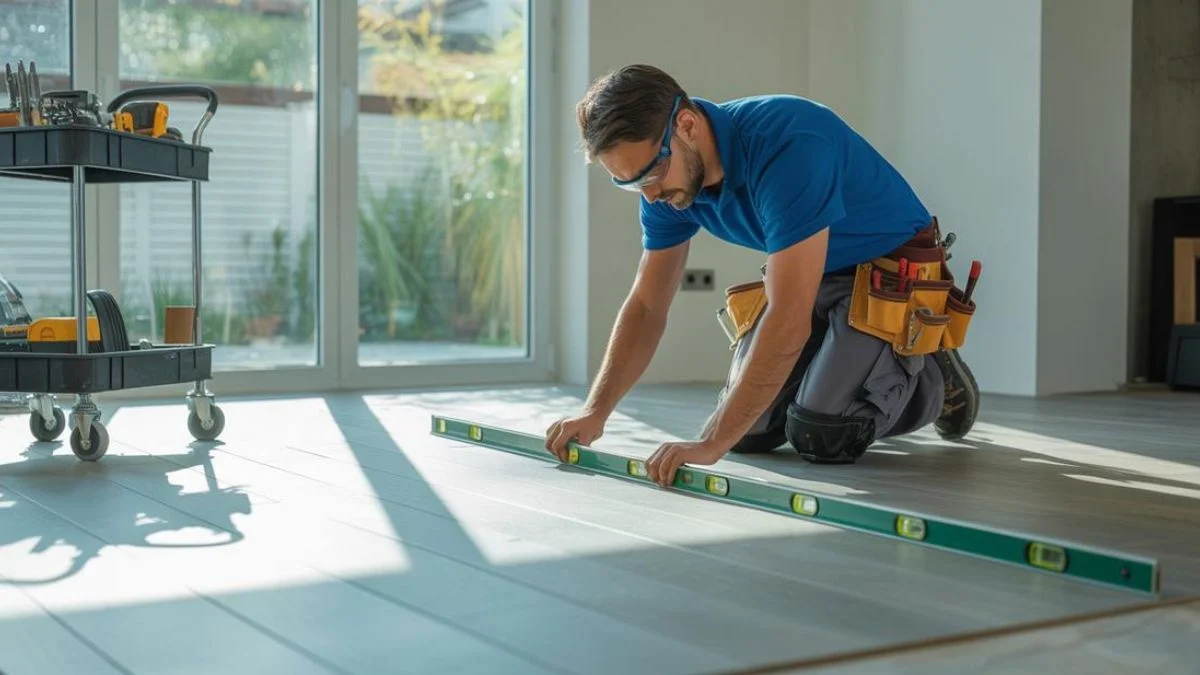
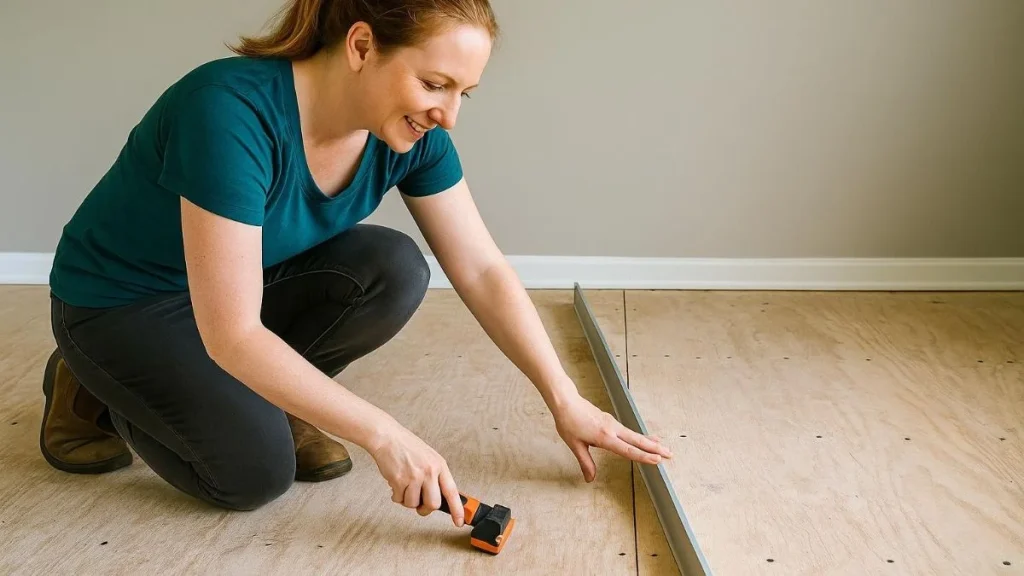
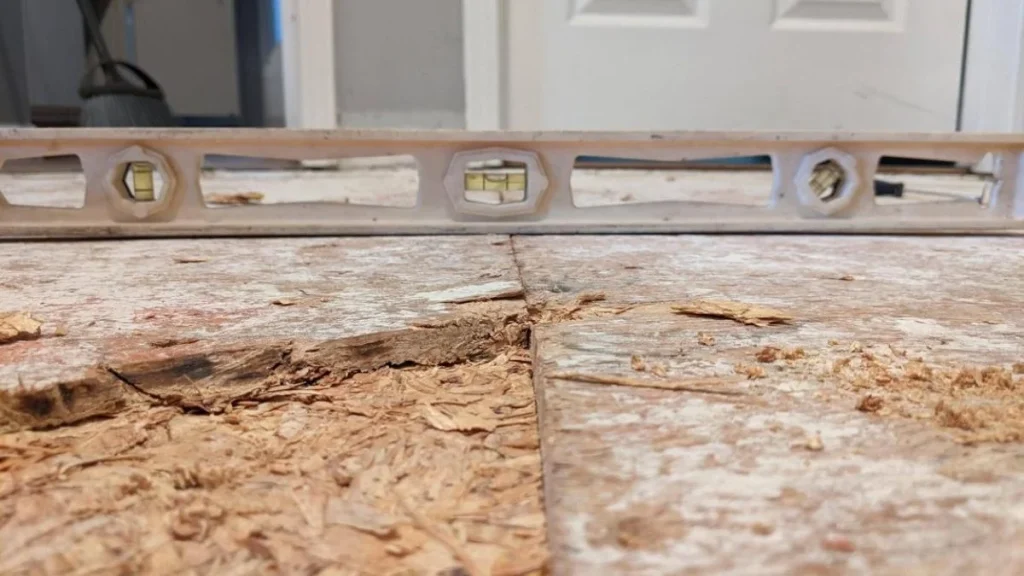
This is the industry-standard floor assessment technique and the most reliable way to check if a floor is level enough for LVP. Use a 10-foot aluminum straightedge or a long level laid flat against the subfloor — not on its edge. Drag it slowly across the entire surface in multiple directions: parallel to the walls, perpendicular, and diagonally. Wherever light shows beneath the straightedge, you have a low spot. Wherever the straightedge rocks, you have a high spot. Mark every problem area with a pencil or chalk so nothing gets missed.
Laser Level vs Standard Level for Flooring
A laser level projects a reference line across the room, making it easier to measure the depth of low spots precisely with a tape measure or ruler. It is the better tool for large rooms or severely uneven subfloors where multiple low spots need quantifying. A standard 4-foot or 10-foot level works perfectly well for smaller rooms or when you simply need to confirm flatness standards are met in a specific zone. For most DIY floor assessments, a 10-foot straightedge alone is sufficient.
The Quarter Test
The quarter test is a quick secondary check, not a replacement for straightedge testing. Place a quarter on its edge on the subfloor. If it wobbles or falls without help, that area likely exceeds the 3/16-inch tolerance threshold and needs attention before installation readiness can be confirmed.
When to Layer Your Testing Approach
Use the straightedge first to identify and mark all high spots and low spots. Then use a laser level to measure the depth of any low spots that look significant — anything approaching or exceeding 3/16 inch needs leveling compound. The quarter test works as a final sanity check after repairs are complete.
Step-by-Step Leveling Process
Substrate preparation has a fixed sequence. Skipping steps or reversing the order creates problems that compound — literally and figuratively.
Subfloor Prep and Old Flooring Removal
Strip the subfloor down to bare wood or concrete before assessing anything. Adhesive residue from old tile or sheet vinyl must be scraped or chemically removed — leveling compound will not bond properly over it. Once the surface is clean, conduct a moisture test using a pin-type moisture meter. Wood subfloors should read below 14% moisture content; concrete should test below 75% relative humidity using an in-slab probe. Elevated moisture will cause leveling compound to fail and can trap water beneath LVP, leading to mold.
Applying Self-Leveling Compound
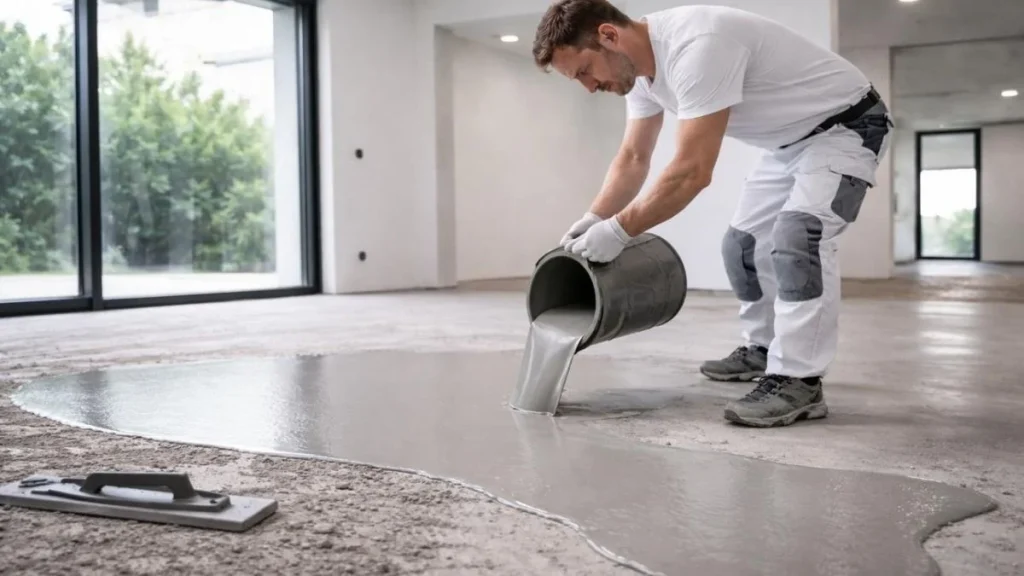
Self-leveling floor compound application starts with priming the subfloor. Products like Mapei Planipatch or Henry 547 require a latex or acrylic primer coat first — skipping this causes the compound to dry too fast and crack. Mix the compound to a pourable consistency, pour it into low spots, and spread it with a gauge rake to control thickness. Most products cover approximately 50 square feet per bag at 1/8-inch depth. Allow a minimum of 24 hours before testing dryness — the surface should feel hard underfoot and show no color variation from moisture.
Repairing High Spots by Subfloor Type
High spots require removal, not filling. On wood subfloors, use a belt sander with 36-grit paper to grind down raised areas, then confirm flatness with your straightedge. On concrete, a hand grinder with a diamond cup wheel removes high spots effectively — most tool rental centers carry these for $40–$60 per day. For high spots exceeding 1/4 inch on concrete, a professional grinding service is the safer call, as DIY grinding risks creating uneven depressions that require filling afterward.
Budget and Timeline Realities
DIY subfloor leveling costs a fraction of professional labor — but only if the scope is manageable. Knowing what drives cost up helps you decide early whether to proceed independently.
Cost Breakdown
| Item | Estimated Cost |
|---|---|
| Self-leveling compound (per bag, ~50 sq ft) | $25–$45 |
| Primer/bonding agent | $15–$30 |
| 10-foot aluminum straightedge | $30–$50 |
| Belt sander rental (wood subfloor) | $45–$65/day |
| Concrete hand grinder rental | $40–$60/day |
| Moisture meter (pin-type) | $20–$50 |
| Professional leveling service | $2–$7/sq ft |
For a standard 200-square-foot room with moderate unevenness, expect to spend $150–$250 in materials for a DIY approach versus $400–$1,400 for professional substrate preparation.
Realistic Project Timeline
Subfloor preparation for vinyl plank is not a same-day job. Budget at minimum two full days:
- Day 1: Remove old flooring, clear adhesive residue, conduct moisture testing, complete floor assessment, grind or sand high spots
- Day 2: Apply leveling compound, allow 24-hour cure time minimum
- Day 3: Verify flatness standards are met, begin LVP installation
Rushing the cure time is the most common DIY mistake — installation readiness requires a fully hardened surface, not just a dry-looking one.
Red Flags That Require Professional Assessment
Two specific conditions should stop a DIY project immediately:
- Unevenness exceeding 3/8 inch over any 10-foot span — this volume of leveling compound applied by an inexperienced installer frequently fails
- Problem areas covering more than 20% of the total floor area — at that scale, professional grinding or skim-coating delivers more consistent results
Either condition risks voiding your LVP manufacturer warranty if the finished floor shows joint failure or movement.
Common Pitfalls and When to Stop
Most DIY leveling failures come down to three repeatable mistakes. Recognizing them before they happen saves the cost of tearing out a finished floor.
The 3 Most Costly Mistakes
Ignoring “minor” deviations. A gap of 1/4 inch under a straightedge feels insignificant until planks start clicking and rocking six months later. Vinyl plank flooring tolerance requirements exist for structural reasons — the locking joints on LVP are not designed to flex repeatedly. Any deviation at or above 3/16 inch needs correction, no exceptions.
Applying compound too thick in a single pour. Most self-leveling floor compounds have a maximum single-pour depth of 1 inch. Exceeding that causes the interior to cure slower than the surface, creating a weak layer that crumbles under foot traffic. For low spots deeper than 1 inch, apply compound in staged layers, allowing full cure between each.
Installing before full cure. A surface that looks dry can still hold internal moisture. Installing LVP over incompletely cured leveling compound traps that moisture, softens the compound over time, and causes the floor to feel spongy or allow plank movement. Always verify hardness by pressing a thumbnail firmly into the surface — it should leave no mark.
When to Stop and Call a Professional
Use this decision matrix before proceeding:
| Condition | DIY Safe? |
|---|---|
| Unevenness under 3/16 inch | Yes |
| Unevenness 3/16 to 3/8 inch, under 20% of area | Yes, with care |
| Unevenness over 3/8 inch anywhere | No — call a pro |
| Problem areas over 20% of floor | No — call a pro |
| Active moisture reading above threshold | No — address source first |
| Subfloor has structural damage or soft spots | No — structural repair needed |
Soft spots in a wood subfloor — areas that flex or feel spongy underfoot — signal damaged joists or delaminated plywood. No amount of leveling compound fixes a structural problem. A flooring contractor or structural carpenter needs to assess before any substrate preparation continues.
Recommended Read: How to Level a Porch Floor
Ready to Install
A flat subfloor — not a perfect one — is all LVP requires, and the 3/16-inch-per-10-foot standard is the only number that matters when making that call. Grab a 10-foot straightedge, walk every square foot of your subfloor, and mark every spot where light shows through or the straightedge rocks — that marked map is your complete work order before a single plank goes down.