Gaps between stair stringers and walls are more than cosmetic — the International Residential Code flags openings wider than 4 inches as a fall hazard, making this a safety issue in many homes.
These gaps trap dust, look unfinished, and can widen over time as a house settles, yet most homeowners assume fixing them requires a contractor.
This guide gives you the exact materials, techniques, and finishing steps to close any stair-side gap yourself — cleanly and affordably.
What Materials Work Best for Filling Stair Side Gaps?
Choosing the right stair filler material depends on gap size, wood movement, and your finishing goals. Here is a breakdown of the four most practical options.
Quarter Round Molding and Trim
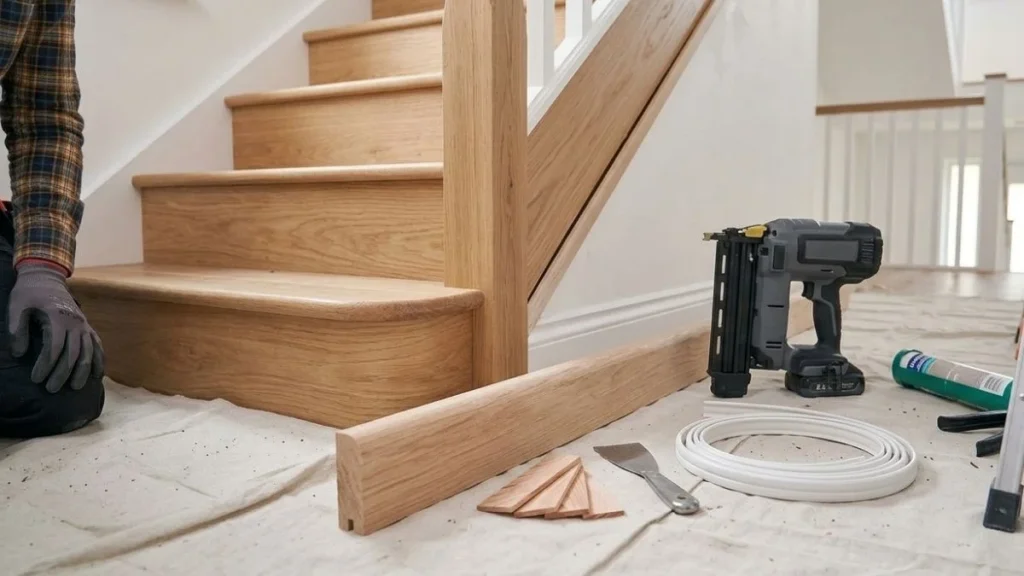
Quarter round molding is the most common stair side trim solution for gaps up to 3/4 inch. It presses flat against both the stringer and the wall, hiding the gap cleanly. Home Depot and Lowe’s stock it prefinished in oak, pine, and MDF. Match the stain or paint to your existing treads before nailing it into place with a brad nailer — never rely on adhesive alone on a high-traffic staircase.
Spackling Compound vs. Caulk
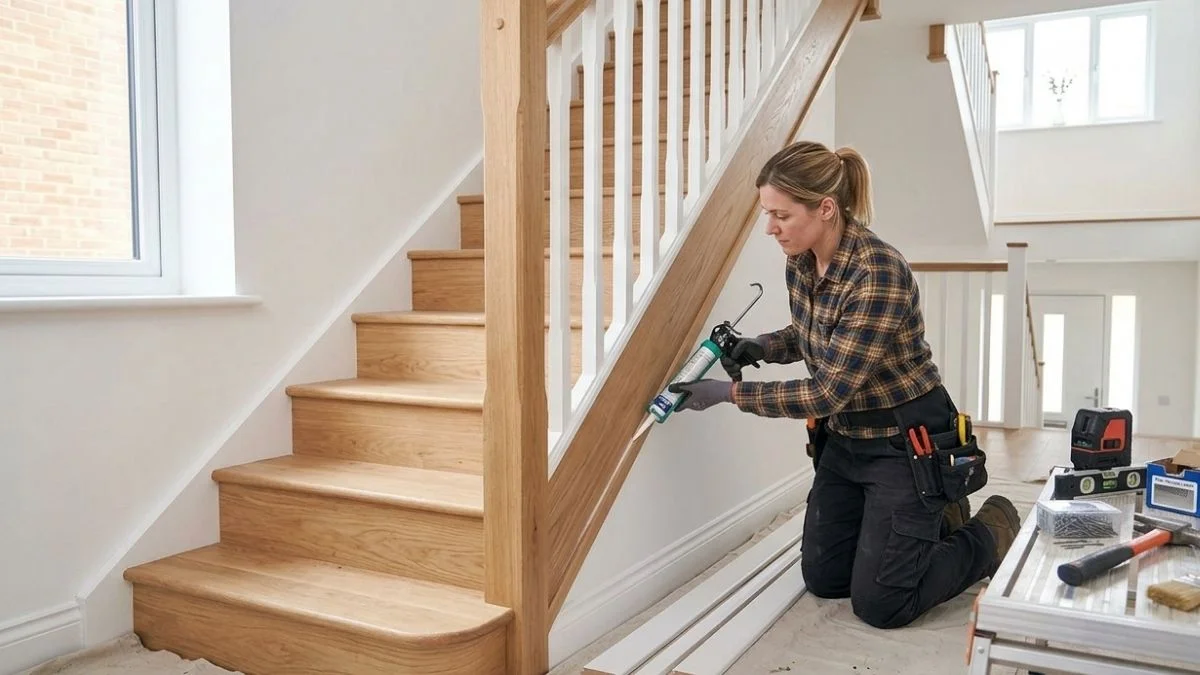
For hairline gaps under 1/4 inch, the choice comes down to movement. Caulk — specifically a paintable latex caulk like DAP Alex Plus — stays flexible and absorbs seasonal wood expansion without cracking. Spackling compound is harder and sands smooth, but it will crack in gaps that shift. Use caulk along stair stringers where wood movement is likely, and spackle only on static plaster or drywall surfaces.
Wood Shims and Wedges for Large Gaps
Gaps wider than 1/2 inch need structural filling before any finish material goes on. Cedar shims, available in bundles at any hardware store, wedge tightly into the gap between the stringer and wall. Stack them in opposing pairs for a flush, even surface, then trim the excess flush with an oscillating tool.
Flexible Vinyl Trim and Stair Caps
Flexible vinyl trim handles curved staircases where rigid wood molding would buckle. Self-adhesive versions work for lightweight applications, but nail-down vinyl trim holds better on active stairs. This option also resists moisture, making it a smart stair stringer gap filler in basements or exterior stair applications.
How Do You Install Stair Gap Fillers Step by Step?
Surface prep and accurate measurement determine whether the finished result looks professional or patched. Follow these steps in order.
Step 1: Assess the Gap and Prepare the Surface
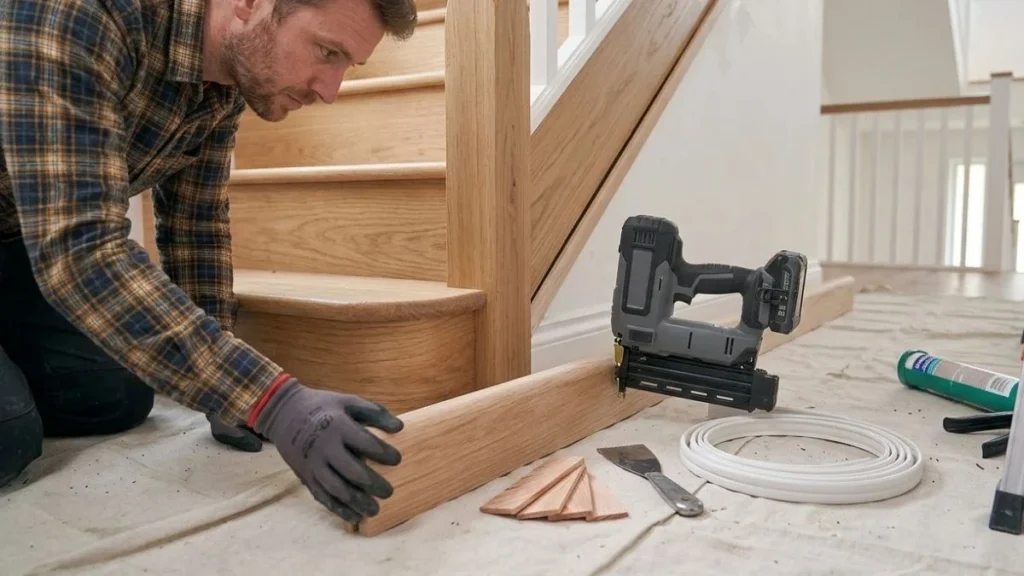
Gap width often varies along the stair length — measure at the top, middle, and bottom of each stringer before buying materials. Use a putty knife to scrape out old caulk, paint chips, and debris. Wipe the wall and stringer face with a damp cloth and let both surfaces dry completely before applying anything.
Step 2: Tape Off Adjacent Surfaces
Apply painter’s tape — 3M ScotchBlue works well — along the wall edge and stringer face to create clean, straight lines. This step takes five minutes but saves significant cleanup time, especially when applying caulk or paint near finished treads and risers.
Step 3: Apply Filler Based on Gap Size
- Small gaps (1/8 to 1/4 inch): Load a caulk gun with paintable latex caulk and run a smooth, continuous bead directly into the gap. Tool it flat with a wet finger.
- Medium gaps (1/4 to 1/2 inch): Insert cedar shims first to reduce the void, then overlay with quarter round molding nailed into the stringer.
- Large gaps (over 1/2 inch): Stack opposing shim pairs to build a flush base, then finish with skirt board installation or wide colonial base molding nailed securely into wall studs.
Step 4: Sand, Paint, and Seal
Once filler and trim are dry, sand any proud edges with 120-grit sandpaper. Prime bare wood before painting, and match sheen level to your existing woodwork. Reseal caulked gaps every 2 to 3 years — seasonal wood movement will eventually open hairline cracks even in well-finished work.
What Safety Rules and Mistakes Should You Know Before Starting?
Getting the material wrong or skipping prep steps turns a simple fix into a recurring problem. These are the 3 most consequential errors homeowners make when closing stair side gaps.
Building Code Gap Requirements
The International Residential Code (IRC) Section R311 specifies that stair guards and balusters must prevent a 4-inch sphere from passing through any opening. While this standard applies primarily to baluster spacing, local building departments often apply the same logic to stringer-to-wall gaps, particularly on open-sided stairs. Gaps wider than 4 inches on an active staircase can constitute a trip and fall hazard, especially for children and elderly users. If you are unsure whether your gap violates local code, contact your municipal building department before starting — not after.
Improper Surface Prep Causing Adhesion Failure
Skipping surface cleaning is the single most common reason stair gap repairs fail within one season. Dust, old caulk residue, and paint overspray all prevent new filler material from bonding correctly. Primer is equally non-negotiable — applying latex caulk or spackling compound directly onto bare, unsealed wood causes shrinkage and peeling within months. Always clean, dry, and prime surfaces before any stair stringer gap filler goes on.
Wrong Material Selection for Gap Size
Caulk alone cannot bridge gaps wider than 1/4 inch without sagging and cracking. Many homeowners apply a thick caulk bead into a 3/4-inch gap and consider the job done — it fails within weeks. Similarly, shimming without adding a trim overlay like quarter round molding leaves raw wood edges exposed to moisture and foot traffic damage. Match the gap filling method to the actual gap size, every time.
You May Read Also: How to Close Gap Between Siding and Foundation
Filling Stair Gaps Like a Pro
Material choice matched to gap size is the single factor that separates a lasting repair from one that fails by next winter. Start by measuring the widest point of one stringer gap, then buy only what that measurement calls for — caulk, shims, or molding — before touching any other part of the project. One staircase side, done correctly, takes less than two hours and gives you a repeatable process for the rest.