If your kitchen feels like it’s constantly running out of storage space, you’re not alone. Millions of homeowners deal with cluttered countertops, overflowing cabinets, and absolutely no dedicated pantry space. The frustrating part? A full kitchen remodel or custom built-in pantry can cost thousands of dollars — money most people simply don’t have sitting around.
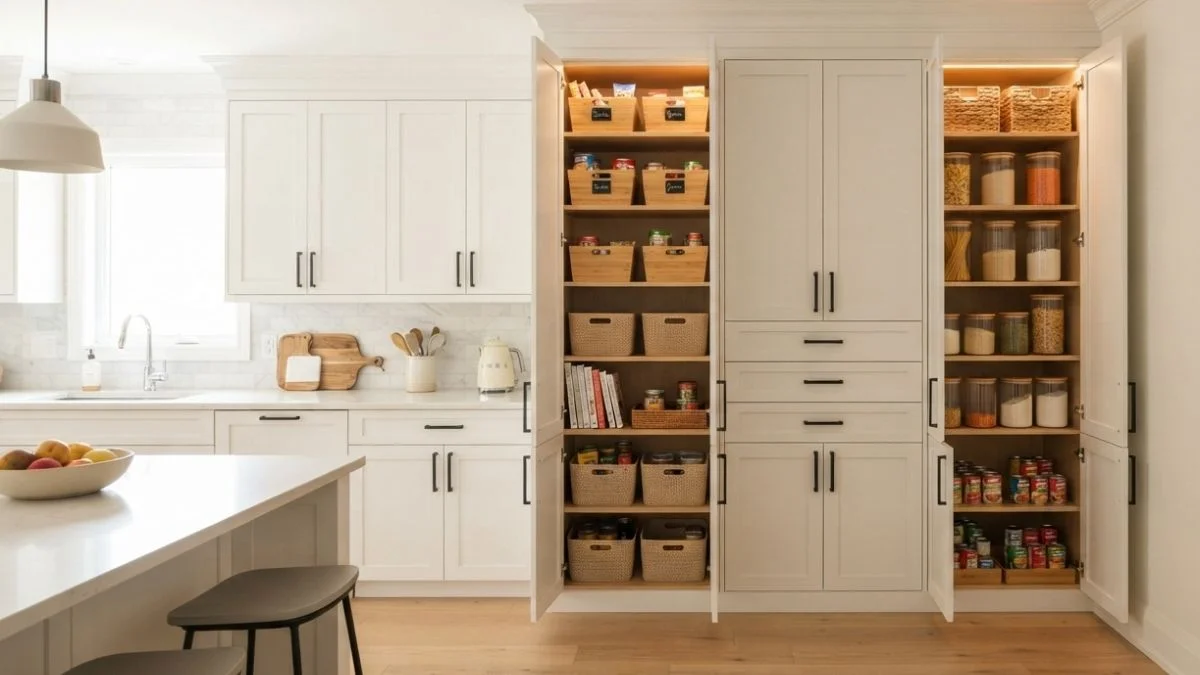
Here’s the good news: stacking wall cabinets to make a pantry is one of the smartest, most affordable storage solutions available to homeowners today. With the right cabinets, a free weekend, and a little patience, you can create a floor-to-ceiling pantry that looks completely custom — without paying a contractor a dime.
In this guide, you’ll learn exactly how to plan, build, and finish a stacked wall cabinet pantry from start to finish. Whether you’re working with a tiny kitchen or a larger space that just needs better organization, this step-by-step walkthrough has everything you need.
Why Stacking Wall Cabinets to Make a Pantry Is a Smart Idea
It’s a Budget-Friendly Alternative to Custom Pantries
Custom pantries look beautiful, but they come with a price tag that can easily reach $5,000 to $15,000 or more depending on size and finishes. Freestanding pantry units are cheaper but often look temporary and don’t maximize vertical wall space.
Stacking wall cabinets gives you the best of both worlds. Stock cabinets from stores like IKEA, Home Depot, or Lowe’s are affordable, widely available, and easy to work with. A full floor-to-ceiling stacked pantry using stock cabinets can cost as little as $200 to $600 in materials — a fraction of what a custom build would run. For homeowners on a budget, or renters who want a semi-permanent solution they can take with them, this approach is hard to beat.
You Get More Storage Without a Full Kitchen Remodel
One of the biggest advantages of this project is that it adds significant storage without requiring you to tear out walls, move plumbing, or hire a contractor. You’re simply using vertical wall space that’s already there — just going unused.
This method works beautifully in kitchens, but it’s also highly effective in laundry rooms, mudrooms, home offices, and dining areas. Wherever you have an empty wall and a need for organized storage, stacked wall cabinets can get the job done.
It Looks Like a Built-In — When Done Right
The biggest concern most homeowners have with DIY cabinet projects is that they’ll end up looking cheap or unfinished. That’s a fair concern — but it’s completely avoidable. When you add finishing details like crown molding along the top, wood filler in the gaps, caulk along the edges, and a fresh coat of paint, stacked wall cabinets can look indistinguishable from expensive built-ins. Done right, this project can genuinely add perceived value to your home.
What You Need Before You Start — Planning Your Stacked Cabinet Pantry
Measuring Your Wall Space Correctly
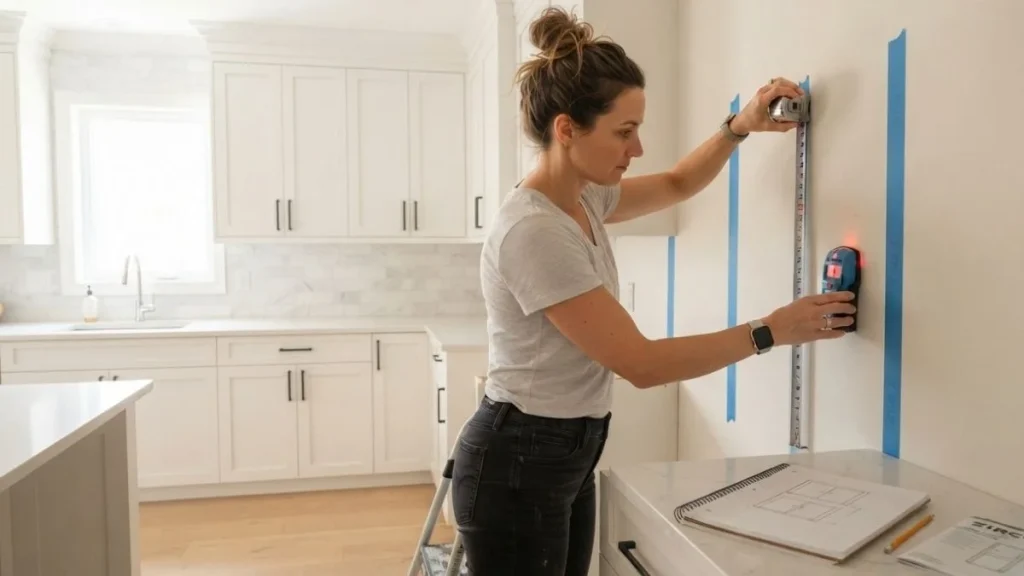
Before you buy a single cabinet, grab your tape measure and get accurate dimensions of your wall space. Measure the total width of the area you’re working with, the floor-to-ceiling height, and the depth clearance available (accounting for any doors or appliances nearby).
Pay close attention to outlets, light switches, and baseboards — these will affect your cabinet placement. Note their exact locations so you can plan around them. Use a stud finder to locate and mark every wall stud in the installation area. This step is non-negotiable — your cabinets must be anchored into studs, not just drywall.
Choosing the Right Wall Cabinets for Stacking
Standard wall cabinets come in a range of heights: 12″, 15″, 18″, 24″, 30″, 36″, and 42″. To create a floor-to-ceiling pantry, you’ll typically combine two different heights — for example, a 36″ cabinet on the bottom stack and a 24″ or 30″ cabinet on top. Always calculate your total stacked height against your ceiling measurement before purchasing.
For width, cabinets range from 9″ to 36″. For a pantry, 24″ to 30″ wide cabinets tend to offer the best balance of storage space and structural stability when stacked.
| Cabinet Height | Best Use in Stack |
| 36″ – 42″ | Bottom row (main storage) |
| 24″ – 30″ | Top row (upper reach storage) |
| 12″ – 18″ | Filler row near ceiling |
For materials, plywood-box cabinets hold up significantly better than particleboard when stacked and loaded with heavy pantry items. IKEA SEKTION cabinets, Hampton Bay from Home Depot, and Klearvue from Menards are all solid budget-friendly options.
Tools and Materials You’ll Need
- Wall cabinets (upper units in two heights)
- Stud finder, drill, level, tape measure
- Cabinet screws (2.5″ to 3″)
- Toggle bolts (for areas between studs)
- Shims and wood filler
- Crown molding and filler strips
- Sandpaper, caulk, and paint
- LED strip lights (optional but highly recommended)
How to Stack Wall Cabinets to Make a Pantry — Step-by-Step
Plan Your Layout and Cabinet Configuration
Start by sketching your pantry layout on paper. Decide whether you want a single-column pantry or a wider double-column setup. Use a free kitchen planning tool like IKEA’s kitchen planner or even a simple graph paper sketch to visualize your configuration before committing to a purchase.
Mark the wall clearly with a pencil — indicate the exact width of your cabinet run, the height of each stacking row, and the location of every stud. This upfront planning will save you significant headaches during installation.
Locate and Mark Your Wall Studs
Using your stud finder, scan the entire installation area and mark every stud with a pencil or painter’s tape. Standard wall studs are spaced 16″ apart, though older homes sometimes use 24″ spacing.
If your cabinet width doesn’t align perfectly with stud locations, you’ll need to use toggle bolts or a mounting rail to ensure secure attachment. Never hang loaded cabinets using only drywall anchors — over time, the weight will pull them right out of the wall.
Install a Ledger Board for Support
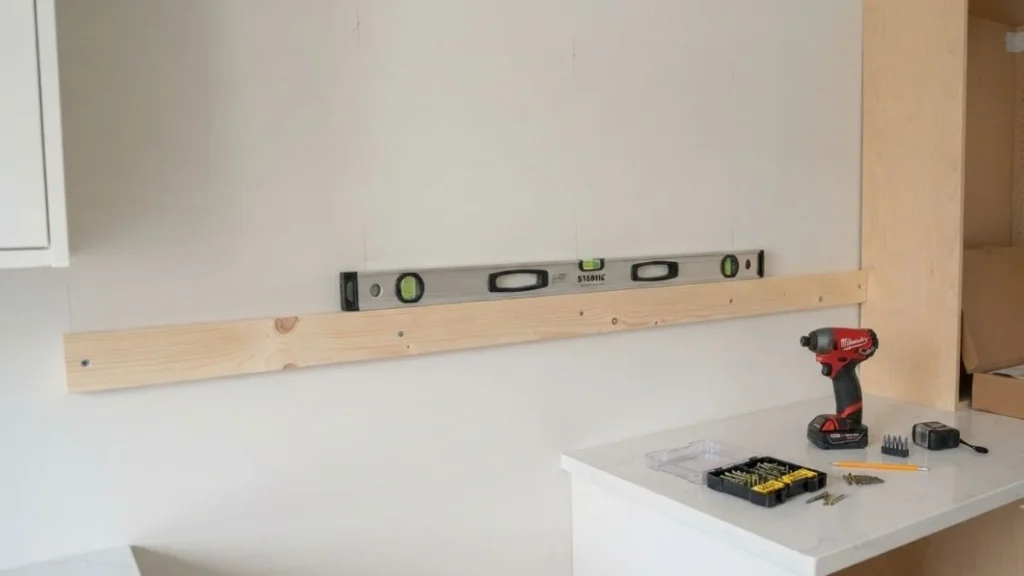
A ledger board is a horizontal piece of wood temporarily screwed into the wall to support your cabinets while you install them. Cut a straight 1×4 or 1×3 board to the width of your cabinet run. Using your level, attach it to the wall at the height where the bottom of your first cabinet row will sit.
This board acts as a shelf that holds your cabinets in place while you drive the screws in — especially helpful if you’re working alone. Remove it after installation is complete and patch the screw holes.
Hang the Upper Wall Cabinets First
Always start with the top row of cabinets and work your way down. This is counterintuitive to some people, but it’s the correct approach — it gives you full access to the upper mounting area without the lower cabinets getting in the way.
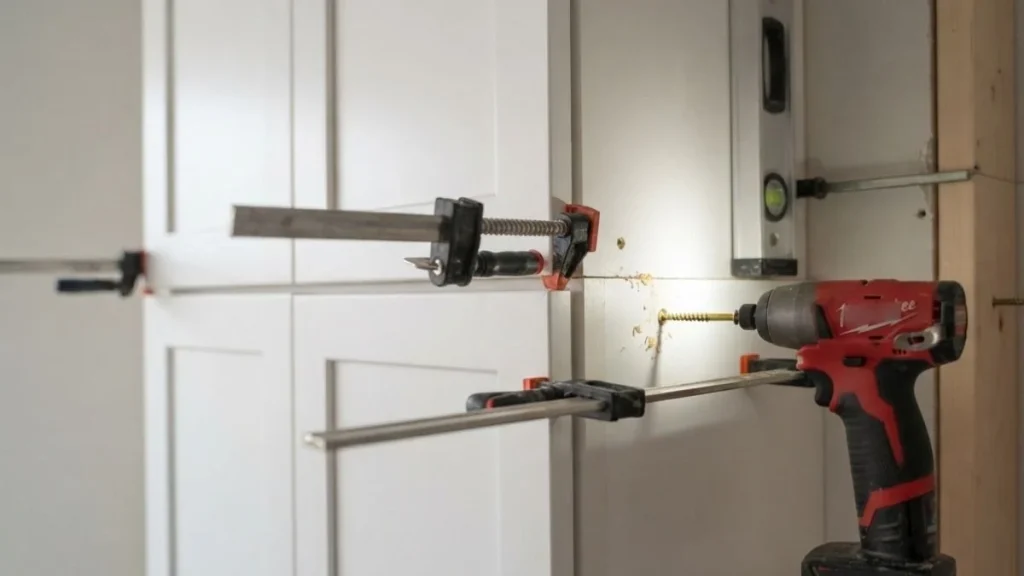
Rest your first top cabinet on the ledger board (or have a helper hold it), then drive cabinet screws through the back rail and into the wall studs. Use at least two screws per stud for a secure hold. Check for level before fully tightening. Once the first cabinet is secure, butt the next one up against it, align the faces, clamp them together, and drive screws through the side frames to connect them.
Attach the Second Row of Cabinets Below
Once your top row is fully secured, it’s time to install the bottom row. These cabinets will sit directly below the upper ones, so alignment is critical. Mark a new reference line on the wall where the bottom row will sit, ensuring it’s perfectly level.
Install this row using the same technique — anchor into studs, check for level constantly, and connect adjacent cabinets through their side frames. Once both rows are installed, connect the top and bottom rows to each other by driving screws up through the top of the lower cabinet into the bottom of the upper cabinet. This locks the entire stack together and dramatically increases stability.
Secure and Reinforce the Stacked Cabinets
Go back over every connection point and check for wobble, gaps, or misalignment. Use shims to correct any minor leveling issues — slide them behind the cabinet at the wall contact point and trim the excess flush with a utility knife.
If your top cabinet row reaches close to the ceiling, add screws through the top cabinet into the ceiling joists or soffit for extra reinforcement. For cabinets that fall between studs, use heavy-duty toggle bolts rated for the load you’re expecting.
Add Doors, Shelves, and Interior Organizers
With the structure complete, now comes the fun part — setting up the interior for actual pantry use. Adjust your shelf heights based on what you’re storing:
- Bottom shelves: Large items, small appliances, bulk goods
- Middle shelves: Canned goods, jars, boxed foods
- Upper shelves: Lightweight items, rarely used supplies
Consider adding pull-out shelves or lazy Susans to deeper cabinets to avoid the frustrating “stuff getting lost in the back” problem. Over-the-door organizers on the interior of cabinet doors are also excellent for spices, foil boxes, and small packets.
Finish and Style Your New Pantry
This step is what separates a DIY project from a professional-looking result. Fill every gap between cabinets and the wall with paintable caulk. Use wood filler on any screw holes or dings, let it dry, then sand smooth.
Install crown molding along the top of the cabinet run to give it a truly built-in appearance. Paint or refinish the cabinets to match or complement your kitchen. Add battery-operated LED strip lights inside the cabinets — they make a massive difference in visibility and give the finished pantry an elevated, polished feel.
Common Mistakes to Avoid When Stacking Wall Cabinets
Skipping the stud-finding step is by far the most dangerous mistake you can make. A cabinet full of canned goods can weigh 80 to 150 pounds or more — drywall anchors alone will not hold that long-term.
Not checking for level at every stage is the second most common mistake. Even being a quarter-inch off at the first cabinet will compound across the entire run and create visible gaps, misaligned doors, and crooked shelves by the time you finish.
Choosing cabinets that are too shallow is another issue homeowners run into. Standard wall cabinets are 12″ deep, which works for lighter pantry items but can feel limiting. If your wall space allows, look for 15″ or 18″ deep wall cabinets for noticeably better storage capacity.
Finally, don’t rush the finishing details. Skipping caulk, skipping crown molding, or skipping paint touch-ups will make your pantry look unfinished — even if the installation itself is solid.
How Much Does It Cost to Stack Wall Cabinets for a Pantry?
| Item | Estimated Cost |
| Stock wall cabinets (set) | $150 – $400 |
| Hardware and screws | $20 – $40 |
| Crown molding and trim | $30 – $60 |
| Paint and finishing supplies | $25 – $50 |
| LED strip lights (optional) | $15 – $35 |
| Total (DIY) | $240 – $585 |
If you hire a handyman for installation, expect to add $200 to $500 in labor costs depending on your location and the complexity of the project. Even with professional help, this solution costs a fraction of a custom pantry build.
You Should Read Also: How to Install Upper Cabinets Away From Wall
Conclusion
Stacking wall cabinets to build a pantry is one of the most practical, budget-friendly home improvement projects you can take on as a homeowner. With careful planning, the right materials, and attention to the finishing details, you can create a beautiful, functional pantry that looks completely custom — without the custom price tag.
Take your time with the planning phase, never skip the stud-finding step, and invest a little extra effort into the finishing touches. The result will be a pantry you’ll use every single day and feel genuinely proud of every time you open those cabinet doors.