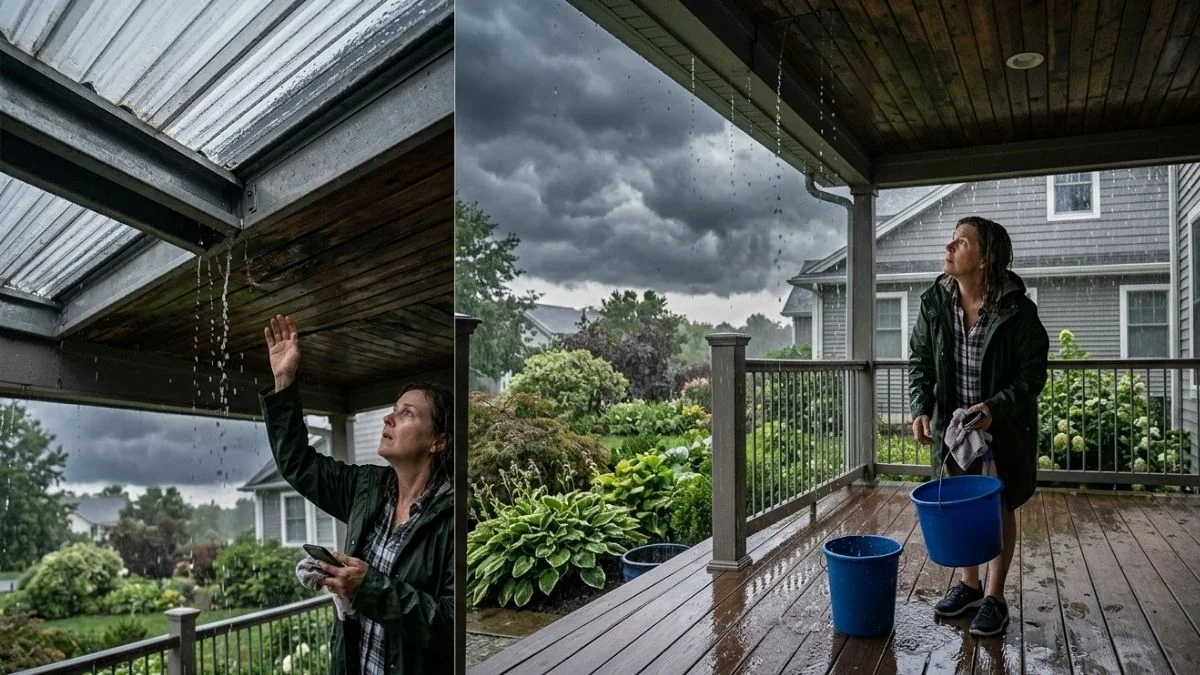
You step out onto your porch after a heavy rainstorm — and there it is. Water dripping from the ceiling, a growing puddle on the floor, and that sinking feeling that something is seriously wrong. If your aluminum porch roof is leaking, you’re not alone. It’s one of the most common complaints homeowners deal with, and the good news is — most leaks are fixable without spending a fortune.
You’ll learn exactly how to find where the leak is coming from, what’s causing it, how to fix it yourself, and when it makes sense to bring in a professional. Let’s get your porch dry again.
Why Aluminum Porch Roofs Are Prone to Leaking
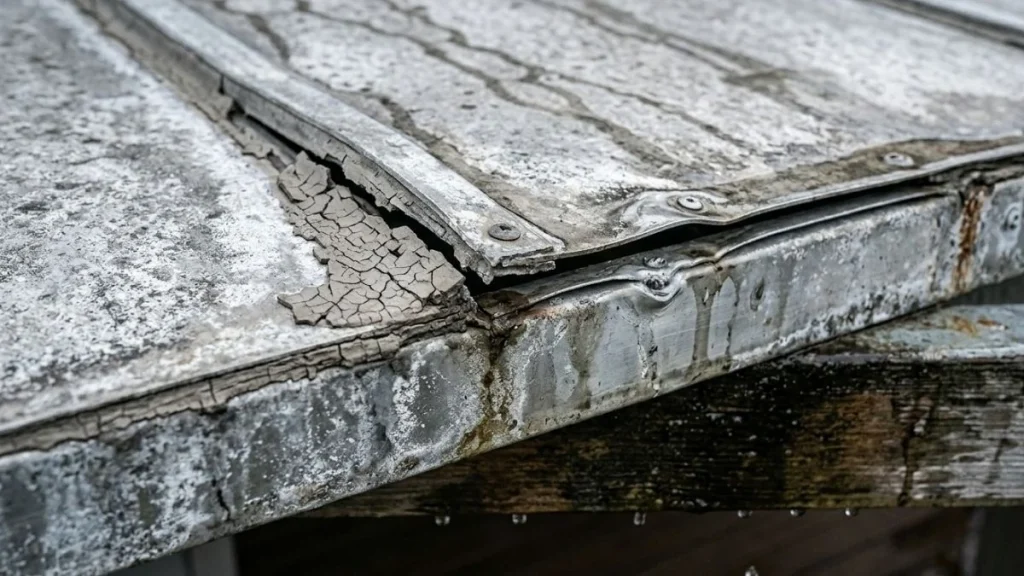
Aluminum is a popular choice for porch roofing — it’s affordable, lightweight, rust-resistant, and can last for decades. But that doesn’t mean it’s leak-proof. Over time, several factors work against even the best aluminum porch roof.
The Expansion and Contraction Problem
Aluminum is a metal, and like all metals, it expands in heat and contracts in cold. This constant movement — season after season, year after year — puts stress on every joint, seam, screw, and sealant point. Eventually, things loosen up. Gaps form. Water finds a way in.
Age Takes Its Toll
Most aluminum porch roofs start showing vulnerabilities after 10 to 15 years. The sealant that was once flexible and watertight becomes brittle and cracked. Screws back out slightly. Panel overlaps shift. None of these changes are dramatic on their own — but together, they create the perfect conditions for a leak.
Poor Installation Can Cause Problems From Day One
Sometimes the issue isn’t age at all. An improperly installed aluminum porch roof — one with insufficient slope, missing flashing, or incorrectly overlapped panels — can start leaking within just a few years. If your roof is relatively new and already leaking, installation quality is worth investigating.
How to Find Where Your Aluminum Porch Roof Is Leaking
Before you can fix anything, you need to find the source. This sounds simple, but water is sneaky — where you see the drip inside isn’t always where the water is getting in on the outside.
Inspect From Below First
Start inside the porch. Look for:
- Water stains or discoloration on the ceiling panels
- Rust streaks running down from fastener points
- Soft or sagging spots in the ceiling
- The area where the porch roof meets the exterior house wall — this is the single most common leak zone
Mark or photograph what you find. This gives you a starting point for your exterior inspection.
Get Up on the Roof Safely
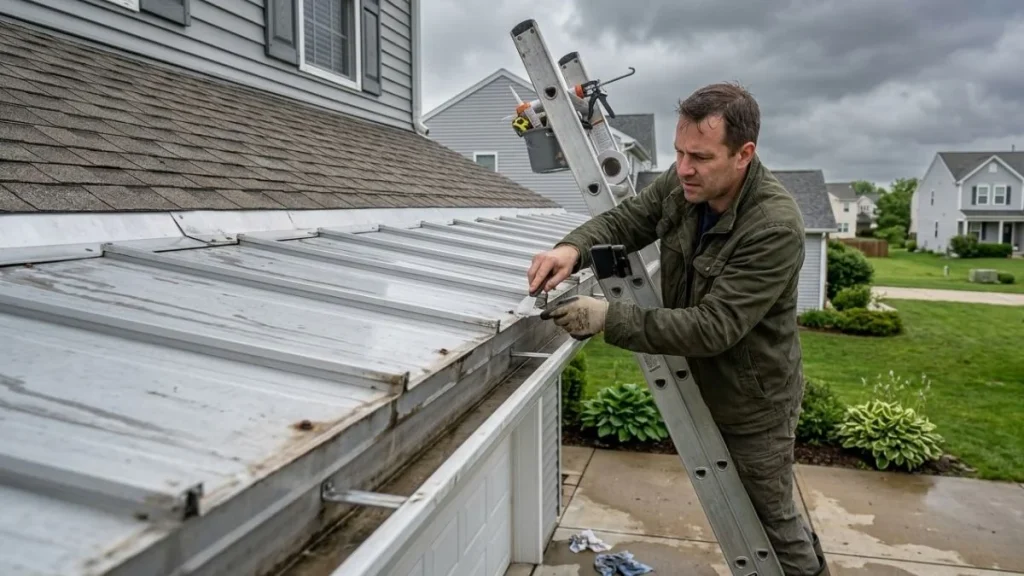
Use a sturdy ladder and always wear non-slip shoes. Never work on a wet roof. Once you’re up there, systematically check:
- All panel seams and overlapping joints
- Every screw and fastener point
- The flashing along the house wall
- The drip edge and gutter connection points
- Any skylights, vents, or fixtures
Use the Water Hose Test
Can’t find the leak visually? Grab a garden hose. Have someone stand inside the porch while you run water over the roof section by section, starting from the lowest point and working upward. When your helper calls out that they see water coming in, you’ve found your zone. Mark the area and come down safely before investigating further.
Common Leak Hotspots at a Glance
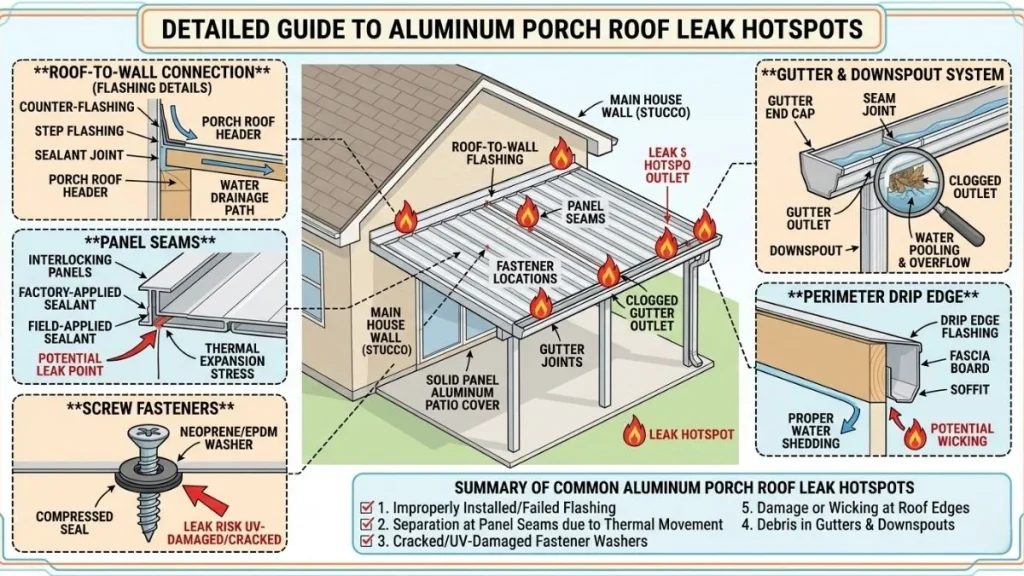
| Location | Why It Leaks |
| Where roof meets house wall | Flashing failure, sealant breakdown |
| Around screws and fasteners | Thermal movement, missing washers |
| Panel seams and overlaps | Shifting panels, dried sealant |
| Along gutters and drip edges | Clogged drainage, improper installation |
| Around vents or light fixtures | Gaps in sealing, age-related deterioration |
Most Common Causes of Aluminum Porch Roof Leaks
Understanding why your roof is leaking helps you choose the right fix — and avoid making the same mistake twice.
Failed or Dried-Out Sealant
This is the most common culprit by far. The caulk or lap sealant used around edges, seams, and fasteners dries out over time, shrinks, and cracks. Once it loses flexibility, water pours right through. The good news? This is also the easiest and cheapest fix.
Loose or Missing Screws
Thermal expansion causes screws to back out over time. When a screw backs out even slightly, it lifts the rubber washer beneath it — and that washer is what creates the watertight seal at each fastener point. A missing washer or a backed-out screw is an open invitation for water.
Damaged or Poorly Installed Flashing
Flashing is the metal strip that seals the joint where your porch roof meets the house wall. When it pulls away, rusts, or was never properly installed, that junction becomes a major leak zone — especially during heavy, wind-driven rain.
Panel Seam Separation
Aluminum panels are installed in overlapping sections. When those overlaps shift — due to age, thermal movement, or improper installation — gaps open up along the seams. Water flows directly into those gaps.
Clogged Gutters and Drainage Problems
Standing water on a low-slope aluminum roof dramatically increases leak risk. If your gutters are clogged, water backs up and sits on the roof surface — eventually finding its way under panel edges and seams. Regular gutter cleaning is one of the simplest forms of leak prevention.
Physical Damage to Panels
Fallen tree branches, hail, or heavy foot traffic can dent, puncture, or warp aluminum panels. Even small dents can change how water flows across the surface, directing it toward vulnerable points rather than away from them.
Insufficient Roof Slope
Aluminum porch roofs need at least a 1/4 inch of slope per foot to drain properly. If the original installation didn’t account for this, water pools on the roof — and pooling water will always find a weakness eventually.
How to Fix a Leaking Aluminum Porch Roof (Step-by-Step)
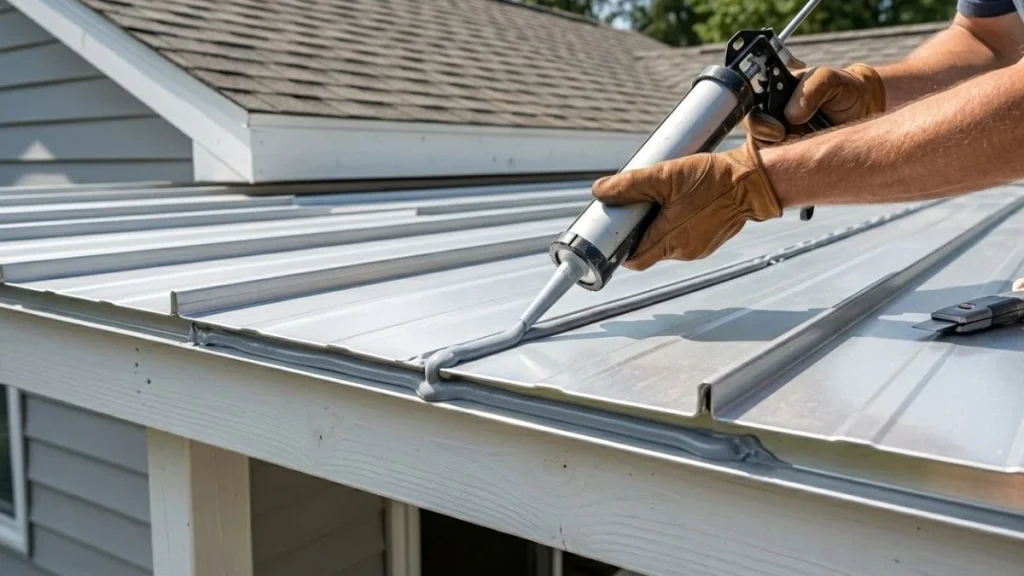
Now for the part you’ve been waiting for. Here’s how to tackle the most common aluminum porch roof repairs yourself.
Tools and Materials You’ll Need
| Tool / Material | Purpose |
| Aluminum-compatible lap sealant | Sealing seams and edges |
| Self-tapping screws with neoprene washers | Replacing loose fasteners |
| Butyl tape or aluminum repair tape | Patching small holes or cracks |
| Wire brush and clean cloth | Surface prep and cleaning |
| Roofing cement | Flashing repairs |
| Caulk gun | Applying sealant |
| Safety ladder and non-slip gloves | Safe roof access |
Resealing Panel Seams and Edges
This is the first repair most homeowners should attempt, as it addresses the most common cause of leaks.
- Use a wire brush or putty knife to remove all old, cracked caulk from the seam
- Clean the area thoroughly with a dry cloth — sealant won’t adhere to dirt or moisture
- Load your caulk gun with an aluminum-compatible lap sealant (not standard silicone — it doesn’t bond well to metal)
- Apply a generous, continuous bead along the seam
- Smooth it with a gloved finger or caulk tool
- Allow full curing time before exposing to rain (check the product label — typically 24 to 48 hours)
Pro Tip: Butyl-based or polyurethane lap sealants outperform standard silicone on aluminum roofs. They stay flexible longer and handle thermal movement better.
Replacing Loose or Missing Screws
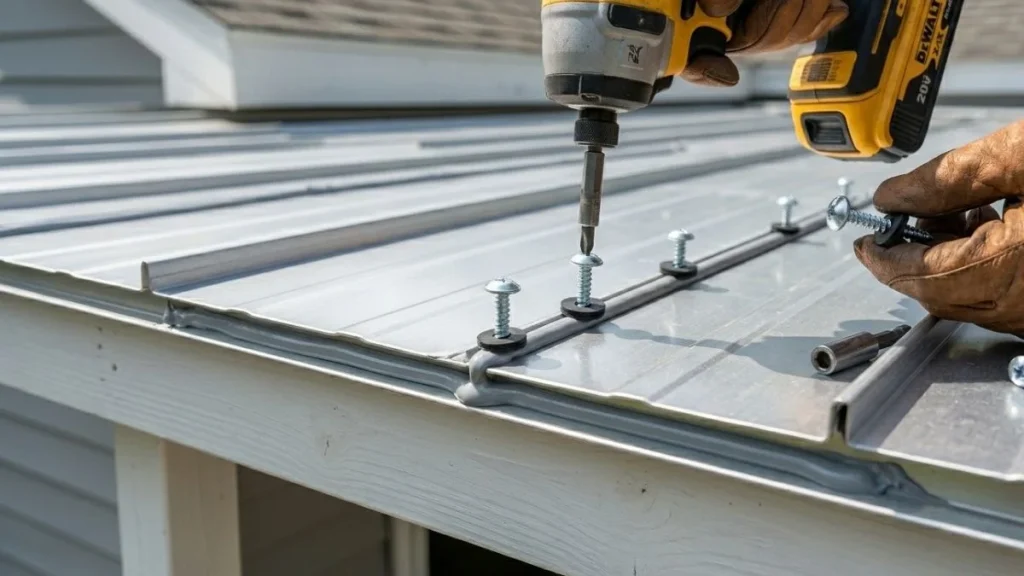
- Remove the old screw completely and inspect the hole
- If the hole is stripped and won’t hold a screw securely, use a slightly larger self-tapping screw
- Always use screws with neoprene rubber washers — these create the watertight seal
- Apply a small dab of lap sealant around each fastener before tightening
- Don’t overtighten — this can crush the washer and actually reduce its sealing effectiveness
Repairing or Replacing Flashing
- Carefully remove the old flashing without damaging the surrounding wall or panels
- Clean the surface area — remove all old caulk, rust, and debris
- Apply roofing cement to the back of the new flashing
- Press it firmly into place against the wall and roof surface
- Secure with screws along the top edge
- Run a bead of lap sealant along all edges for a complete seal
Patching Small Holes or Cracks in Panels
- Clean around the damaged area with a wire brush and dry cloth
- Cut a piece of aluminum repair tape or butyl tape slightly larger than the hole
- Press it firmly over the damage, smoothing out any air bubbles
- Seal the edges with lap sealant for extra protection
- For larger cracks, consider applying a second layer of tape for added strength
Improving Drainage
If water is pooling on your roof, address it directly:
- Clear gutters and downspouts of leaves, dirt, and debris
- Add gutter extenders if water is pooling near the foundation
- Check whether the roof slope has shifted over time — in some cases, adding additional support can correct a sagging section
- For persistent slope problems, consult a roofing professional about correction options
DIY vs. Hiring a Professional
Not every aluminum porch roof leak requires a contractor. Here’s a simple breakdown to help you decide:
| Situation | DIY or Pro? |
| Failed sealant or dried caulk | DIY |
| Loose or missing screws | DIY |
| Minor flashing repair | DIY |
| Small panel cracks or holes | DIY |
| Widespread rust or panel damage | Pro |
| Structural framing issues | Pro |
| Leak persists after 2+ repair attempts | Pro |
| Full panel replacement needed | Pro |
What Does It Cost?
- DIY materials only: $20 – $100
- Professional repair (minor): $150 – $400
- Professional repair (major): $400 – $800
- Full aluminum porch roof replacement: $1,500 – $5,000+
Costs vary based on roof size, location, and the extent of the damage. Getting two or three quotes from local roofers before committing to a full replacement is always a smart move.
How to Prevent Your Aluminum Porch Roof From Leaking Again
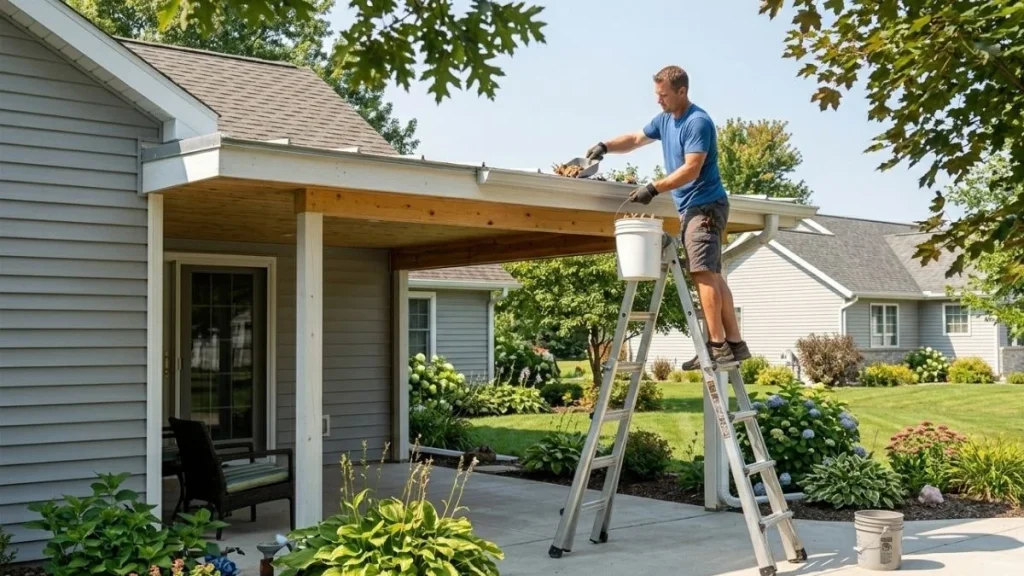
Once you’ve fixed the leak, a little regular maintenance goes a long way toward keeping it dry for years to come.
Annual Maintenance Checklist
- Inspect all seams, screws, and flashing every spring and fall
- Clear gutters and downspouts after every heavy storm
- Check for signs of panel oxidation or warping
- Reapply sealant to vulnerable areas every 2 to 3 years
- Trim any overhanging tree branches that could cause physical damage
Choose the Right Sealant
Not all sealants are created equal when it comes to aluminum roofing. Standard silicone caulk often fails prematurely because it doesn’t bond well to metal surfaces and can’t handle the thermal movement aluminum experiences. Look for:
- Butyl-based lap sealant — flexible, long-lasting, great for seams
- Polyurethane sealant — excellent adhesion, paintable, UV-resistant
- Aluminum-specific roofing tape — ideal for quick patches and fastener sealing
Recommended Read: Roof Leaking Where Porch Meets House
Conclusion
A leaking aluminum porch roof is frustrating — but it’s rarely a disaster if you catch it early and act on it. The majority of leaks come down to a handful of predictable causes: dried sealant, loose screws, or flashing failure. These are problems any motivated homeowner can fix on a weekend with the right materials and a bit of patience.
Start by locating the leak carefully, match the repair to the cause, and don’t forget to set a reminder for seasonal maintenance. Your aluminum porch roof was built to last — give it the attention it needs, and it will.