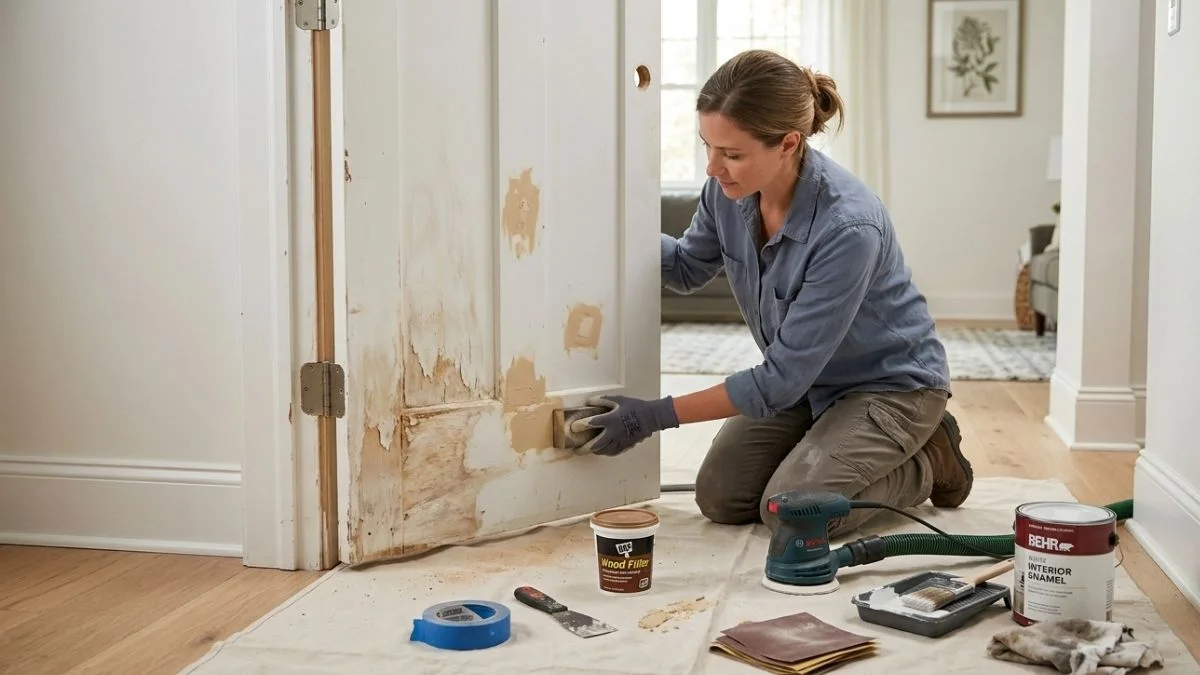
Water damage doesn’t always announce itself. Sometimes you notice your interior door is suddenly swollen shut, warped at the edges, or showing dark stains and peeling paint — and you’re left wondering how bad it really is.
Most water damaged interior doors can be fully restored with the right tools and a little effort. Whether the damage came from a plumbing leak, bathroom humidity, or a basement moisture problem, the fix is usually more straightforward than you think.
You’ll learn how to assess the damage, gather the right materials, and follow a clear step-by-step repair process that works for both hollow-core and solid wood doors — saving you hundreds of dollars in replacement costs.
What Causes Water Damage on Interior Doors?
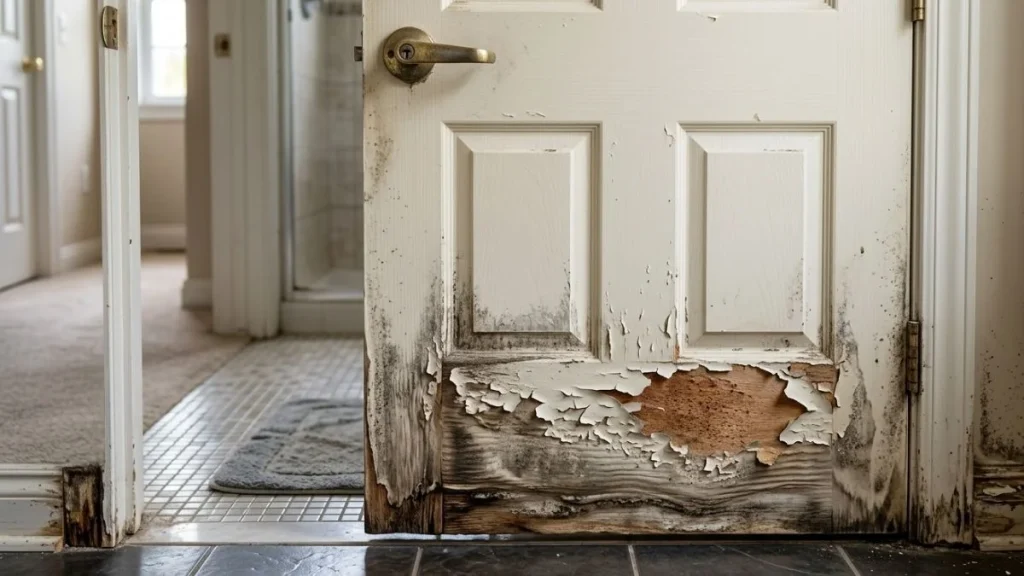
Before you start any repair, it helps to understand why the damage happened in the first place. Fix the source, and you won’t be dealing with the same problem six months from now.
Common Sources of Moisture and Water Exposure
Interior doors take a beating from moisture more than most homeowners realize. Here are the most frequent culprits:
- Plumbing leaks near doorways that go unnoticed for days or weeks
- Bathroom steam and humidity that builds up without proper ventilation
- Roof or ceiling leaks that drip water down walls and onto door frames
- Basement flooding or groundwater seepage affecting lower-level doors
- Poor ventilation in laundry rooms where moisture has nowhere to escape
Why Interior Doors Are More Vulnerable Than You Think
Unlike exterior doors, most interior doors aren’t built to handle moisture. The majority of interior doors in modern homes are hollow-core — meaning they’re made with a lightweight cardboard honeycomb interior covered by a thin wood or MDF shell. That construction absorbs water quickly and swells fast.
Even solid wood interior doors aren’t immune. Without a proper moisture-resistant finish, wood naturally expands when it absorbs water — leading to warping, cracking, and eventually rot if left untreated.
How to Tell If Your Interior Door Has Water Damage
Not sure if what you’re seeing is actually water damage? Here’s how to know for certain.
Visual Signs of Water Damage
Take a close look at your door in good lighting. Water damage typically shows up as:
- Swelling or warping along the bottom edge or sides of the door
- Bubbling, peeling, or flaking paint on the surface
- Dark brown or yellowish stains that don’t wipe off
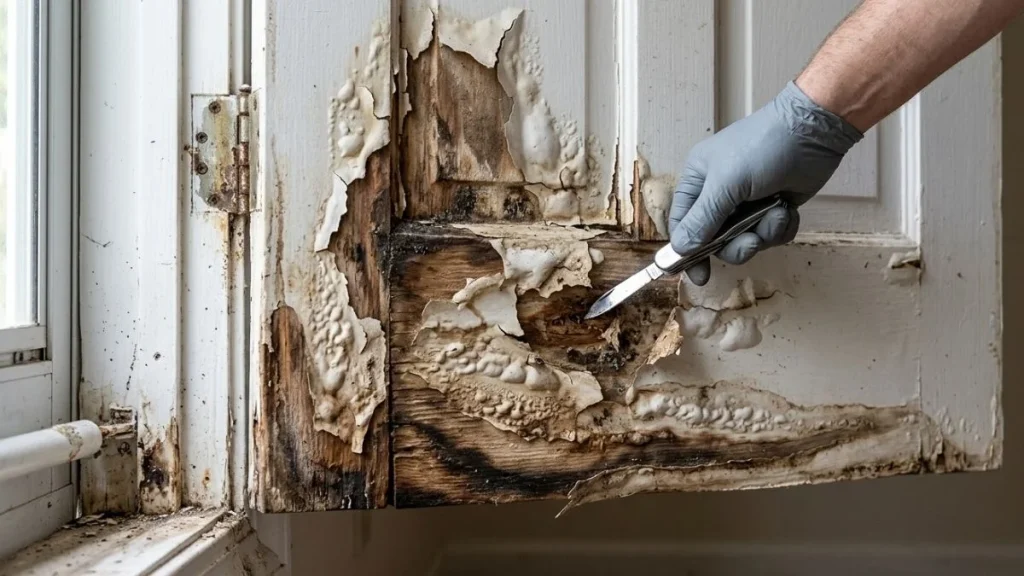
- Soft or spongy spots when you press firmly on the surface
- Visible black or green mold growth, especially near the bottom
Functional Signs Your Door Has Water Damage
Sometimes the damage is more about how the door behaves than how it looks:
- The door sticks or drags when you try to open or close it
- It no longer latches properly due to swelling around the frame
- Hinges are pulling away from the door or frame
- You notice a musty or damp smell coming from the door area
How to Assess the Severity of the Damage
Once you’ve identified the damage, the next step is figuring out how serious it is. This will determine your repair approach:
- Minor damage: Surface stains, slight swelling, or peeling paint. Easy DIY fix with basic materials.
- Moderate damage: Noticeable warping, soft spots, or small cracks. Repairable but requires more time and effort.
- Severe damage: Deep rot, mold penetrating the core, or structural compromise. Replacement may be the only option.
How to Repair Water Damaged Interior Doors — Step-by-Step

This is where the real work happens. Follow these steps in order for the best results.
Remove the Door and Dry It Completely
Before you touch anything else, the door needs to come off its hinges and dry out completely. Trying to repair a door that still holds moisture is a waste of time — the swelling won’t go down, fillers won’t bond properly, and paint won’t stick.
- Tap out the hinge pins using a screwdriver and hammer, starting from the bottom hinge
- Carefully lift the door off and lay it flat on a pair of sawhorses or the floor
- Set up a fan blowing directly on the door, or move it to a warm, well-ventilated area
- Allow 24 to 72 hours of drying time depending on how wet the door is
- Use a moisture meter if you have one — you’re aiming for a moisture content below 15%
Skipping this step or rushing it is the number one mistake homeowners make. A door that looks dry on the outside can still hold significant moisture inside.
Inspect and Clean the Damaged Areas
Once the door is fully dry, take a fresh look at the damage. You may notice additional soft spots or cracks that weren’t visible before.
- Press firmly across the entire surface to find any soft or spongy areas
- Use a utility knife to carefully probe suspect areas for hidden rot
- If mold is present, clean it thoroughly with a 50/50 white vinegar and water solution
- For heavier mold growth, use a commercial mold remover and let it sit for 10–15 minutes before wiping
- Lightly sand the entire damaged area with 80-grit sandpaper to remove loose material and prep the surface
Repair Swollen or Warped Sections
Swelling and warping are the most common complaints with water damaged doors — and they’re very fixable in most cases.
- For swollen edges, use an electric sander or hand plane to carefully shave down the swollen area until the door fits the frame properly
- For a warped door, lay it flat and apply even pressure using clamps and straight boards across the width — leave clamped for 24–48 hours
- Check progress regularly and adjust clamp placement as needed
Tips for Hollow-Core Doors
- Hollow-core doors are more fragile — use light sanding pressure to avoid breaking through the surface shell
- Epoxy wood filler works well for filling surface bubbles and dents
- If the core material is visibly wet, crumbling, or moldy, the door is likely beyond repair
Tips for Solid Wood Doors
- Solid wood responds much better to drying, clamping, and sanding
- A hand plane gives you more control when shaving swollen edges
- Use grain filler after sanding to restore a smooth, even surface before painting
Fill Cracks, Holes, and Soft Spots
Once the surface is clean and dry, it’s time to fill any damaged areas.
- Apply epoxy wood consolidant to any soft or rotted spots — it soaks into damaged wood fibers and hardens them from the inside out
- Once the consolidant cures, apply epoxy wood filler or standard wood filler over cracks, holes, and dents
- Use a putty knife to press the filler firmly into the damaged area and feather the edges smooth
- Allow to cure fully according to the product instructions — typically 2–4 hours
- Don’t rush this step — undercured filler will crack or shrink after painting
Sand the Door to a Smooth Finish
A smooth surface is the foundation of a professional-looking repair.
- Start with 80-grit sandpaper to level out filled areas and remove any high spots
- Move to 120-grit to smooth out the rougher sanding marks
- Finish with 220-grit for a fine, paint-ready surface
- Sand in the direction of the wood grain to avoid visible scratch marks
- Wipe the entire door down with a tack cloth to remove all dust before priming
Prime and Repaint the Door
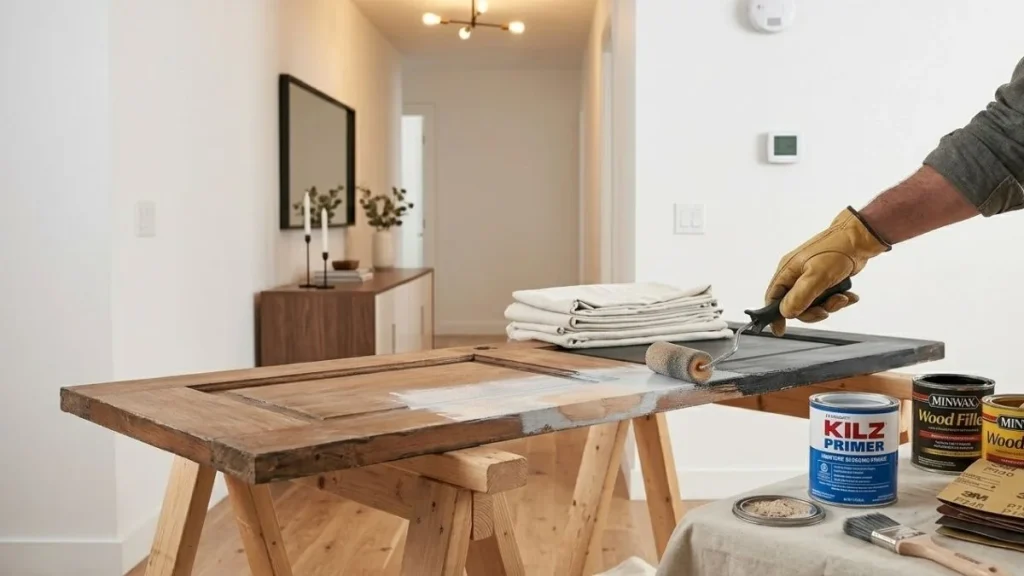
This step protects your repair and gives the door a fresh, clean finish.
- Apply a moisture-blocking primer first — this is non-negotiable on a previously water damaged surface. Regular primer won’t provide enough protection.
- Allow the primer to dry completely before applying paint
- Apply two thin coats of interior paint rather than one thick coat for a smoother finish
- Use a small foam roller for flat panels and a brush for edges and detail areas
Paint vs. Stain — Which Is Better After Water Damage Repair?
- Paint creates a stronger moisture barrier and is the better choice for bathroom and basement doors
- Stain works well on solid wood doors where you want to preserve the natural grain — but requires a quality polyurethane topcoat for moisture protection
- For most water damage repairs, paint is the safer and more practical choice
Rehang and Seal the Door
You’re almost done. The final step is getting the door back in place and protecting it from future moisture.
- Rehang the door by aligning the hinges carefully and tapping the hinge pins back in from the top
- Open and close the door several times to check for smooth operation
- If the door still drags slightly, mark the contact point and sand it down before rehanging
- Install a door bottom sweep or seal along the bottom edge — this is one of the most effective ways to block future moisture entry
- Apply a bead of paintable caulk along the door frame where it meets the wall for an extra moisture barrier
How to Repair a Water Damaged Door Frame
Sometimes the damage isn’t just on the door — the frame takes a hit too. Here’s how to handle it.
Signs the Door Frame Is Also Damaged
- The wood around the frame feels soft or spongy when pressed
- Visible discoloration, rot, or mold at the base of the frame
- The frame is pulling away from the surrounding wall
How to Fix Minor Door Frame Water Damage
- Apply epoxy wood consolidant to any soft areas and allow it to fully harden
- Fill gaps, cracks, and holes with wood filler or paintable caulk
- Sand smooth, prime with a moisture-blocking primer, and repaint to match
When the Door Frame Needs Full Replacement
Some frame damage goes beyond what a filler can fix. Consider full frame replacement if:
- The rot is deep and structural — meaning the frame no longer holds the door securely
- Mold has spread into the surrounding drywall
- The frame is visibly crumbling or separating from the wall
In these cases, calling a professional contractor is the right move.
How to Prevent Water Damage on Interior Doors in the Future
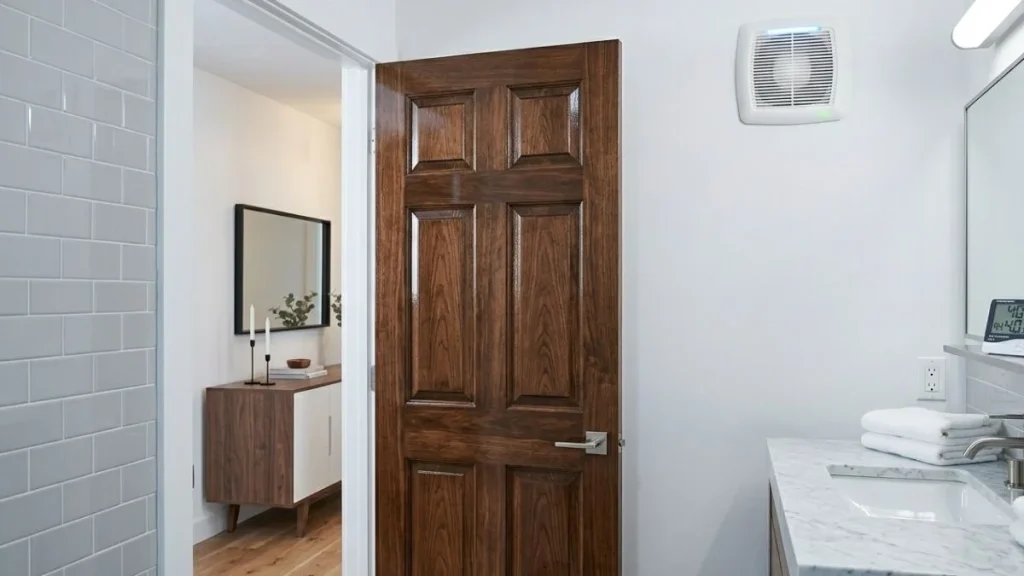
Fixing the door is step one. Making sure it doesn’t happen again is step two.
Protective Finishes and Sealants
- Use moisture-resistant paint on all bathroom, basement, and laundry room doors
- Apply a polyurethane topcoat on solid wood doors for added protection
- Reseal or repaint interior doors every 2–3 years in high-humidity areas
Ventilation and Humidity Control
- Install exhaust fans in bathrooms and laundry rooms if you don’t already have them
- Run a dehumidifier in the basement during humid months
- Keep indoor humidity levels between 30% and 50% — this is the sweet spot for protecting wood doors and other wood surfaces in your home
Routine Maintenance Tips
- Inspect door bottoms and frames at least once a year for early signs of moisture damage
- Address any plumbing leaks immediately — even slow drips cause significant damage over time
- Check door seals and sweeps annually and replace them when worn
Read Also: How to Seal the Bottom of an Exterior Door
When to Repair vs. When to Replace a Water Damaged Interior Door
Still on the fence about whether to repair or replace? This table makes the decision simple:
| Situation | Repair or Replace? |
| Surface stains and peeling paint | ✅ Repair |
| Minor swelling at edges | ✅ Repair |
| Warped but structurally sound | ✅ Repair |
| Small cracks or soft spots | ✅ Repair |
| Hollow-core door with deep swelling | ❌ Replace |
| Visible rot through the door | ❌ Replace |
| Mold penetrating the core | ❌ Replace |
| Door frame structurally compromised | ❌ Replace Frame |
Conclusion
A water damaged interior door is rarely the disaster it looks like. In most cases, a proper dry-out, some wood filler, and a fresh coat of paint is all it takes to bring it back to life — without spending a dime on replacement.
Work through the steps, fix the moisture source, and seal the door well when you’re done. Your door will look great and last for years. Got questions about your specific situation? Drop them in the comments — happy to help