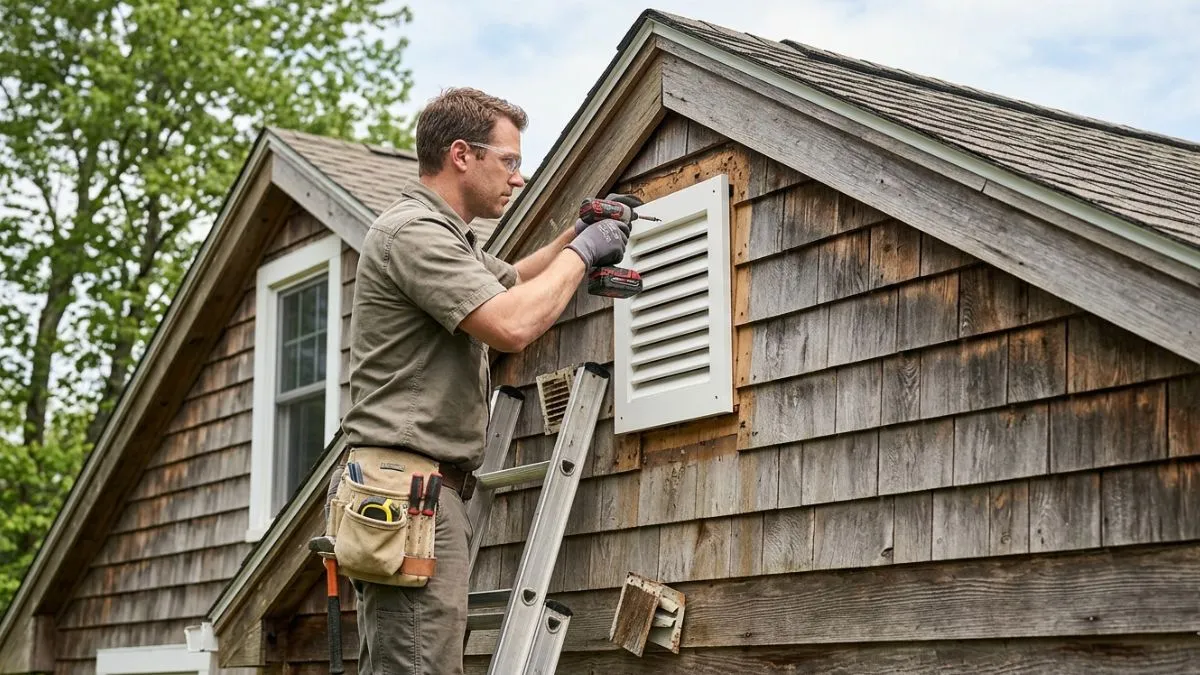
If your gable vent is damaged or clogged, you might think replacing it means tearing off your siding. But what if you could fix it without that hassle?
Imagine saving time, avoiding extra costs, and keeping your home looking great—all by swapping out your gable vent quickly and easily. You’ll discover simple steps to replace your gable vent without removing your siding. Keep reading to learn how you can tackle this project yourself and protect your home’s ventilation without the mess.
Preparing The Work Area
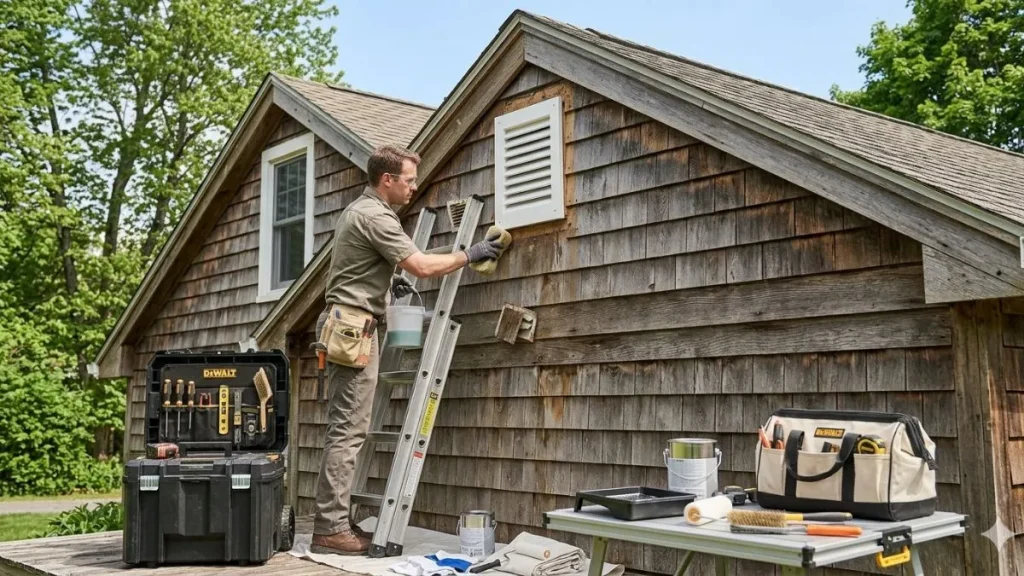
Replacing a gable vent without removing the siding requires careful preparation. Preparing the work area sets the foundation for a smooth and safe installation. It helps avoid damage to your home and ensures the new vent fits perfectly. Taking time to prepare saves effort and prevents mistakes during the replacement process.
Clearing Debris
Start by clearing all debris around the gable vent area. Dust, leaves, old paint chips, and cobwebs can block your work and cause problems during installation. Use a soft brush or broom to sweep away loose dirt gently. Avoid using high-pressure water that might damage the siding or loosen existing materials.
Check the area for any loose nails, screws, or broken pieces. Remove or fix these before proceeding. This step makes the surface ready and safe for the new vent.
- Use a ladder or scaffold for easy access to the vent.
- Wear gloves to protect your hands from sharp debris.
- Keep a small container nearby to collect nails and screws.
- Dispose of all debris properly to maintain a clean workspace.
Clear workspace also helps in spotting any hidden damage or mold that might need attention before vent installation. A clean and smooth area ensures the new vent seals tightly and works efficiently.
Inspecting The Existing Vent
Carefully examine the current gable vent before removal. Note its size, shape, and type to find a suitable replacement. Look for signs of damage such as cracks, warping, or rust. These signs show if the vent is beyond repair or just needs cleaning.
Check how the vent attaches to the siding. Some vents are nailed, while others use screws or adhesive. Understanding the attachment method helps plan the removal without siding damage.
| Inspection Item | What to Look For | Action Needed |
| Vent Material | Wood, metal, vinyl | Choose matching replacement |
| Fasteners | Nails, screws, adhesive | Prepare correct tools |
| Damage | Cracks, rust, rot | Repair or replace vent |
| Seal Condition | Gaps, worn caulk | Reseal after installation |
Inspect inside the attic near the vent. Look for signs of moisture or pests that may affect the vent’s function. This inspection helps avoid future problems and keeps your home safe.
Protecting Surrounding Siding
Protect siding around the vent before starting work. Siding can crack, chip, or scratch during vent removal and replacement. Use painter’s tape or masking tape to cover edges near the vent. This simple step prevents paint damage and keeps siding intact.
Lay a drop cloth or tarp on the ground to catch falling debris. This protects plants and walkways below the work area. Use foam or rubber padding between tools and siding to avoid dents or marks.
- Cover siding corners with tape for extra protection.
- Avoid leaning ladders or tools directly on the siding.
- Work slowly and carefully near siding edges.
Check siding condition before work. Loose or damaged siding should be fixed first. Secure siding panels tightly to prevent movement during vent replacement.
Taking these precautions keeps your home’s exterior looking neat and avoids costly repairs. A well-protected work area supports a clean and efficient vent replacement process.
Removing The Old Gable Vent
Replacing a gable vent without removing the siding saves time and effort. The key step is removing the old gable vent carefully. This process requires patience to avoid damaging the siding or the wall beneath. Proper removal prepares the area for a new vent, ensuring better ventilation and a clean look. This section explains how to remove the old gable vent step-by-step.
Loosening Fasteners
Start by locating the fasteners holding the gable vent in place. These fasteners can be screws, nails, or sometimes staples. Use the right tools like a screwdriver or pry bar to loosen them gently.
- Use a drill with a screwdriver bit for screws.
- For nails, a claw hammer or pry bar works best.
- Staples may require pliers or a flathead screwdriver.
Work slowly to avoid bending or breaking the vent. If the fasteners feel stuck, apply a penetrating oil and wait 10-15 minutes. This helps loosen rusted or tight fasteners.
Keep a container nearby to hold all removed fasteners. This stops loss and keeps the workspace tidy.
| Fastener Type | Recommended Tool | Tips |
| Screws | Drill or screwdriver | Use the correct bit size to avoid stripping |
| Nails | Claw hammer or pry bar | Work gently to avoid siding damage |
| Staples | Pliers or flathead screwdriver | Lift carefully to pull out without tearing |
Handling Sealed Or Painted Vents
Many gable vents are sealed with caulk or painted over to match the siding. This bonding makes removal harder. Use a utility knife to cut through the sealant around the vent edges.
- Score along the vent edges with a sharp blade.
- Work slowly to avoid cutting into the siding.
- After cutting, try to gently pry the vent loose with a flat pry bar or putty knife.
Paint can create a strong bond. In such cases, soften the paint by warming it with a heat gun or hairdryer. Keep the heat low to prevent siding damage.
Use gloves to protect your hands from sharp edges and the utility knife.
Avoiding Siding Damage
Preserving siding integrity is crucial during vent removal. Use tools with smooth edges to slide between the vent and siding without scratching.
- Place painter’s tape on siding edges near the vent to protect the surface.
- Apply steady, gentle pressure when prying to avoid cracking.
- Use a wide putty knife instead of a narrow tool to distribute force evenly.
If the siding is vinyl or wood, avoid sudden jerks or pulling. This prevents warping or splintering.
After vent removal, inspect the siding for small holes or cracks. Seal these spots with exterior-grade caulk to maintain weather resistance.
Installing The New Vent
Installing the new gable vent without removing siding requires care and precision. This step ensures proper airflow and protects your home from weather damage. The process focuses on placing the vent correctly, securing it firmly, and sealing it well. Each part helps the vent function and last long. Follow these steps to install the new vent safely and effectively.
Aligning The Vent Properly
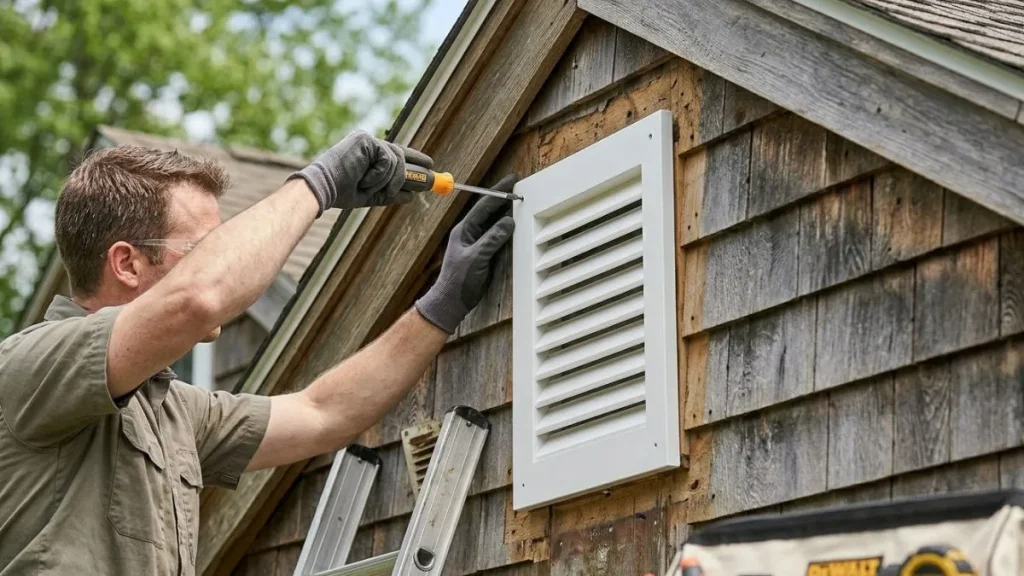
Start by positioning the new vent exactly where the old one was. Proper alignment ensures the vent fits well and works correctly. Use a level to check that the vent is straight horizontally and vertically. A misaligned vent can cause air leaks or look uneven on the wall.
Steps to align the vent:
- Hold the vent against the siding opening.
- Use a pencil to mark the edges on the siding.
- Check the marks with a level to keep the vent straight.
- Adjust the vent until it lines up perfectly with the opening.
Use the marks as guides to keep the vent steady during installation. This method avoids damage to siding and helps the vent sit flush with the wall. Proper alignment also improves the vent’s airflow and appearance.
Securing Fasteners
Once the vent is aligned, secure it with fasteners. Use corrosion-resistant screws or nails to prevent rust. These fasteners hold the vent tight against the siding and wall frame. Proper fastening stops the vent from shifting during strong winds or storms.
Follow these tips for fastening:
- Use screws long enough to reach the wall frame behind the siding.
- Place fasteners evenly around the vent edges for balanced support.
- Do not overtighten screws; this can crack the vent frame or siding.
- Pre-drill holes in the vent if needed to avoid splitting.
Here is a simple table of recommended fastener types:
| Fastener Type | Material | Recommended Use |
| Galvanized Screws | Steel | General outdoor use, good rust resistance |
| Stainless Steel Screws | Stainless Steel | Best for wet climates, superior rust resistance |
| Nails with Coating | Steel with protective coating | Quick fastening, less rust resistant than screws |
Sealing For Weatherproofing
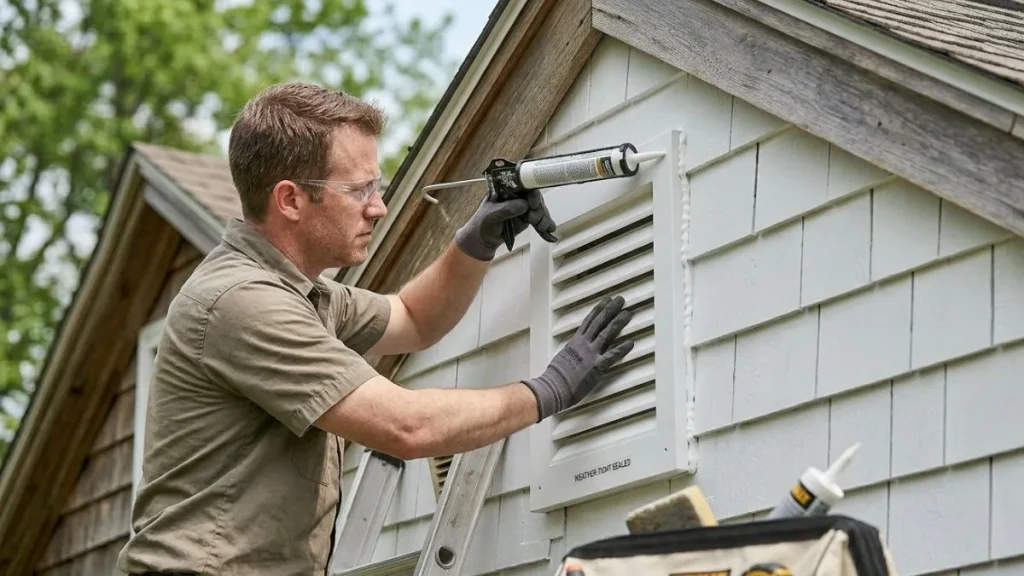
Sealing the vent edges prevents water, wind, and pests from entering your home. Proper sealing protects your siding and interior walls from damage. Use a high-quality exterior caulk designed for outdoor use. Silicone or polyurethane sealants work well for this task.
Steps for effective sealing:
- Clean the siding and vent edges before sealing.
- Apply a continuous bead of caulk around the vent perimeter.
- Use a caulk smoothing tool or your finger to spread the sealant evenly.
- Check for any gaps or holes and fill them completely.
- Allow the sealant to dry as per manufacturer instructions.
Proper sealing improves energy efficiency by stopping drafts. It also keeps insects and moisture out, extending the life of your siding and vent.
Final Checks And Maintenance Tips
Replacing a gable vent without removing siding saves time and effort, but final checks ensure the job is done right. Proper inspection and maintenance keep the vent working efficiently and protect your home. This section covers key steps to test the vent, check for leaks, and maintain it regularly. Follow these tips to extend the life of your gable vent and avoid future problems.
Testing Vent Functionality
After installing the new gable vent, testing its functionality is crucial. A vent must allow air to flow freely while keeping out pests and debris. Start by checking air movement from inside the attic or near the vent opening.
- Use a flashlight: Shine a light through the vent to check for blockages or damaged screens.
- Feel the airflow: Place your hand near the vent on a windy day or use a small piece of tissue paper to see if it moves.
- Check inside the attic: Look for signs of fresh air entering through the vent opening.
Testing helps confirm proper installation and that the vent supports attic ventilation. Poor airflow can cause moisture buildup and damage insulation.
| Test Method | What to Look For | Action if Problem Found |
| Flashlight Check | Clear passage, no debris | Remove any blockages or replace damaged screens |
| Airflow Test | Noticeable air movement | Reinstall vent or check attic ventilation system |
| Visual Inspection Inside | Fresh air entering vent opening | Seal gaps if airflow is weak or uneven |
Inspecting For Leaks
Leaks around the gable vent can cause water damage inside walls and attic spaces. Checking for leaks after replacement is vital to prevent mold and rot. Begin with a close visual inspection of the vent edges and surrounding siding.
- Look for gaps: Small cracks or spaces between the vent frame and siding allow water entry.
- Test with water: Use a hose to gently spray water on the vent area and watch inside for leaks.
- Check seals and caulking: Ensure all sealants are intact and dry.
Leaks often happen because of poor sealing or damaged flashing. Fix leaks quickly to maintain your home’s structure and energy efficiency.
| Leak Inspection Step | Signs of Leak | Recommended Fix |
| Visual Gap Check | Visible cracks or loose trim | Apply exterior-grade caulk or replace trim |
| Water Spray Test | Water dripping inside or wet spots | Reseal vent edges and inspect flashing |
| Sealant Inspection | Cracked or missing caulk | Remove old caulk and reapply fresh sealant |
Routine Maintenance Advice
Regular care keeps your gable vent working well for years. Routine maintenance prevents buildup, damage, and costly repairs. Schedule checks at least twice a year, ideally in spring and fall.
- Clean the vent: Remove dust, leaves, and debris from the vent face and screen.
- Inspect for pests: Look for nests or insect activity blocking airflow.
- Check sealants: Examine caulking and flashing for cracks or wear.
- Repair damage: Replace broken parts or reapply sealant promptly.
- Monitor attic humidity: Use a hygrometer to ensure proper ventilation.
Simple maintenance extends vent life and improves home comfort. Use a soft brush or vacuum attachment for cleaning. Avoid harsh chemicals that can damage vent materials.
| Maintenance Task | Tools Needed | Frequency |
| Cleaning Vent Screen | Soft brush, vacuum | Every 6 months |
| Sealant Inspection | Caulking gun, exterior caulk | Annually |
| Pest Inspection | Flashlight | Every 6 months |
| Check Attic Humidity | Hygrometer | Seasonally |
You May Read Also: Install Gable Vent Over Existing Siding
Conclusion
Replacing a gable vent without removing siding saves time and effort. You keep your home’s exterior safe and intact. The right tools make the job easier and cleaner. Simple steps help you finish quickly and well. Proper vent replacement improves attic airflow and comfort.
Small repairs can protect your home from damage. Try this method for a smooth, hassle-free update. Your house stays protected while you work. A neat, secure vent helps your home breathe better.