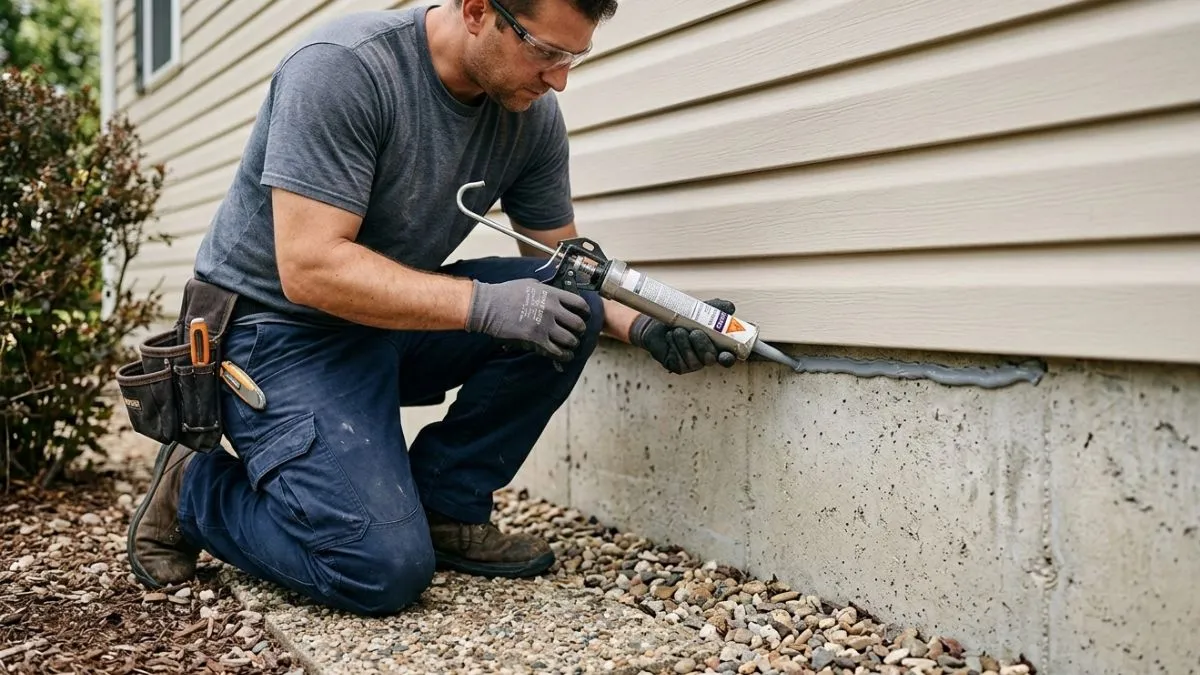
Have you noticed a gap between your siding and foundation? This small space might seem harmless, but it can cause big problems like water damage, pests, and energy loss.
Closing this gap is easier than you think, and doing it right will protect your home for years to come. You’ll learn simple, effective steps to seal that gap and keep your house safe and comfortable. Keep reading—your home will thank you!
Assessing The Gap
Closing the gap between siding and foundation is important to protect your home from water damage, pests, and energy loss. The first step is assessing the gap carefully. This means checking how big the space is and understanding what caused it. Knowing these details helps choose the right fix and keeps your home safe and strong.
Measuring The Space
Start by measuring the gap between the siding and foundation. Use a tape measure or ruler for accuracy. Check the gap in several places around your home because it might vary. Write down the measurements to compare later.
Follow these steps for measuring:
- Find the smallest and largest gap widths.
- Measure at least three different spots on each wall.
- Check the height of the gap from the ground to the bottom of the siding.
- Look for uneven or irregular spaces that might need special attention.
Identifying Causes
Finding the cause of the gap is key to stopping it from growing. Several factors can create or widen the space between siding and foundation.
Common causes include:
- Foundation settling: The house foundation may sink unevenly over time.
- Improper siding installation: Siding not attached correctly can pull away.
- Weather damage: Freeze-thaw cycles and moisture can warp materials.
- Soil erosion: Water washing away soil near the foundation changes its height.
- Tree roots: Roots growing near the foundation can push it up or crack it.
Preparing The Area
Closing the gap between siding and foundation requires careful preparation of the area. This step ensures the repair lasts long and prevents water, pests, or drafts from entering your home. Proper preparation includes cleaning out dirt and debris and removing old materials that might interfere with sealing. Taking time here makes the next steps easier and more effective.
Cleaning The Gap
Cleaning the gap is the first task. Dirt, leaves, and small debris often collect in this space. These block proper sealing and can cause damage if left inside. Use a stiff brush or a small broom to remove loose dirt and dust. For tougher grime, a putty knife or a scraper helps loosen stuck debris.
Follow these steps for thorough cleaning:
- Clear away loose dirt and leaves by hand or with a brush.
- Use a vacuum with a narrow nozzle to suck out small particles.
- Scrape off any old paint flakes or loose material inside the gap.
- Wash the area with water and mild detergent if necessary.
- Let the gap dry completely before proceeding.
| Tool | Purpose |
| Stiff brush | Remove loose dirt and dust |
| Putty knife | Scrape stuck debris and paint flakes |
| Vacuum cleaner | Extract small particles from the gap |
Cleaning well helps the sealant stick better and prevents future damage. Never skip this step for a neat and strong finish.
Removing Old Material
Old caulk, foam, or other materials often fill the gap partially or fully. These materials weaken over time and can cause leaks or cracks. Removing them is crucial to create a smooth surface for new sealant.
Here is a simple process to remove old material:
- Use a utility knife or scraper to cut and lift old caulk or foam.
- Pull out loose pieces by hand or with pliers.
- Sand rough edges gently to smooth the surface.
- Clean again to remove dust from sanding.
- Check the gap for any remaining material and repeat if needed.
Safety tip: Wear gloves and eye protection during removal. Old materials might contain harmful substances.
Removing old material allows the new sealant to adhere fully and create a tight, water-resistant seal. This step avoids peeling and cracking later on, ensuring your home stays protected.
Filling Small Gaps
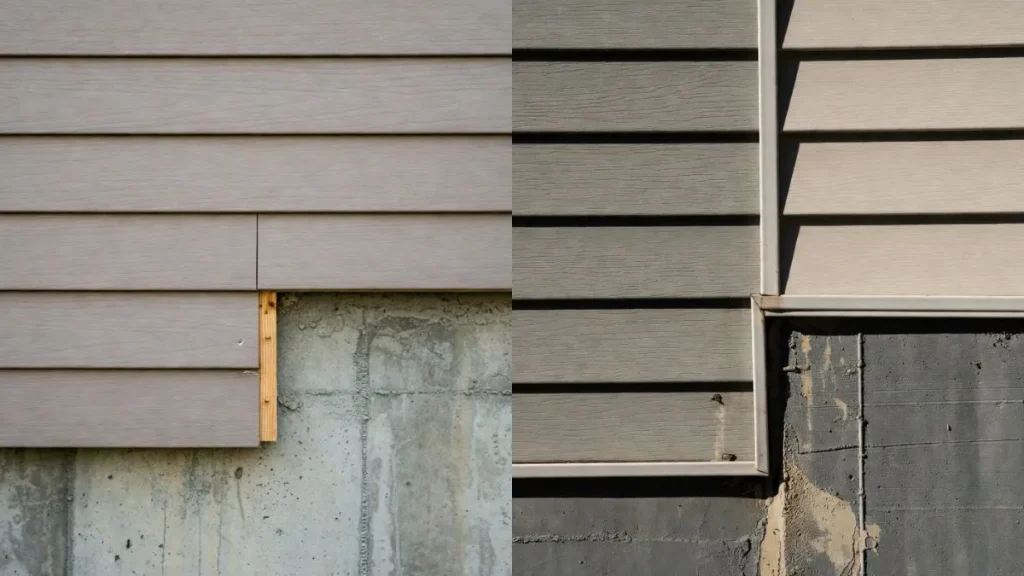
Small gaps between siding and foundation can let moisture, pests, and cold air enter your home. Filling these gaps is essential to protect your house and improve energy efficiency. Small gaps are easier to fix than large cracks, and using the right materials makes the job last longer. This section explains how to fill small gaps effectively to keep your home safe and comfortable.
Applying Caulk
Caulk is the best material to fill small gaps between siding and foundation. It is flexible, waterproof, and easy to apply. Choose a high-quality exterior caulk made for siding and masonry. Silicone or polyurethane caulk works well for this purpose.
Follow these steps to apply caulk:
- Clean the area: Remove dirt, dust, and old caulk using a brush or scraper.
- Cut the nozzle: Cut the caulk tube nozzle at a 45-degree angle, making a small opening.
- Load the caulk gun: Insert the tube into a caulk gun for easy application.
- Apply the caulk: Slowly squeeze the trigger and run a steady bead of caulk into the gap.
- Fill the gap fully: Ensure the caulk fills the gap without leaving holes or air pockets.
Use a caulk that matches the siding color for a neat look. Some caulks can be painted after drying, which helps blend the repair with your siding.
| Caulk Type | Best Use | Drying Time | Paintable |
| Silicone | Waterproof, flexible gaps | 1 to 2 hours | No |
| Polyurethane | Strong adhesion, exterior use | 24 hours | Yes |
| Acrylic Latex | Easy to clean, paintable | 30 minutes to 1 hour | Yes |
Smoothing And Finishing
After applying caulk, smoothing it gives a clean and professional look. It also helps the caulk stick better and prevents cracks. Use a wet finger or a caulk smoothing tool to shape the caulk bead.
Follow these tips for smooth finishing:
- Keep your finger or tool slightly wet to avoid sticking.
- Run the tool along the caulk bead in one steady motion.
- Remove excess caulk immediately with a damp cloth.
- Check the gap edges to ensure the caulk seals well.
Closing Larger Gaps
Closing larger gaps between siding and foundation requires more than just basic caulking. These gaps can let water, air, and pests inside your home. Filling them properly protects your house and improves energy efficiency. Two common ways to fill big spaces are installing a backer rod and using expanding foam. Both methods create a solid base for sealing and prevent damage over time.
Installing Backer Rod
A backer rod is a flexible foam strip used to fill wide gaps before sealing. It acts as a filler and support for caulk or sealant. This method works well for gaps larger than 1/4 inch and up to 1 inch wide. The backer rod controls the depth of the sealant and makes the seal last longer.
Steps to install a backer rod:
- Clean the gap by removing dirt and loose material.
- Choose a backer rod slightly wider than the gap.
- Push the backer rod into the gap using a putty knife or your fingers.
- Make sure the rod sits about 1/4 inch below the siding surface.
- Apply sealant over the backer rod to close the gap completely.
Using Expanding Foam
Expanding foam is a quick way to fill large gaps between siding and foundation. It expands after application, filling the space completely and sealing cracks tightly. This foam is ideal for irregular or deep gaps that are hard to fill with backer rods.
How to apply expanding foam:
- Clean the gap from dust and debris.
- Wear gloves and protective eyewear.
- Shake the foam can well before use.
- Insert the nozzle into the gap and spray foam slowly.
- Fill about half the gap to allow foam expansion.
- Wait for the foam to cure and harden (usually 8 hours).
- Trim excess foam flush with siding using a sharp knife.
- Cover the foam with paint or sealant for UV protection.
Adding Flashing For Protection
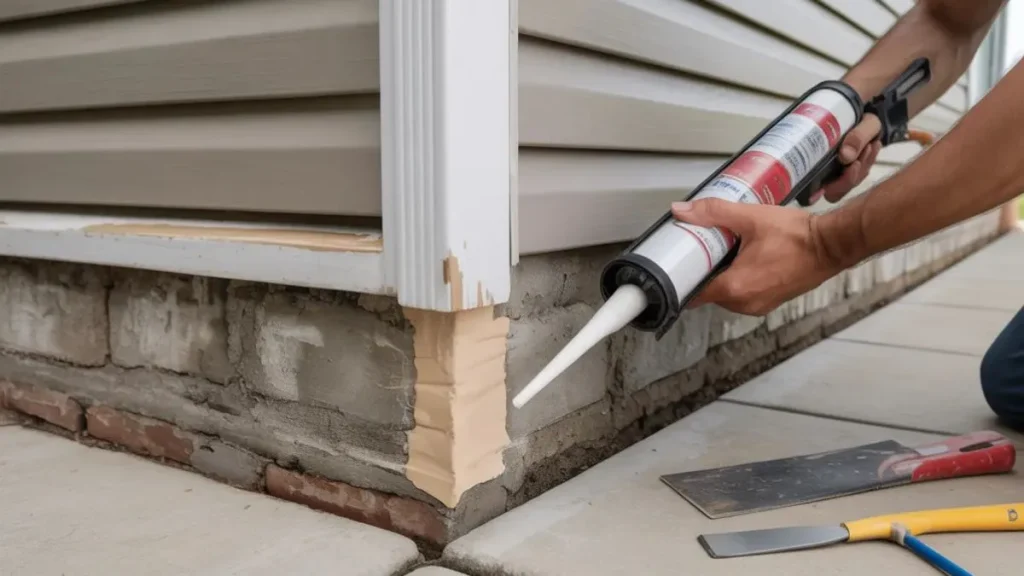
Closing the gap between siding and foundation protects your home from water damage and pests. Adding flashing is a key step in this process. Flashing acts as a shield that directs water away from vulnerable areas. It stops moisture from seeping behind the siding and into the foundation. Proper flashing extends the life of your siding and prevents costly repairs. This section explains the types of flashing and how to install them correctly for strong, long-lasting protection.
Types Of Flashing
Flashing comes in several types, each designed for specific uses around siding and foundation. Choosing the right type depends on your home’s materials and the size of the gap. Here are the most common flashing types:
- Metal Flashing: Made from aluminum, copper, or galvanized steel. It is durable and resists rust.
- Vinyl Flashing: Lightweight and easy to cut. Works well with vinyl siding but less durable than metal.
- Self-Adhering Flashing Tape: Comes with a sticky backing. Ideal for sealing small gaps and preventing leaks.
- Drip Edge Flashing: Designed to direct water away from the foundation. Usually metal and installed at the bottom edge of siding.
Proper Installation Techniques
Installing flashing correctly ensures it blocks water and seals the gap. Follow these steps for a secure fit:
- Clean the area: Remove dirt, debris, and old caulk from the gap.
- Measure and cut: Cut flashing pieces to fit the length of the gap with some overlap.
- Place flashing: Slide the flashing behind the siding and extend it over the foundation edge.
- Secure flashing: Use corrosion-resistant nails or screws to fasten flashing, avoiding gaps.
- Seal edges: Apply exterior-grade caulk along flashing edges to block water entry.
- Check alignment: Ensure flashing slopes slightly away from the house to guide water out.
You May Also Like: Filling Gaps Around Window Frames
Conclusion
Closing the gap between siding and foundation protects your home well. Small cracks let water, bugs, and cold air inside. Use simple tools and materials to seal these spaces. Regular checks keep your siding and foundation in good shape. Taking action now saves you money and trouble later.
Keep your home safe and dry with this easy fix. A tight seal helps your house last longer and stay comfortable. Don’t wait—start sealing gaps today for a stronger home.