

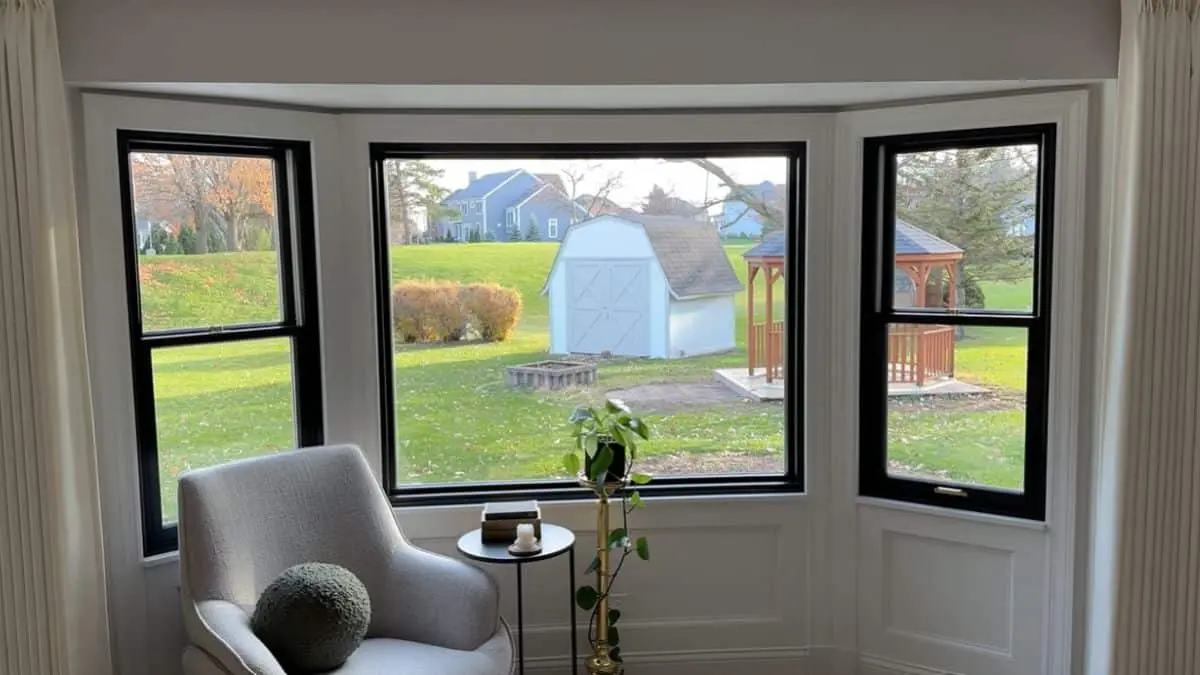
Installing wainscoting around windows without casing is one of the cleaner, more modern approaches to trimwork — and it sidesteps hundreds of dollars in finish carpentry labor.
The problem most DIYers hit is simple: every tutorial assumes your windows already have casing, leaving you with no clear model for how the panels should terminate cleanly at the window frame.
This guide covers 4 practical methods for handling caseless windows — from returns and inside corners to extended stiles and picture frame borders — so you leave knowing exactly which approach fits your window type, skill level, and budget.
Why Caseless Windows Complicate Wainscoting Installation
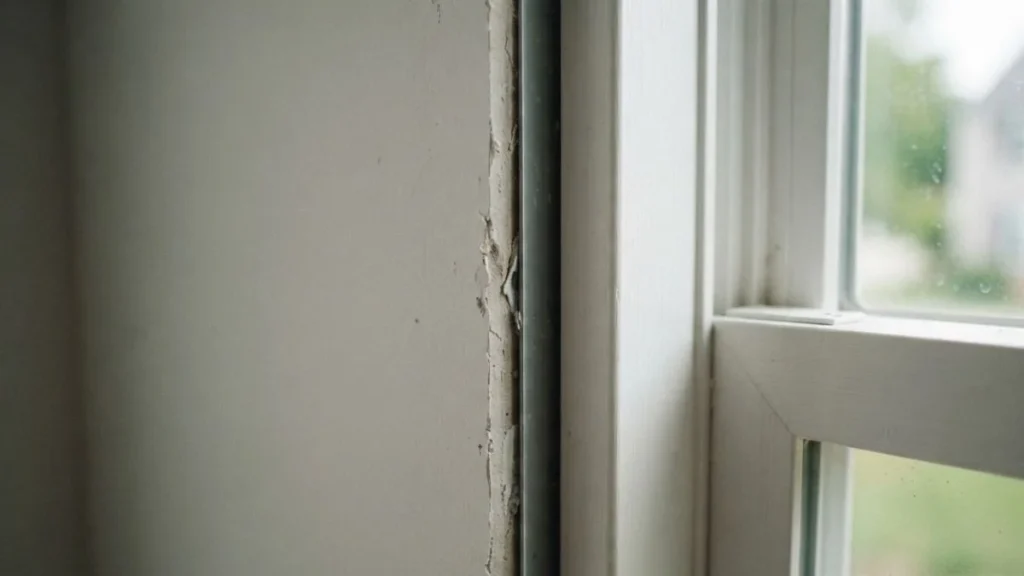
Caseless windows create a specific structural problem: your wainscoting panels have no trim edge to terminate against, so the raw end of your panel — whether MDF, beadboard, or solid wood — sits exposed next to bare drywall or the window jamb itself.
The Thickness Mismatch Problem
Standard wainscoting panels typically run 3/8 to 3/4 inch thick. Window jambs and the surrounding sheetrock sit at their own depth, and without casing bridging the gap, you’re left with a visible step between the panel face and the window frame. That gap isn’t just cosmetic — it collects dust, looks unfinished, and signals an incomplete installation to anyone who looks closely.
Traditional trim carpentry solves this automatically. Casing overlaps both the jamb and the wall surface, hiding every edge and thickness transition in one piece of wood. Remove the casing, and that built-in problem-solver disappears.
Where You’ll Encounter This Most
Three situations produce caseless windows most often:
- Older homes where casing was never installed or was removed during a renovation
- Budget builds and flips where window trim was skipped to cut costs
- Modern minimalist designs that deliberately use a “California trim” or drywall-return style, where sheetrock wraps directly into the window opening
Each situation calls for a different fix. A window with a clean drywall return needs a different approach than one with an exposed jamb and no surrounding trim at all.
Knowing which situation you’re working with is the first decision in choosing the right caseless window wainscoting solution.
Method 1: Expose Drywall Around Window Openings
This method skips window trim entirely and lets a clean band of painted drywall act as the visual border between your wainscoting panels and the window frame. It’s the fastest, lowest-cost approach — and in the right setting, it looks intentional and sharp.
When This Approach Works Best
Exposed drywall returns work best in modern, minimalist, or Scandinavian-style interiors where the “California trim” look is already established. If other windows in the room already use drywall returns instead of casing, matching that detail keeps the space consistent. Budget-wise, this method costs almost nothing beyond paint and primer.
Installation Process
Follow these steps in order for a clean result:
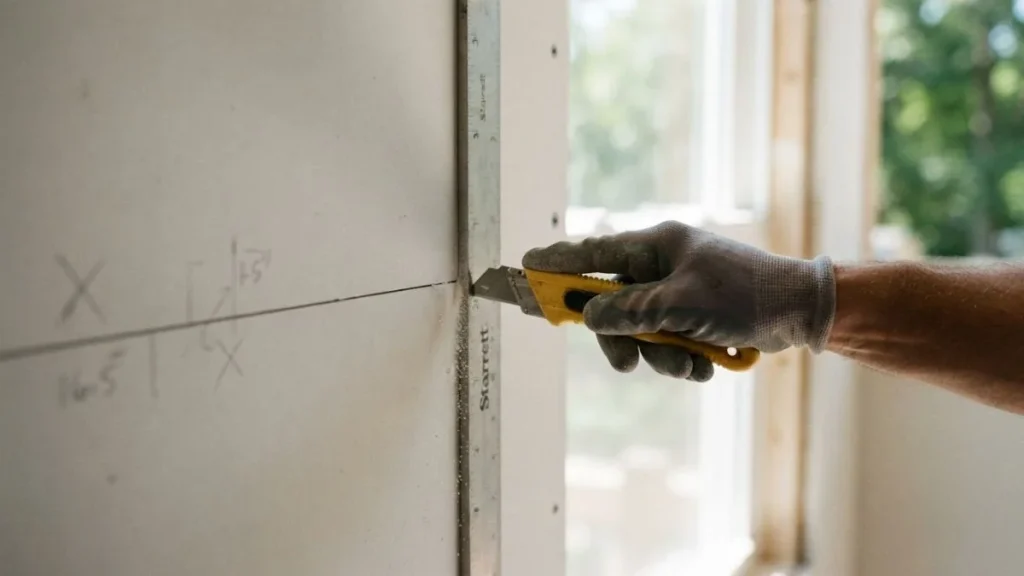
- Measure 1 inch out from the window jamb on all sides and mark a straight line using a pencil and a steel straightedge.
- Score the sheetrock along that line with a sharp utility knife — three to four firm passes, not one heavy stroke.
- Install your wainscoting panels flush to that scored line, butting the panel edge cleanly against the exposed drywall band.
- Sand the exposed drywall edge to remove any paper fray or rough spots.
- Apply a coat of drywall primer, then finish with the same paint used on the surrounding wall.
Visual and Durability Trade-Offs
The result is clean and contemporary, but exposed drywall edges near windows carry real risk. Condensation, cleaning spray, and accidental contact all degrade unprotected sheetrock faster than wood trim would. Seal the edges thoroughly with primer and consider a semi-gloss or satin finish — both resist moisture better than flat paint and hold up to light scrubbing.
Method 2: Install Window Casing First

Adding casing before your wainscoting panels go up is the most traditional solution — and the one that eliminates every edge-termination problem in a single step. If you’re willing to do the trim carpentry upfront, this method produces the cleanest, most durable result of all four approaches.
Selecting the Right Casing Profile
Casing thickness should match or slightly exceed your wainscoting panel thickness — typically 3/4 to 1-1/4 inches. Going thinner than your panel face creates a recessed edge that looks wrong and collects shadow lines. Common profiles include:
- Colonial: Curved, traditional profile — pairs well with raised-panel wainscoting
- Ranch: Flat with a slight bevel — works with beadboard and transitional styles
- Craftsman: Wide, flat board with a back-band edge — suits Arts and Crafts or bungalow interiors
- Flat board: Clean, square-edged stock — the right call for modern or minimalist paneled walls
Match the visual weight of the casing to your wainscoting height. Taller panels need wider casing — a 2-1/2 inch casing on 60-inch wainscoting looks undersized and unbalanced.
Installation Sequencing
Install all four sides of the window casing before a single wainscoting panel goes up. The casing creates a hard, finished edge for your panels to butt against, which eliminates angled cuts, gap-filling, and guesswork at the window opening. Panel layout becomes straightforward — measure from casing edge to corner, cut, and fasten.
When to Choose This Approach
This method suits formal dining rooms, traditional living spaces, and any interior where long-term durability and a furniture-grade finish matter. It completely hides the sheetrock edge, requires no special panel termination technique, and makes future repainting and maintenance significantly easier.
Method 3: Bevel-Back Wainscoting Panels at Windows
Bevel cutting is the trim carpenter’s precision solution — it works when you have a thin or recessed casing already in place but not enough thickness for your wainscoting panel to butt against cleanly. Instead of adding more trim or exposing drywall, you angle the back edge of the panel itself so it slides tight against the existing casing face.
Understanding Bevel Angles for Panel Edges
The bevel runs on the back of the panel edge, not the face. This creates a tapered edge that presses flush against the casing surface while the panel face remains flat against the wall. Typical bevel angles range from 15 to 30 degrees, depending on how far the casing projects from the wall and how thick your panel stock is. Thicker panels meeting shallower casings need steeper angles.
Measuring and Marking Bevels Accurately
Inconsistent casing thickness is the biggest obstacle here — older windows especially vary by 1/8 inch or more around the same frame. Follow this process:
- Measure casing projection at four points — both sides, top, and bottom — using a combination square.
- Find the smallest measurement and use that as your reference depth to avoid overcutting.
- Transfer the angle to your panel back using a Swanson Speed Square or a digital bevel gauge set to your calculated angle.
- Cut a test piece from scrap stock first and dry-fit it against the actual window before committing to the full panel.
Common Mistakes with Beveled Installations
3 errors consistently produce visible gaps after installation:
- Skipping the test cut: Even a 2-degree error creates a gap wide enough to see from across the room.
- Ignoring wood movement: Solid wood panels expand and contract seasonally — leave 1/16 inch of clearance so the bevel doesn’t bind against the casing in summer.
- Assuming the window frame is square: Most aren’t. Measure every panel individually rather than cutting a batch to the same angle.
Method 4: Stop Wainscoting Below the Window Sill
This method solves the caseless window problem by avoiding it entirely. Instead of running panels up to window height, you terminate the wainscoting below the sill — letting the window stand on its own without any trim-to-panel junction to manage.
Design and Proportion Considerations
The standard termination height for this approach is 36 to 48 inches from the finished floor. In rooms with 9-foot or taller ceilings, stopping at 48 inches keeps the wainscoting from feeling squat. In rooms with large windows that start close to the floor — common in craftsman bungalows and modern builds — stopping below the sill at 36 inches creates a natural visual break that feels deliberate rather than incomplete.
The effect is a floating panel wall that grounds the room without competing with the windows. It reduces visual weight compared to full-height or wrap-around paneled walls, which matters in smaller rooms where tall wainscoting can feel oppressive.
Installation Approach and Visual Impact
Execution is straightforward compared to the other three methods:
- Determine your termination height and snap a level chalk line across all walls, including through window sections.
- Install your wainscoting panels along all non-window walls at consistent height.
- On walls containing windows, stop the panel run where it meets open wall space below the sill.
- Cap the entire run — including open wall sections — with a continuous cap rail at the same height, creating an unbroken horizontal line around the room.
The cap rail does the heavy lifting here. A continuous rail at consistent height visually connects the paneled sections and the bare wall sections, so the design reads as intentional. Without it, the installation looks unfinished. For contemporary or minimalist spaces, a flat 1×4 cap rail in primed MDF delivers a clean, furniture-grade finish at low cost.
Measuring and Planning Before Installation
Poor measurement is the single most common reason wainscoting installations fail at windows. Spend 30 minutes on accurate measurement before touching a single panel, and every method covered above becomes significantly easier to execute.
Map Every Window Opening
Measure each window opening at 3 heights: just below the sill, at mid-jamb, and at the top of where your panels will meet the frame. Record all three numbers — if they differ by more than 1/8 inch, your frame is out of square and every panel adjacent to that window needs to be measured and cut individually. Do not assume symmetry between windows in the same room, even if they look identical.
Also measure frame depth — how far the jamb face sits from the finished wall surface. Older windows frequently sit 1/4 to 1/2 inch deeper than modern ones, which directly affects bevel angle calculations and drywall exposure width.
Sketch Your Panel Layout First
Before cutting anything, draw a simple elevation sketch of each wall containing a window. Mark:
- Window centerline and exact width
- Panel widths on each side of the opening
- Where seams will fall relative to the window edge
- Which method you’re using to terminate panels at the frame
This sketch catches problems like a panel seam landing directly at a window corner — one of the most common and avoidable layout errors in paneled wall installation.
Build Your Materials List by Method
Each approach needs different supplies. A bevel-cut installation requires a digital bevel gauge and a miter saw with bevel capacity. Drywall exposure needs primer, sanding blocks, and semi-gloss paint. Casing-first installs need finish nails, wood glue, and your chosen casing profile stock. Write the list against your chosen method before ordering anything — panel installation errors caused by missing materials mid-project cost more in time than the materials themselves.
You May Read Also: Window Jamb Depth for 2X4 Wall
FAQ
What’s the best method for different window styles and room aesthetics?
For modern and minimalist rooms, use the drywall exposure method or stop panels below the sill. For traditional and formal spaces, install casing first — it produces the cleanest, most durable result. Bevel-back cutting suits transitional rooms where thin existing casing is already in place and adding new trim would look out of proportion.
How thick should window casing be if you add it before wainscoting?
Casing should match or slightly exceed your panel thickness — typically 3/4 to 1-1/4 inches. Going thinner than the panel face creates a recessed shadow line that looks unfinished and is difficult to correct after panels are installed.
Can you install wainscoting around windows without any special cuts?
Yes — stopping panels below the window sill with a continuous cap rail requires no special cuts at the window frame at all. It’s the most beginner-friendly approach and works on any window style, including those with irregular or out-of-square frames.
Do building codes affect how wainscoting meets window openings?
No specific residential building code governs wainscoting-to-window termination, but local codes may require specific fastening methods for wall panels. Always fasten into studs using finish nails or construction adhesive rated for interior panel installation.
Your Caseless Window Solution Is Ready to Install
The method you choose matters less than matching it to your window’s actual depth, your room’s aesthetic, and your skill level — get those three factors right and any of the four approaches produces a finished, professional result. Start by measuring your window jamb depth and frame squareness at three heights today, then sketch your panel layout before ordering a single board. That one planning session eliminates the guesswork that stalls most caseless window wainscoting projects before they begin.


