You’ve just finished painting your cabinet doors, and they look amazing. But now comes the tricky part: rehanging them perfectly.
If you’ve ever struggled with misaligned doors, loose hinges, or uneven gaps, you’re not alone. Getting your cabinet doors back in place can feel frustrating and time-consuming. But don’t worry—this guide will walk you through simple steps to make the process smooth and stress-free.
Inspecting The Cabinet Doors
Rehanging cabinet doors after painting is an important step to finish your project. Properly inspecting the doors before rehanging helps avoid damage and ensures a smooth look. Checking the paint dryness and examining hinges and hardware are key parts of this process. Taking time to do these checks saves effort later and keeps your cabinets looking great.
Checking Paint Dryness
Before rehanging, the paint must be completely dry. Wet or tacky paint can easily get damaged when you handle the doors. It may also cause smudges or fingerprints on the surface.
Signs the paint is dry:
- The surface feels hard and smooth to touch.
- There is no stickiness or softness when pressed lightly.
- The paint color looks even and fully set.
Drying time can vary depending on the paint type and weather. Use this table as a guide for common drying times:
| Paint Type | Touch Dry Time | Rehang Ready Time |
| Latex Paint | 1-2 hours | 24 hours |
| Oil-based Paint | 6-8 hours | 48 hours |
| Acrylic Paint | 1-2 hours | 24 hours |
Keep the painted doors in a dust-free area while drying. Avoid touching the surface during this time. Patience helps protect your paint job and makes the doors look their best.
Examining Hinges And Hardware
Check the hinges and hardware carefully before rehanging the doors. Loose or damaged parts can cause problems later. The doors may not hang straight or could fall off.
Steps to examine hinges and hardware:
- Look for rust or corrosion on metal parts.
- Make sure screws are tight and not stripped.
- Test hinges by moving them to check smoothness.
- Replace any bent or broken parts immediately.
- Clean hardware to remove dirt and old paint.
Use a screwdriver to tighten screws if needed. If screws do not hold well, try using longer screws or anchors. Properly working hinges make the doors open and close easily.
Organize all parts before rehanging. This helps avoid losing screws or hardware. Small containers or trays work well to keep everything together.
Aligning The Doors
Rehanging cabinet doors after painting is an important step. Proper alignment makes cabinets look neat and work well. Taking time to adjust doors helps avoid problems like sticking or uneven gaps. Aligning the doors correctly gives a fresh, clean look to your cabinets.
Positioning On The Frame
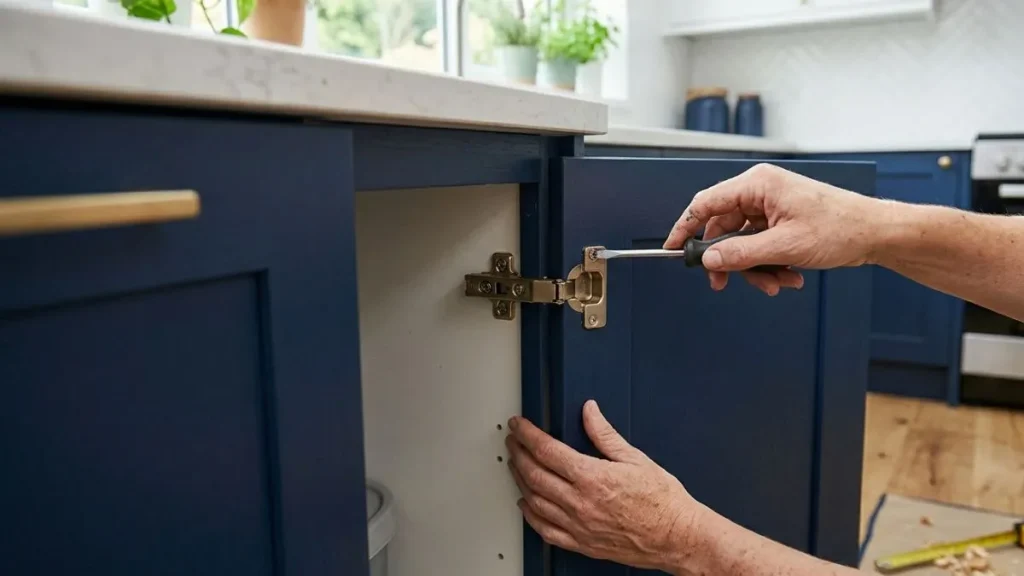
Start by placing the cabinet door on its frame carefully. The door should sit flush against the frame without gaps or overlaps. Check that the hinges fit well into the slots on the frame. Use a screwdriver to attach the hinges loosely at first. This allows some movement to adjust the door.
Follow these steps for better positioning:
- Hold the door in place and check the top and bottom edges.
- Adjust the door so it lines up with the cabinet edges evenly.
- Tighten the screws a little to keep the door steady but adjustable.
- Open and close the door to see if it moves smoothly.
Sometimes, small shims can help if the door does not sit flat. Shims are thin pieces that fill gaps behind hinges. They help fix doors that lean or tilt. Use a level tool to check if the door is straight. Adjust as needed before fully tightening the screws.
Ensuring Even Gaps
Even gaps between cabinet doors and frames make the cabinets look tidy. Uneven gaps can cause doors to rub or look sloppy. Measure the space around the door edges with a ruler or gap gauge. The gap should be the same size on all sides.
Here is a simple guide for gap sizes:
| Gap Location | Recommended Size |
| Between door and frame | 1/8 inch (3 mm) |
| Between two doors (double doors) | 1/16 to 1/8 inch (1.5 to 3 mm) |
Use the following tips to keep gaps even:
- Adjust the hinge screws slightly to move the door side to side.
- Check gaps at the top, bottom, and sides of the door.
- Make small changes and test by closing the door each time.
- Remember that paint can add thickness, so gaps may need slight increase.
Patience helps. Take your time to get gaps just right. This keeps your cabinet doors working well and looking good.
Attaching Hinges
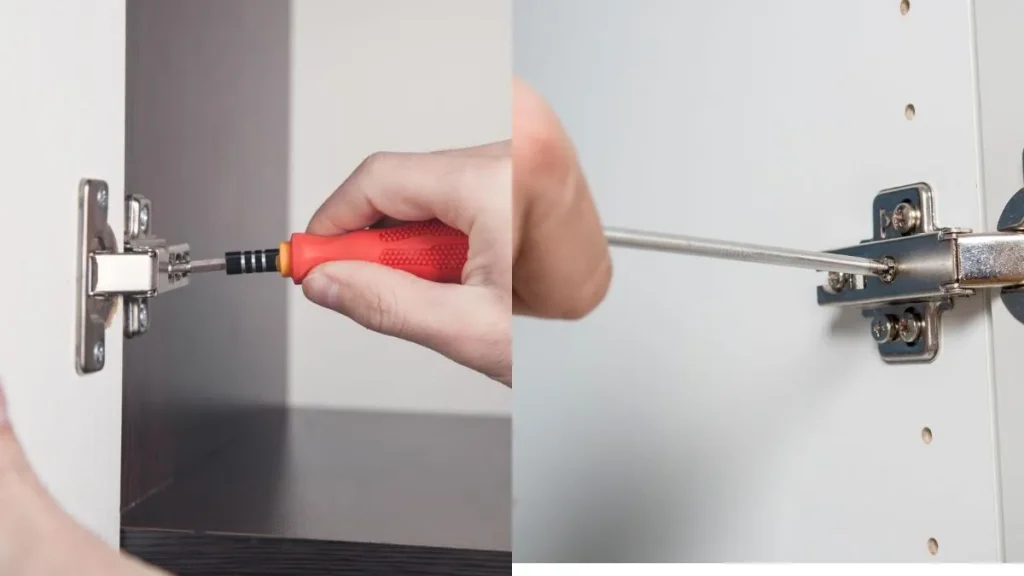
Rehanging cabinet doors after painting is an important step. It helps to make sure the doors look neat and work well. Attaching hinges correctly will keep the doors strong and aligned. Following these steps will make your cabinet doors open and close smoothly.
Screwing Hinges To Doors
Start by placing the hinge in the right spot on the door. Make sure the hinge lines up with the marks from before painting. Use a pencil to mark where the screws will go. This helps to avoid mistakes.
Use a drill or screwdriver to put the screws in. Be careful not to force the screws too hard. Tight screws can damage the door or hinge.
- Choose the right screws: Use screws that fit the hinge holes well.
- Pre-drill holes: Make small holes before screwing to avoid splitting the wood.
- Work slowly: Tighten screws a little at a time for better control.
Check that the hinge is flat against the door. If it sticks out, the door may not close properly. Tighten or loosen screws as needed to fix this. Repeat the same steps for the other hinges on the door.
Securing Hinges To Cabinet
Align the door with the cabinet before attaching hinges. Hold the door in place so the hinges match the cabinet side. Mark screw spots on the cabinet frame with a pencil.
Use a drill to make pilot holes for the screws. This helps screws go in straight and stops wood from splitting. Screw the hinges into the cabinet using a screwdriver or drill. Tighten screws firmly, but do not over-tighten.
| Step | Tip |
| Hold door level | Use a level or ask for help to keep door straight |
| Mark screw holes | Mark clearly with pencil for exact placement |
| Pre-drill holes | Use drill bit smaller than screws for easy screwing |
| Secure screws | Use a screwdriver to avoid stripping screws |
After attaching, open and close the door several times. Make sure it moves smoothly and fits well. Adjust screws if the door is loose or too tight. Proper hinge attachment keeps cabinet doors working well for a long time.
Adjusting Door Fit
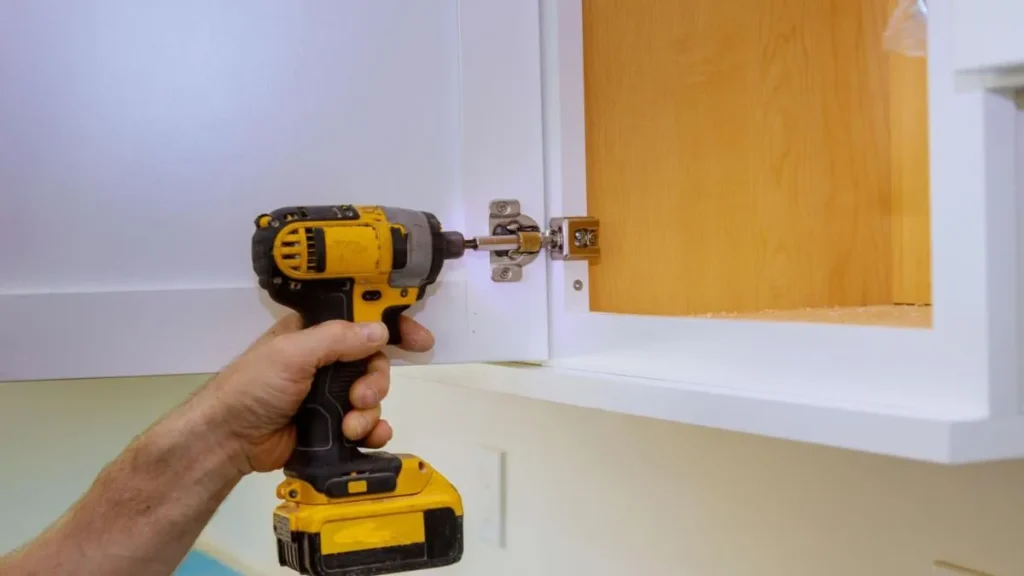
Rehanging cabinet doors after painting is an important step. It helps the doors fit well and look neat. Adjusting the door fit means making sure the doors open and close smoothly. This process can improve the cabinet’s appearance and function. Proper adjustment avoids gaps or rubbing between doors and frames. It keeps your kitchen or room looking fresh and tidy.
Tightening Screws
Start by checking all the screws on the cabinet doors. Screws can become loose during painting or moving. Tightening these screws will help the doors stay in place and work well.
Follow these steps to tighten screws safely:
- Use a screwdriver that fits the screw heads exactly.
- Turn screws clockwise gently to avoid stripping them.
- Check each hinge screw on both the door and cabinet frame.
- Tighten screws until they feel snug but do not force them too hard.
Loose screws can cause doors to sag or not close properly. Tight screws keep hinges strong and doors aligned. If screws are damaged or worn, replace them with new ones. Using the right size and type of screw is important for stability.
Fine-tuning Alignment
Proper alignment makes cabinet doors look balanced and work smoothly. Small adjustments can fix doors that are uneven or rubbing. Fine-tuning involves moving the door slightly on its hinges.
Steps for alignment include:
- Open the door and look at the gaps around it.
- Check if the door is higher, lower, or tilted compared to others.
- Use the hinge adjustment screws to move the door up, down, left, or right.
- Make small changes and close the door to test the fit.
- Repeat adjustments until the door sits evenly.
Some hinges have three types of adjustments:
| Adjustment Type | Purpose | How to Adjust |
| Vertical | Moves door up or down | Turn screws near hinge plate |
| Lateral | Moves door left or right | Turn screws on hinge arm |
| Depth | Moves door closer or farther from cabinet | Adjust screws near cabinet frame |
Patience is key. Small changes can make a big difference. Well-aligned doors improve cabinet look and function.
Final Touches
Rehanging cabinet doors after painting is an important step. It makes sure your cabinets look neat and work well. Taking time to do this correctly helps keep your paint job clean and fresh. It also makes your kitchen or room feel new and tidy.
Check The Hinges
Look at the hinges closely before you start. Make sure they are not bent or rusty. If the hinges are old, it’s best to replace them. New hinges help the doors open and close smoothly.
Align The Doors
Proper alignment is key to make the doors look good. Use a level or ruler to check if the doors are straight. Adjust the hinges slowly to fix any gaps or uneven spaces. Doors that line up well give a neat finish.
Tighten All Screws
Secure all screws tightly to keep the doors stable. Loose screws can cause the doors to sag or fall. Check both the cabinet side and the door side screws. Tighten them with a screwdriver but avoid over-tightening.
Test The Door Movement
Open and close each door several times. The movement should be smooth and quiet. Listen for any rubbing sounds or sticking points. If you find any, adjust the hinges or screws again.
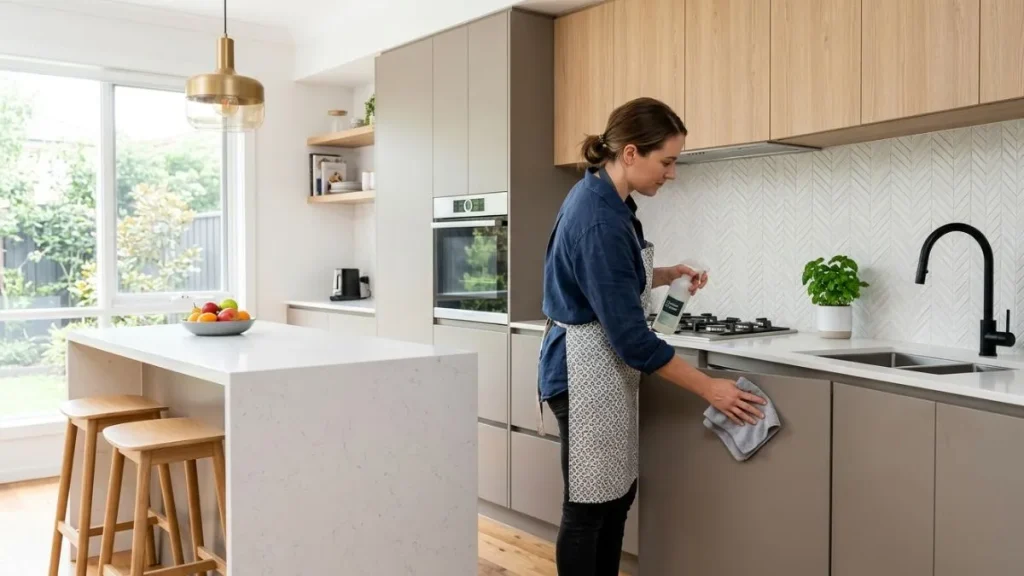
Clean The Surfaces
Remove any dust or fingerprints from the doors and handles. Use a soft cloth and mild cleaner. Clean surfaces help keep your paint looking fresh and bright.
You May Like Also: How to Fix Crooked Cabinet Doors
Conclusion
Rehanging cabinet doors after painting takes care and patience. Start by checking your hinges and screws for any damage. Align the doors carefully to avoid uneven gaps. Tighten screws just enough to hold doors firmly, not too tight. Test the doors by opening and closing them slowly.
Adjust as needed for smooth movement. Taking your time helps your cabinets look neat and fresh. Small steps lead to great results. Enjoy your refreshed kitchen with doors that work well and look clean.