Are you tired of feeling boxed in by your raised ranch kitchen? That wall between your kitchen and living space might be holding you back from the open, bright home you’ve been dreaming of.
Removing that kitchen wall can transform your entire space—making it feel larger, more inviting, and perfect for gatherings with family and friends. You’ll discover what to consider before knocking down that wall, how it can boost your home’s value, and the steps to do it safely.
Ready to unlock your kitchen’s full potential? Keep reading to find out how wall removal can change your home for the better.
Planning Wall Removal
Removing a kitchen wall in a raised ranch home changes the space a lot. Planning wall removal carefully saves money and time. It makes sure the work is safe and looks good. This section explains how to plan wall removal step-by-step for a raised ranch kitchen.
Assessing The Wall Type
First, find out if the wall is load-bearing or not. Load-bearing walls support the house’s weight. Removing them needs extra care and support. Non-load-bearing walls are easier to remove.
- Check the house plans if available.
- Look for beams or columns near the wall.
- Consult a professional for confirmation.
Getting Proper Permits
Most cities require permits before removing walls. Permits keep the project legal and safe. Applying early avoids delays and fines.
- Contact your local building department.
- Submit plans showing the wall removal.
- Wait for approval before starting work.
Planning Structural Support
Support must replace the removed wall if it is load-bearing. This keeps the house strong and safe.
| Support Type | Description | Common Use |
| Beam | Horizontal support that carries weight. | Above openings or removed walls. |
| Column | Vertical support holding beams. | Under beams to transfer load to foundation. |
| Header | Strong frame over doors or windows. | Supports weight around openings. |
Clear the kitchen before work starts. Protect floors and cabinets from dust and damage.
- Remove furniture and appliances if possible.
- Cover cabinets and counters with plastic sheets.
- Set up a dust barrier between work area and rest of the house.
Preparing The Kitchen
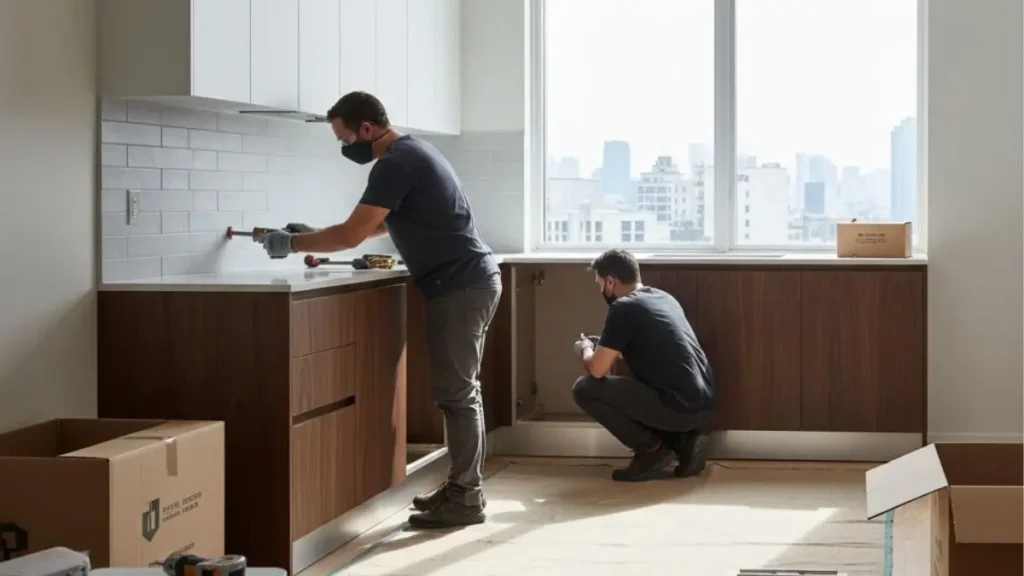
Removing a wall in a raised ranch kitchen changes the whole space. Preparing the kitchen well makes the process safer and smoother. This step involves clearing the area, protecting your belongings, and planning for dust and debris. Proper preparation helps avoid damage and saves time during the wall removal.
Clearing The Kitchen Area
Remove all items from countertops and cabinets near the wall. Take out small appliances, dishes, and food. Move furniture and rugs to another room or cover them with plastic sheets. This creates space for workers and protects your things from dust and damage.
Protecting Surfaces And Floors
Cover floors with drop cloths or plastic sheeting. Use painter’s tape to keep coverings in place. Protect cabinets, sinks, and appliances with plastic wrap or cardboard sheets. This prevents scratches, paint splatters, and dust buildup.
Shutting Off Utilities
Turn off electricity, water, and gas lines near the wall. Check if the wall has electrical wires, plumbing, or gas pipes. Shutting off utilities avoids accidents and damage during removal. Call a professional if you are unsure about handling utilities.
Setting Up Dust Control
Seal doorways and openings with plastic sheeting and tape. Use a fan or air scrubber to keep dust from spreading. Place a vacuum cleaner nearby for quick cleanup. Controlling dust keeps your home cleaner and protects your health.
Gathering Tools And Materials
Prepare tools like a hammer, crowbar, drill, and safety gear. Have gloves, goggles, masks, and ear protection ready. Keep trash bags and a bin nearby for debris. Having everything ready saves time and keeps the work safe.
Wall Removal Process
Removing a wall in a Raised Ranch kitchen opens space and creates a modern, open layout. The wall removal process must be careful and well-planned. This ensures the home stays safe and stable during and after the change. The process involves several key steps from checking the wall type to supporting the structure and finally removing the wall itself. Each step is important to avoid damage and keep the house strong.
Identifying Load-bearing Walls
Not all walls can be removed safely. Some walls carry the weight of the house above them. These are called load-bearing walls. Removing them without support can cause serious damage.
Steps to identify load-bearing walls:
- Check the basement or crawl space for beams and posts directly under the wall.
- Look at the direction of the floor joists. Walls running perpendicular to joists often support weight.
- Examine the roof structure for rafters or trusses aligned with the wall.
- Consult building plans or a professional if unsure.
| Wall Type | Characteristics | Removal Risk |
| Load-Bearing | Supports floors, roof, or other walls | High risk without support |
| Non-Load-Bearing | Only separates rooms, no structural support | Low risk, easier removal |
Knowing the wall type helps plan safe removal and avoid costly repairs.
Temporary Support Installation
Once a load-bearing wall is identified, the next step is to install temporary supports. These keep the house stable during wall removal. Without them, floors or ceilings can sag or collapse.
Common support methods include:
- Acrow jacks: Adjustable metal posts placed under beams.
- Temporary beams: Installed to carry weight from the removed wall.
- Wall braces: Help hold structure in place sideways.
Steps for installing temporary supports:
- Measure and cut supports to fit tight under the ceiling or floor joists.
- Place supports on solid ground or floor, ensuring even weight distribution.
- Tighten jacks slowly until they bear the load of the structure above.
- Double-check stability before starting demolition.
Temporary supports protect the home and workers during the project. They hold the structure firmly until a permanent beam or support replaces the wall.
Demolition Steps
With supports in place, the wall removal can begin. The demolition must follow careful steps to avoid damage to floors, ceilings, and wiring.
Typical demolition steps include:
- Turn off utilities: Shut off electricity, water, or gas if any run through the wall.
- Remove finishes: Take off drywall, paneling, or plaster carefully.
- Check for wiring and plumbing: Identify and safely disconnect or reroute.
- Take out studs and framing: Use tools like a hammer and reciprocating saw.
- Clean up debris: Remove scraps and dust to keep the work area safe.
Post-removal Tasks
Removing a wall in a raised ranch kitchen opens up space and changes the room’s flow. After the wall is gone, important tasks must follow. These post-removal tasks ensure the kitchen stays safe, functional, and beautiful. The work includes installing supports, adjusting electrical and plumbing systems, and adding finishing touches. Each step helps create a smooth transition from construction to a ready-to-use kitchen.
Installing Beams Or Supports
Removing a wall often means removing a key support in the house. This makes installing new beams or supports critical. The purpose is to keep the structure safe and stable. Without proper support, ceilings or upper floors could sag or collapse.
The type of support depends on the wall and house design:
- Load-bearing walls require strong beams, usually made of steel or engineered wood.
- Non-load-bearing walls might only need smaller supports or braces.
Here is a simple table showing common support types:
| Support Type | Material | Use |
| Steel Beam | Steel | Heavy load-bearing walls |
| LVL Beam | Engineered wood | Moderate loads, long spans |
| Post and Beam | Wood or steel posts with beams | Supporting open spaces |
Installation must follow building codes and use proper hardware. A professional contractor usually handles this step. They measure, cut, and place beams to carry the weight safely. Temporary supports may be needed during installation.
Electrical And Plumbing Adjustments
Removing a kitchen wall can affect electrical outlets, switches, and plumbing lines. These systems often run inside walls, so changes are necessary to maintain function and safety.
Electrical work includes:
- Relocating outlets and switches to new walls or islands
- Rewiring circuits if wires were cut or removed
- Installing lighting fixtures to brighten the opened space
Plumbing changes may involve:
- Rerouting water supply and drain pipes
- Extending plumbing to new kitchen features, like islands or sinks
- Sealing off pipes that are no longer in use
Both electrical and plumbing work must meet local codes. Licensed electricians and plumbers should perform these tasks. Permits and inspections are often required to ensure safety.
Here is a checklist for these adjustments:
- Identify all electrical and plumbing lines in the removed wall
- Plan new locations for outlets, switches, and fixtures
- Hire licensed professionals for rewiring and rerouting
- Obtain necessary permits before starting work
- Schedule inspections after work is complete
Design Ideas After Wall Removal
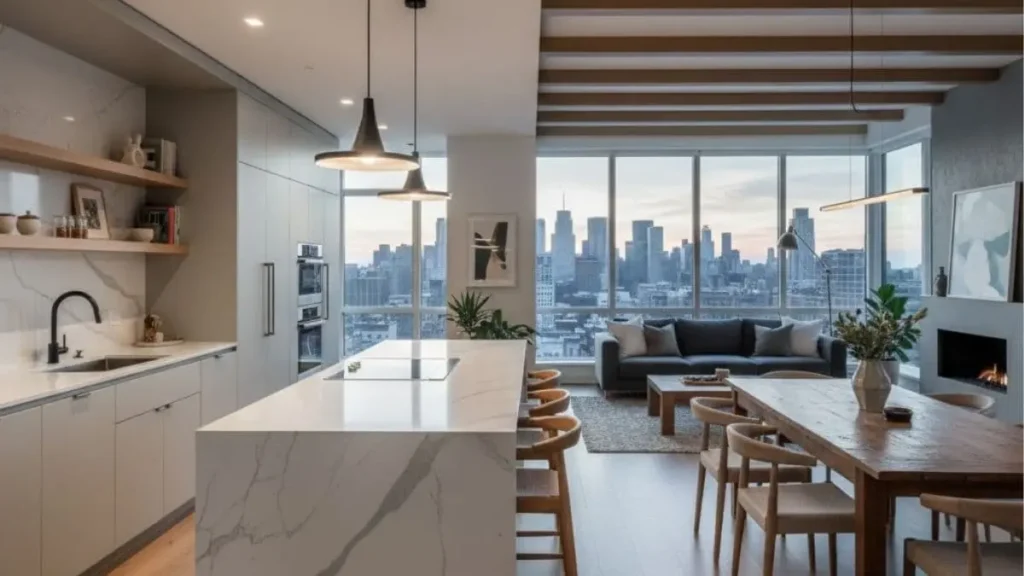
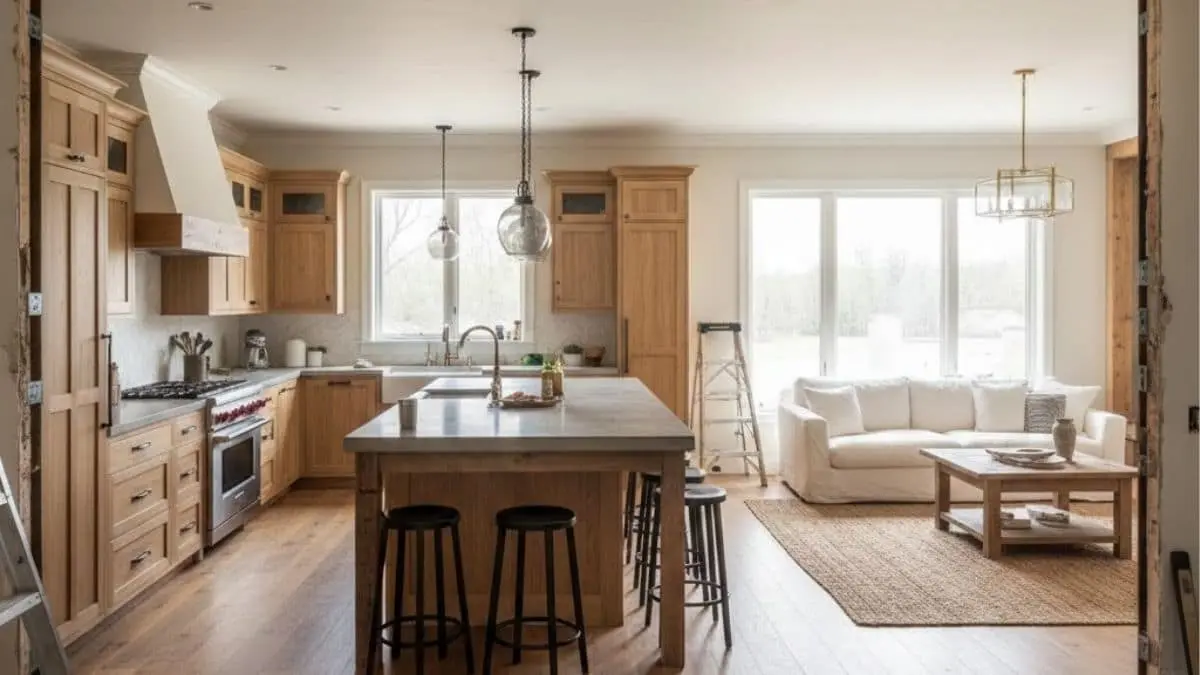
Removing a kitchen wall in a raised ranch home opens up exciting design possibilities. The space feels larger and brighter. It creates a smooth flow between rooms. This change allows fresh ideas to improve function and style. Here are some simple and practical design ideas after wall removal.
Open Concept Layout
Removing the wall creates an open concept. The kitchen, dining, and living areas blend into one. This makes the home feel more spacious and social. Use consistent flooring throughout these spaces. Choose light colors to keep the area bright and inviting.
Kitchen Island Addition
Adding a kitchen island works well after wall removal. It provides extra counter space and storage. The island also serves as a casual dining spot or a place to chat. Select an island style that matches your kitchen’s design. Consider adding pendant lights above for style and light.
Breakfast Nook Creation
Use the new open space to create a cozy breakfast nook. Place a small table and chairs near a window. Add cushions or bench seating for comfort. This spot is perfect for quick meals or coffee breaks.
Improved Lighting Design
Wall removal allows more natural light to flow. Add recessed lighting or track lights to brighten dark corners. Use under-cabinet lights in the kitchen for better work visibility. Good lighting makes the space feel warm and welcoming.
Seamless Storage Solutions
Open layouts need smart storage to stay tidy. Use floating shelves or open cabinets for easy access. Install built-in storage units to maximize space. Keep countertops clear by storing appliances inside cabinets.
| Design Idea | Benefit | Tip |
| Open Concept Layout | Makes home feel larger and connected | Use consistent flooring and light colors |
| Kitchen Island Addition | Extra workspace and social area | Choose island style to match kitchen design |
| Breakfast Nook Creation | Cozy spot for casual meals | Use cushions or bench seating for comfort |
| Improved Lighting Design | Brighter and inviting kitchen space | Add recessed or under-cabinet lighting |
| Seamless Storage Solutions | Keeps open space organized | Use floating shelves and built-in units |
Read Also: Budget-Friendly Raised Ranch Kitchen Remodel Ideas
Common Challenges
Removing a kitchen wall in a raised ranch home can open space and brighten the area. Common challenges appear during this process. These challenges affect the timeline, cost, and safety of the project. Knowing them helps prepare and avoid delays.
Structural Support Issues
Many kitchen walls in raised ranch houses hold up the structure. Removing these walls needs careful planning. A temporary support must be installed before the wall comes down. Without it, the house can shift or become unsafe.
Consulting a structural engineer is often necessary. They decide if the wall is load-bearing and suggest the right support beams.
Electrical And Plumbing Complications
Kitchen walls often contain wiring and pipes. Removing the wall means relocating these systems. This work requires:
- Turning off the power and water supply
- Careful mapping of existing connections
- Hiring licensed electricians and plumbers
Failing to handle these can cause damage or hazards like water leaks or electrical shorts.
Matching Finishes And Materials
After wall removal, the new open space needs a clean, finished look. Matching old materials can be tough. Walls, floors, and ceilings may not line up perfectly. Problems include:
| Challenge | Impact |
| Different wall textures | Visible patches or uneven surfaces |
| Floor height differences | Tripping hazards or awkward steps |
| Paint color mismatch | Noticeable color lines or fading spots |
Proper preparation and professional help improve the final appearance.
Permits And Building Codes
Wall removal requires permits in many areas. Authorities check that the work meets safety rules. Skipping permits can lead to fines or forced repairs. Steps include:
- Applying for a demolition or renovation permit
- Scheduling inspections during and after the project
- Following local building codes strictly
Planning for permits saves time and money.
Conclusion
Removing the kitchen wall in a raised ranch opens space and light. It creates a more open and friendly home feel. You can enjoy cooking while talking to family or guests. Plan carefully to keep the house safe and strong.
Hire a professional for the job to avoid problems. This change can make your home look bigger and modern. Small steps lead to big improvements. Think about your needs and style before starting. The result can be a fresh, bright kitchen you love.