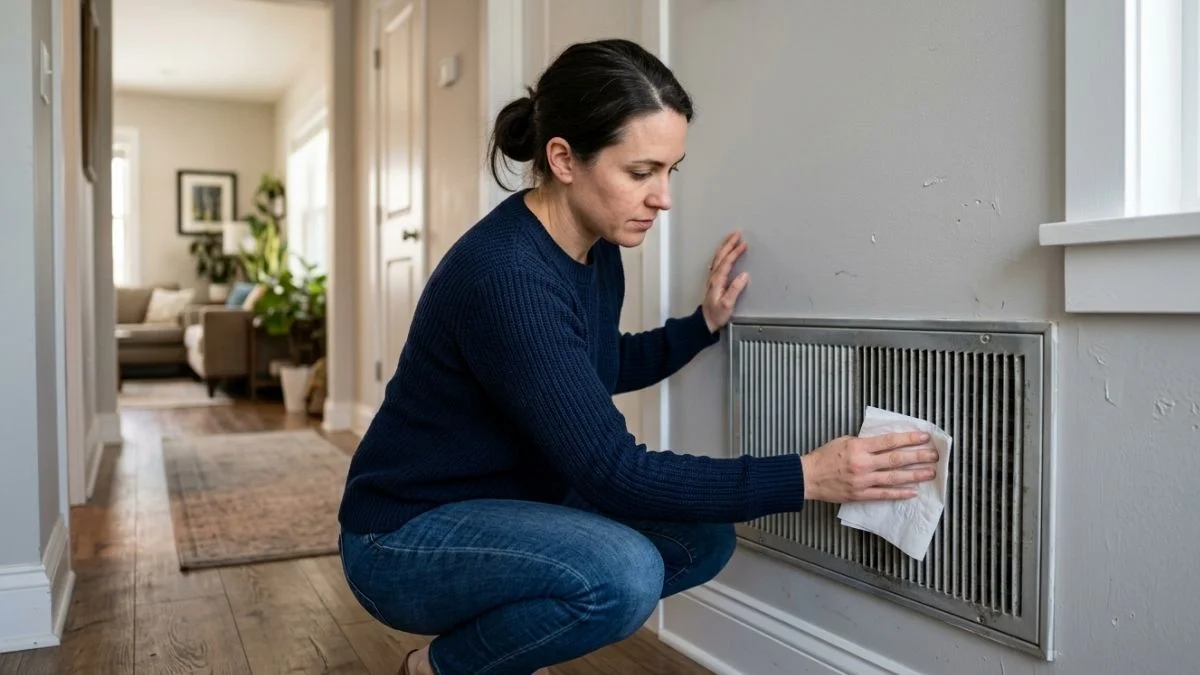
If your return air vent has no suction, your HVAC system is already working harder than it should. Return air vents pull stale air back to your furnace or air handler to be filtered and reconditioned — when that process breaks down, everything suffers.
The consequences aren’t small. Weak or zero suction leads to rising energy bills, uneven room temperatures, poor indoor air quality, and long-term damage to your HVAC system. What makes it frustrating is that the cause isn’t always obvious — it could be something as simple as a dirty filter or as serious as a failing blower motor.
The good news is that many of these problems are fixable without an expensive service call. This guide covers the seven most common causes of no suction in a return air vent, a step-by-step way to find the problem yourself, and clear guidance on when to fix it yourself — and when to call a pro.
What Does a Return Air Vent Actually Do?
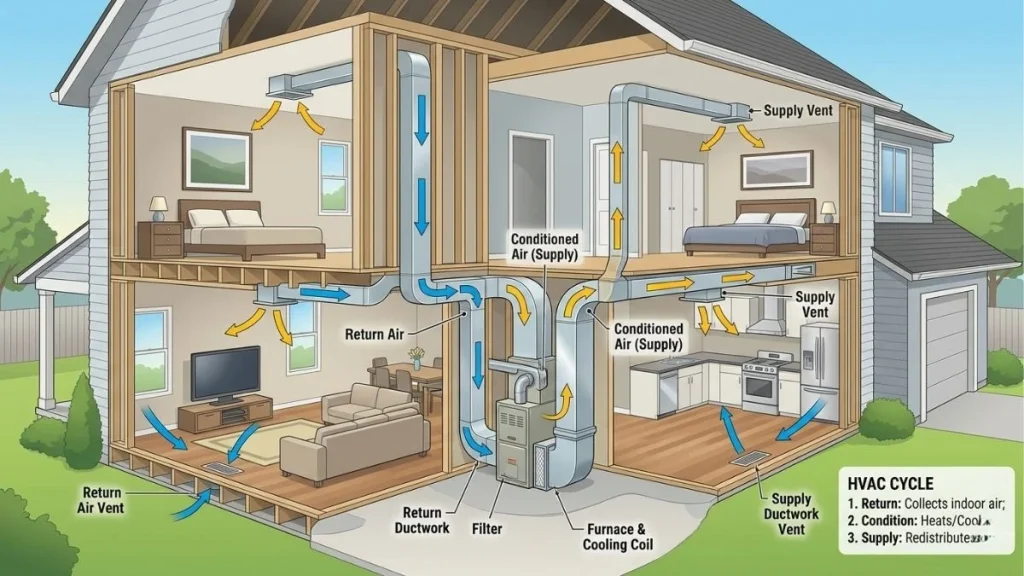
Before troubleshooting, it helps to understand what a return air vent is supposed to do. Unlike supply vents that blow conditioned air into a room, return air vents do the opposite — they draw air out of the room and send it back through the ductwork to your HVAC system.
This continuous cycle keeps air moving throughout your home. Your system pulls air in through the return, runs it through a filter to catch dust and debris, conditions it, and then redistributes it. Without strong suction at the return vent, this cycle is interrupted. Your system ends up working harder to move the same amount of air, which drives up energy costs and puts unnecessary strain on components like the blower motor.
A properly functioning return vent should have a noticeable pull to it. Hold a tissue near the grille — it should be drawn toward the vent with steady, consistent force. If it barely moves or doesn’t move at all, you have a problem worth investigating.
7 Most Common Reasons Your Return Air Vent Has No Suction

1. Clogged or Dirty Air Filter
This is the number one cause of poor return air suction — and the easiest to fix. Your air filter sits between the return duct and the air handler, and its job is to catch dust, pet dander, pollen, and other airborne particles before they enter the system.
When the filter becomes too clogged, air simply can’t pass through it efficiently. The result is a dramatic drop in suction at every return vent in your home. Most homeowners should replace their air filter every one to three months, depending on filter type, pet ownership, and local air quality. If you can’t remember the last time you changed yours, start there.
2. Blocked or Covered Return Vent
Take a look around the room where the return vent is located. Is there a couch pushed against the wall directly in front of it? A bookcase nearby? Even a thick area rug partially covering a floor-level return can choke off airflow significantly.
Return vents need clear space around them to pull air properly. As a general rule, keep at least 6 to 12 inches of clearance around all sides of a return vent. Moving furniture away from the vent is a free fix that sometimes solves the problem immediately.
3. Collapsed or Disconnected Ductwork
Inside your walls, attic, or crawlspace, flexible ductwork connects your return vents to the main air handler. Over time — especially in older homes — this ductwork can collapse, sag, or disconnect entirely at the joints.
When a duct collapses, the path for air is cut off. The blower motor is still running, but the suction can’t reach the vent because there’s a break in the line. This is a less obvious problem because it’s happening out of sight, but it’s more common than most homeowners realize, especially in homes older than 15–20 years.
4. Leaky Ductwork
Even without a full collapse, small leaks and gaps in your ductwork bleed off suction before it ever reaches the return vent. The U.S. Department of Energy estimates that the average home loses 20 to 30 percent of its airflow through leaky ducts — a staggering amount of wasted energy.
Duct leaks are especially common at joints, bends, and connections. You may not see them, but you’ll feel the effects: weak suction at return vents, rooms that are hard to heat or cool, and energy bills that keep climbing.
5. Failing Blower Motor
The blower motor is the mechanical heart of your HVAC system. It’s what creates the pressure difference that pulls air in through return vents and pushes it out through supply vents. When the blower motor starts to fail, suction drops across the entire system.
Warning signs include unusual humming or rattling sounds from the air handler, the system running longer than usual without reaching the set temperature, and weak airflow at both supply and return vents. A failing blower motor isn’t a DIY repair — it needs a licensed HVAC technician.
6. Closed or Stuck Dampers
HVAC dampers are adjustable plates inside your ductwork that control how much air flows through different parts of the system. In a zoned system, dampers open and close automatically based on thermostat settings. In older systems, they may be manual.
A damper that’s stuck in the closed position — whether manually or due to a failed actuator — can cut off return airflow to an entire zone or individual vent. This is often overlooked during troubleshooting because dampers are hidden inside the ducts and not visible from the vent grille.
7. Undersized Return Air System
Sometimes the problem isn’t a malfunction — it’s a design flaw. Many homes, especially older builds, were constructed with return air systems that are simply too small for the HVAC equipment currently installed.
If your system has been upgraded to a larger furnace or air conditioner without corresponding upgrades to the return duct system, the return vents will always underperform. Signs of an undersized return include weak suction across multiple vents, rooms that are perpetually stuffy, and a system that struggles to maintain consistent temperatures.
How to Diagnose a Return Air Vent With No Suction — Step by Step
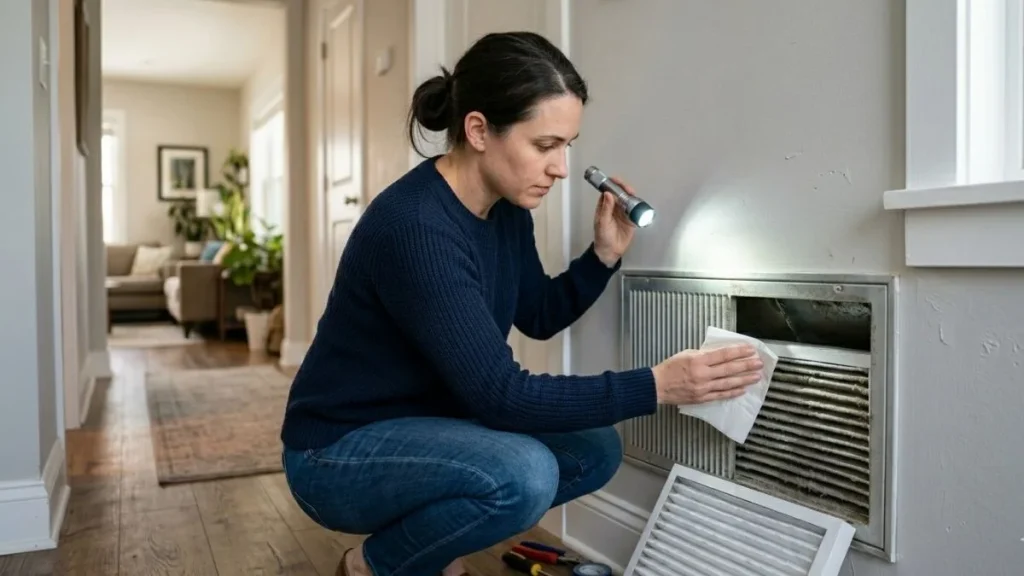
Diagnosing the problem doesn’t require special equipment. Work through these steps in order before spending money on a service call.
Step 1 — Check the air filter first. Pull it out and hold it up to the light. If you can’t see light through it, replace it immediately and retest the vent.
Step 2 — Inspect the vent itself. Remove the grille cover and look inside with a flashlight. Check for visible blockages, debris buildup, or signs of duct damage right at the opening.
Step 3 — Check whether the problem is isolated or system-wide. Test suction at every return vent in your home. If all of them are weak, the issue is likely at the air handler level — a dirty filter, blower motor issue, or duct leak close to the main unit. If only one vent is affected, the problem is localized — likely a disconnected or collapsed duct in that section.
Step 4 — Listen for warning sounds. Stand near your air handler while the system runs. Rattling or banging could indicate a loose blower wheel. Whistling from vents often points to airflow restriction or duct leaks. Humming without much airflow can indicate a motor struggling under load.
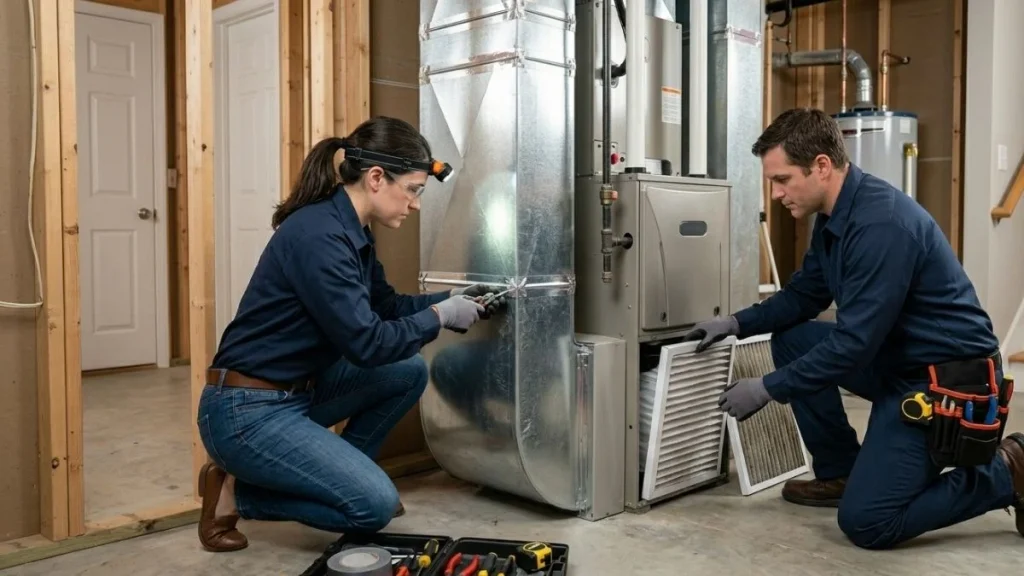
Step 5 — If in doubt, call a pro. If you’ve worked through the above steps and the problem persists, it’s time for an HVAC diagnostic visit. A technician can measure static pressure, inspect internal components, and run tests that aren’t possible without professional tools.
How to Fix a Return Air Vent With No Suction
| Problem | DIY Fix | Call a Pro? |
| Dirty air filter | Replace filter ($10–$40) | No |
| Blocked vent | Move furniture or rugs | No |
| Dirty vent grille | Clean with soap and water | No |
| Minor duct leak | Seal with HVAC metal tape | Optional |
| Disconnected flex duct | Reattach and secure with clamp | Optional |
| Stuck manual damper | Manually adjust damper lever | Optional |
| Blower motor failure | — | Yes |
| Major duct collapse | — | Yes |
| Undersized return system | — | Yes |
For the DIY fixes, start simple. Replace the filter, clear the area around the vent, clean the grille, and retest. These three steps alone resolve the problem in a surprising number of cases.
For intermediate fixes like reattaching a disconnected flex duct or sealing minor leaks, use HVAC-rated metal foil tape — not standard duct tape, which deteriorates quickly under temperature changes. Never use makeshift materials inside your ductwork.
For anything involving the blower motor, electrical components, or a complete duct system redesign, hire a licensed HVAC technician. Attempting these repairs without proper training can cause further damage or create safety hazards.
How Much Does It Cost to Fix the Problem?
Repair costs vary widely depending on the root cause. Here’s a realistic breakdown:
| Repair Type | Estimated Cost |
| Air filter replacement | $10 – $40 |
| HVAC diagnostic service call | $75 – $150 |
| Duct sealing (professional) | $300 – $1,000+ |
| Blower motor repair/replacement | $300 – $900 |
| Adding a new return air vent | $250 – $700 per vent |
| Full duct system redesign | $1,500 – $5,000+ |
If your system is more than 15 years old and facing a major repair like a blower motor replacement, it’s worth getting a full system evaluation. In some cases, replacing an aging system with a modern, energy-efficient unit makes more financial sense than continuing to repair an old one.
How to Prevent Return Air Vent Problems in the Future
Prevention is far cheaper than repair. These habits will keep your return air system running efficiently year-round.
- Change your air filter every 1–3 months. Set a calendar reminder so it doesn’t slip through the cracks.
- Keep furniture and rugs away from return vents. Make it a habit when rearranging rooms.
- Schedule an annual HVAC tune-up. A technician will catch developing problems before they become expensive failures.
- Have your ductwork inspected every 5–7 years. Leaks and damage accumulate slowly and are easy to miss without a dedicated inspection.
- Pay attention to your energy bills. A sudden increase without a change in usage habits is often the first sign of an airflow problem.
You May Read Also: Cold Air Blowing Out of Return Vent
Conclusion
A return air vent with no suction is your HVAC system signaling that something isn’t right. Start with the simple checks first — replace the filter, clear any furniture blocking the vent, and clean the grille. These basic steps resolve the issue more often than most homeowners expect.
If the problem persists, don’t ignore it. Poor return airflow forces your system to work harder, shortens its lifespan, and quietly drives up your energy bills every month. Work through the diagnostic steps in this guide, and if the fix goes beyond a basic DIY repair, call a licensed HVAC technician before a small problem becomes a costly one.