

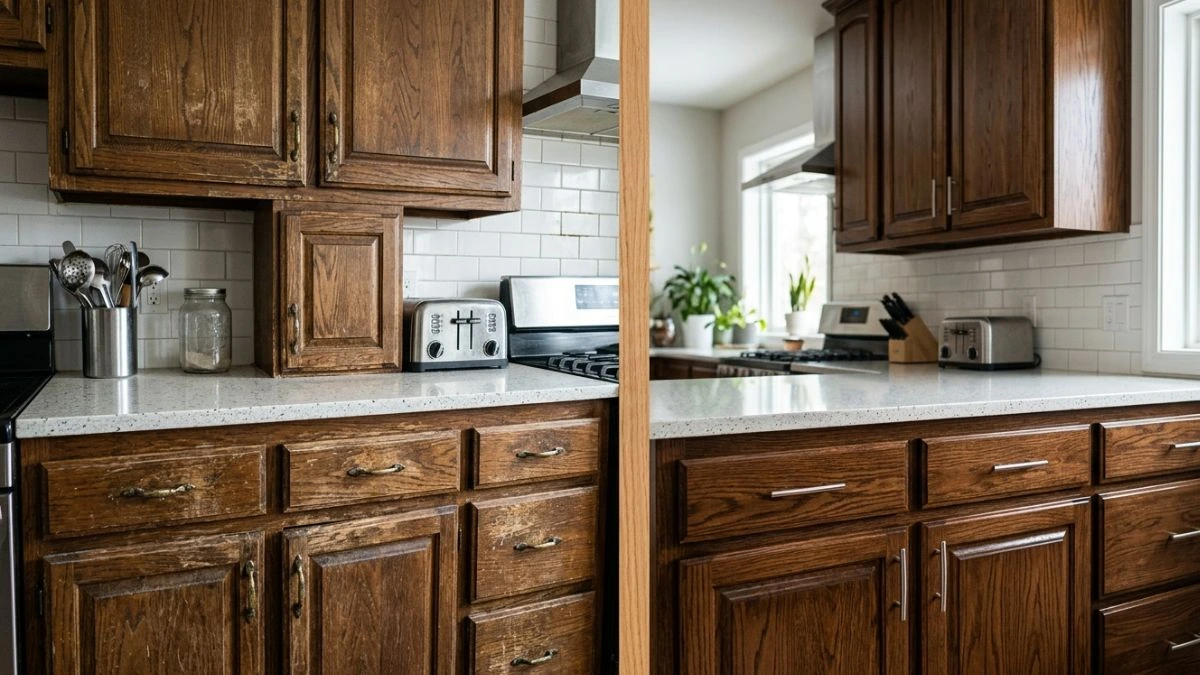
Are your stained cabinets looking a little worn or scratched? You don’t have to replace them to bring back their beauty.
With a few simple steps, you can easily touch up your cabinets and make them look fresh and new again. Whether you want to fix small blemishes or brighten faded areas, this guide will show you exactly how to do it yourself.
Gathering Essential Supplies
Touching up stained cabinets requires careful preparation. Gathering essential supplies ensures a smooth and effective process. Having the right materials on hand helps match the cabinet’s original color and finish. Below, find details on choosing the correct stain and finish, plus the tools needed for the job.
Selecting Stain And Finish
Choosing the right stain is crucial for a seamless touch-up. The stain must closely match the cabinet’s existing color. Many cabinets use oil-based or water-based stains. Knowing the original type helps pick a compatible product.
Here are key points for selecting stain and finish:
- Identify the stain type by checking the cabinet’s surface or product labels.
- Test stain samples on a hidden spot to compare colors.
- Choose a finish that matches the cabinet’s shine level—matte, satin, or gloss.
- Use a pre-stain conditioner for soft woods to prevent blotchiness.
Matching the stain and finish properly helps the touch-up blend perfectly. Take your time selecting these supplies before starting.
Tools Needed For Touch-up
Having the right tools makes touching up stained cabinets easier and neater. Prepare the workspace with clean and organized supplies.
Here are common tools needed:
- Fine-grit sandpaper (220-320 grit) to smooth the damaged area gently.
- Clean cloths or rags for wiping dust and excess stain.
- Small paintbrush or foam brush to apply stain accurately.
- Wood stain markers for tiny scratches or spots.
- Protective gloves to keep hands clean and safe.
- Painter’s tape to protect surrounding areas from stain spills.
Organizing these tools before starting keeps the process clean and efficient. It also helps achieve professional-looking results.
Preparing Cabinets For Repair
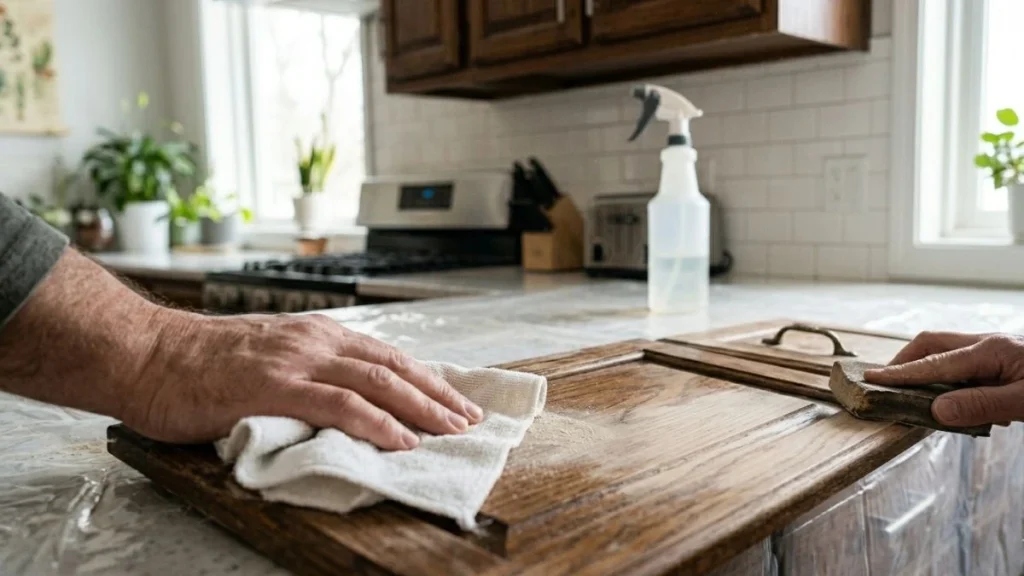
Touching up stained cabinets starts with good preparation. Preparing cabinets for repair creates a smooth base. This helps the new stain stick well and look even. Without proper prep, the finish can peel or blotch. Take time to clean and sand the cabinet surfaces before applying any stain.
Cleaning The Surface
Cleaning removes dirt, grease, and old residue from the cabinets. These substances block the stain from soaking in. Start by wiping the cabinets with a dry cloth to remove dust. Next, use a mild cleaner mixed with warm water. A few drops of dish soap in a bucket work well.
- Use a soft sponge or cloth to scrub gently.
- Pay special attention to corners and edges where grime builds up.
- Rinse with clean water to remove soap traces.
For sticky spots or tough grease, a stronger cleaner like trisodium phosphate (TSP) helps. Follow the product instructions carefully and wear gloves. Avoid soaking the wood, as too much water can cause damage.
| Cleaning Step | Purpose | Tip |
| Dry dusting | Remove loose dirt | Use microfiber cloth |
| Mild soap wash | Clean grease and grime | Use lukewarm water, avoid soaking |
| Strong cleaner (optional) | Remove tough grease | Wear gloves, follow instructions |
| Rinse | Remove soap residue | Use clean damp cloth |
Allow the cabinets to dry completely before sanding. This ensures the surface is ready for the next step.
Sanding Techniques
Sanding smooths the surface and removes the old finish. It helps the new stain stick evenly. Use fine to medium grit sandpaper, usually between 120 and 220 grit. Start with 120 grit if the old finish is rough or peeling.
Sand in the direction of the wood grain. This prevents scratches that show through the stain. Use a sanding block or sponge for flat areas. For corners and details, try sanding pads or folded sandpaper.
- Begin with medium grit (120-150) to remove old finish.
- Switch to finer grit (180-220) to smooth the wood.
- Wipe off dust between sanding steps.
Use a vacuum or tack cloth to remove dust after sanding. Dust can cause blotches or rough spots in the stain. Avoid sanding too hard or too long. This can damage the wood surface.
| Sanding Grit | Purpose | Notes |
| 120-150 | Remove old finish | Use first for rough surfaces |
| 180-220 | Smooth the wood surface | Use after medium grit |
Proper sanding prepares the wood for a smooth, even stain. Take your time to ensure a clean, flat surface before moving on.
Applying Stain
Applying stain is a key step in touching up stained cabinets. It restores the color and highlights the wood grain. Proper application ensures a smooth, even finish that blends with the existing stain. This process requires attention to detail and the right tools. Careful application protects the wood and refreshes the cabinet’s look.
Matching Stain Color
Matching the stain color is crucial for a seamless repair. The goal is to find a stain that closely resembles the original cabinet color. Testing samples on a hidden area helps avoid mistakes. Stain colors can vary based on wood type, age, and finish. Follow these tips to match the color accurately:
- Check the original stain label: If you have the product, use the same brand and color.
- Bring a wood sample: Take a small piece or a photo to a paint or hardware store for advice.
- Test multiple shades: Apply small amounts on a hidden spot and let dry to compare.
- Consider tinting: Mix lighter or darker stains to get a closer match.
Using Brushes And Cloths
Choosing the right tool affects how the stain applies and dries. Brushes and cloths each have advantages. Brushes provide control and precision. Cloths offer a smooth, even finish and can blend edges well. Use both for best results.
Follow these steps to apply stain properly:
- Prepare the surface: Clean and sand lightly to remove old finish and dirt.
- Dip your brush or cloth: Use a small amount of stain to avoid drips.
- Apply with the grain: Brush or wipe along the wood grain for natural look.
- Remove excess stain: Wipe off extra stain with a clean cloth before it dries.
- Let dry: Allow the stain to dry fully before adding a second coat.
Sealing And Finishing
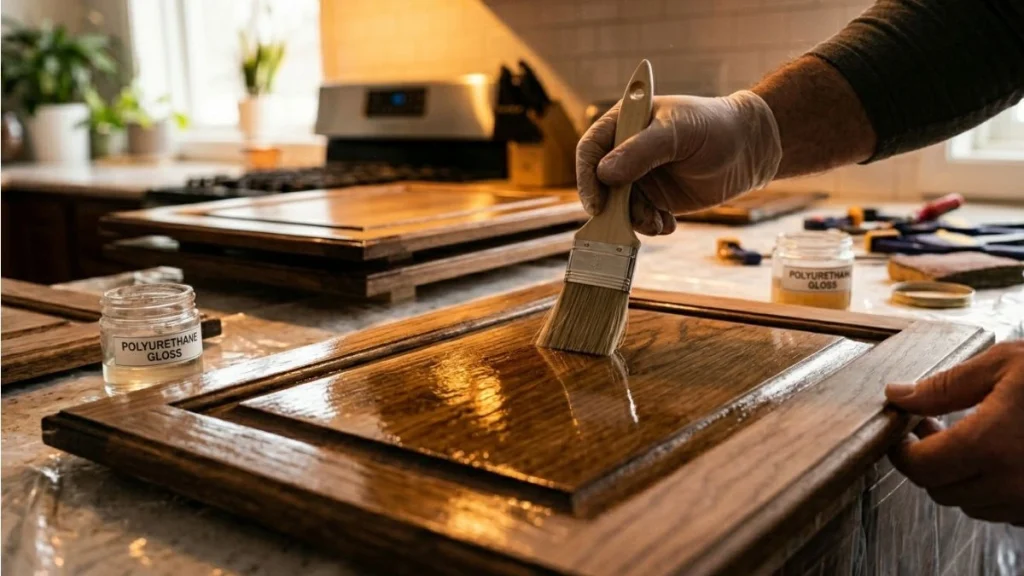
Sealing and finishing are key steps in touching up stained cabinets. These steps protect the wood and enhance the color. A proper seal keeps moisture and dirt away. It also gives the cabinets a smooth, polished look. Without sealing, stains can fade or get damaged quickly. Finishing adds a layer of shine or matte texture. This step makes your cabinets look fresh and new. Taking time to seal and finish right makes your work last longer and look better.
Choosing The Right Sealant
Choosing the right sealant depends on the type of wood and the look you want. Sealants come in many forms: oils, varnishes, lacquers, and polyurethane. Each has its own benefits.
- Oil-based sealants give a warm tone and deep shine. They are very durable but take longer to dry.
- Water-based sealants dry fast and have low odor. They keep the wood color close to the original.
- Lacquer dries quickly and creates a hard shell. It is great for smooth finishes but can be tricky to apply.
- Polyurethane is tough and protects well against scratches and water. It can be glossy or matte.
Pick a sealant that matches your project needs. Test it on a small hidden area. This helps see the color and finish before applying on the whole cabinet.
Drying And Curing Times
Drying and curing times affect how soon you can use the cabinets again. Drying means the sealant feels dry to touch. Curing means it fully hardens and protects the wood.
Each sealant type has different times for drying and curing. Rushing this process can cause sticky surfaces or weak protection. Follow these tips for best results:
- Apply thin coats. Thick coats take longer to dry and may drip.
- Allow good air flow in the room. It helps speed up drying.
- Keep dust away from wet surfaces to avoid rough finishes.
- Wait the full recommended time before using or sanding the cabinets.
Here is a chart showing typical drying and curing times:
| Sealant Type | Touch Dry | Recoat Time | Full Cure |
| Oil-Based | 6-8 hours | 24 hours | 7 days |
| Water-Based | 1-2 hours | 4 hours | 3 days |
| Lacquer | 15-30 minutes | 1 hour | 2 days |
| Polyurethane | 2-4 hours | 6-8 hours | 7 days |
Patience during drying and curing leads to a strong, beautiful finish. Avoid heavy use until the sealant fully cures. This protects your cabinets and keeps them looking fresh longer.
Read Also: How to Paint Kitchen Cabinets Like a Pro
Conclusion
Stained cabinets can look fresh with simple touch-up steps. Clean the surface well before starting. Use the right stain color for a natural look. Apply carefully to avoid streaks or drips. Let the stain dry completely between coats. Small repairs make a big difference in your kitchen’s style.
Regular care keeps cabinets looking nice longer. Try these tips to save money and time. Enjoy your refreshed cabinets every day. Simple actions bring great results.


