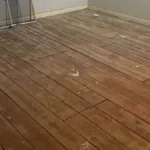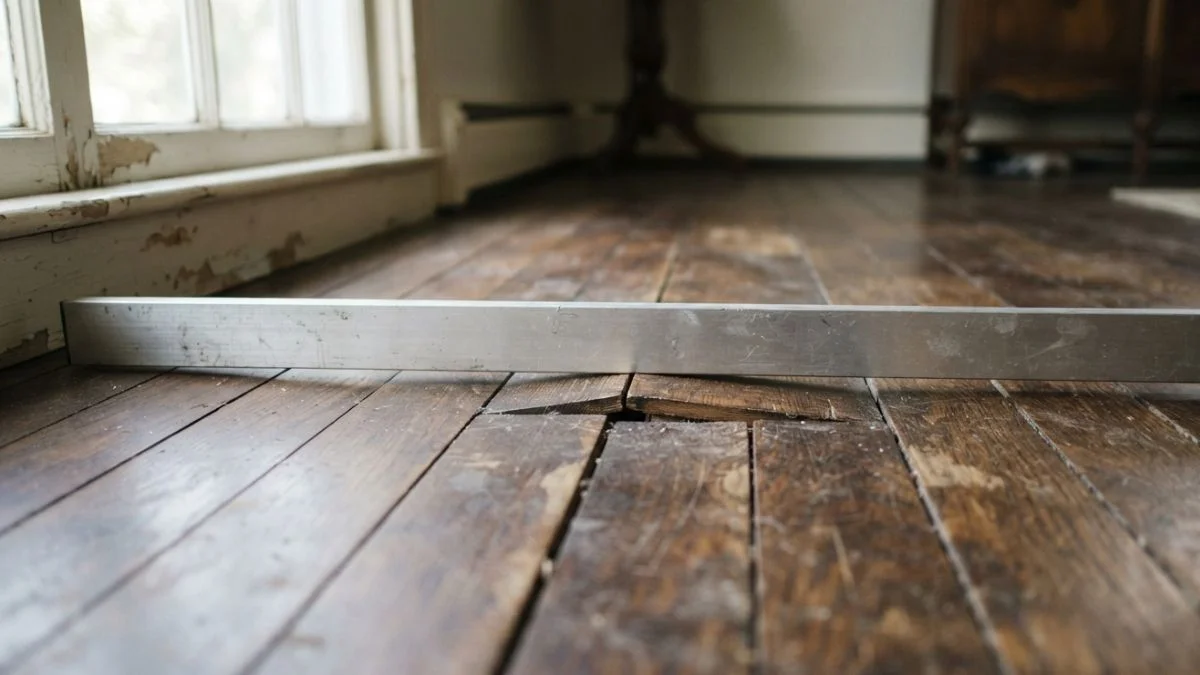
A floor hump in a pre-1980s home is rarely just a cosmetic flaw — it almost always signals movement in the subfloor, framing, or foundation beneath it, and knowing how to fix a hump in a floor in an old house starts with identifying which of those three layers is responsible.
Most homeowners notice the bulge first with their feet, then their eyes, but struggle to determine whether it is safe to address themselves or requires a licensed structural engineer or foundation specialist.
This guide maps the most common causes of floor humps in older homes, walks through a clear assessment process, and lays out both DIY fixes and professional repair options — with honest guidance on when each is appropriate.
What Causes Floor Humps in Old Houses
Floor humps in older homes trace back to three root causes: foundation movement, damaged framing, or moisture intrusion. Misdiagnosing which one is responsible leads to repairs that fail within months.
Foundation Settling and Structural Movement
Differential settlement — where one part of a foundation sinks faster or deeper than another — creates uneven floors in old houses by pushing or tilting the framing above it. Pre-1980s foundations were built before modern reinforcement standards became common, meaning many lack the rebar density or drainage provisions that reduce long-term movement.
After 50 or more years of load, this floor settlement can accelerate, particularly under heavy walls, bathtubs, or appliances. A hump in the floor often marks the edge between a settled section and one that has not moved, creating a visible ridge rather than a gradual slope.
Damaged or Cut Floor Joists
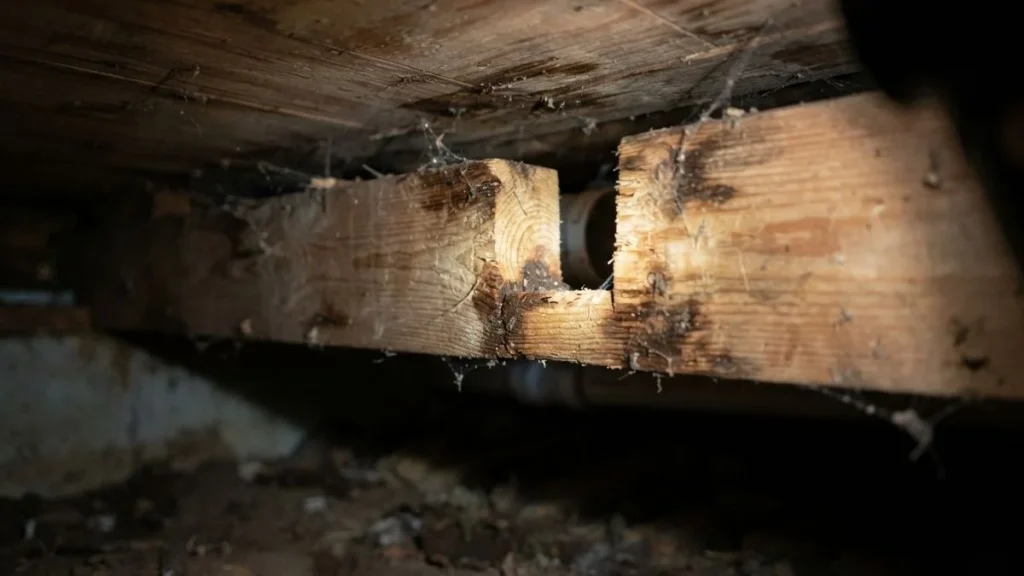
Subfloor joist damage is one of the most underdiagnosed causes of floor bulging in older homes. HVAC and plumbing crews working in crawl spaces frequently notch or cut through joists to route pipes and ducts — sometimes removing more wood than building codes allow. A joist with a deep notch at mid-span loses significant load capacity and can bow upward under weight.
Wood rot compounds this problem. Moisture exposure over decades reduces joist strength quietly, and the first visible sign is often a hump or soft spot directly above the compromised framing. Sistering — attaching a new full-length joist alongside the damaged one — is the standard structural fix.
Water Damage and Moisture-Related Swelling
Crawl space moisture is the most common trigger for subfloor integrity problems in pre-1980s homes. Without adequate vapor barriers or ventilation, humidity saturates the subfloor sheathing and causes it to swell and buckle upward. The result looks identical to a structural hump but has a completely different fix.
Hardwood floors experience the same effect through cupping, where the edges of each board rise above the center. A sudden humidity spike — from a plumbing leak, a wet season, or a failing crawl space vent — can produce wooden floor humps within weeks. Soft spots underfoot, especially near bathrooms or exterior walls, typically indicate active decay rather than simple swelling.
Assessing Severity: DIY vs. Structural Problem
Before choosing any repair method, measure what you are actually dealing with. A floor hump that looks dramatic can sometimes be minor, and one that looks subtle can signal serious structural movement underneath.
Visual Inspection and Measuring Techniques
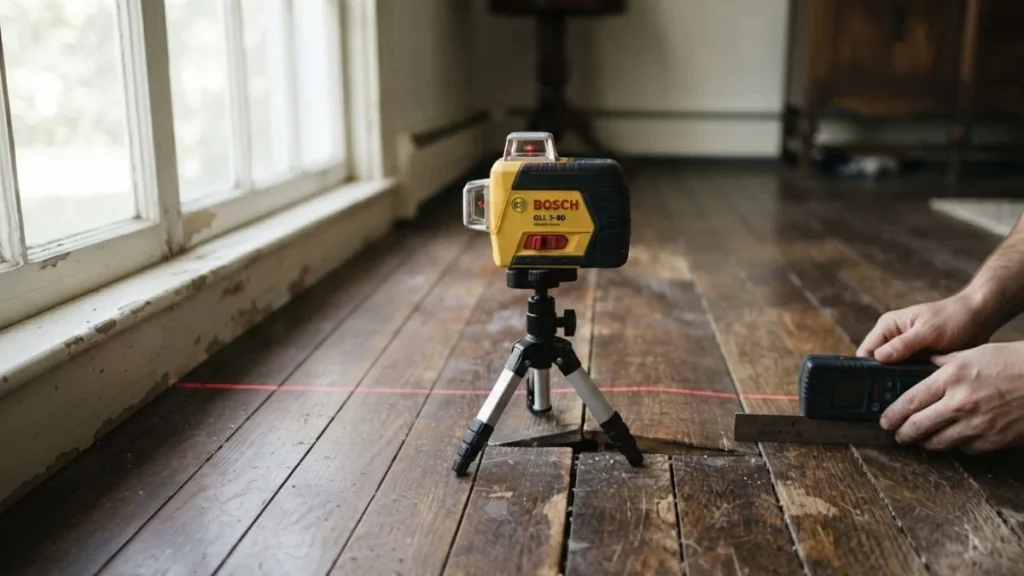
Start with a 6-foot straightedge or a laser level laid across the high spot. Measure the gap between the tool and the floor at its lowest point — this gives you the height differential. A hump under 3/4 inch over a 6-foot span is generally within the range of floor leveling techniques like self-leveling compound or controlled sanding. Anything beyond that warrants a closer look.
Walk the floor slowly and note three things:
- Bounce or flex underfoot, which suggests subfloor joist damage or rot rather than surface-level swelling
- Soft spots, particularly near bathrooms, exterior walls, or crawl space access points, indicating moisture damage or active decay
- Audible creaks or pops concentrated in one area, which can signal a joist pulling away from its ledger or hanger
Also inspect adjacent walls for diagonal cracks running from door or window corners. These often accompany foundation shifting and confirm that the floor bulging is part of broader structural movement, not an isolated subfloor issue.
Red Flags Requiring Professional Evaluation
Some findings move the assessment out of DIY territory immediately. Call a licensed structural engineer or foundation specialist when you find any of the following:
- A height differential exceeding 1 inch, which crosses the threshold many regional building codes flag as a structural concern
- Multiple humps across different rooms, suggesting widespread floor settlement or joist failure rather than one isolated event
- A hump located near a load-bearing wall, chimney footing, or main beam — these areas carry concentrated loads and repairs require engineering input
- Active moisture, standing water, or visible mold in the crawl space, which means the source of damage is still present
- Any hump that has grown noticeably within a single season, indicating ongoing foundation shifting rather than old, stable settlement
A structural engineer assessment typically costs between $300 and $700 for a residential inspection. That cost is minor compared to the risk of a floor leveling repair that masks a worsening structural problem underneath.
Repair Solutions by Problem Severity
The right repair depends entirely on what is causing the hump, not just how large it is. A cosmetic fix applied over a structural problem will fail — and can make the underlying damage harder to access later.
DIY Fixes for Minor Cosmetic Humps
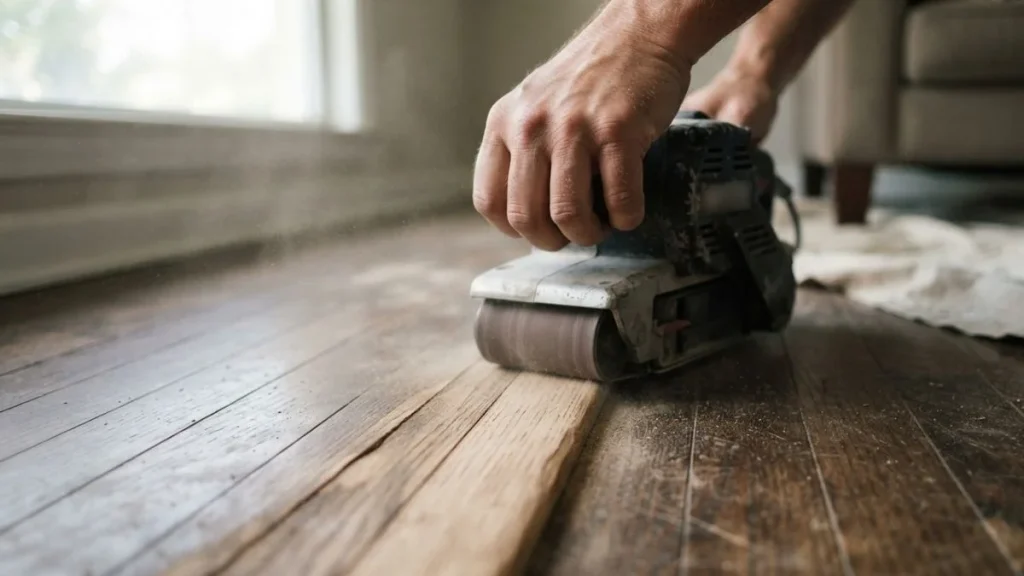
Grinding down high spots on a floor works well when the hump is isolated to the surface layer — hardwood boards that have cupped slightly, or a subfloor panel that sits just above its neighbors. A belt sander or floor grinder handles most humps under 1/4 inch. Expect 2 to 4 hours of labor and $30 to $80 in sandpaper and rental costs.
Self-leveling compound is the right tool when the hump is in a concrete subfloor or when you need a flat base before installing LVP or tile. It flows into low areas around the hump rather than building over it, so the surrounding floor must be lower than the high point for this method to work. Surface prep — cleaning, priming, and undercutting any loose material — determines whether the compound bonds or delaminates within a year.
For isolated subfloor damage, cutting out the affected panel and sistering the joists beneath before patching gives a clean, stable result. Material costs run $50 to $150 for a single panel replacement.
Flooring type also affects how much a minor hump matters. LVP and laminate with a foam underlayment can bridge small irregularities. Tile and hardwood cannot — both will crack or telegraph the hump visibly within months.
Professional Structural Repairs
Jacking and releveling is the standard approach when house foundation settling or joist failure has pushed framing out of plane. A contractor installs temporary support walls or posts, then uses hydraulic jacks to raise the affected beam or girder gradually — typically 1/8 inch per week to avoid cracking plaster or drywall. The full process takes 2 to 6 weeks depending on how much movement is needed.
Adding a new support post and beam under a sagging mid-span joist is one of the most cost-effective structural fixes available. In a crawl space with adequate height, this is often a one-day job using adjustable steel columns set on concrete pads.
Subfloor replacement costs more than reinforcement but is necessary when moisture damage has compromised the panel’s structural integrity. Reinforcing a rotted panel is not a lasting fix.
Regional pricing breaks down into three tiers:
| Repair Type | Typical Cost Range |
|---|---|
| Cosmetic surface fixes (sanding, compound) | Under $500 |
| Semi-structural (sistering, subfloor patch, underlayment) | $500 – $2,000 |
| Full structural repair (jacking, beam, foundation work) | $2,000 and up |
Read Also: Why Your New Floor Is Already Failing
Next Steps: Planning Your Repair
No floor hump repair lasts if the cause — whether foundation shifting, joist failure, or crawl space moisture — is still active underneath it. Before budgeting for any fix, schedule a structural engineer or foundation specialist inspection, which typically costs $300 to $700 and tells you exactly which repair tier your situation requires. If moisture is present in the crawl space, remediate that first — every other repair depends on it.