


Is your aluminum patio roof leaking and ruining your outdoor space? A leak can be frustrating and cause damage if left unchecked.
But don’t worry—you don’t have to call a professional right away. You can fix it yourself with the right steps. In this guide, you’ll learn simple and effective ways to stop that drip and protect your patio. Keep reading to find out exactly what to do and save time and money on repairs.
Identifying Leak Sources
Finding the source of a leak in an aluminum patio roof is the first step to fixing it. Water can enter through many spots, making it hard to see where the problem starts. Careful checking helps stop more damage and saves money on repairs.
Inspecting Roof Panels For Damage
Check each aluminum panel for cracks, holes, or rust spots. Small holes let water drip inside. Rust weakens the metal and causes leaks.
- Look for dents or bent areas where water might pool.
- Check for loose panels that may let water enter.
- Feel for soft spots that show metal deterioration.
Examining Seams And Joints
Seams and joints join panels and frame parts. These places often cause leaks if not sealed well.
- Look for cracks in the sealant or caulk.
- Check if screws or fasteners are missing or loose.
- See if the joint gaps are wider than normal.
Checking Flashing And Edges
Flashing directs water away from roof edges. Damaged flashing can let water seep inside.
| Flashing Area | Signs of Damage | Effect on Leak |
| Roof-to-wall junction | Cracked or missing flashing | Water enters gaps between roof and wall |
| Roof edges | Bent or loose flashing | Water seeps under edges causing leaks |
| Chimney or vent areas | Damaged flashing or sealant | Water leaks around openings |
Observing Water Stains And Drips
Water stains inside the patio or under the roof point to leak spots.
- Trace stains back to the highest point to find leaks.
- Look under panels for drip marks or moisture.
- Note any mold or mildew that grows near leaks.
Preparing For Repairs
Fixing a leaking aluminum patio roof starts with good preparation. Preparing for repairs makes the work easier and safer. It helps avoid mistakes and saves time. Before any repair, gather all tools and materials. Also, follow safety rules to protect yourself.
Gathering Materials
Collecting the right materials is the first step. You need tools and supplies that fit the job. Having everything ready prevents delays during repairs. Here is a list of common materials for fixing leaks on an aluminum patio roof:
- Aluminum roof sealant: Choose a waterproof, UV-resistant sealant made for metal roofs.
- Caulking gun: Needed to apply sealant smoothly and evenly.
- Cleaning supplies: Use a brush, mild detergent, and water to clean the area.
- Putty knife or scraper: For removing old sealant or debris.
- Replacement screws or rivets: To fix loose or missing fasteners.
- Drill with screwdriver bits: For removing or adding screws.
- Aluminum patch or flashing: To cover larger holes or cracks.
- Ladder: Needed to reach the patio roof safely.
Safety Precautions
Safety is key when working on a patio roof. Aluminum roofs can be slippery and high off the ground. Taking safety steps avoids accidents. Follow these rules:
- Wear non-slip shoes: Shoes with good grip reduce slipping risks.
- Use a sturdy ladder: Make sure the ladder is stable and tall enough.
- Have a helper nearby: Someone can hold the ladder or assist if needed.
- Wear gloves: Protect your hands from sharp edges and chemicals.
- Use eye protection: Safety glasses shield eyes from debris and sealant splashes.
- Work in dry weather: Avoid repairs when wet or windy for better safety.
- Check for power lines: Keep clear of any electrical wires near the roof.
Sealing Small Cracks And Holes
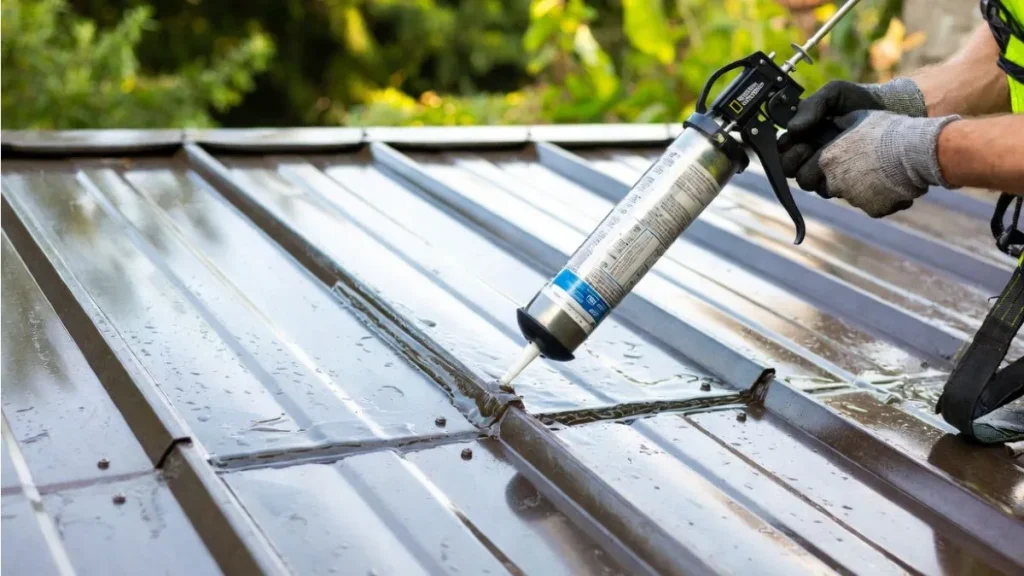
Small cracks and holes in an aluminum patio roof can cause leaks and water damage. Sealing these minor issues quickly stops water from entering and protects the roof’s structure. Using proper materials and techniques ensures a long-lasting fix without needing full roof replacement.
Using Sealants And Caulk
Sealants and caulk are the most common solutions for fixing small cracks and holes on aluminum roofs. These materials are flexible, waterproof, and easy to apply. They fill gaps and create a tight seal that prevents water from leaking through.
Steps to use sealants and caulk effectively:
- Clean the area: Remove dirt, debris, and old paint with a brush or cloth.
- Dry the surface: Make sure the roof is completely dry before applying the sealant.
- Apply the sealant or caulk: Cut the tip of the tube to match the crack size. Use a caulking gun for even application.
- Smooth the sealant: Use a putty knife or your finger dipped in water to smooth it and fill the crack fully.
- Let it cure: Allow the sealant to dry for the time recommended by the manufacturer, usually 24 hours.
Types of sealants suitable for aluminum roofs:
| Sealant Type | Features | Best Use |
| Silicone Sealant | Flexible, waterproof, UV resistant | Small cracks and joints |
| Polyurethane Sealant | Strong adhesion, paintable | Larger cracks and holes |
| Butyl Rubber Caulk | Good for metal, weatherproof | Sealing seams and edges |
Apply sealants in dry weather for best results. Check the roof regularly to catch new cracks early.
Applying Waterproof Tape
Waterproof tape offers a quick and effective way to seal small holes and cracks on aluminum patio roofs. This tape is strong, flexible, and sticks well to metal surfaces. It forms a waterproof barrier that stops leaks instantly.
Follow these simple steps to apply waterproof tape:
- Clean the surface: Remove dust, grease, and moisture for strong adhesion.
- Cut the tape: Measure the damaged area and cut a piece larger than the crack or hole by at least 2 inches on each side.
- Peel and stick: Remove the backing carefully and press the tape firmly onto the roof.
- Press edges: Seal the edges by pressing down hard to avoid water seeping under the tape.
- Overlap layers: For bigger holes, use multiple tape layers overlapping each other.
Fixing Loose Or Damaged Panels
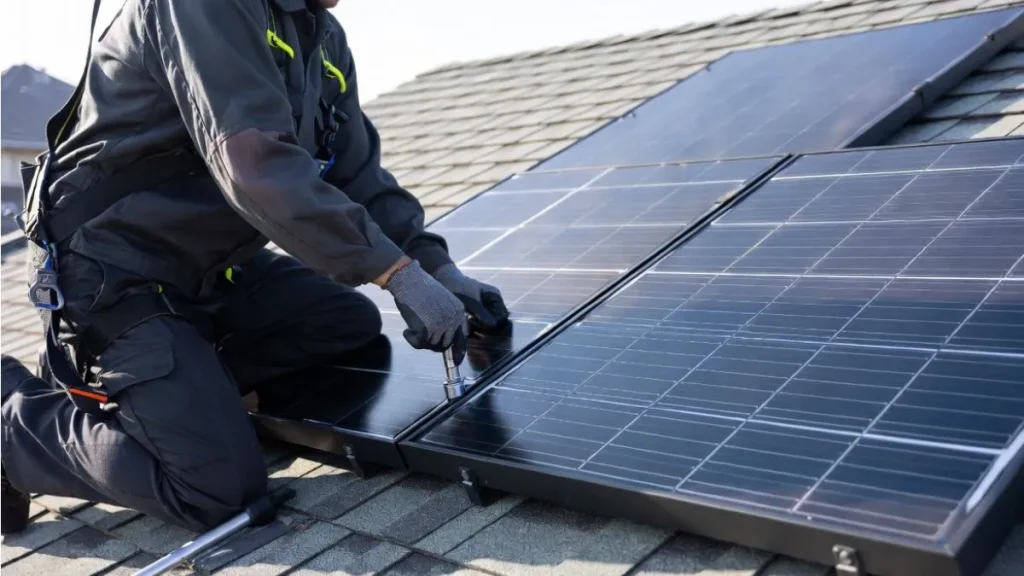
Fixing loose or damaged panels is a key step in repairing a leaking aluminum patio roof. Loose panels allow water to seep through gaps, causing leaks and damage underneath. Damaged panels, such as those with cracks or holes, create direct paths for water to enter. Both issues reduce the roof’s protection and lifespan.
Reattaching Panels
Loose aluminum panels often result from fasteners that have come undone or shifted. Reattaching them stops water from getting under the panels and causing leaks. Follow these steps to fix loose panels:
- Locate loose panels: Walk around the patio roof and gently press on each panel to find any that move.
- Remove debris: Clear dirt, leaves, or old sealant from the edges and fastener holes.
- Check fasteners: Inspect screws or nails holding the panels. Replace any missing or rusted fasteners.
- Align the panel: Position the panel firmly against the frame or adjacent panels.
- Secure the panel: Use a drill or screwdriver to tighten existing screws or install new ones every 12 to 18 inches.
- Seal edges: Apply a waterproof sealant or caulk along the panel edges and fastener heads to prevent leaks.
Safety note: Wear gloves and safety glasses during reattachment. Use a stable ladder if working at height.
Replacing Damaged Sections
Sometimes panels have holes, cracks, or severe dents that reattachment cannot fix. Replacing these damaged sections is essential to stop leaks and protect the patio below. Follow these steps to replace damaged aluminum panels:
- Identify damaged panels: Examine the roof carefully. Mark panels with visible holes, cracks, or warping.
- Remove fasteners: Unscrew or pry out nails from the damaged panel using a drill or pry bar.
- Lift out the panel: Gently remove the panel without bending or damaging surrounding panels.
- Measure and cut replacement: Measure the removed panel’s length and width. Cut a new aluminum panel to match.
- Position the new panel: Place the new panel in the correct spot, aligning it with the frame and adjacent panels.
- Secure with fasteners: Attach the panel using rust-resistant screws. Space screws every 12 to 18 inches along edges.
- Seal joints: Apply a waterproof sealant along all edges and screw heads to prevent leaks.
Tip: Match the replacement panel’s thickness and finish to the existing panels for a uniform look. Handle panels carefully to avoid injury or bending.
Addressing Gutter And Drainage Issues

Addressing gutter and drainage issues plays a key role in fixing a leaking aluminum patio roof. Water often pools or overflows because gutters are clogged or improperly angled. This causes leaks and damage to the patio roof and surrounding areas.
Cleaning Gutters
Clogged gutters cause water to back up and overflow onto the patio roof. This leads to leaks and damage to the roof structure. Regular gutter cleaning is essential to prevent these problems.
- Remove leaves, twigs, and dirt: Use gloves and a scoop to clear all debris from gutters.
- Flush gutters with water: Use a garden hose to wash away smaller particles and check for blockages.
- Inspect downspouts: Make sure water flows freely through downspouts without any clogs.
Improving Water Flow
Water flow problems cause water to pool on the patio roof or spill over gutters. Fixing water flow prevents leaks and structural damage.
Here are key ways to improve water flow:
- Adjust gutter pitch: Gutters must slope slightly toward downspouts. A slope of 1/4 inch per 10 feet works well.
- Extend downspouts: Downspouts should direct water at least 5 feet away from the patio foundation.
- Install gutter guards: Guards keep debris out and maintain smooth water flow.
- Check roof flashing: Proper flashing seals roof joints and directs water into gutters.
You May Like This: Roof Leaking Where Porch Meets House
Maintaining The Roof For Longevity
Maintaining your aluminum patio roof is key to making it last longer and stay leak-free. Simple care and regular checks can stop small problems from turning into big repairs. A well-kept roof not only looks good but also protects your outdoor space effectively.
Regular Cleaning To Prevent Damage
Dirt, leaves, and debris can block water flow and cause leaks. Clean your roof every few months using a soft broom or hose. Avoid strong chemicals that can harm the aluminum surface.
- Remove leaves and twigs from gutters and roof edges.
- Rinse off dirt and dust with water.
- Use mild soap with water for stubborn stains.
Inspecting For Loose Or Damaged Parts
Check screws, panels, and seals regularly. Tighten loose screws and replace any damaged parts quickly. This stops water from seeping through cracks or holes.
- Look for rust or corrosion on screws and fasteners.
- Check seals around joints and edges for cracks.
- Replace or tighten parts as needed to keep the roof secure.
Applying Protective Coatings
Protective coatings help prevent rust and weather damage. Apply a clear sealant or paint designed for aluminum roofs every few years. This keeps the roof strong and looking new.
| Type of Coating | Purpose | Frequency of Application |
| Clear Sealant | Protects from moisture and oxidation | Every 2-3 years |
| Aluminum Roof Paint | Prevents rust and improves appearance | Every 3-5 years |
Checking For Proper Drainage
Water must flow off the roof easily. Make sure gutters and downspouts are clear. Fix any dips or low spots where water can collect.
- Clear gutters of leaves and dirt regularly.
- Ensure downspouts direct water away from the patio.
- Adjust panels if water pools in certain areas.
Conclusion
Fixing a leaking aluminum patio roof is easier than you think. Small cracks and gaps cause most leaks. Clean the area before sealing it tightly. Use the right materials for a strong fix. Check your roof regularly to catch leaks early.
A dry patio means more comfort and less damage. Taking simple steps saves time and money later. Your outdoor space will stay safe and cozy. Keep your patio roof leak-free for years to come.


