Is there a hole in your sink causing leaks or stains? You might think replacing the entire sink is the only fix, but that’s not true.
Repairing a hole in your sink can save you time, money, and a lot of hassle. You’ll discover simple, effective ways to fix that hole quickly—without calling a plumber or buying a new sink. Keep reading to learn how you can restore your sink’s look and function with easy steps anyone can follow.
Types Of Sink Holes
Sink holes come in different types, each serving a unique purpose. Understanding these holes helps in effective hole in sink repair. This knowledge also guides in choosing the right repair method and materials. The three main types of sink holes include drain holes, overflow holes, and mounting holes. Each type can face specific issues and needs special attention during repairs.
Drain Holes
The drain hole is the largest hole in the sink. It allows water to flow out of the sink and into the plumbing system. Most sink problems come from this hole because of its constant use.
Common issues with drain holes include:
- Cracks or chips caused by heavy pots or dropped objects
- Corrosion or rust in metal sinks
- Leaks due to worn-out seals or damaged pipes
Drain holes usually have a flange or ring around them. This part holds the drain assembly and helps seal the hole against leaks.
Overflow Holes
Overflow holes are smaller holes placed near the top edge of the sink basin. Their job is to stop water from spilling over the sink if the drain is blocked or closed.
These holes connect to a channel inside the sink. Water flows through this channel and down to the drain pipe.
Issues with overflow holes include:
- Clogs caused by dirt, soap, or hair
- Cracks or chips near the hole area
- Leaks due to broken seals or cracks inside the channel
Overflow holes need regular cleaning to work well. A blocked overflow hole can cause water to pool and damage the sink or cabinet.
Mounting Holes
Mounting holes are smaller holes around the sink edge. They help attach faucets, soap dispensers, or other fixtures.
Mounting holes vary in number and size. Some sinks come with one hole, while others have three or more.
Common mounting hole problems include:
- Cracked sink surface around the hole
- Worn or broken mounting hardware
- Water leaks due to poor sealing
Proper sealing around mounting holes is important to prevent water damage. Silicone caulk or plumber’s putty is often used here.
Common Causes Of Sink Damage
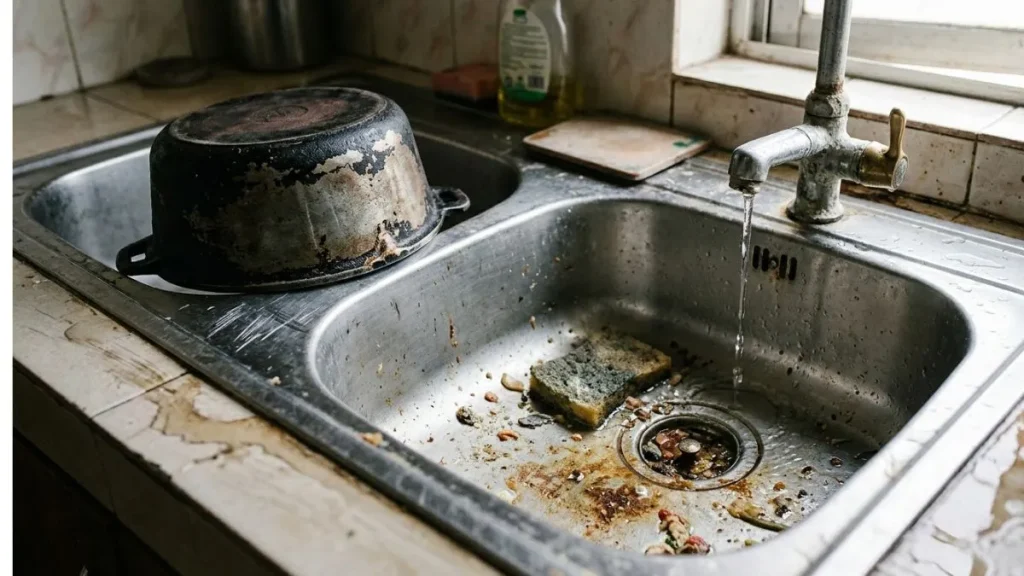
Holes in sinks often start from common types of damage. Understanding these causes helps prevent bigger problems. Sink damage usually happens over time. It can also happen suddenly due to accidents. Knowing why sinks get holes or cracks can save money and effort on repairs.
Corrosion And Rust
Corrosion and rust are major reasons sinks develop holes. Metal sinks, especially those made of steel or iron, react with water and air. This reaction causes rust to form. Rust weakens the metal, making it thin and fragile. Over time, rust eats through the sink, creating holes.
Rust often starts in areas where water collects or stays wet for long periods. These spots include:
- Edges and corners of the sink basin
- Around the drain opening
- Underneath the sink where leaks happen
Impact Cracks
Sinks can get holes or cracks from sudden impacts. Dropping heavy objects on the sink surface causes cracks. These cracks can grow over time and become holes.
Common causes of impact cracks include:
- Dropping pots, pans, or utensils
- Accidental hits during cleaning or moving items
- Forceful closing of heavy lids or covers
Materials like porcelain or ceramic sinks are more likely to crack on impact. Metal sinks may dent but still crack if the force is strong.
Wear And Tear
Daily use leads to wear and tear on sinks. Over years, regular washing, scrubbing, and exposure to water cause gradual damage.
Key signs of wear and tear are:
- Fading or peeling of sink coatings
- Small scratches and abrasions
- Thinning of metal or material layers
Step-by-step Repair Process
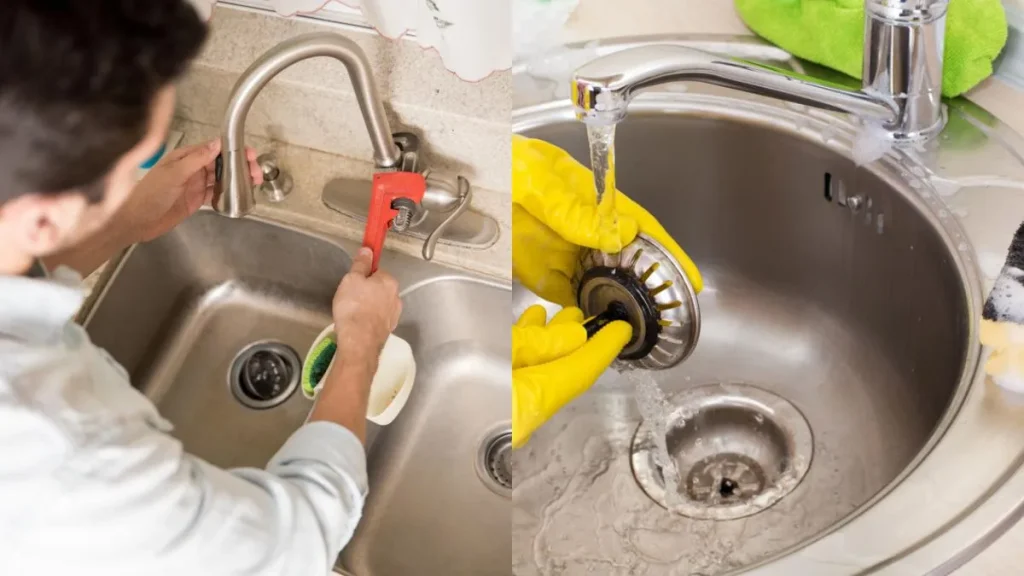
Repairing a hole in a sink requires careful attention to detail and the right steps. The step-by-step repair process helps restore your sink’s surface and prevent further damage. Each stage prepares the sink for a smooth, durable finish. Follow these steps to ensure a strong, lasting repair.
Preparing The Surface
Start by cleaning the area around the hole thoroughly. Dirt, grease, and water can stop the patch from sticking well. Use a mild detergent and warm water to scrub the sink surface. Rinse and dry it completely with a clean cloth.
Next, remove any loose pieces or rough edges around the hole. Use sandpaper (about 120 grit) to smooth the area. This helps the patch material bond better to the sink.
- Clean the area with soap and water.
- Dry the surface completely to avoid moisture.
- Sand the edges around the hole for better adhesion.
- Remove dust using a damp cloth or brush.
Check that the surface is dry and free from dust before moving to the next step. A well-prepared surface improves the patch’s durability and appearance.
Applying The Patch
Choose the right patching material based on your sink type. For porcelain sinks, use a porcelain repair kit. For stainless steel or composite sinks, use epoxy putty or resin.
Follow these steps to apply the patch:
- Mix the repair compound according to the instructions.
- Apply the patch carefully over the hole using a putty knife or applicator.
- Smooth the patch so it is level with the sink surface.
- Remove any excess material around the edges.
Use light pressure to avoid pushing the patch too deep. The patch should fill the hole and cover the damaged area completely. Let it dry or cure for the time recommended by the manufacturer, usually several hours.
| Sink Type | Recommended Patch Material | Drying Time |
| Porcelain | Porcelain repair kit | 4-6 hours |
| Stainless Steel | Epoxy putty | 6-8 hours |
| Composite | Resin filler | 4-6 hours |
Sanding And Finishing
After the patch has dried, sanding shapes it to match the sink’s surface. Use fine-grit sandpaper (220 to 400 grit) for this step. Sand gently to avoid damaging the patch or sink.
Steps for sanding and finishing:
- Start with medium grit to level the patch.
- Switch to fine grit for a smooth finish.
- Clean the area with a damp cloth to remove dust.
- Apply a touch-up paint or glaze if needed to match the sink color.
Sanding takes time and care. Check the surface often to ensure it blends with the sink. The final finish should look smooth and seamless.
Use a soft cloth to polish the repaired area. This improves shine and helps protect the patch. The sink is now ready for everyday use, looking almost like new.
Preventing Future Damage
Repairing a hole in your sink is only part of the job. Preventing future damage helps keep your sink strong and lasting longer. Small holes can grow bigger without care. Taking steps to protect your sink saves money and trouble later.
Regular Cleaning And Maintenance
Keep your sink clean to avoid buildup that wears down the surface. Use gentle cleaners and soft sponges. Avoid harsh chemicals that can damage the sink’s material.
- Clean the sink daily with mild soap.
- Remove food scraps and debris quickly.
- Check for small cracks or chips often.
Using Sink Protectors And Mats
Sink protectors reduce direct impact from heavy pots and sharp objects. They prevent scratches and dents that cause holes over time.
- Place rubber mats or grids at the bottom of the sink.
- Use cutting boards instead of cutting directly in the sink.
- Avoid dropping heavy items inside the sink.
Proper Water Temperature And Usage
Extreme temperatures can weaken sink materials. Hot water combined with harsh cleaning chemicals may cause damage.
- Use warm water instead of boiling hot water.
- Do not pour harsh chemicals down the drain.
- Rinse the sink well after cleaning.
Timely Repairs And Inspections
Fix small holes and cracks as soon as you notice them. Ignoring damage makes it worse and harder to repair.
| Problem | Action | Benefit |
| Small hole or chip | Seal with repair kit | Stops hole from growing |
| Crack in sink | Get professional inspection | Prevents leaks and breakage |
| Loose faucet or drain | Tighten or replace parts | Prevents water damage |
Conclusion
Fixing a hole in your sink is easier than it seems. Small repairs save money and prevent bigger problems. Use the right tools and materials for a strong patch. Keep your sink clean and check it often. Acting quickly stops damage from spreading.
You can do this yourself or call a plumber if needed. A fixed sink looks better and works well longer. Don’t let a small hole turn into a big mess. Take care of your sink today for peace tomorrow.