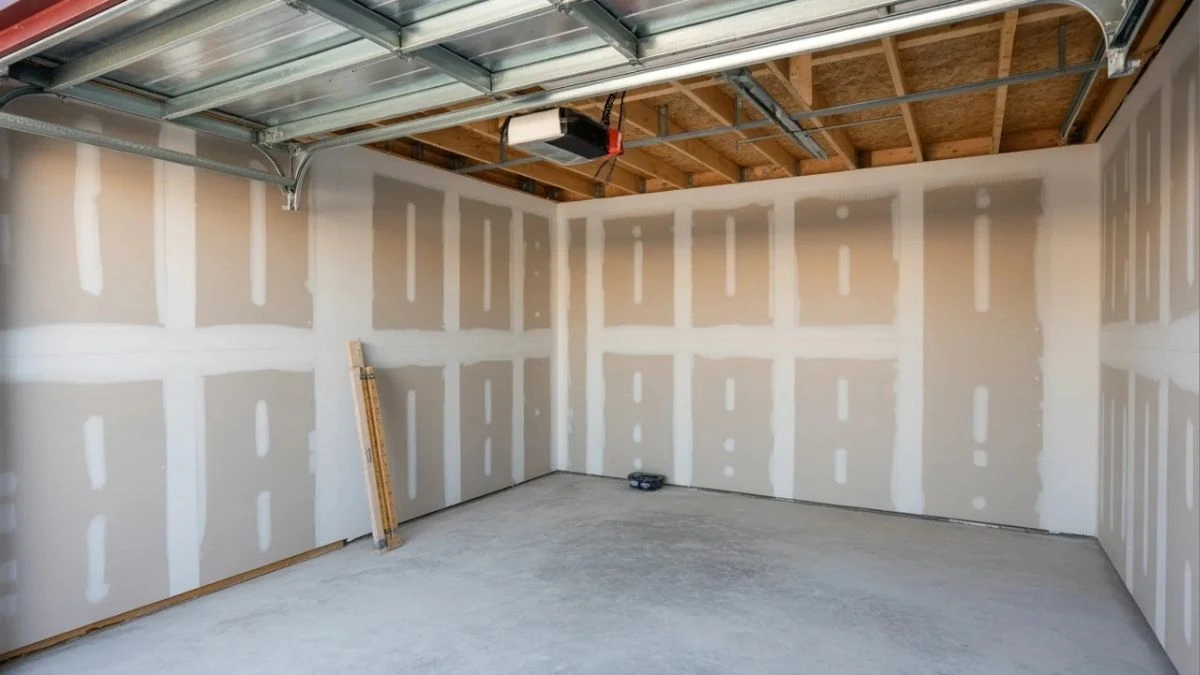
Thinking about drywall for your garage? You might be wondering if it’s okay to drywall the walls but leave the ceiling bare.
This is a common question, and the answer can affect how your garage looks, how much you spend, and even how safe your space is. If you want to make smart choices that protect your investment and improve your garage’s functionality, keep reading.
Benefits Of Drywall In Garages
Drywall is a popular choice for finishing garage walls while leaving the ceiling exposed. This approach balances cost, function, and style. Using drywall on garage walls offers several benefits that improve comfort, safety, and appearance. It helps create a more controlled environment and adds value to your home. The benefits of drywall in garages extend beyond simple decoration.
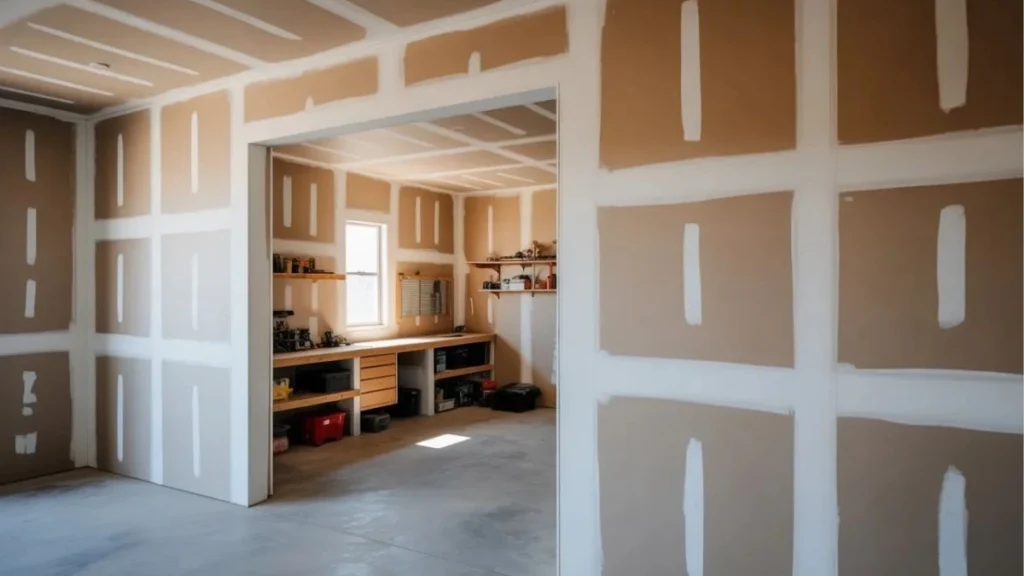
Improved Insulation And Energy Efficiency
Drywall acts as an additional layer of insulation on garage walls. It helps keep the garage warmer in winter and cooler in summer. This effect reduces energy loss through the walls. A well-insulated garage can lower heating and cooling bills. The drywall also helps reduce drafts and air leaks.
- Blocks cold air: Drywall keeps cold air outside during winter.
- Reduces heat gain: It prevents hot air from entering during summer.
- Supports insulation: Drywall holds insulation materials in place.
- Improves comfort: Makes the garage a more comfortable space year-round.
Below is a simple comparison showing how drywall affects garage wall insulation:
| Feature | Without Drywall | With Drywall |
| Thermal Barrier | No | Yes |
| Energy Efficiency | Low | Improved |
| Air Leakage | High | Reduced |
| Comfort Level | Unstable | Stable |
Enhanced Fire Resistance
Drywall is made from gypsum, a fire-resistant material. It slows down the spread of flames and heat. This feature increases safety inside the garage and the rest of the home. Installing drywall on garage walls provides a protective barrier. It can buy valuable time during a fire emergency.
Key points about drywall’s fire resistance:
- Gypsum core: Contains water that helps resist fire.
- Fire rating: Drywall often has a fire rating of 30 to 60 minutes.
- Prevents flame spread: Limits fire movement between rooms.
- Protects stored items: Gives extra protection to tools and vehicles.
Aesthetic Appeal And Clean Finish
Drywall creates a smooth, even surface on garage walls. It hides imperfections such as cracks, studs, and insulation. This clean finish improves the overall look of the garage. Painting drywall is easy, allowing for a fresh and bright appearance.
Benefits of drywall’s aesthetic appeal include:
- Neat appearance: Walls look uniform and tidy.
- Customizable: Paint in any color to match your style.
- Easy to clean: Smooth walls wipe down easily.
- Ready for shelving: Provides a solid base to mount shelves or hooks.
Drywall also helps protect the walls from damage. It resists dents and scratches better than exposed framing or paneling. This durability keeps the garage looking good over time. Overall, drywall enhances both function and style in garage walls.
Reasons To Skip Drywall On Garage Ceilings
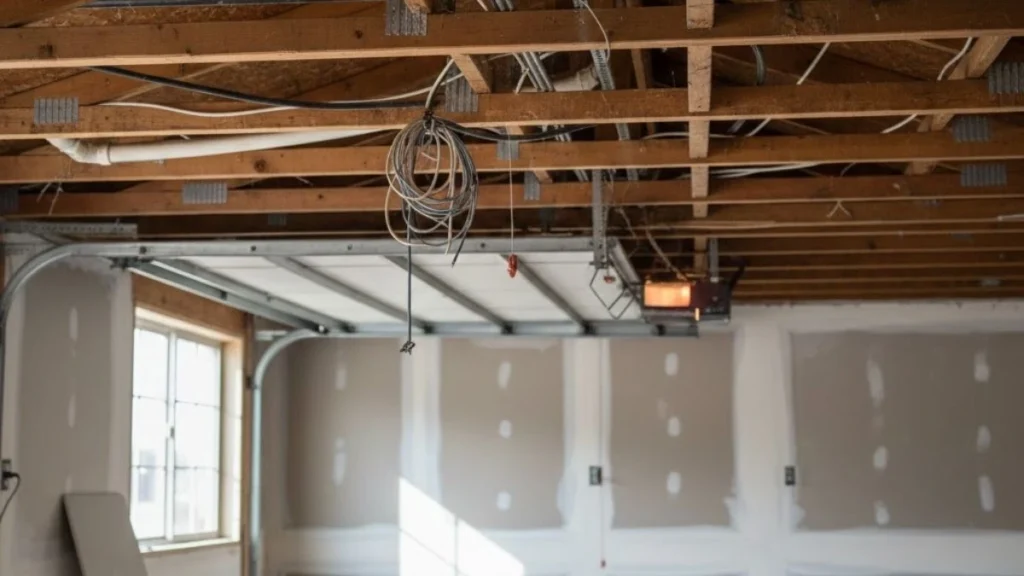
Many homeowners choose to install drywall on garage walls but avoid drywall on the ceiling. This choice has practical reasons that help with maintenance, costs, and air quality. Skipping drywall on garage ceilings can save time and money. It also makes it easier to access important systems above the ceiling.
Access To Electrical And Plumbing Systems
Garage ceilings often have many electrical wires, pipes, and ducts running above them. Skipping drywall on the ceiling makes it easier to reach these systems for repair or upgrades. Drywall creates a solid barrier, which means cutting through it is needed to get access. This adds time, cost, and effort.
Benefits of no drywall on garage ceilings for access:
- Quick inspection of wiring or plumbing
- Easy repairs without demolition
- Simple installation of new systems
- Reduced risk of damage to drywall during work
Here is a quick comparison:
| Aspect | Drywall Ceiling | No Drywall Ceiling |
| Access to Systems | Requires cutting and patching drywall | Open access, no barriers |
| Repair Time | Longer due to drywall work | Shorter and simpler |
| Cost | Higher due to materials and labor | Lower, fewer materials needed |
In short, skipping drywall on the ceiling keeps electrical and plumbing systems easy to reach. This is important for garages where systems may need regular attention.
Cost Savings And Time Efficiency
Installing drywall on garage ceilings takes extra materials, labor, and time. Skipping drywall reduces these costs and speeds up the project. Drywall sheets, screws, tape, mud, sanding, and painting all add to expenses. Not finishing the ceiling saves money.
Key reasons drywall ceilings cost more:
- More drywall sheets needed for ceiling surface
- Extra labor to hang and finish drywall overhead
- Additional materials like joint compound and tape
- Longer drying and sanding time
- Painting or texturing required
Consider this cost breakdown:
| Task | Drywall Ceiling Cost | No Drywall Ceiling Cost |
| Materials | $200 – $400 | $0 |
| Labor | $300 – $600 | $0 |
| Finishing | $100 – $200 | $0 |
| Total | $600 – $1,200 | $0 |
Skipping drywall on ceilings also speeds up completion. No need to wait for mud to dry or sanding to finish. This can save several days on a project timeline.
Ventilation And Moisture Concerns
Garages often face moisture and humidity issues. Drywall on ceilings can trap moisture, causing mold and damage. Leaving ceilings open allows better air flow and ventilation. This helps keep the space dry and healthy.
Reasons to avoid drywall ceilings for moisture control:
- Better air circulation reduces dampness
- Prevents mold growth on ceiling surfaces
- Allows faster drying after rain or snow
- Reduces risk of drywall sagging or warping
Preparation For Drywall Installation On Walls
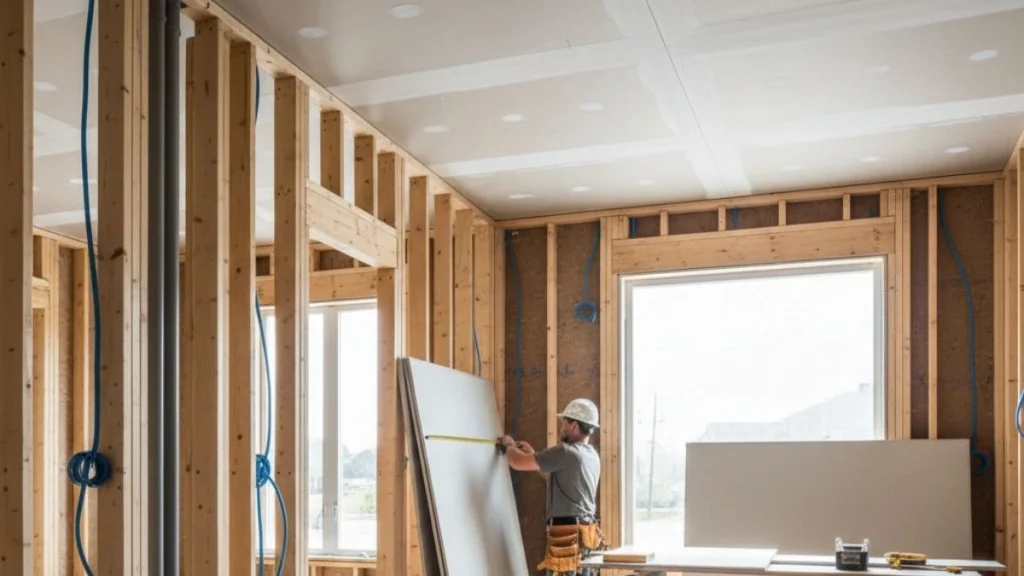
Preparing garage walls for drywall installation requires careful steps to ensure a smooth and lasting finish. Drywall on walls, but not the ceiling, means focusing on wall-specific needs. Proper preparation makes the drywall easier to hang and helps avoid problems like cracking or moisture damage.
Cleaning And Framing Inspection
Start by cleaning the walls thoroughly. Remove all dust, dirt, oil, and cobwebs. Use a broom or vacuum to clear debris from the framing and floor. Clean surfaces help drywall compound stick better and prevent future cracks.
Next, inspect the wall framing carefully. Check for:
- Loose or damaged studs that may weaken the drywall support
- Warped or twisted studs that make drywall installation uneven
- Proper spacing between studs, usually 16 or 24 inches on center
- Any nails or screws sticking out that could damage drywall sheets
Correct problems before starting drywall. Replace damaged studs or add extra framing if needed. Use a level to ensure studs are straight. Fix any protruding nails or screws by hammering them in or removing them.
Insulation Installation
Insulating garage walls improves temperature control and energy efficiency. Choose the right insulation type for garage walls, such as fiberglass batts or foam boards. Follow local building codes for insulation requirements.
Steps for insulation installation include:
- Measure each wall cavity to cut insulation to size.
- Place insulation snugly between studs without gaps.
- Avoid compressing insulation, which reduces its effectiveness.
- Use insulation supports like wire rods to hold batts in place.
- Seal gaps around windows, doors, and outlets with spray foam or caulk.
Good insulation reduces noise and keeps the garage warmer in winter and cooler in summer. It also helps drywall stick better and prevents condensation buildup behind the walls.
Moisture And Vapor Barrier
Protecting garage walls from moisture is critical before drywall installation. Moisture can cause mold, mildew, and damage to drywall and framing. Install a moisture and vapor barrier to stop water vapor from entering wall cavities.
Common moisture barriers include plastic sheeting (polyethylene) or specialized vapor barrier paints. Follow these guidelines:
- Cover all wall framing with a continuous barrier.
- Overlap seams by at least 6 inches and seal with tape.
- Seal edges around windows, doors, and electrical boxes.
- Ensure the barrier faces the warm side of the wall, usually the interior.
Check for any existing moisture problems before installing drywall. Fix leaks or drainage issues to keep walls dry. A proper vapor barrier extends the life of drywall and prevents costly repairs later.
Drywall Installation Tips For Garage Walls
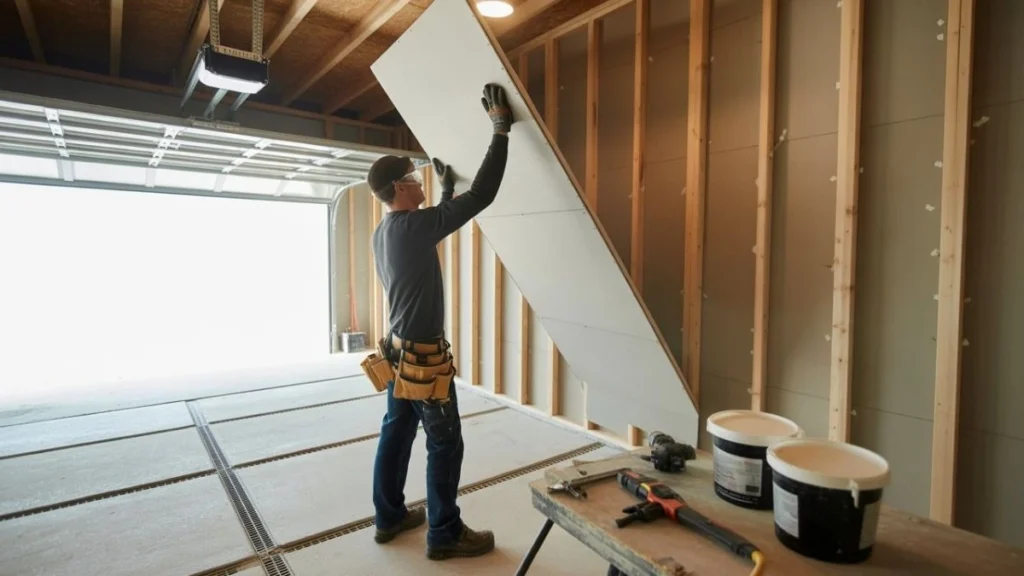
Installing drywall on garage walls improves insulation and gives a clean, finished look. Many choose to drywall the walls but leave the ceiling unfinished to save money and allow easier access to wiring or pipes. Drywall installation on garage walls requires care and the right steps to ensure durability and a smooth surface. Follow these drywall installation tips to get the best results and avoid common mistakes.
Cutting And Fitting Panels
Cutting drywall panels correctly ensures a tight fit and reduces gaps. Start by measuring the wall height and width accurately. Use a tape measure and mark the drywall panel with a pencil. Score the panel along the mark with a utility knife, then snap it cleanly along the score. This method creates a straight edge without rough cuts.
For openings like windows or electrical boxes, cut holes carefully. Use a keyhole saw or a drywall saw for rounded cuts. Mark the outline of the opening on the drywall before cutting to avoid mistakes.
- Measure twice, cut once: Double-check measurements to avoid waste.
- Use a straight edge: A level or T-square helps keep cuts straight.
- Handle panels carefully: Drywall is fragile and can break if dropped.
Fastening Techniques
Proper fastening keeps drywall panels secure and prevents future cracks. Use drywall screws instead of nails for better holding power. Space screws about 12 inches apart on walls. Place screws 3/8 inch from panel edges to avoid breaking the drywall paper.
Start fastening from the center of each panel and work towards the edges. Avoid overdriving screws; countersink them just below the surface without tearing the paper. This ensures the joint compound covers the screws smoothly.
- Use a screw gun or drill: A drywall screw gun speeds up the work.
- Screw length: 1 1/4 inch screws work well for 1/2 inch drywall.
- Check for secure fit: Panels should not move or flex once fastened.
Taping And Mudding Joints
Taping and mudding joints create a smooth wall surface and hide seams between panels. Use paper or fiberglass mesh tape over the joints. Paper tape offers a stronger finish but requires a thin layer of mud beneath it. Mesh tape is self-adhesive and easier for beginners.
Apply a thin coat of joint compound (mud) over the tape using a drywall knife. Smooth out bubbles and wrinkles. Let the first coat dry completely, then apply two more coats, each wider than the last. Sand lightly between coats with fine-grit sandpaper.
- Use a wide drywall knife: 6 to 12 inches for spreading mud evenly.
- Feather edges: Blend mud edges to avoid visible lines after painting.
- Wear a mask: Sanding creates dust that can irritate lungs.
Follow this simple step-by-step process for taping and mudding:
- Apply a thin layer of mud to the joint.
- Embed the tape into the mud, pressing it firmly.
- Cover tape with another thin mud layer.
- Let dry, then apply two more layers, each wider than the last.
- Sand smooth after the final coat is dry.
Finishing Touches And Maintenance
Finishing drywall garage walls but not the ceiling requires careful attention to detail for a neat, lasting look. The walls become the main visible surface, so proper finishing and ongoing maintenance keep them strong and attractive.
Priming And Painting
Priming drywall walls is a crucial step before painting. It seals the porous surface and ensures even paint coverage. Use a high-quality drywall primer designed for garages. This prevents paint from soaking into the drywall and reduces the risk of peeling.
- Choose a primer with mold and mildew resistance.
- Apply primer evenly using a roller for smooth coverage.
- Allow the primer to dry completely before painting.
For painting, select a durable, washable paint. Satin or semi-gloss finishes work well in garages because they resist dirt and are easy to clean. Use at least two coats of paint for full protection and color depth.
| Step | Details |
| Primer Type | Water-based, mold-resistant drywall primer |
| Paint Finish | Satin or semi-gloss for durability |
| Coats | Two or more for full coverage |
Proper priming and painting protect drywall walls from moisture and stains. This enhances the garage’s look and makes cleaning easier.
Preventing Cracks And Damage
Drywall cracks and damage often occur due to temperature changes, moisture, or physical impact. Preventing these issues starts with proper installation and continues with mindful care.
Key prevention tips include:
- Control garage humidity using ventilation or a dehumidifier.
- Maintain stable temperatures to avoid drywall expansion and contraction.
- Protect walls from impacts by placing bumpers near doors and tools.
- Use corner guards to shield vulnerable drywall edges.
Small cracks can appear at drywall joints. To minimize this, use good-quality joint tape and compound during installation. Avoid over-sanding, which weakens the drywall surface.
Regular Inspection And Repairs
Regular inspection of drywall garage walls catches problems early before they worsen. Check walls every few months for signs of cracks, holes, or water stains.
Use this inspection checklist:
- Look for hairline cracks around joints and corners.
- Check for dents or holes from impacts.
- Inspect for discoloration or soft spots indicating moisture.
- Examine paint condition for peeling or bubbling.
Small issues can be fixed quickly:
- Fill cracks and holes with lightweight spackle or joint compound.
- Sand patched areas smooth before repainting.
- Touch up paint to protect repaired spots.
For water damage, find and fix the moisture source before repairing drywall. Replace badly damaged sections to prevent mold growth.
Consistent inspections and timely repairs keep garage drywall walls strong and attractive for years.
Read Also: Reinforce Garage Ceiling Joists
Conclusion
Drywalling garage walls but not the ceiling saves time and money. Walls protect stored items and give a clean look. Leaving the ceiling open helps with ventilation and light. It also makes future repairs easier. Choose materials that resist moisture and damage.
Simple steps can improve your garage’s safety and style. Think about your needs before starting. A balanced approach works best for most garages.