You finally decided to do something about that awkward window — the one that lets in zero privacy, sits right where you want to hang a TV, or just looks completely out of place after a renovation. Covering a window with drywall is one of those projects that seems complicated at first, but with the right prep and a little patience, it’s something most homeowners can tackle over a weekend.
This guide walks you through the entire process — from understanding your options and gathering your tools to finishing the wall so it looks like that window was never there.
Why Would You Want to Cover a Window with Drywall?
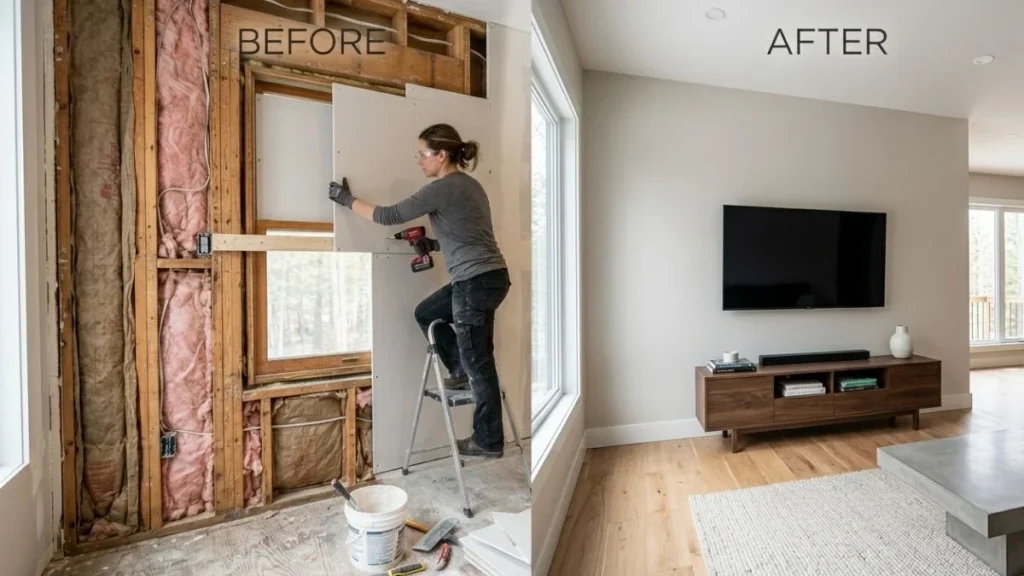
There are more reasons than you might think. Homeowners tackle this project for practical, aesthetic, and energy-related reasons — and sometimes all three at once. Before you pick up a utility knife, it helps to understand why people do this and whether it’s the right move for your situation.
Common Reasons Homeowners Block Off Windows
- Privacy — A window facing a neighbor’s yard or a busy street isn’t always welcome, especially in bedrooms or bathrooms.
- Interior redesign — You want to mount a TV, add a built-in bookcase, or simply reclaim wall space.
- Energy efficiency — Old, drafty windows bleed heat in winter and cool air in summer. Sealing them off and insulating the cavity can noticeably lower your energy bills.
- Basement or garage conversions — Finishing these spaces often means eliminating windows that are too small, poorly placed, or no longer code-compliant.
- Structural or code issues — Some windows no longer meet current egress or ventilation codes and are easier to remove than replace.
Is It the Right Move for Your Home?
Covering a window does reduce natural light in that area — that’s a trade-off worth thinking about. It can also affect resale value, depending on your market. Buyers generally like windows, but a poorly placed one that’s been cleanly patched is rarely a dealbreaker. If you’re unsure, talk to a local real estate agent before committing.
What You Need to Know Before You Start
Jumping straight into demo mode is tempting, but a little upfront research saves you from costly surprises. Here’s what to sort out before you touch anything.
Check Local Building Codes and Permits
In many areas, removing a window — especially one in a bedroom — requires a permit. Egress windows (the ones large enough to escape through in an emergency) are regulated by code, and removing one in a bedroom may not be legal without adding another exit point. Check with your local building department before starting. Skipping this step can create problems when you sell your home and buyers request an inspection.
Understand Your Wall Type
Not all walls are created equal. The approach changes significantly based on what you’re working with:
| Wall Type | Complexity | Notes |
| Non-load-bearing interior wall | Low | Simpler framing, no structural concerns |
| Load-bearing wall | High | Header must remain; consult a contractor |
| Exterior wall with wood siding | Medium | Requires exterior patching with siding |
| Exterior wall with brick or stucco | High | Matching material is tricky; may need a pro |
Also check for electrical wiring or plumbing near the window before you start cutting. A stud finder with AC detection can help, but when in doubt, turn off the circuit breaker for that area.
Choose Your Approach
You have two options, and which one you choose depends on your budget, skill level, and how thorough you want to be:
- Option A (Interior Only): Frame and drywall over the window from the inside, leaving the window in place. Faster, cheaper, and no exterior work needed — but the window remains behind the wall, which can cause moisture issues over time.
- Option B (Full Removal): Remove the window entirely, patch the exterior, frame the opening, insulate, and drywall. More work, but a cleaner and longer-lasting result.
For most homeowners, Option B is the better long-term choice.
Tools and Materials You’ll Need

Getting everything together before you start makes the project run much smoother. Here’s a complete list:
Tools
- Utility knife and drywall saw
- Drill with screwdriver bits
- Stud finder
- Tape measure and pencil
- Level
- Mud pan and drywall knives (6-inch and 10-inch)
- Sanding block or pole sander
- Pry bar (for window removal)
- Safety glasses and work gloves
Materials
| Item | Spec/Notes |
| Drywall sheets | ½ inch for standard interior walls |
| 2×4 lumber | For framing the new wall cavity |
| Drywall screws | 1-5/8 inch for ½-inch drywall |
| Joint compound | All-purpose for topping coats; setting-type for first coat |
| Drywall tape | Paper tape preferred for seams |
| Fiberglass batt insulation | Match depth to wall cavity |
| Primer and paint | Match existing wall color |
| Exterior caulk | For sealing the outside patch |
How to Cover a Window with Drywall — Step by Step
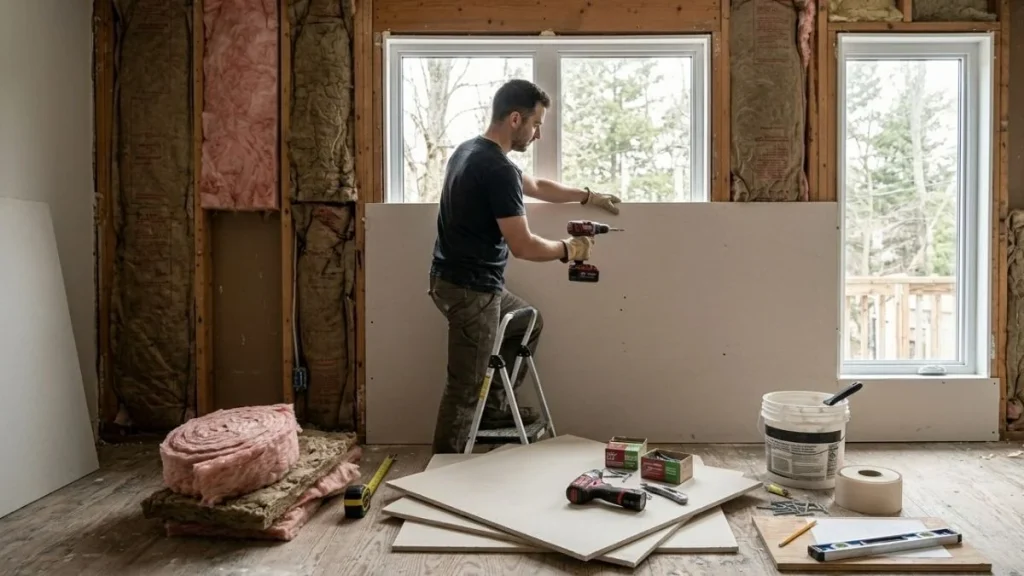
Remove the Window (For Full Removal)
Start by removing the interior trim and casing using a pry bar. Work carefully to avoid gouging the surrounding drywall. Once the trim is off, cut through the caulk around the window frame using a utility knife. From the outside, have a helper support the window while you remove the fasteners. Lift the window unit out carefully — glass is heavy and awkward.
Pro Tip: Old windows often have lead paint on the trim. If your home was built before 1978, test before you demo and follow EPA RRP (Renovation, Repair, and Painting) guidelines.
Frame the Opening with 2×4 Lumber
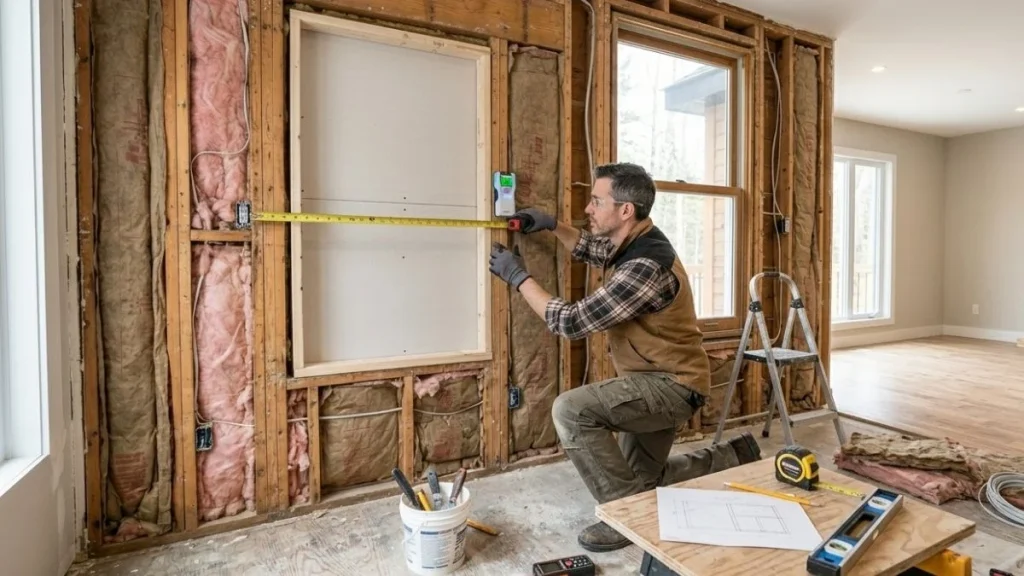
This step gives your drywall something solid to attach to. Measure the rough opening and install horizontal 2×4 blocking across the top and bottom of the opening. Then add vertical studs spaced 16 inches on center between the blocking. Check everything with a level before fastening.
Framing a Non-Load-Bearing Wall
On a non-load-bearing wall, framing is straightforward — install your studs and blocking, anchor them into the existing framing, and you’re ready for insulation.
Framing a Load-Bearing Wall
If the wall is load-bearing, the existing header above the window must stay in place. Do not remove it. Your new framing fills in below and around it. If you’re unsure whether a wall is load-bearing, hire a contractor or structural engineer to assess it — this is not a spot to guess.
Add Insulation to the Cavity
Insulating the framed cavity is one of the most important steps and one of the most commonly skipped. Without insulation, that section of wall becomes a cold spot in winter and a warm spot in summer — and a potential condensation trap that leads to mold.
Cut fiberglass batt insulation to fit snugly between the studs. It should fill the entire cavity without being compressed. In cold climates, a vapor barrier (plastic sheeting) on the warm side of the insulation helps control moisture. Rigid foam boards are another solid option, especially if wall depth is limited.
Cut and Hang the Drywall
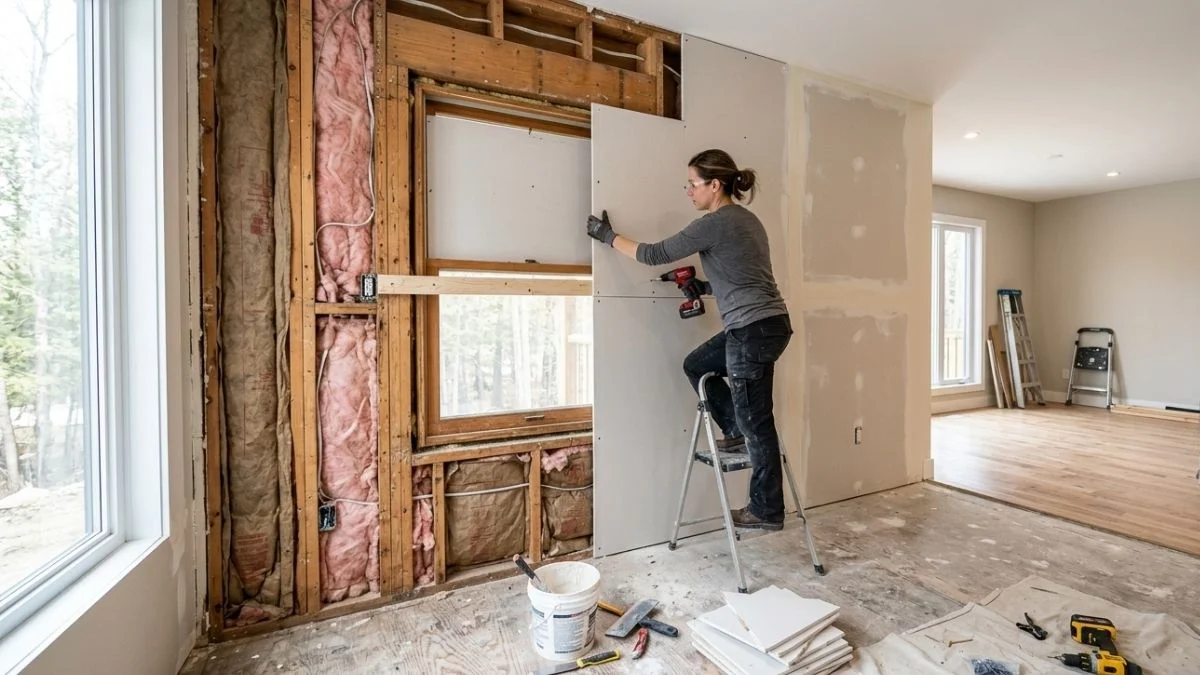
Measure the framed opening carefully, then cut your drywall sheet to size using the score-and-snap method: score the face with a utility knife along a straight edge, snap the sheet away from you, then cut the back paper. Clean, straight cuts make finishing much easier.
Hold the drywall panel against the framing and fasten it with drywall screws every 8 inches along the edges and every 12 inches through the field (the center area). Drive screws until the head dimples slightly into the surface without breaking the paper face — that dimple is what holds the joint compound in place.
Check that the new panel sits flush with the surrounding wall. If it’s slightly proud or recessed, it shows through the finished paint job.
Tape and Apply Joint Compound
This is the step that separates a professional-looking result from a lumpy, obvious patch. Don’t rush it.
- First coat: Apply a thin layer of setting-type joint compound over the seams and press paper tape into it. Smooth it flat with your 6-inch knife. Let it dry completely.
- Second coat: Switch to all-purpose compound. Apply a wider coat (8–10 inches across) and feather the edges out so the transition is gradual. Let it dry.
- Third coat: Even wider and thinner. Feather it out as far as needed to blend seamlessly. Let it dry fully before sanding.
Pro Tip: Each coat must be completely dry before you apply the next one. Rushing causes shrinkage cracks that show up after painting — and are a nightmare to fix.
Sand, Prime, and Paint
Once your final coat is dry, sand lightly with 120-grit paper, then finish with 150-grit for a smooth surface. Wipe away all dust with a damp cloth before priming.
Apply a coat of drywall primer to seal the new compound — skipping primer causes the paint to absorb unevenly (called “flashing”) and the patch will show through. After priming, texture the surface to match your existing wall if needed, then paint.
Matching wall texture is often the trickiest part:
- Smooth walls: Sand and prime carefully; two topcoats of paint usually blend it in.
- Orange peel: Use a spray texture can to apply a light, even coat.
- Knockdown: Apply joint compound with a roller, then knock it down with a knife before it dries.
How to Patch the Exterior After Window Removal
If you went with the full removal approach, the outside of your house needs attention too. Leaving the exterior unpatched — even temporarily — lets in moisture, insects, and cold air.
Matching Your Exterior Material
| Exterior Type | Patch Method |
| Wood siding | Cut new boards to match, nail in place, caulk and paint |
| Vinyl siding | Snap in replacement panels cut to size |
| Brick | Source matching brick; hire a mason for best results |
| Stucco | Apply in layers (scratch coat, brown coat, finish coat); texture to match |
Weatherproofing the Patch
Before installing any exterior material, staple house wrap or a weather-resistant barrier over the framed opening. Overlap it with the existing wrap by at least 6 inches. Seal all edges with exterior caulk rated for your climate. This step is what prevents moisture from sneaking into your wall cavity and causing rot or mold over time.
Common Mistakes to Avoid
Even experienced DIYers make these errors on this type of project. Knowing them in advance keeps your project on track.
- Skipping the permit — Can cause legal and financial headaches at resale.
- Not insulating the cavity — Leads to cold spots, condensation, and higher energy bills.
- Using the wrong drywall thickness — ½ inch for walls, ⅝ inch for fire-rated assemblies; using the wrong one throws off flush alignment.
- Not feathering compound wide enough — A narrow patch always shows. Feather at least 12–14 inches on each side.
- Rushing drying time — Patience between coats is the single biggest factor in a smooth finish.
- Ignoring the exterior — Leaving a window-sized hole in your exterior wall, even covered in plywood, is a moisture and pest problem waiting to happen.
How Much Does It Cost?
DIY Cost Estimate
| Item | Estimated Cost |
| Drywall sheet (4×8) | $15 – $25 |
| 2×4 lumber (several pieces) | $20 – $40 |
| Joint compound and tape | $20 – $35 |
| Insulation | $15 – $30 |
| Primer and paint | $30 – $60 |
| Total (DIY) | $100 – $190 |
Hiring a Contractor
| Scope | Estimated Cost |
| Interior only (no window removal) | $300 – $600 |
| Full removal + interior drywall | $500 – $900 |
| Full removal + exterior patching | $800 – $1,500+ |
Prices vary by region, wall type, and exterior material. Brick and stucco exteriors generally cost more to patch than wood or vinyl siding.
You May Like Also: Filling Gaps Around Window Frames
Conclusion
Covering a window with drywall is a permanent decision — so it pays to get it right the first time. Check your permits, understand your wall structure, insulate properly, and take your time with the finishing work. These four steps are what separate a seamless, professional result from a wall that looks patched together.
If the project is straightforward and interior-only, most handy homeowners can handle it over a weekend. But if load-bearing walls or exterior patching are involved, do not hesitate to call in a licensed contractor for that part of the job.
Done right, that window will disappear completely — and your wall will look like it was never there.