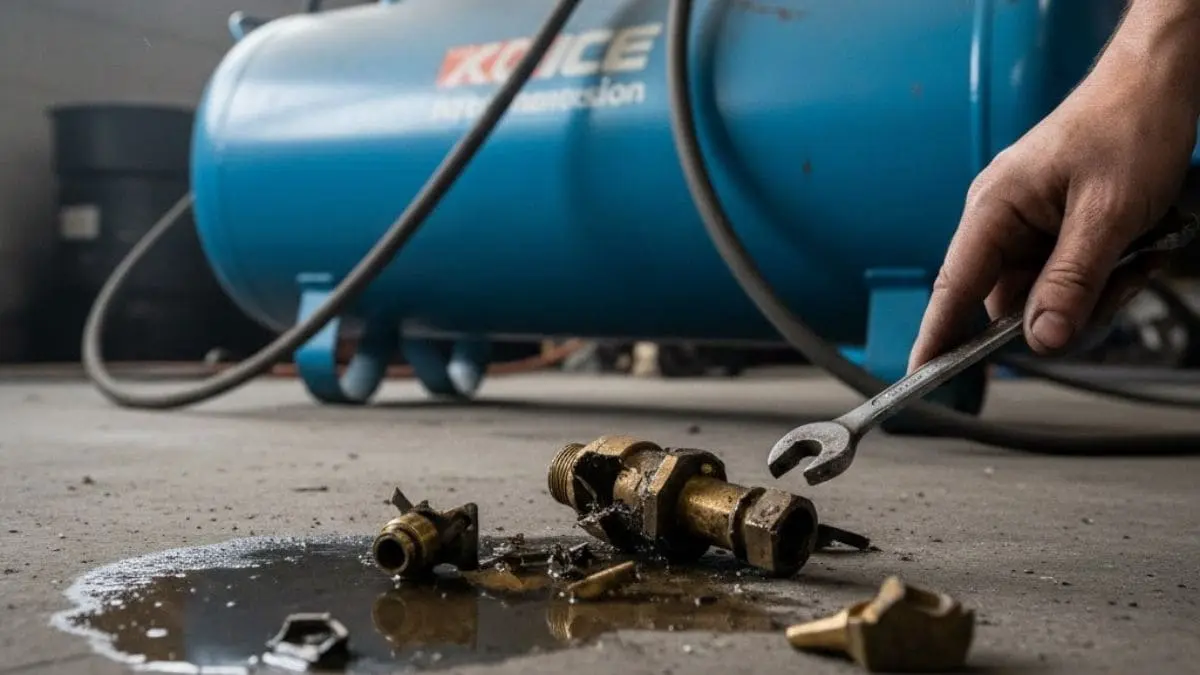
Have you ever faced the frustration of your air compressor drain valve breaking off unexpectedly? If so, you know how quickly this small part can turn into a big problem.
Without a working drain valve, moisture and debris build up inside your tank, risking damage and costly repairs. But don’t worry—understanding why this happens and how to fix it can save your compressor and your money. Keep reading to learn exactly what to do when your air compressor drain valve breaks off and how to prevent it from happening again.
Causes Of Valve Breakage
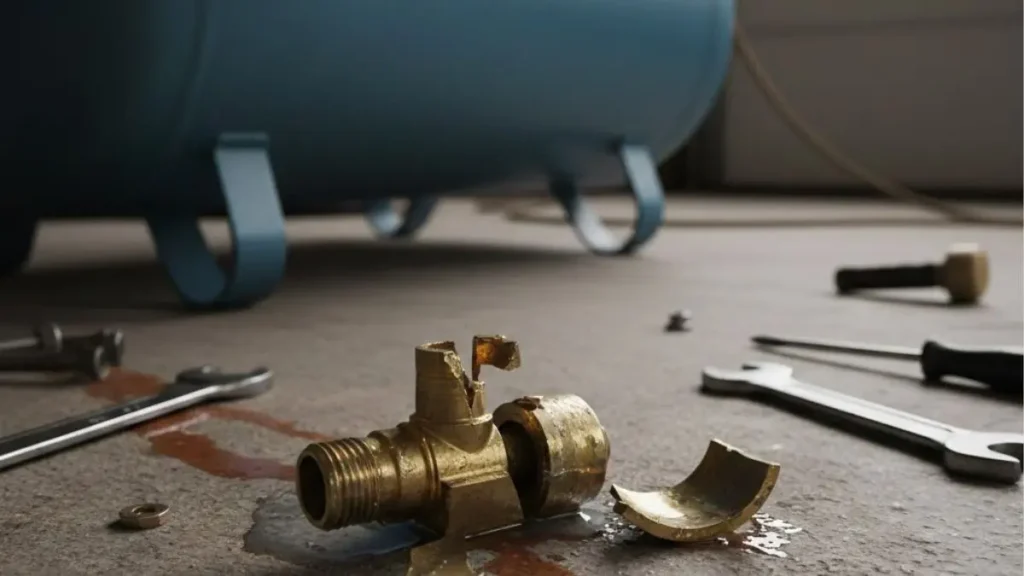
The air compressor drain valve plays a vital role in releasing moisture and preventing tank damage. Sometimes, this valve breaks off, causing leaks and operational issues. Several factors contribute to valve failure, ranging from normal use to manufacturing problems.
Wear And Tear
Wear and tear is one of the most common reasons for an air compressor drain valve to break off. Over time, constant use causes the valve parts to weaken. The valve opens and closes frequently to release moisture, which stresses the seals and metal components. This repeated motion slowly wears down the valve’s integrity.
Signs of wear and tear include:
- Loose or wobbly valve handle
- Difficulty in opening or closing the valve
- Small leaks around the valve base
- Corroded or cracked valve body
Corrosion Issues
Corrosion damages the drain valve by eating away its metal parts. Moisture inside the air compressor tank causes rust. The tank environment is often damp, which accelerates corrosion. Rust weakens the valve body and stem, making breakage more likely.
Corrosion effects include:
- Rough or pitted valve surfaces
- Valve seizing or sticking
- Leaks due to holes in the valve
- Valve handle breaking off easily
Overtightening Damage
Overtightening the drain valve during installation or maintenance leads to cracks and breaks. Applying too much force stresses the valve threads and body. This pressure causes the valve to snap, especially if the material is brittle or worn.
Common effects of overtightening:
- Cracked valve housing
- Stripped or damaged threads
- Difficulty removing or adjusting the valve
- Sudden valve breakage during use
Material Defects
Material defects in the valve cause weak spots that fail under normal use. These defects happen during manufacturing or from poor-quality raw materials. Defective valves may break easily or leak shortly after installation.
Types of material defects include:
- Cracks or voids inside the valve metal
- Impurities that reduce strength
- Improper casting or molding flaws
- Uneven thickness in valve walls
Detecting these defects before use is difficult. Buying valves from reputable brands reduces risk. Visual inspection may show surface flaws or uneven finishes. Testing valves under pressure before installation also helps catch defects. Here’s a quick checklist for quality control:
| Quality Check | Purpose |
| Visual inspection | Spot surface cracks or unevenness |
| Pressure testing | Ensure valve holds air without leaks |
| Material certification | Confirm use of proper alloys |
| Purchase from trusted brands | Lower chance of defects |
Identifying A Broken Drain Valve
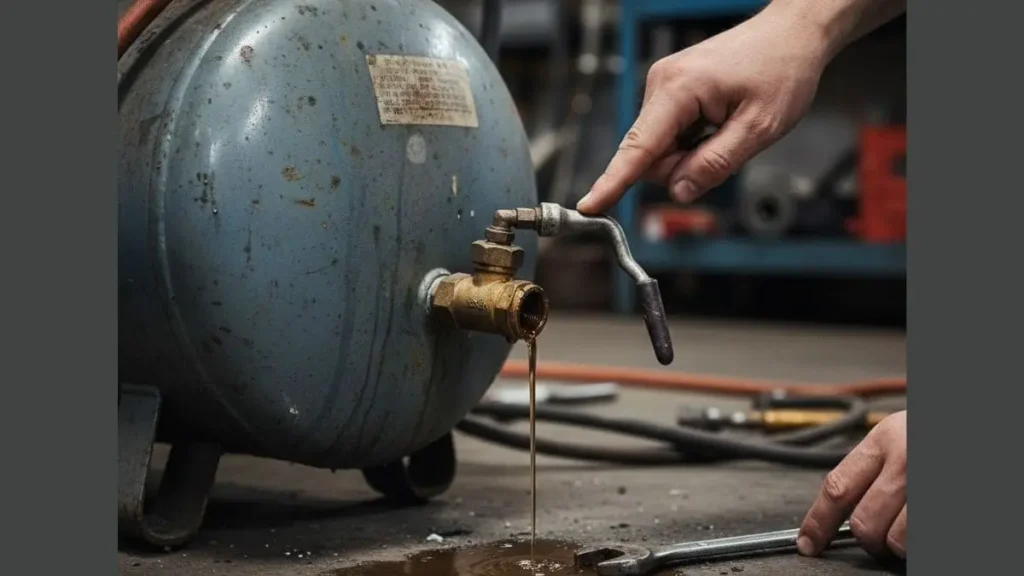
The air compressor drain valve plays a crucial role in removing moisture and preventing rust inside the tank. A broken drain valve can cause serious problems, including water buildup and air leaks. Identifying a broken drain valve early helps avoid costly repairs and keeps the compressor running smoothly.
Signs Of Leakage
Leakage is one of the most common signs of a broken drain valve. Water or air may escape from the valve area, reducing the compressor’s performance. You might notice a constant hissing sound near the valve, which indicates air loss. Moisture or water dripping from the valve is also a clear sign of damage.
- Hissing or whistling noises: These sounds suggest air escaping through a crack or loose valve.
- Water or oil drops: Visible fluid leaks under the compressor point to valve failure.
- Wet spots or puddles: Accumulation of moisture below the valve means it is not sealing properly.
Use a piece of cardboard or paper to detect air leaks by holding it near the valve. If it moves or flutters, air is escaping. Quick detection of leaks prevents air pressure loss and avoids higher energy costs.
Reduced Air Compressor Efficiency
A broken drain valve directly affects the air compressor’s efficiency. When air escapes through the valve, the compressor must work harder to maintain pressure. This leads to longer running times and increased electricity use. Over time, efficiency drops noticeably.
Common effects include:
- Longer pump cycles: The compressor runs more often to keep pressure levels.
- Lower air pressure: Tools and equipment receive less power, causing poor performance.
- Increased energy bills: More power is consumed due to air leaks.
Tracking the compressor’s pressure gauge helps identify efficiency issues. If the gauge shows inconsistent pressure or takes longer to build, the drain valve might be broken. Timely repair saves energy and extends the life of your compressor.
Visible Physical Damage
Physical damage to the drain valve is easy to spot and often means immediate replacement is necessary. The valve may appear cracked, bent, or completely broken off. Rust and corrosion around the valve area also signal potential failure.
| Type of Damage | What It Looks Like | Possible Cause |
| Cracks | Small or large breaks in the valve body | Impact, wear, or freezing moisture |
| Bent Valve | Valve handle or body is misshapen | Accidental hits or improper use |
| Rust/Corrosion | Discolored, flaky metal near the valve | Water buildup and lack of maintenance |
| Valve Missing | No valve or broken piece left on the tank | Severe damage or mechanical failure |
Regular inspection of the drain valve can catch physical damage early. Use a flashlight to check hard-to-see areas. Replace any damaged valve immediately to prevent leaks and compressor damage.
Immediate Actions To Take
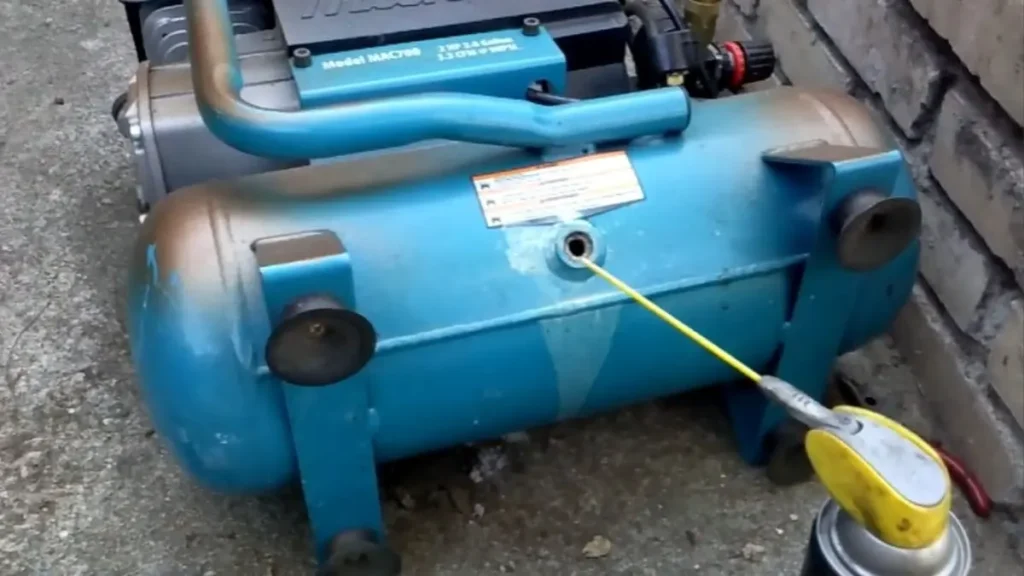
Dealing with an air compressor drain valve that has broken off requires quick and careful action. The drain valve controls moisture release from the tank. A broken valve can cause air leaks and damage. Immediate actions help prevent further problems and keep you safe.
Shutting Down The Compressor
First, turn off the air compressor immediately. Running the compressor with a broken drain valve can cause air to escape rapidly. This might lead to loss of pressure or even damage to the tank. Follow these steps to shut down correctly:
- Switch off the power: Unplug the compressor or turn off the circuit breaker.
- Stop the motor: Press the stop button if your model has one.
- Close the main air valve: Prevent air from flowing further into the broken valve area.
Shutting down the compressor stops the air flow and pressure buildup. It also reduces the risk of injury from sudden air bursts. Keep the compressor off until repairs are done.
| Step | Action | Reason |
| 1 | Switch off power | Stops the compressor motor safely |
| 2 | Press stop button | Halts compressor operation quickly |
| 3 | Close main air valve | Prevents air leaks from broken valve |
Relieving Pressure Safely
After shutting down the compressor, release the pressure inside the tank. The tank holds compressed air that can be dangerous if not handled carefully. Here is how to relieve pressure safely:
- Wear safety goggles and gloves to protect yourself.
- Locate the pressure relief valve on the tank.
- Turn or pull the valve slowly to release air in a controlled way.
- Listen for air escaping and wait until the sound stops.
- Check the tank pressure gauge to confirm it reads zero.
Never attempt to remove the broken valve without releasing pressure. Sudden air release can cause injury or damage. If the pressure relief valve is not working, open the drain port carefully using a tool, standing clear of the valve opening.
| Safety Tip | Reason |
| Wear protective gear | Protects eyes and hands from debris or air blast |
| Release air slowly | Prevents sudden pressure drops |
| Confirm zero pressure | Ensures safe handling before repairs |
Temporary Fix Options
With the pressure released and compressor off, consider a temporary fix to stop air leaks. Temporary fixes allow use of the compressor until a permanent repair or valve replacement happens. Some options include:
- Threaded plug: Use a threaded pipe plug matching the drain valve size. Screw it into the open port to seal air leaks.
- Rubber stopper and clamp: Insert a rubber stopper into the valve opening. Secure it tightly with a hose clamp or metal band.
- Epoxy putty: Apply epoxy putty around the broken valve area. Let it cure fully before restarting the compressor.
Choose a fix based on tools and materials available. Temporary fixes should hold pressure without leaks. Do not operate the compressor under high pressure with a temporary fix for long periods. Schedule a professional repair as soon as possible.
| Temporary Fix | Materials Needed | Notes |
| Threaded plug | Pipe plug, wrench | Best seal, easy to install |
| Rubber stopper and clamp | Rubber stopper, hose clamp | Quick, but less durable |
| Epoxy putty | Epoxy kit | Good for cracks, requires curing |
Repairing The Drain Valve
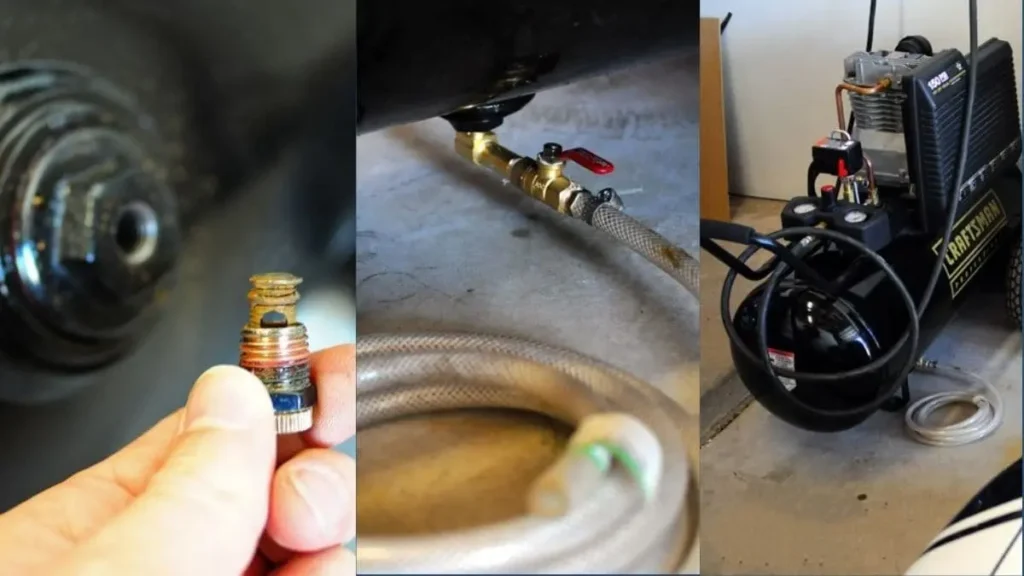
Repairing the drain valve on an air compressor is essential to keep the tool working well. The drain valve removes moisture and prevents rust inside the tank. A broken valve can cause leaks or stop proper drainage. Fixing it quickly saves money and avoids bigger problems.
Removing The Broken Valve
Start by turning off the air compressor and releasing all pressure from the tank. Safety is key before working on the valve. Locate the broken drain valve at the bottom of the tank. Use a wrench to loosen the valve carefully. If the valve broke off inside the tank, remove any remaining pieces with pliers or a screwdriver.
Steps to remove the broken valve:
- Turn off and unplug the air compressor.
- Release all air pressure from the tank using the pressure release valve.
- Use a wrench to unscrew the broken valve counterclockwise.
- If stuck, apply penetrating oil and wait 10 minutes.
- Remove leftover valve parts inside the tank with pliers.
- Clean the valve seat and threads with a cloth.
Be careful not to damage the tank threads during removal. Use gentle force and correct tools. Inspect the valve seat for cracks or rust. A clean and smooth valve seat helps the new valve seal tightly. If the seat is damaged, consult a professional for repair options.
Choosing Replacement Parts
Finding the right replacement valve is crucial for a good repair. The new valve must fit your air compressor’s tank and handle the pressure safely. Check the old valve for size, thread type, and material. Most drain valves use 1/4-inch or 3/8-inch NPT threads. Brass valves resist corrosion and last longer.
Consider these points when choosing parts:
| Feature | Recommendation |
| Thread Size | Match the old valve’s thread (usually 1/4″ or 3/8″ NPT) |
| Material | Brass or stainless steel for durability and rust resistance |
| Valve Type | Ball valve or lever valve for easy operation |
| Pressure Rating | At least equal to the compressor’s max pressure |
Buy valves from trusted brands or hardware stores. Check product descriptions for compatibility. Choose valves designed for air compressors, not general plumbing valves. A proper valve ensures safety and long life.
Installing A New Valve
Installing the new drain valve is simple but needs care to avoid leaks. Clean the tank threads and apply thread seal tape (PTFE tape) on the valve’s threads. Wrap the tape clockwise 3-4 times to create a tight seal. Insert the valve into the tank’s drain hole and turn it clockwise by hand.
Use a wrench to tighten the valve firmly but avoid over-tightening. Over-tightening can strip threads or crack the tank. Check the valve alignment so it opens and closes easily.
Follow these installation steps:
- Clean the tank threads with a cloth.
- Wrap PTFE tape clockwise around the new valve’s threads.
- Insert the valve into the drain hole and hand-tighten.
- Use a wrench to tighten securely, do not over-tighten.
- Test the valve by opening and closing it several times.
- Pressurize the tank and check for leaks around the valve.
If leaks appear, tighten the valve a bit more or add more thread tape. Do not force the valve closed if it feels tight. Proper installation saves time and prevents future air or water leaks.
Preventing Future Valve Failures
Preventing future failures of your air compressor drain valve is key to keeping your equipment running smoothly. A broken valve can cause air leaks, moisture buildup, and damage to the compressor. Regular care and smart handling help avoid these issues and extend the valve’s life. Simple steps can save costly repairs and downtime.
Regular Maintenance Tips
Consistent maintenance keeps the drain valve in good shape and prevents breakage. Check the valve often to catch problems early. Follow these tips for regular care:
- Inspect the valve weekly. Look for cracks, corrosion, or leaks.
- Clean the valve monthly. Remove dirt and debris that block proper drainage.
- Drain moisture daily. Open the valve to release water after each use.
- Lubricate moving parts. Use light machine oil to keep the valve working smoothly.
- Replace worn seals. Damaged seals cause leaks and pressure loss.
Use this table to track your maintenance routine:
| Task | Frequency | Notes |
| Visual inspection | Weekly | Check for cracks or damage |
| Cleaning | Monthly | Clear dirt and buildup |
| Drain moisture | Daily | Prevent water accumulation |
| Lubrication | Every 3 months | Use light oil on parts |
| Seal replacement | As needed | Replace if leaking |
Following these steps reduces valve failure risks and keeps your compressor safe.
Proper Valve Handling
Handling the drain valve carefully prevents damage during use. Rough or incorrect handling causes cracks or breaks. Use these guidelines to protect the valve:
- Turn the valve gently. Avoid forcing it open or closed.
- Use the right tools. Avoid pliers or wrenches that can apply uneven pressure.
- Do not overtighten. Close the valve firmly but without extra force.
- Keep the valve free from impact. Avoid dropping or hitting it against hard surfaces.
- Train all users. Make sure everyone knows how to operate the valve safely.
Handle the valve with care to avoid early wear and accidental breakage. Treat it as a delicate but essential part of your compressor.
Using Quality Components
Choosing high-quality parts reduces valve failures and improves compressor performance. Cheap or low-grade valves wear out fast and cause leaks. Focus on these points when selecting components:
- Buy valves from reputable brands. Look for good reviews and proven reliability.
- Check material quality. Brass and stainless steel valves last longer than plastic ones.
- Match the valve size and type. Use parts designed for your compressor’s pressure and capacity.
- Replace old valves promptly. Don’t reuse damaged or worn valves.
- Keep spare parts on hand. Quick replacements reduce downtime.
You May Like Also: Air Volume Control Valve Leaking Water
Conclusion
A broken air compressor drain valve can cause serious problems. Fixing it quickly keeps your compressor working well. Check the valve often to avoid leaks or damage. Use the right tools and parts for repairs. Regular maintenance helps your equipment last longer.
Small issues can turn big if ignored. Stay safe by turning off power before fixing. Keep your compressor ready for any job. Simple care saves money and time in the long run. Act fast and protect your tools today.