
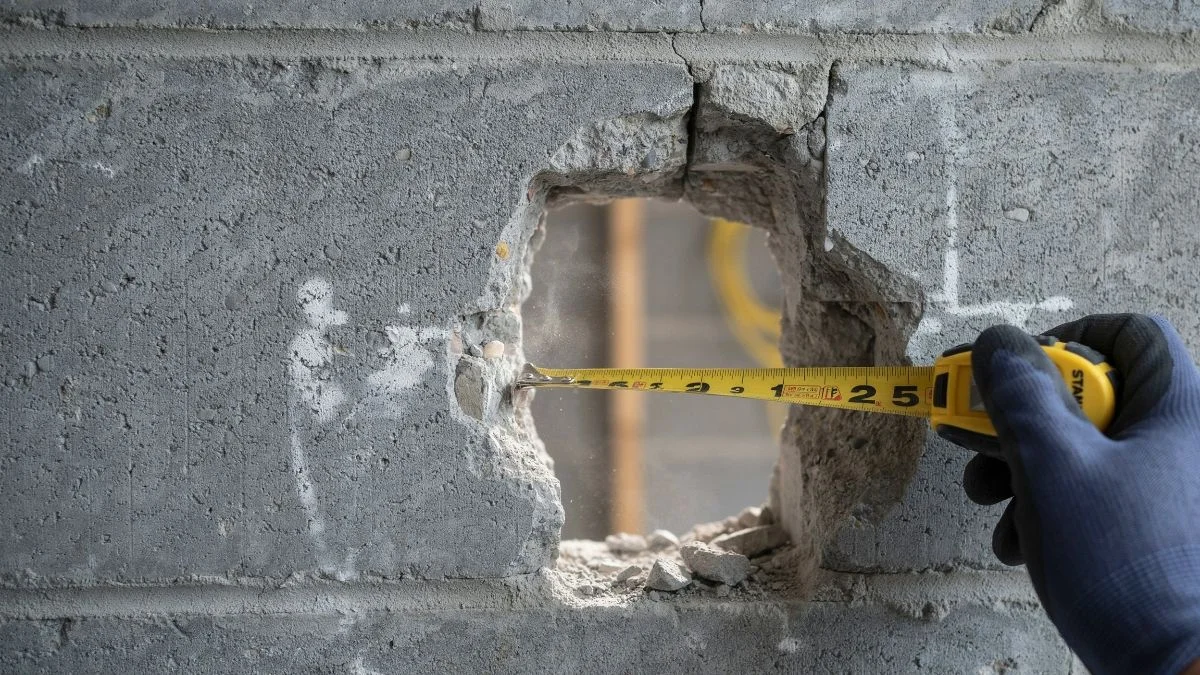
A large, ragged hole in a cinder block wall looks permanent — but the right materials and method can restore full structural integrity in a single weekend.
Most homeowners assume damage this severe requires a contractor, leaving walls unrepaired for months while moisture, pests, and energy loss compound the problem.
This guide walks you through exactly how to repair a large hole in a cinder block wall — from assessing depth and structural risk to selecting the right hydraulic cement or block filler, with step-by-step execution anyone can follow.
Preparation: Assess and Clean
Proper preparation determines whether your repair lasts 2 years or 20. Skipping this stage is the single most common reason cinder block patches fail.
How Big Is the Hole, Really?
Measure the hole’s diameter and depth before touching anything else. This controls your entire material and method decision.
- Under 1 inch deep: Surface-level damage. A pre-mixed cinder block patching compound or vinyl concrete patcher handles this easily.
- 1–3 inches deep: Moderate damage. Use a two-stage fill with concrete repair mortar, building up in layers.
- Through the block entirely: Structural concern. You need hydraulic cement for masonry, a block insert, or professional evaluation before proceeding.
Structural vs. Cosmetic Damage
A cosmetic hole affects only the block face. A structural hole compromises the wall’s load-bearing capacity or allows water infiltration — both require different responses.
Here’s the critical test: press firmly on the block surrounding the damage. Any flex, crumbling, or cracking in adjacent blocks signals structural damage. Stop work and consult a licensed mason before continuing. Foundation wall repair involving structural compromise is not a weekend DIY project.
Cleaning and Edge Preparation
Surface preparation is non-negotiable for adhesion. Follow this sequence:
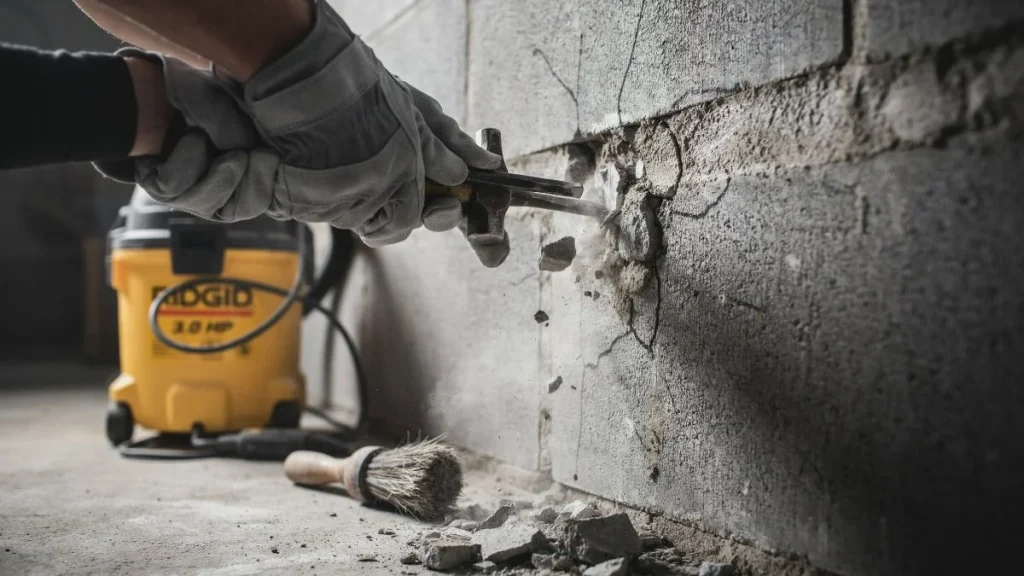
- Use a cold chisel and hammer to knock out all loose material around the hole’s edges.
- Undercut the edges slightly — angling them inward creates a mechanical key that locks the patch in place.
- Brush out all dust and debris with a stiff wire brush.
- Vacuum the cavity with a shop vac.
- Rinse with clean water and allow the surface to reach a saturated surface-dry (SSD) condition — damp but not pooling.
Skipping the rinse step causes the dry block to pull moisture from your fresh patch, weakening the bond before it even cures.
Material Options by Hole Size and Speed
Choosing the wrong material is as bad as skipping preparation. Each option has a specific performance envelope — match it to your hole size, timeline, and whether the wall faces moisture exposure.
Small Holes: Under 2 Inches
Pre-mixed cinder block patching compound or vinyl concrete patcher works best here. Products like Quikrete Vinyl Concrete Patcher bond well to existing masonry, require no mixing ratios, and reach workable hardness in 24 hours. For filling screw holes in cinder block or minor spalling, this is the fastest path with the least skill required.
Medium Holes: 2–6 Inches
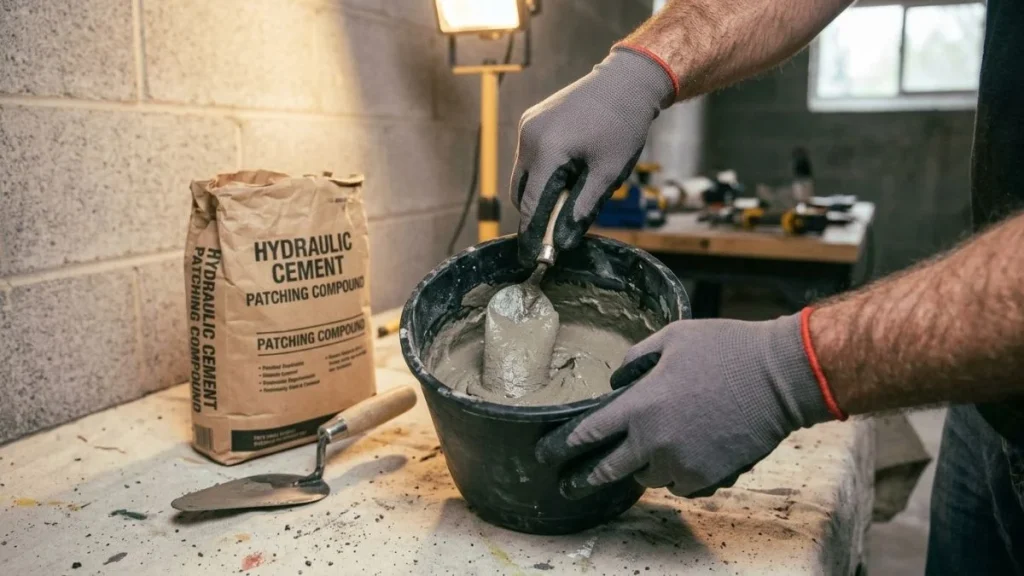
This range needs more body. Hydraulic cement for masonry — such as Quikrete Hydraulic Water-Stop Cement or Sakrete Fast-Setting Cement Patcher — sets in as little as 3–5 minutes and expands slightly as it cures, which makes it ideal for vertical surface repair and any patch hole in foundation wall situation involving moisture infiltration. Concrete repair mortar works equally well here when time pressure is lower, offering a stronger long-term bond at lower material cost.
Large Holes: 6 Inches and Beyond
At this scale, you have 3 realistic options:
| Method | Best For | Approximate Cost | Cure Time |
|---|---|---|---|
| Poured concrete fill | Deep cavities, dry walls | $5–$15/bag | 24–48 hours |
| Epoxy anchor repair system | Structural reinforcement needed | $20–$60/kit | 4–24 hours |
| Full block replacement | Through-wall damage, block collapse | $10–$30/block + labor | 28 days full cure |
Epoxy anchor systems, like Simpson Strong-Tie’s SET-XP, deliver compressive strengths exceeding 10,000 psi — making them the strongest option when concrete block wall damage involves load-bearing sections.
Step-by-Step Application Process
Applying patch material correctly matters as much as choosing the right product. Even premium concrete repair mortar fails when packed incorrectly or rushed.
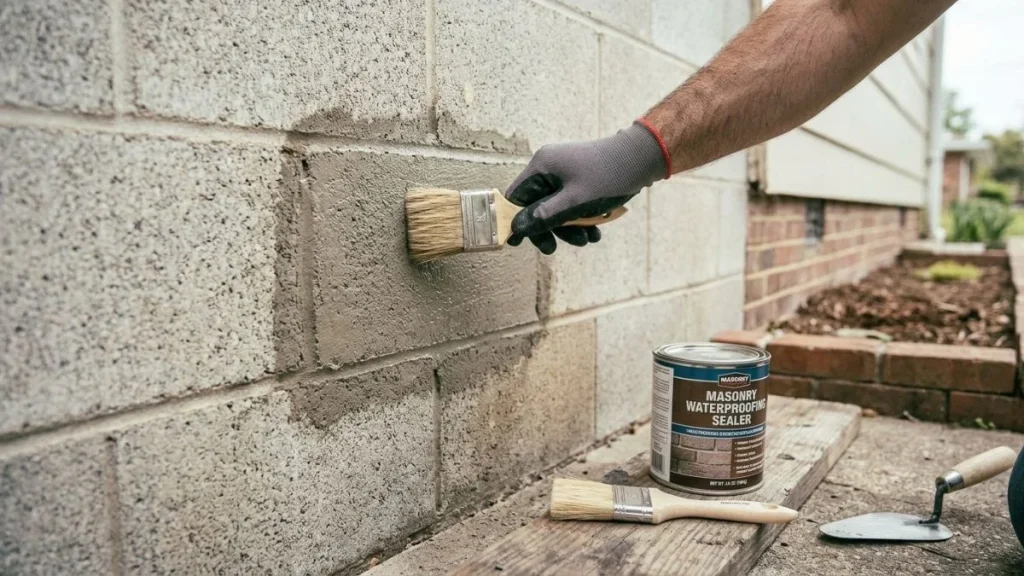
Step 1: Dampen the Surface
Mist the cleaned hole and surrounding block face with water until the surface darkens evenly. This saturated surface-dry condition prevents the porous cinder block from pulling moisture out of your fresh patch — a process that causes shrinkage cracks within the first hour of curing.
Step 2: Mix Your Material
Follow the manufacturer’s water ratio exactly. With hydraulic cement for masonry, work in small batches — you have 3–5 minutes of working time before the material becomes unworkable. For concrete repair mortar, target a peanut butter consistency: firm enough to hold shape on a vertical surface repair without slumping.
Step 3: Pack in Layers
Never fill a deep hole in one pass. Use this sequence:
- Apply the first layer no more than 1 inch thick.
- Press and pack firmly with a margin trowel or gloved fingers — eliminate air pockets completely.
- Score the surface of each layer with a nail or trowel tip before it fully sets.
- Allow each layer to reach thumb-print hardness before adding the next.
- Repeat until the cavity is slightly overfilled by approximately 1/8 inch.
Step 4: Finish the Surface
Smooth the patch flush using a steel trowel dampened with water. For block wall maintenance in visible areas, texture the wet surface with a brush to match the surrounding block face. If you plan to paint or apply a masonry sealer, leave the surface slightly rough — it improves coating adhesion significantly.
Finishing and Waterproofing After the Repair
A solid patch that isn’t finished and sealed properly will absorb moisture, spall, and fail within a few seasons. The finishing stage protects your masonry repair investment and makes the repair invisible.
Cure Time Before Painting or Coating
Patience here is non-negotiable. Hydraulic cement for masonry reaches initial hardness in minutes but needs 24–48 hours before any coating goes on. Standard concrete repair mortar requires a full 28 days to reach design strength — though most manufacturers allow painting after 7 days if the surface feels completely dry to the touch. Applying paint or sealant too early traps moisture inside the patch and causes peeling within weeks.
Texture Matching for a Seamless Look
Fresh concrete patching compound dries noticeably smoother and lighter than aged cinder block. Close the visual gap with these techniques:
- Stipple the wet patch surface with a natural bristle brush to replicate the coarse block texture.
- Feather the patch edges into the surrounding wall using a damp sponge before full set.
- Apply a masonry-specific paint like DRYLOK Masonry Waterproofer, which unifies color across old and new surfaces in one coat.
Sealing and Long-Term Prevention
Once the patch cures fully, apply a penetrating masonry sealer across the entire wall section — not just the repair. Products like Silpro Masonry Sealer or RadonSeal Deep-Penetrating Concrete Sealer block moisture infiltration at the pore level.
Inspect the repaired area annually. Hairline cracks that appear around the patch perimeter are normal shrinkage — fill them immediately with a polyurethane masonry caulk like Sika 1a before water finds a path through. Catching cracks at 1mm wide costs minutes; waiting until they reach 5mm wide restarts the entire foundation wall repair process.
You May Read Also: Repair vs Replace Your Leaning Cinder Block Wall
Frequently Asked Questions
How Do You Repair a Cinder Block Hole Without Removing the Block?
Clean the cavity, dampen the surface, then pack it with hydraulic cement or concrete repair mortar in layers no thicker than 1 inch each. This masonry repair technique restores structural integrity and fills the void completely without disturbing the surrounding blocks.
What Is the Difference Between Hydraulic Cement and Regular Concrete for Masonry Repair?
Hydraulic cement sets in 3–5 minutes, expands slightly as it cures, and actively stops water infiltration — making it the correct choice for any wet or below-grade foundation wall repair. Regular concrete repair mortar takes 24–48 hours to set but delivers a stronger long-term bond in dry interior conditions.
How Long Does Cinder Block Repair Mortar Take to Cure?
Initial hardness arrives in 24–48 hours for most patching compounds, but full compressive strength requires 28 days. Hydraulic cement is the exception — it reaches handling strength in under 15 minutes, though it still benefits from 24 hours before heavy loading or coating application.
Can You Paint Over a Cinder Block Patch?
Wait at least 7 days after applying standard concrete patching compound before painting, and ensure the surface is completely dry to the touch. Use a masonry-specific primer or a product like DRYLOK to unify the appearance between the patch and the existing block face.
Ready to Start Your Repair
Surface preparation and layered application determine whether your patch lasts a season or a decade — the material choice matters far less than the process. Measure your hole today, pick up Quikrete Hydraulic Water-Stop Cement or Vinyl Concrete Patcher from any hardware store, and complete the repair this weekend before moisture works deeper into the wall cavity.