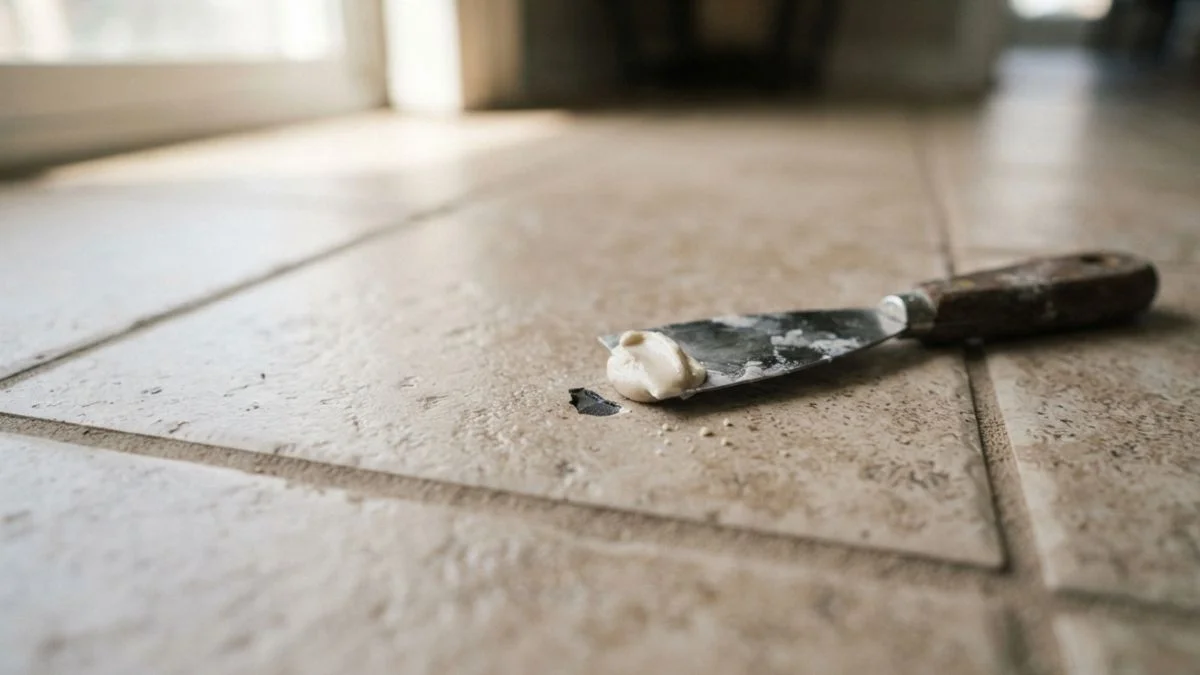
A single cracked or chipped tile can compromise the structural integrity of your entire floor if left unaddressed — and knowing how to fix a hole in tile floor correctly is what separates a lasting repair from one that fails within months.
The real challenge is not finding a product, but choosing the right repair material for your specific hole size, tile type, and location — a mismatch means the fix fails faster than the original damage.
This guide covers every major repair material with honest comparisons, so you leave knowing exactly what to buy and how to use it.
Repair Materials: Choosing the Right Filler
Not every hole needs the same fix. The material you choose determines whether your tile floor repair lasts two years or twenty.

Ceramic Tile Filler vs. Epoxy Putty vs. Resin Compounds
Ceramic tile filler is a water-based patching compound designed specifically for cosmetic repair of chips, nicks, and small holes in ceramic and porcelain surfaces. Brands like Damtite and DAP offer pre-mixed ceramic fillers that sand smooth and accept paint or glaze. These work best on dry areas — hallways, bedrooms, living rooms — where moisture exposure is minimal.
Epoxy putty for tiles is a two-part compound you knead together before application. Once mixed, it bonds aggressively to ceramic, stone, and grout, cures waterproof, and handles foot traffic within 24 hours. This makes it the go-to choice for bathroom floor tile patching and kitchen repairs near appliances.
Resin-based tile repair compounds — such as those in the Rust-Oleum EpoxyShield line — offer maximum structural strength and the best color-matching potential. Some products include pigment tints you blend to match your existing tile. For holes caused by drilling holes in tile gone wrong, or impact damage that goes through to the subfloor, resin compounds provide the durability needed.
Comparison Table: Cost, Application Time, Durability
| Material | Cost Range | Cure Time | Waterproof | Best Use |
|---|---|---|---|---|
| Ceramic filler | $6–$14 | 2–4 hours | No | Dry areas, cosmetic repair |
| Epoxy putty | $10–$22 | 12–24 hours | Yes | Wet areas, structural repair |
| Resin compound | $18–$40 | 24–72 hours | Yes | Heavy traffic, color-matched tile filler needs |
Step-by-Step Repair Process
The right material fails without proper preparation. Follow these steps in order — skipping surface prep is the most common reason tile floor damage repair fails prematurely.

Assess Hole Size and Depth
Measure the hole’s diameter and depth before touching anything else. Holes under 1/4 inch wide are candidates for ceramic filler or epoxy putty. Holes between 1/4 and 1 inch typically need a resin-based patching compound. Anything larger than 1 inch, or damage that flexes when pressed, likely signals subfloor compromise — probe with a screwdriver to confirm. If the subfloor is soft or hollow, structural repair comes before cosmetic repair.
Prepare the Tile Surface
Clean the damaged area thoroughly with isopropyl alcohol to remove grease, wax, and cleaning product residue. Use a utility knife or small chisel to remove loose tile fragments — any unstable material under your filler will cause it to pop out later. Lightly sand the edges of the hole with 120-grit sandpaper to create a rough surface the patching compound can grip. For deep holes in non-porous porcelain, apply a bonding primer like Mapei Primer T before filling — it dramatically improves adhesion.
Apply and Finish Filler
Slightly overfill the hole — the filler should sit just above the tile surface. This is intentional. As the compound cures and shrinks slightly, overfilling ensures a flush final result after sanding. For color-matched tile filler, blend pigment tints into your resin compound before application, testing the mix on paper first. Once fully cured, sand smooth with 220-grit sandpaper, wipe clean, and apply a grout sealer or waterproofing coat over the repaired area to lock out moisture.
Location-Specific Repair Considerations
The same hole in a bathroom floor and a bedroom floor requires a completely different repair approach. Location determines moisture exposure, traffic load, and whether a temporary or permanent fix is appropriate.
Bathroom and Shower Tiles
Moisture-resistant filler is non-negotiable here — standard ceramic filler absorbs water, softens, and fails within weeks in wet environments. Use a 100% waterproof epoxy putty or a resin-based tile repair compound rated for wet areas. After the filler cures fully, apply a penetrating grout sealer like Aqua Mix Sealer’s Choice Gold over the entire repaired zone. This blocks moisture from working beneath the patch and prevents mold from establishing in the porous repair material. Never skip this waterproofing step in shower floors or areas with direct water contact.
Kitchen and High-Traffic Floors
Kitchen floor tile patching demands durability above all else. Foot traffic, dropped items, and cleaning chemicals degrade weaker fillers quickly. Epoxy putty outperforms ceramic filler in wear resistance — it cures harder and bonds more aggressively to the surrounding tile surface. For heavy-use kitchens, a resin-based compound is the strongest option, handling both impact and abrasion far better than water-based ceramic fillers.
Renter-Friendly Temporary Solutions
Renters need repairs that protect security deposits without causing additional tile damage. DAP Plastic Wood and color-matched tile filler sticks — available from brands like Rejuvenate — fill holes cleanly and can be softened and removed later with a heat gun set below 200°F. Avoid epoxy putty for temporary repairs; once cured, removal risks cracking the surrounding tile.
When Professional Help Is Necessary
Most small holes respond well to DIY tile floor damage repair. But certain conditions make professional intervention not just advisable — but necessary to avoid making the problem significantly worse.
Large Structural Damage Below the Surface
A hole that flexes, sinks, or produces a hollow sound when tapped signals damage beyond the tile itself. The subfloor — typically cement board, plywood, or a mortar bed — may be compromised by water intrusion, rot, or impact. No patching compound, epoxy putty, or resin filler will hold permanently over a failed subfloor. A licensed tile contractor will remove the affected tiles, assess and repair the subfloor, then re-set and grout new tiles. According to the National Tile Contractors Association (NTCA), repairs over structurally unsound substrates violate installation standards and void most tile warranties.
Extensive Cracking Indicating Foundation Issues
Multiple cracked or shifting tiles in a pattern — especially diagonal cracks or cracks following grout lines across several tiles — can indicate foundation movement rather than surface damage. This is not a tile restoration problem; it is a structural engineering problem. Filling these holes with ceramic filler or epoxy putty is a temporary cosmetic fix at best. A structural engineer should assess the situation before any floor repair begins.
When DIY Repair Repeatedly Fails
If a patched area cracks, pops out, or deteriorates within weeks of repair, the underlying cause has not been addressed. Repeated failure points to moisture infiltration, subfloor instability, or tile that has fully debonded from its mortar bed — all conditions requiring professional diagnosis rather than another round of floor tile patching.
You May Like Also: How to Patch Small Hole in Subfloor
Ready to Repair Your Tile Floor
Matching your repair material to your hole size and location — not just grabbing the nearest filler — is what determines whether your fix lasts months or decades. Start today by measuring your hole, checking your room’s moisture level, and picking one product from the comparison table in Section 2 that fits both your budget and your environment. For most dry-area holes under 1/4 inch, a $6–$14 ceramic filler is all you need.