

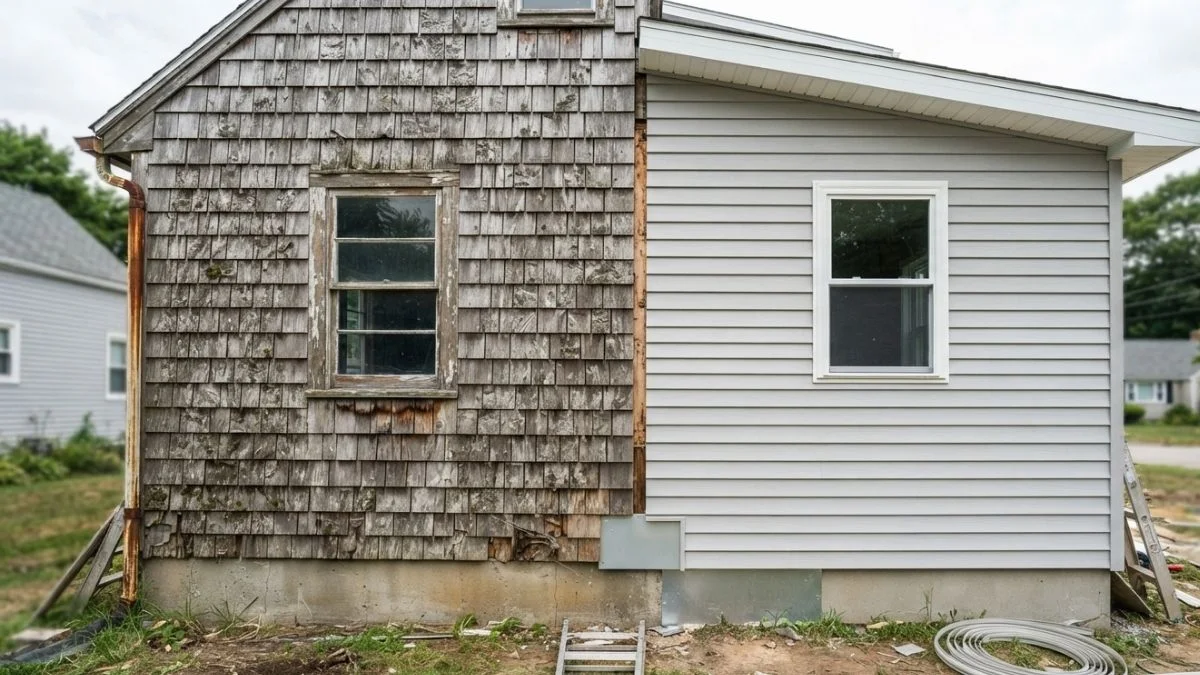
Installing vinyl siding over cedar shingles costs 15–30% less than a full tear-off, and thousands of homeowners with aging cedar-clad homes choose this route every year.
The real problem is knowing whether it is structurally sound, moisture-safe, and code-compliant for your specific home — because getting it wrong means trapped water, rot, and a siding failure that costs far more to fix than the original tear-off would have.
This guide gives you a clear decision framework, a practical step-by-step installation process, and a proven moisture management strategy so you can move forward with confidence — whether you hire a contractor or do it yourself.
Can You Install Vinyl Siding Over Cedar Shingles?
Yes — installing vinyl siding over cedar shingles is structurally viable in most cases, but two factors are non-negotiable: the existing wood must be sound, and you need a deliberate moisture management plan from the start.
When the Install-Over Approach Works
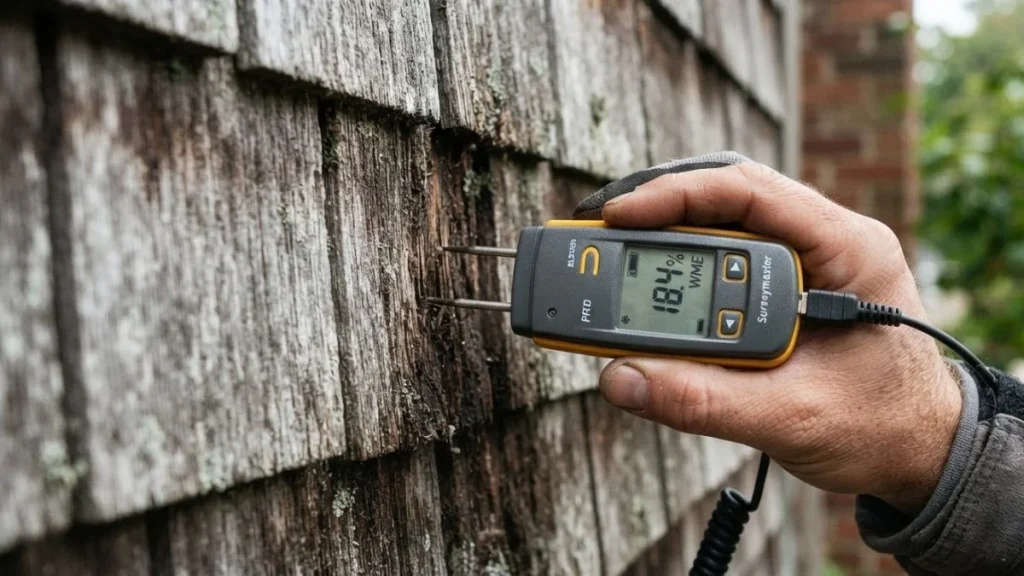
The method works when the cedar shingles are dry, flat, and firmly attached with no active rot or significant warping. Sound cedar actually provides a stable nailing surface, and when you add fan-fold insulation — a thin, accordion-style foam panel — over the shingles before hanging vinyl, you create a flatter substrate and gain modest thermal resistance (typically R-3 to R-6).
A proper drainage plane is equally critical. House wrap installed over the cedar, or a permeable vapor-open membrane with a permeability rating above 10 perms, allows moisture vapor to escape rather than accumulate behind the new cladding system.
When You Should Remove the Cedar First
Removal is the right call in these specific situations:
- Active rot, soft spots, or fungal staining anywhere on the shingles or underlying sheathing
- Sheathing damage that requires replacement before re-cladding
- Multiple existing siding layers already on the wall (some local building codes, referencing IRC Section R703, prohibit more than two cladding layers)
- Window and door trim depths that cannot accommodate the added wall thickness
Why Contractors Disagree on This
Some contractors recommend removal by default — not always because it is technically necessary, but because it eliminates liability around hidden moisture damage. Others focus on cost savings and install over existing cedar routinely without issues. Both positions are legitimate; the deciding variable is the actual condition of your substrate, not a universal rule.
Step-by-Step Installation Process
Step 1: Assess Before You Commit
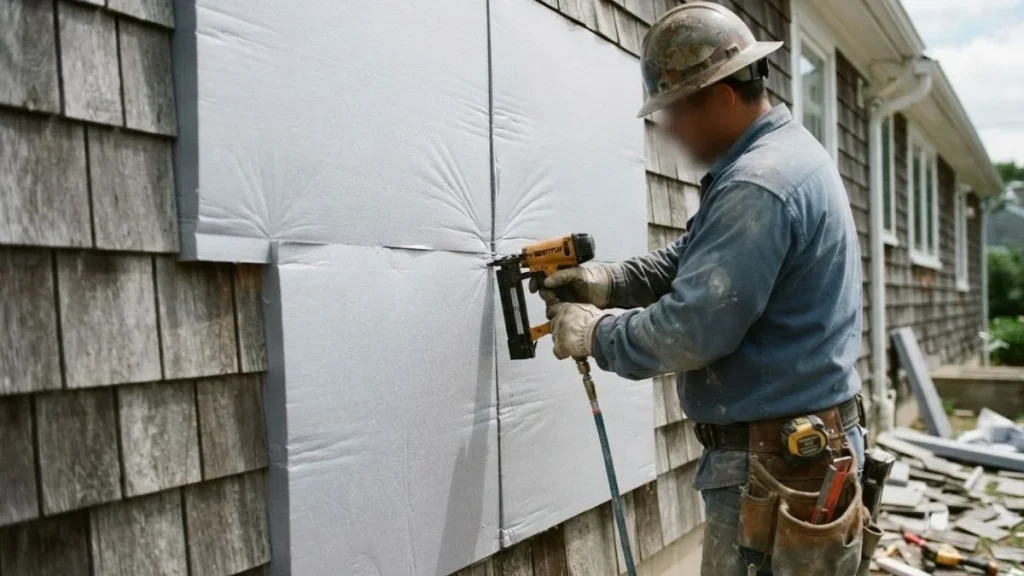
Start with a moisture meter. Readings above 19% on the cedar shingle surface or at the sheathing layer indicate moisture levels high enough to cause wood rot under a sealed cladding system — stop and investigate further before proceeding.
Probe suspected problem areas manually. Use a screwdriver or awl to press firmly into shingle valleys, shadow lines, and areas near roof transitions. Sound wood resists the tool; rotted wood gives way with minimal pressure. Pay close attention to the bottom two courses of shingles, where water pools longest.
If rot is isolated to one or two sections, targeted sheathing replacement is often enough to justify an install-over approach. Widespread softness means full removal is the safer path.
Step 2: Choose and Install Your Substrate
| Material | Cost per Sq Ft | Permeability | Thermal Resistance | Best Use Case |
|---|---|---|---|---|
| House wrap (e.g., Tyvek HomeWrap) | $0.05–$0.10 | 50–60 perms | None | Moisture barrier over sound cedar |
| Fan-fold insulation | $0.20–$0.40 | Low | R-3 to R-6 | Flattening uneven shingles + modest R-value gain |
| Rigid foam board | $0.50–$1.20 | Very low | R-5 to R-10 | Maximum thermal performance; requires longer fasteners |
House wrap is the baseline — its 50+ perm rating keeps vapor moving out rather than trapping it against the cedar. Fan-fold insulation adds a flatter nailing surface over uneven cedar shakes, which matters for achieving the straight, clean reveal vinyl siding requires. Rigid foam board delivers the highest thermal resistance but demands careful gap detailing at edges to prevent moisture accumulation.
Step 3: Install Vinyl Siding and Flashing
Nail vinyl panels through the center of nail slots — never at the edges — and leave a 1/32-inch gap between the nail head and the panel face. Vinyl expands and contracts up to 1/2 inch across a 12-foot run with temperature changes; tight nailing causes buckling.
Flash every transition point: windows, doors, roof-to-wall junctions, and band board locations. J-channel alone is not sufficient at roof lines — step flashing integrated behind the vinyl prevents the water intrusion that accounts for most long-term moisture trap failures in vinyl-over-cedar installations.
Set your starter strip perfectly level. Every course above it inherits that alignment, and even a 1/4-inch error compounds visibly across a full wall.
The Moisture Problem: Why It Matters More Than Cost
Moisture mismanagement is the single reason vinyl siding over cedar shingles fails — not poor installation technique, not material quality, but trapped water with nowhere to go.
How Moisture Gets Trapped (And When It Doesn’t)
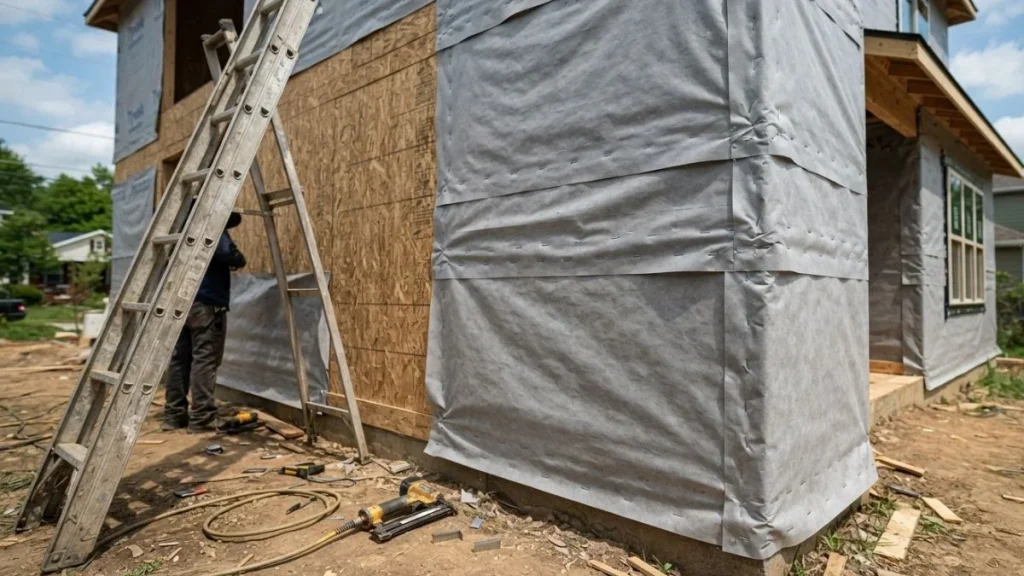
Vinyl siding itself has a permeability rating near zero — it does not breathe. That means any vapor moving outward through your wall assembly must escape through the substrate layer beneath the vinyl, not through the vinyl itself.
The critical distinction is vapor transmission versus liquid water infiltration. Vapor moves through walls from interior warm air hitting cold sheathing; liquid water enters from outside at seams, window gaps, and base flashing failures. Your substrate choice — house wrap at 50+ perms versus low-perm rigid foam — determines whether vapor escapes or accumulates. According to Building Science Corporation research, wall assemblies combining impermeable exterior cladding with low-perm substrates over wood create conditions where equilibrium moisture content in the sheathing rises steadily over 3–5 years.
Wind-driven rain at J-channel seams and condensation forming directly on cold OSB sheathing are the two most common liquid entry points in cedar shake installations.
Signs of Existing Rot You Must Catch First
Look for these warning signs before committing to an install-over approach:
- Soft or spongy shingle faces, especially on north-facing walls
- Gray-black discoloration or visible fungal growth at shingle butts
- Moisture meter readings above 19% at two or more adjacent shingles
- Resistance drilling that meets no pushback within the first inch of sheathing
Finding rot mid-project after substrate materials are purchased and old cedar is partially removed typically adds $800–$2,400 in unplanned sheathing replacement costs. A pre-installation assessment using a quality moisture meter — the Protimeter Surveymaster is a contractor-grade option under $200 — costs a fraction of that.
Long-Term Moisture Management Strategy
An air gap between the cedar shingles and the new substrate layer helps, but only when that gap connects to a drainage plane at the bottom. A sealed gap traps more moisture than it releases.
Practical long-term steps:
- Inspect all seams, base flashing, and window trim annually for visible gaps or paint failure on adjacent trim boards — early water entry signs before interior damage appears.
- Ensure soffit ventilation remains unblocked after installation; adding wall thickness can compress soffit returns on older homes.
- If interior humidity stays above 60% seasonally, address that with mechanical ventilation before re-cladding — no exterior system compensates for chronic interior moisture loading.
Full removal and sheathing replacement is the right answer when moisture readings are elevated across more than 30% of the wall surface. No substrate layer or drainage strategy corrects that level of existing damage.
Remove Versus Install Over: True Cost and Durability Comparison
The install-over approach saves money upfront, but the margin narrows significantly once you factor in substrate materials, warranty limitations, and the cost of discovering hidden problems late.
Side-by-Side Cost and Timeline Breakdown
| Factor | Full Removal | Install Over |
|---|---|---|
| Labor cost (1,500 sq ft home) | $1,500–$3,000 | $800–$1,500 |
| Sheathing replacement (if needed) | $1,000–$4,000 | $800–$2,400 (mid-project) |
| Substrate materials | House wrap only | Fan-fold or rigid foam + house wrap |
| Total installed cost range | $8,000–$16,000 | $6,500–$12,000 |
| Project timeline | 5–10 days | 3–7 days |
| Hidden damage risk | Eliminated | Remains until next removal |
Full removal exposes the sheathing entirely, letting you assess and replace damaged sections before any new material goes up. That visibility has real value on homes built between 1960 and 1990, where original OSB or board sheathing often shows moisture damage that was never detected.
Warranty Implications by Method
Here’s what most homeowners miss: several major vinyl siding manufacturers, including CertainTeed and Alside, specify in their warranty documentation that installation must follow their published guidelines — which typically require a flat, structurally sound substrate. Installing over uneven cedar shingles without an approved leveling layer like fan-fold insulation can void product warranty coverage, leaving you without recourse on material defects.
Read the specific warranty language for any product you purchase before committing to the install-over method.
Energy Efficiency: Does Install-Over Actually Help?
Fan-fold insulation over cedar shingles adds R-3 to R-6 of continuous thermal resistance — a measurable improvement over uninsulated cedar. Rigid foam board pushes that to R-5 to R-10, which approaches the performance gain you would get from full removal with fresh insulation behind new sheathing.
The practical difference is small for most homes. If energy efficiency is your primary goal, full removal paired with continuous exterior rigid foam gives you the best result. If cost savings drive the decision and your cedar substrate is sound, install-over with fan-fold insulation delivers a genuine — if modest — thermal upgrade.
DIY Feasibility or Professional Hire
Vinyl siding installation is one of the more accessible exterior projects for experienced DIYers — but “over cedar shingles” adds complexity that moves it out of beginner territory fast.
What the Technical Work Actually Requires
Three skills separate a successful install from a moisture problem waiting to happen:
- Flashing execution: J-channel alone fails at roof-to-wall transitions and window heads. Correct step flashing, kick-out flashing, and integrated window flashing tape require understanding water movement, not just following a pattern.
- Fastener spacing and depth: Nails must hit studs through cedar shingles, fan-fold insulation, and house wrap — typically requiring 2.5- to 3-inch galvanized nails to reach solid wood. Missed studs mean loose panels and potential wind failure.
- Thermal expansion management: Vinyl moves. Every panel needs consistent 1/32-inch nail slot clearance and correct overlap at splice points, or buckling appears within one full seasonal cycle.
A competent DIYer with carpentry experience, a level, and patience can handle a straightforward single-story installation on a home with simple geometry.
When to Hire a Professional
Hire a licensed contractor when any of these apply:
- The roofline has multiple angles, dormers, or complex trim transitions
- Your pre-installation moisture assessment found soft spots or elevated readings requiring sheathing replacement judgment calls
- Your municipality requires a permit and inspection for re-cladding work — pulling permits yourself without contractor experience creates liability if work fails inspection
Licensing requirements vary by state; verify credentials through your state contractor licensing board before signing anything.
Contractor Red Flags to Watch For
Walk away from any contractor who does the following:
- Gives a substrate recommendation without asking about or inspecting existing cedar condition
- Describes moisture management as “not a concern” or skips house wrap entirely to reduce cost
- Quotes a 1,500 square foot re-side in under two days — proper flashing and substrate prep cannot be rushed to that timeline without cutting corners
The right contractor asks about your wall assembly before quoting, mentions permeability or drainage plane unprompted, and provides a written scope that names specific substrate materials. That level of detail separates professionals who understand cladding systems from those who simply hang panels fast.
You Should Read Also: Installing Vinyl Siding on Uneven Walls
Making the Right Call for Your Home
The condition of your existing cedar substrate — not your budget — is the variable that determines whether vinyl siding over cedar shingles is a smart shortcut or an expensive mistake waiting to surface. Grab a moisture meter and probe every wall section before you commit to either path, paying close attention to north-facing walls, shingle valleys, and the bottom two courses where water lingers longest.
If readings stay below 19% across the full surface, the install-over approach is viable, cost-effective, and worth pursuing with the substrate and flashing strategy outlined above.


