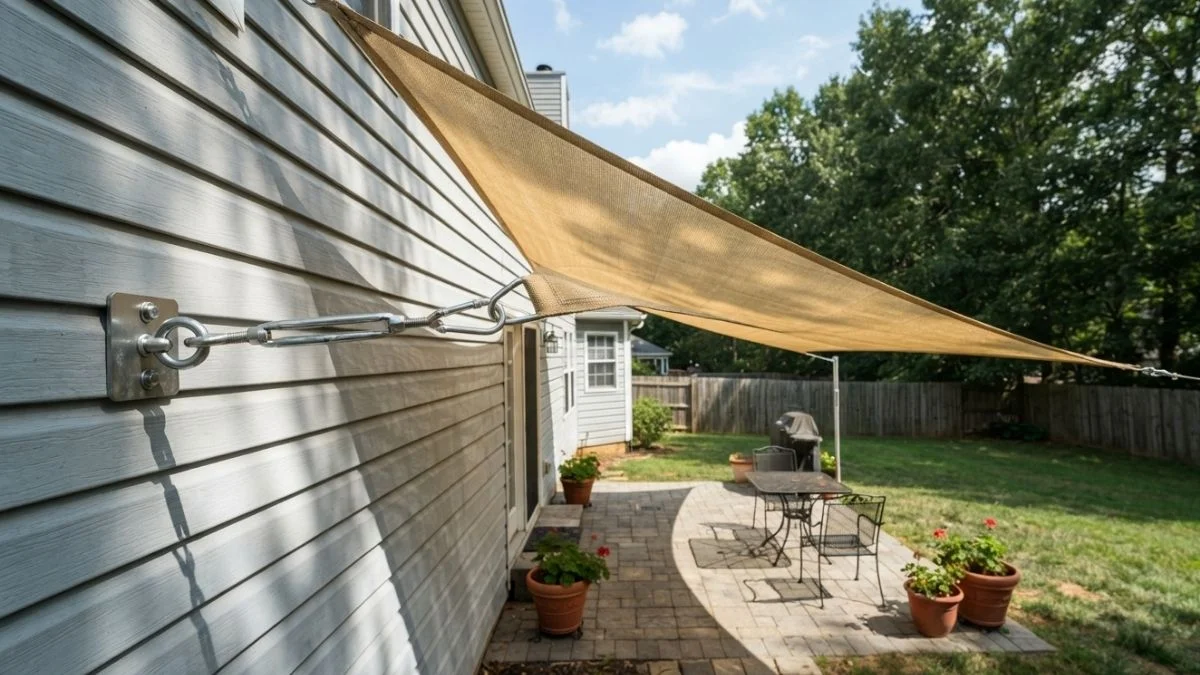
Attaching a shade sail to house siding without hitting a structural stud is one of the most common — and costly — installation mistakes homeowners make.
Most siding materials, including vinyl, fiber cement, and wood lap, have no meaningful load-bearing capacity on their own, yet screwing a shade sail anchor directly into siding is the default move for DIYers working without guidance.
This guide walks you through a stud-based attachment method that distributes tension loads safely, so your shade sail stays up without pulling your siding apart.
Why Direct Siding Attachment Doesn’t Work
Siding is a weather barrier, not a structural surface. Every shade sail anchor point transfers significant tension load into whatever it’s fastened to — and siding alone cannot handle that load safely.
Vinyl Siding Flexes Under Load
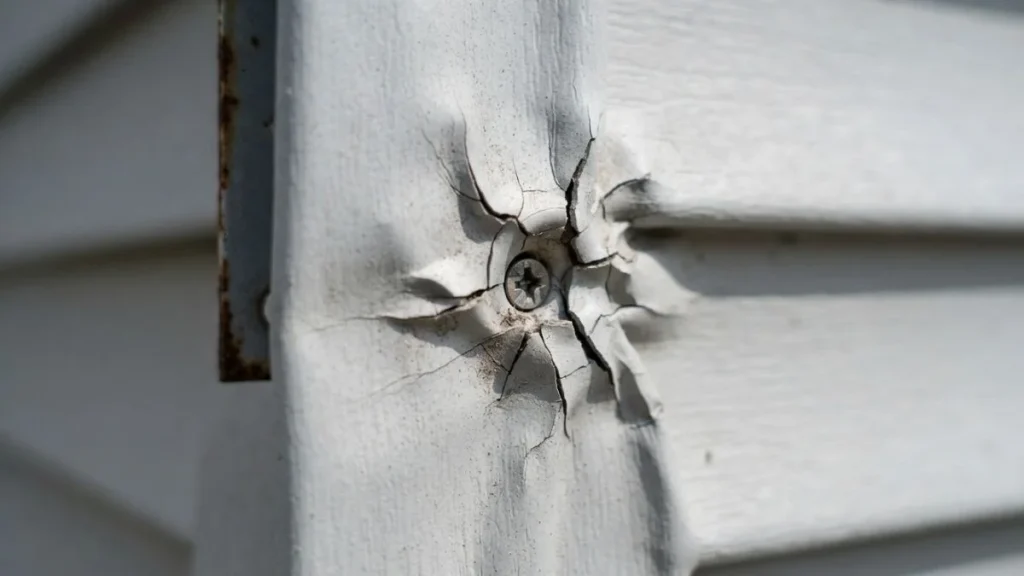
Vinyl siding is designed to float and flex with temperature changes. A single shade sail corner can generate 200–400 lbs of lateral tension under moderate wind, depending on sail size and angle. Driving a screw or eye bolt directly into vinyl siding during a vinyl siding shade sail installation gives you the siding panel plus dead air space — no real resistance. The anchor will work loose, warp the panel, or pull through entirely.
Aluminum and Fiber Cement Have the Same Problem
Neither material provides structural backing on its own. Fiber cement, like James Hardie board, is dense and rigid but still mounted over a gap or foam insulation layer. Without framing behind siding directly at your anchor point, even a through bolt shade sail attachment has nothing solid to grip.
Concentrated Loads Crack and Separate Siding
Shade sail hardware — eye bolts, D-rings, and pad eyes — concentrates all tension into a single small footprint. Siding panels are not engineered for point loads. That concentration cracks fiber cement, deforms vinyl, and splits wood lap over time.
Warranty Risk Is Real
Most siding manufacturers, including James Hardie and CertainTeed, void material warranties when fasteners penetrate panels outside of approved installation guidelines. Improper anchor hardware placement could leave you unprotected for future damage claims.
Locating Studs and Finding Anchor Points
Every safe shade sail anchor point on a house wall runs through siding and sheathing and into a wall stud. Finding those studs accurately before you drill is the most critical step in the entire installation.
Wall Stud Identification
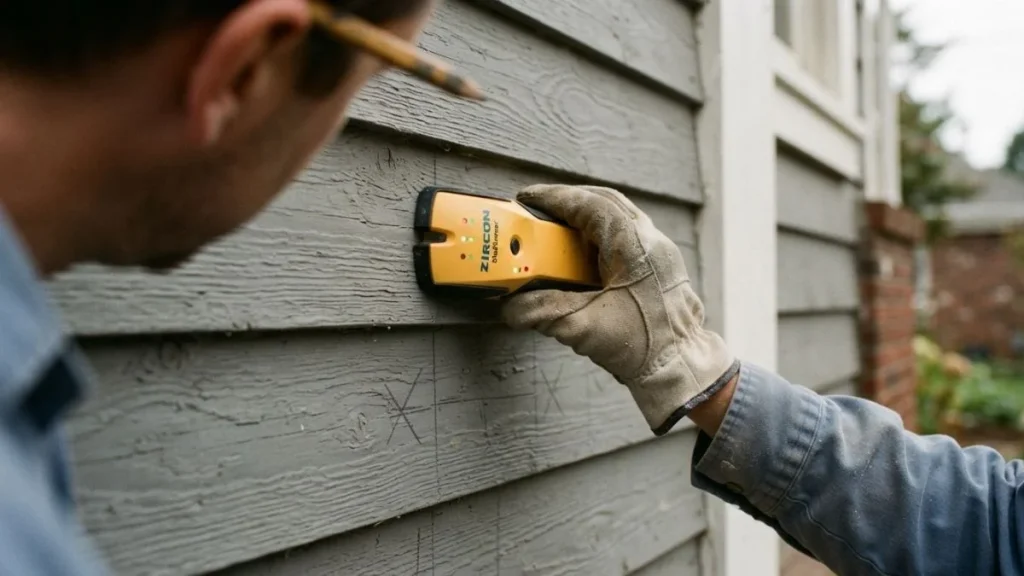
A quality stud finder is the fastest method. The Franklin Sensors ProSensor 710 and the Zircon e50 are two reliable options that detect stud edges rather than just centers, which matters when you’re placing anchor hardware precisely. Most residential wood-framed walls use studs spaced either 16 or 24 inches on center — 16-inch spacing is standard in load-bearing exterior walls.
The tapping method works as a backup: knock along the wall and listen for the hollow sound to shift to a dull, solid thud. That transition point marks a stud edge.
Headers above windows and doors are worth targeting. They’re built from doubled 2x lumber or engineered wood, which means exceptional load-bearing capacity compared to a standard stud — ideal for attaching a shade sail to wall studs where you need maximum holding strength.
Marking Accurate Anchor Positions
Measure from a fixed reference point — a corner, window frame, or door casing — and document your stud locations before touching the siding.
Avoid anchor positions that fall near plumbing walls (typically interior wet walls) or electrical panels. Horizontal wiring runs at roughly 12 and 48 inches from the floor in many builds, so mark two or three anchor candidates per corner to preserve flexibility during tension load distribution planning.
Shade Sail Hardware: Types and Load Ratings
Choosing the wrong anchor hardware is just as dangerous as missing the stud entirely. Each fastener type has a specific load rating, and shade sail installations require hardware rated well above the expected working load.
Fastener Comparison
Screw eye bolts thread directly into a stud and work for smaller sails in low-wind areas. A standard 5/16-inch stainless steel screw eye bolt into Douglas fir framing holds roughly 200–300 lbs in pullout strength — adequate for a 10×10 ft sail but marginal for anything larger.
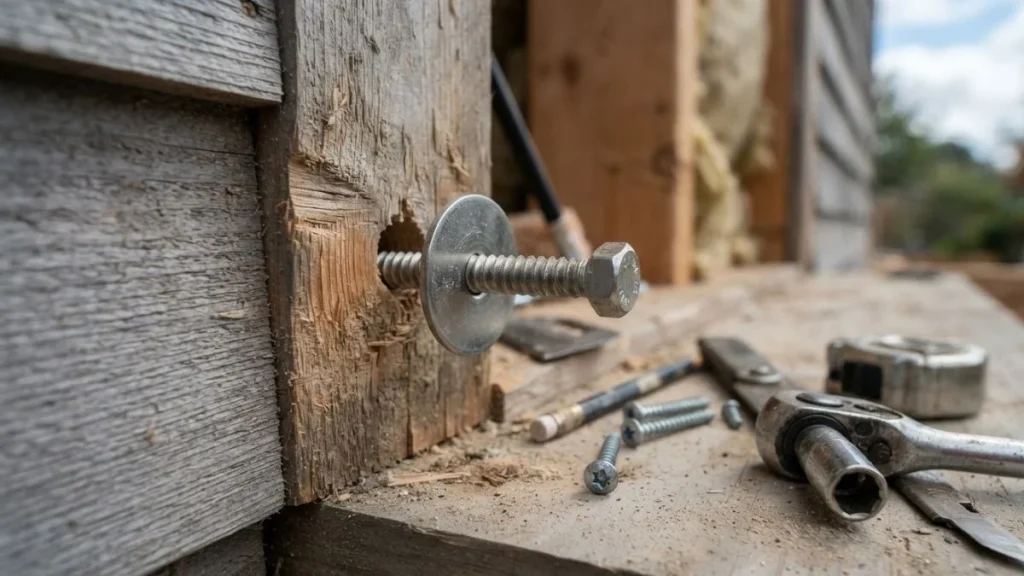
Through bolts with washers offer the highest load capacity for a through bolt shade sail attachment. A 3/8-inch galvanized carriage bolt passing completely through the stud with a 2-inch steel backing washer on the interior side can exceed 800 lbs pullout strength. This method requires interior wall access.
Lag bolts are the most practical middle-ground option. A 3/8-inch lag bolt driven 2.5 inches into a sound stud delivers 400–600 lbs of withdrawal resistance — enough for most residential shade sail anchor points. Note that lag bolts resist withdrawal (pullout) well but have lower shear ratings, so angle your installation to minimize sideways loading.
Apply a safety factor of at least 3:1 — meaning hardware rated for three times your calculated working load.
Installation Method by Fastener Type
Drill a pilot hole at 75% of the fastener’s shank diameter to prevent stud splitting. For a 3/8-inch lag bolt, that means a 9/32-inch pilot bit.
Use a 2-inch minimum diameter stainless steel fender washer behind any eye bolt or pad eye to spread the load across framing behind siding rather than concentrating it at one point. Hand-tighten plus one quarter-turn with a wrench — over-torquing crushes wood fibers and reduces holding strength by up to 30%.
Multi-Point Anchor Systems and Alternatives
Relying on house siding for every anchor point increases single-point failure risk. A smarter approach distributes tension load across multiple independent structures, so no single anchor carries the full force of the sail.
Posts as Secondary Anchors
A 4×4 pressure-treated post set 24–36 inches deep in concrete is one of the most reliable secondary anchor points available. Posts let you position shade sail anchor points exactly where the sail geometry requires, independent of where your wall studs happen to fall. Simpson Strong-Tie makes post base hardware specifically rated for lateral and uplift loads, which is what shade sail tension demands.
Deck Attachment
An existing deck frame offers solid framing behind siding at ground level — often better structural integrity than the wall above. Attach to a deck ledger board or a structural post rather than decking boards themselves. Decking boards are not load-bearing in the lateral direction and will fail the same way siding does.
Hybrid Configurations
The most resilient residential installations combine one or two wall stud anchor points with one or two freestanding posts. This tension load distribution approach means a single loose anchor doesn’t collapse the entire system. Coolaroo, one of the most widely recognized shade sail brands, specifically recommends hybrid anchor configurations in their installation documentation for sails larger than 14 feet on any side.
Tree Attachment
Trees move independently in wind, creating dynamic loads that work anchors loose over time. Many municipalities also prohibit driving hardware into trees on protected or street-facing properties. Use a freestanding post instead whenever tree attachment seems convenient.
Wind Load, Codes, and When to Call a Pro
A shade sail that passes a calm-day inspection can fail catastrophically in a 50 mph gust if the anchor hardware and sail rating don’t match your local wind zone. Getting this right before installation is far cheaper than repairing siding damage after a storm.
Matching Wind Ratings to Your Climate Zone
Shade sail manufacturers rate their products for specific wind speeds — typically 60–85 mph for residential-grade sails. Check FEMA’s Wind Zone Map or your local building department’s wind speed requirements before purchasing. Coastal and high-plains regions often require hardware and sail fabric rated above standard residential specifications.
Building Permits and Local Codes
Many jurisdictions require a permit for permanent shade structures, including sail installations with fixed anchors. According to the International Residential Code, any permanent exterior structure that transfers loads into a building’s framing falls under structural review requirements. Check with your local building department before drilling a single hole — unpermitted installations can complicate home sales and insurance claims.
HOA Restrictions
Homeowners associations frequently regulate shade structures by color, size, or visibility from the street. Get written approval before installation, not after.
When a Structural Engineer or Pro Is Worth It
Call a licensed contractor or structural engineer when your sail exceeds 16 feet on any side, when your wall construction is non-standard (ICF, SIP panels, or steel framing), or when interior wall access for through bolt shade sail attachment is impossible. Professional installation typically costs $500–$1,500 for a single sail and includes liability coverage that DIY work does not.
You May Read Also: How to Update Vinyl Siding
Installation Checklist and Next Steps
Every shade sail failure traced back to siding attachment comes down to one mistake: anchoring into the cladding instead of the framing behind it. Before you purchase a single piece of hardware, confirm your local permit requirements and use a stud finder to map and mark every candidate anchor point on your wall. Once you have stud locations documented and code status cleared, you have everything you need to buy the right fasteners and start a safe, lasting installation.