


Cabinet pull holes slightly off by even 1/16 of an inch (1.6mm) can make a handle sit visibly crooked or refuse to mount flush — and redrilling isn’t always an option.
When you’re a renter or mid-renovation, you can’t easily patch and repaint, and moving the hole even 3mm in the wrong direction means starting over with visible damage.
This guide covers 4 ranked methods — from the simplest no-tool fix to a clean wood-filler repair — so you leave knowing exactly which approach fits your situation.
Diagnosing the Problem Before You Fix
Knowing exactly how far off your holes are determines everything — the wrong fix for the gap size will either fail immediately or cause unnecessary cabinet damage.
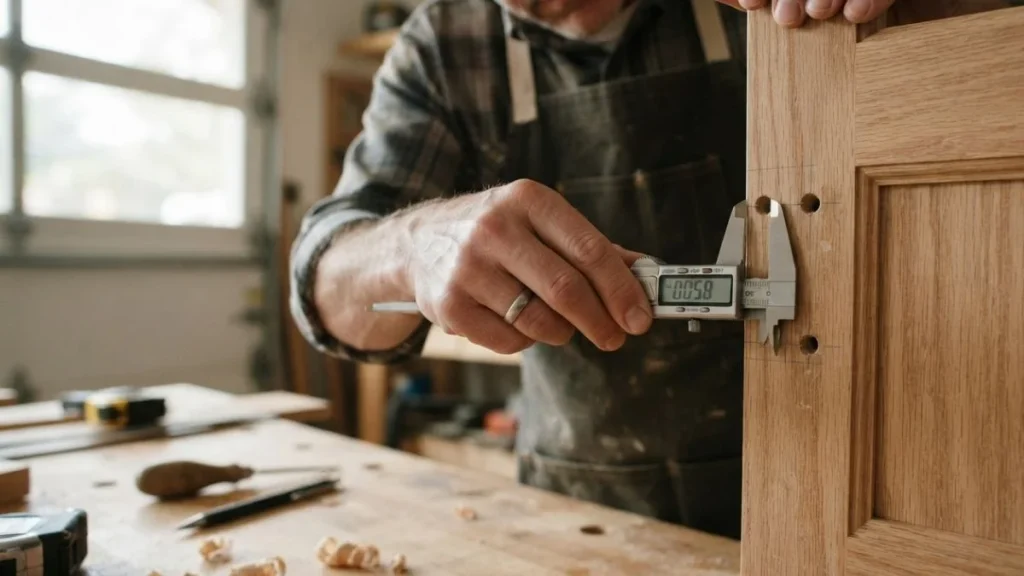
Measuring Misalignment Accurately
Standard cabinet pull hole spacing runs 3 inches (76mm) center-to-center for most North American hardware, though European manufacturers like Blum and Häfele commonly use 96mm or 128mm spacing. Your misalignment is the difference between where the hole sits and where it needs to be.
To measure precisely:
- Use digital calipers (accurate to 0.1mm) to measure existing hole centers from a fixed reference edge
- Mark the correct target position with a marking gauge or sharp awl
- Calculate the gap — the distance between your existing hole center and the target center
If the gap is repairable with non-destructive methods, the hole perimeter will still have enough material around it to grip a screw. A hole shifted more than 4mm typically means the screw thread loses too much wall contact to hold securely.
What “Slightly Off” Actually Means
The severity of your misaligned cabinet pull holes directly controls which repair method works.
| Gap Size | Condition | Best Approach |
|---|---|---|
| 1/32″ – 1/16″ (0.8–1.6mm) | Minor offset | Oversized screw or slotted washer |
| 1/16″ – 5/32″ (1.6–4mm) | Moderate offset | Hole reaming or elongation |
| Beyond 5/32″ (4mm+) | Significant offset | Wood filler patch and redrill |
A 1–2mm drawer pull alignment error is often invisible to the eye but still prevents the screw from threading straight. That range is where no-drill solutions like microadjustment pulls or oversize screws fix the problem cleanly, without touching the cabinet surface at all.
Four Repair Methods by Severity Level
Match the method to your gap size first — using a patch repair on a 1mm offset wastes an hour of work that a $2 washer would have solved.
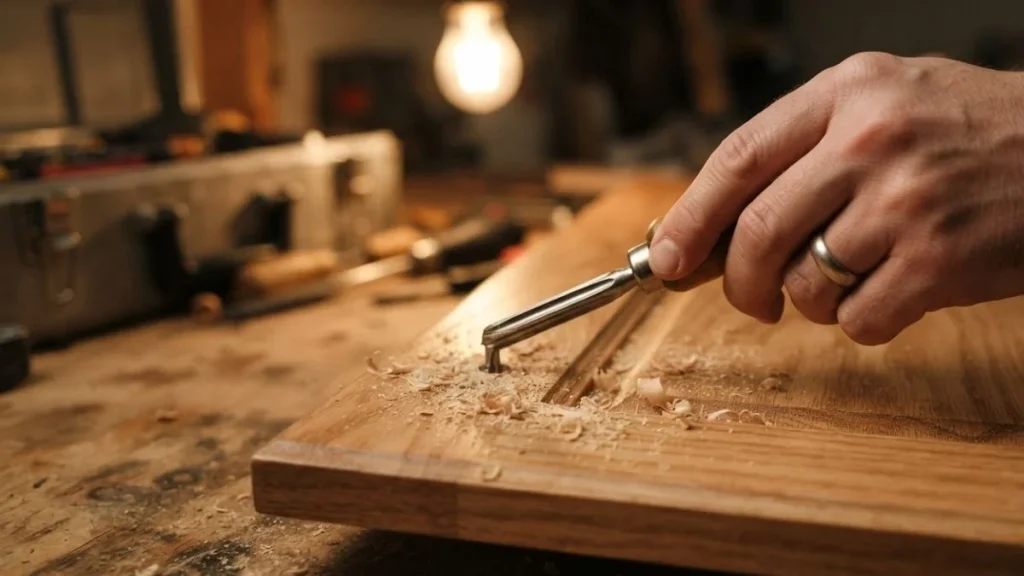
Method 1: Reaming (2–4mm Misalignment)
Hole reaming technique works by enlarging the existing hole toward the correct position using a tapered hand reamer or a step drill bit. Move the bit deliberately in the direction of the target center, not straight down.
Before reaming, check that your pull’s screw diameter leaves enough wood wall around the enlarged hole. On 3/4-inch (19mm) plywood, you have reasonable material to work with. On MDF or thin veneer doors, reaming risks blowout — the surface layer separates from the substrate. Solid wood handles reaming best.
Method 2: Washers and Hardware Workarounds (Under 2mm)
This is the fastest cabinet pull hole repair without redrilling. A fender washer with a slightly oversized center hole spans the existing gap and distributes screw load across a wider surface area.
Some manufacturers — including Liberty Hardware and Amerock — produce pulls with oval or elongated mounting holes that allow up to 3mm of built-in adjustment. These microadjustment cabinet pulls are worth considering if you’re replacing hardware anyway.
Method 3: Elongating Holes (2–3mm Range)
Hardware elongation means drilling a second overlapping hole directly adjacent to the first, then cleaning the slot with a narrow chisel or rotary tool. This creates an oval channel the screw travels along to reach the correct position. Cabinet materials with good thread retention — solid wood and Baltic birch plywood — hold screws reliably after elongation. Particleboard does not.
Method 4: Patching and Redrilling (Beyond 4mm)
Fill the original hole with a hardwood dowel cut flush and glued with wood glue, or use a two-part epoxy wood filler like Minwax High Performance Wood Filler on painted cabinets. Sand flush at 120 grit, then 220 grit. Redrill once fully cured — typically 24 hours. If your cabinets are antique, veneered, or have a factory finish that can’t be matched, this step is where a professional cabinet maker earns their fee.
Tools, Materials, and Material-Specific Notes

The right tool for cabinet pull hole repair costs under $30 in most cases — the material your cabinet is made from determines far more than the price of your fix.
What You’ll Actually Need
Keep this list specific to your chosen method rather than buying everything at once.
For reaming and elongation:
- Tapered hand reamer or step drill bit (Kreg’s step drill bits work cleanly on wood composites; Festool’s Centrotec system suits precision work on solid wood)
- Digital calipers — a basic $15 set from Mitutoyo or iGaging measures to 0.1mm
- Marking awl and straightedge for repositioning target centers
For washer and hardware workarounds:
- M4 or #8-32 fender washers (match your existing screw thread)
- Replacement screws in the next diameter up — typically from M4 to M5, or #8 to #10
- Amerock or Liberty Hardware pull sets with elongated mounting holes if swapping hardware
For patching:
- Hardwood dowel rod (5/16″ or 8mm diameter fits most standard pull holes)
- Wood glue or Minwax High Performance Wood Filler
- 120-grit and 220-grit sandpaper, plus touch-up paint or stain marker
Adjusting Method by Cabinet Type
Cabinet material sets a hard limit on which repairs hold long-term.
| Cabinet Material | Reaming | Elongation | Patching | Risk Level |
|---|---|---|---|---|
| Solid wood | Excellent | Excellent | Good | Low |
| Plywood (3/4″) | Good | Good | Good | Low–Medium |
| MDF | Poor | Poor | Good | High |
| Veneer over particleboard | Not recommended | Not recommended | Preferred | Very High |
| Antique or high-value | Not recommended | Not recommended | Professional only | Extreme |
MDF has no grain structure, so enlarged holes strip easily under screw torque. On veneer doors, any drilling near the surface risks delamination — the thin decorative layer lifts away from the substrate permanently. Patching with epoxy filler and redrilling is the only non-destructive repair path for both materials.
Read Also: Repair Cabinet Door Hinge Holes Particle Board
FAQ
What’s the standard distance between cabinet pull holes?
The most common center-to-center spacing for cabinet pulls in North America is 3 inches (76mm). European hardware from manufacturers like Blum and Häfele typically uses 96mm, 128mm, or 160mm spacing — always check your pull’s spec sheet before drilling or repairing.
Can I just enlarge holes to fix misalignment?
Enlarging works well for gaps of 2–4mm on solid wood or 3/4-inch plywood, but it weakens the hole wall on MDF and veneer surfaces enough that screws strip under normal use. Always verify your cabinet material before reaming — on composite materials, patching and redrilling is the safer long-term fix.
Should I use wood filler or dowels to patch old holes?
Use a hardwood dowel on natural wood or plywood cabinets — it accepts screws and matches the surrounding material’s holding strength. Wood filler like Minwax High Performance Wood Filler works better on painted MDF or factory-finished doors where drilling into a dowel risks splitting the filler patch before it fully bonds with the substrate.
Will the repaired holes be as strong as the originals?
A properly glued hardwood dowel patch in solid wood or plywood reaches comparable holding strength to the original material within 24 hours. Epoxy filler repairs on MDF are functional but slightly less durable — tighten pull screws by hand rather than with a power driver to avoid stripping.
Know When to Stop DIYing
The gap size and cabinet material together determine whether you have a 10-minute fix or a job that needs a professional — and misreading that combination is what turns a minor alignment issue into a damaged door. Start by measuring your misalignment with calipers right now, then match that number to the method table in the diagnosis section above. If your cabinets are veneered, antique, or factory-finished and the gap exceeds 4mm, call a cabinet maker before touching the door.


