If your baseboard heating system is making gurgling or knocking noises, or some rooms just won’t warm up no matter how high you set the thermostat, trapped air is likely the culprit. This is one of the most common issues homeowners face with hot water baseboard heating systems — and the good news is, it’s something you can fix yourself without calling a plumber.
Purging air from a baseboard heating system means releasing the air pockets that have built up inside the water lines. When air gets trapped, it blocks the flow of hot water through the system, which leads to uneven heating, strange noises, and wasted energy.
In this guide, you’ll learn exactly how to purge air from a baseboard heating system step by step, what tools you need, and how to keep the problem from coming back.
What Happens When Air Gets Trapped in a Baseboard Heating System
Air doesn’t belong in a closed-loop hot water heating system. When it finds its way in, it disrupts the smooth circulation of water and causes a chain of problems that get worse over time if ignored.
Why Air Builds Up in the First Place
Air can enter your baseboard heating system in several ways. The most common cause is when new water is added to the system — either during a repair, after a pressure drop, or when the system is refilled after being drained. Water naturally contains dissolved air, and as it heats up, that air separates and rises to the highest points in the system.
Other causes include small leaks that allow air to be pulled in when the system pressure drops, a recently repaired pipe or valve where air entered during the fix, or simply a system that sat unused through the warmer months and developed air pockets over time.
Signs Your Baseboard Heating System Has Air in It
Knowing what to look for saves you time and frustration. Here are the most common symptoms of air in a baseboard heating system:
- Gurgling, banging, or knocking sounds coming from the baseboards or pipes
- Certain rooms or sections of the house staying cold while others heat normally
- Baseboards that feel warm at one end but cold at the other
- The boiler running constantly but the house not reaching the set temperature
- Weak heat output despite the system appearing to function
Why You Should Fix It Sooner Rather Than Later
Trapped air forces your boiler to work harder than it needs to. That extra strain increases your energy bills and puts unnecessary wear on the pump and boiler components. Over time, the reduced water circulation can also cause parts of the system to overheat in localized areas while others remain cold. Addressing air buildup early is one of the simplest ways to extend the life of your heating system and keep your utility costs under control.
What You Need Before You Start — Tools and Safety Tips
Before you start bleeding your baseboard heating system, gather everything you need and take a few minutes to understand the safety basics. Rushing into this without preparation can turn a simple job into a messy or even dangerous situation.
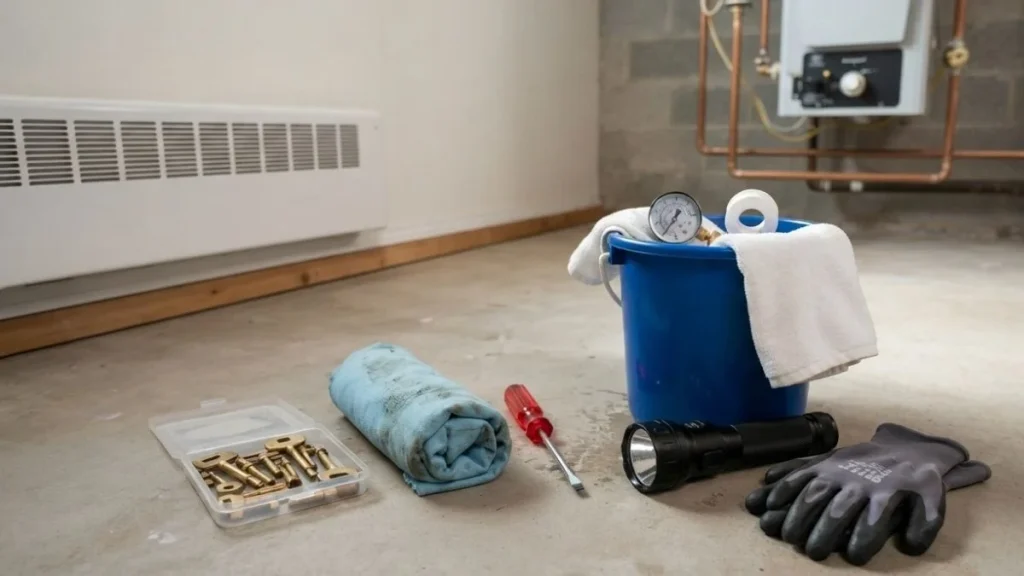
Tools and Materials Required
| Tool / Material | Purpose |
| Bleed key or flathead screwdriver | Opens the bleed valve to release air |
| Small bucket or old towel | Catches water released during bleeding |
| Pressure gauge | Monitors boiler pressure before and after |
| Teflon tape | Re-seals bleed valve threads if needed |
| Flashlight | Helps locate valves in tight spaces |
Safety Precautions to Follow
Never attempt to bleed a hot system. The water inside can be scalding, and opening a valve under pressure can spray hot water unexpectedly. Always turn the system off and give it at least 30 to 60 minutes to cool down before you begin.
Also, make note of your boiler’s current pressure reading before you start. Bleeding releases water along with the air, which causes the pressure to drop. If it drops too low, the system won’t function properly. Know where your main water supply valve is so you can top off the system pressure when needed.
How to Purge Air from a Baseboard Heating System (Step-by-Step)
This is the core process most homeowners can handle on their own. Follow each step carefully and work through the system in order for the best results.
Step 1 — Turn Off the Heating System
Start by switching off your thermostat and powering down the boiler. Give the system at least 30 to 60 minutes to cool before touching any valves. Working on a cooled system is not just safer — it also gives the water inside a chance to settle, making it easier to identify where air has collected.
Step 2 — Locate All the Bleed Valves
Bleed valves are small valves typically located at the end caps of each baseboard heating unit or at high points along the pipe runs. They usually have a small square or slotted head designed for a bleed key or flathead screwdriver. Walk through your home and identify every baseboard unit and its corresponding bleed valve before you start. Make a mental note or a quick sketch of the layout so you can work through them in order.
Important tip: Always start with the baseboard unit that is farthest from the boiler and work your way back toward it. This ensures air is pushed out of the system in the correct direction.
Step 3 — Check the Boiler Pressure
Before opening any valves, check your boiler’s pressure gauge. For most residential hot water baseboard systems, the ideal cold pressure sits between 12 and 15 PSI. If it’s already low before you start bleeding, top it off using the fill valve (also called the feed valve) until it reaches the proper range. If you begin bleeding with pressure that’s already too low, you risk pulling more air into the system rather than pushing it out.
Step 4 — Open the Bleed Valve and Release the Air
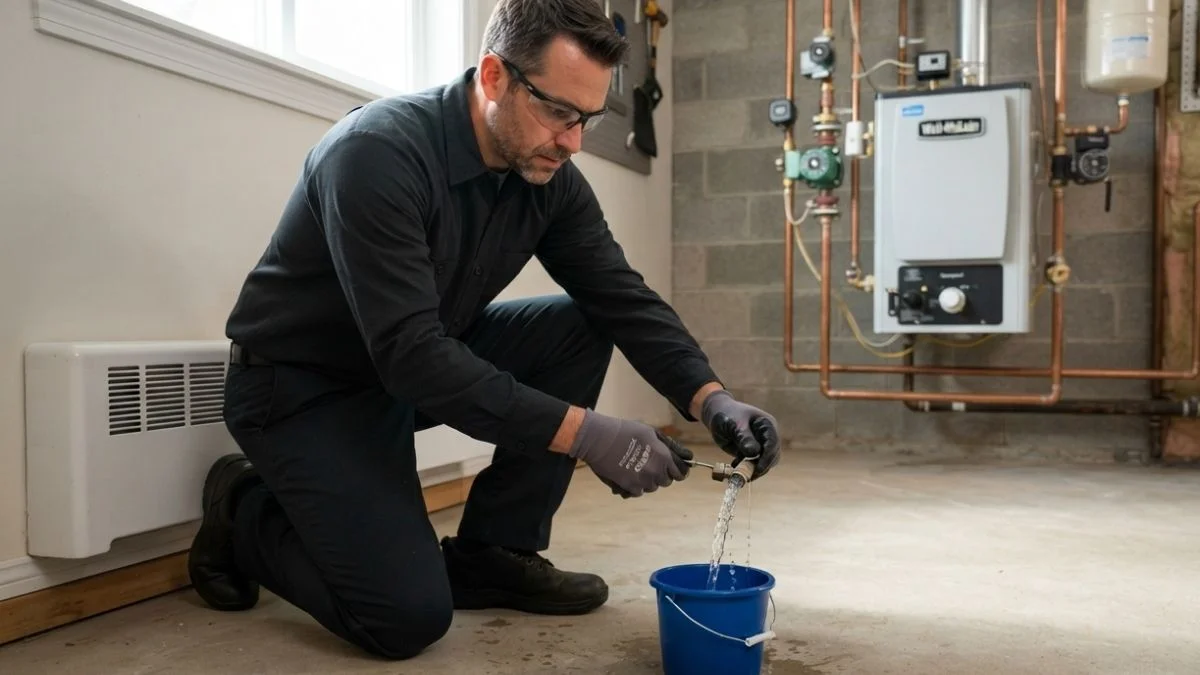
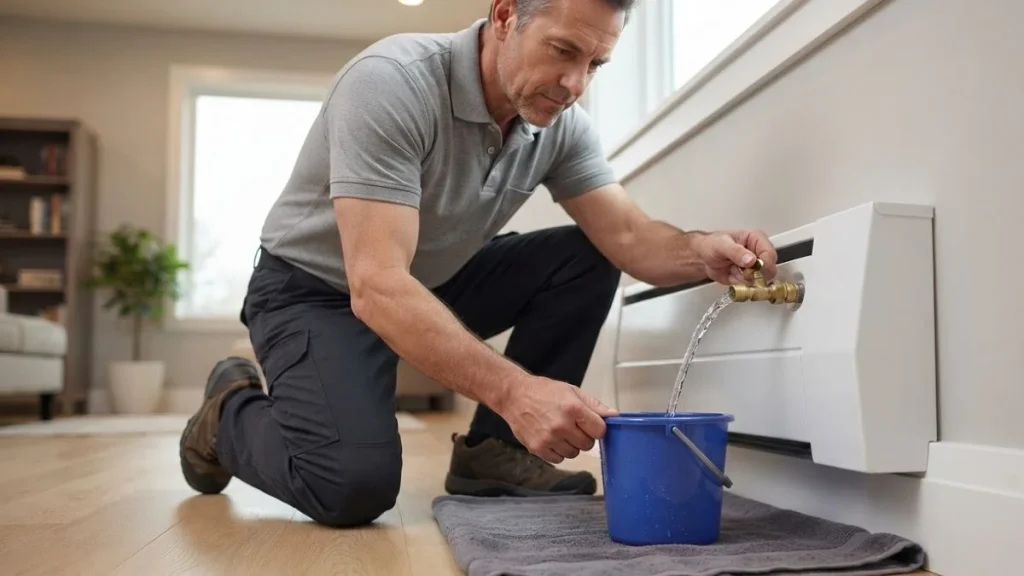
Place your bucket or towel beneath the bleed valve. Insert the bleed key or screwdriver into the valve and turn it slowly counterclockwise — usually just a quarter to half turn is enough. You’ll hear a hissing sound as air begins to escape. Hold the position and wait. As the air releases, that hissing will gradually be replaced by a trickle of water. Once you see a steady stream of water with no air bubbles, close the valve by turning it clockwise. Don’t overtighten — snug is enough.
Step 5 — Work Through Each Baseboard Unit
Repeat Step 4 at every baseboard unit in your home, moving from the farthest unit back toward the boiler. Take your time at each one. Some units may release a lot of air while others release very little — this is normal and depends on where air has settled in the system. Keep your bucket handy at every stop and replace your towel if it gets saturated.
A common mistake at this stage is rushing through valves too quickly or skipping units that seem to already feel warm. Bleed every unit regardless, because air can be hiding even in sections that appear to be working fine.
Step 6 — Re-Check Boiler Pressure and Refill If Needed
Once you’ve bled every baseboard unit, go back to the boiler and check the pressure gauge again. It will have dropped because water was released during the bleeding process. Use the fill valve to bring the pressure back up to the 12–15 PSI range. Add water slowly and keep your eye on the gauge. Overfilling can create its own set of problems, including excess pressure that triggers the relief valve.
Step 7 — Restart the System and Test
Turn the boiler and thermostat back on and let the system run for 20 to 30 minutes. Walk through each room and feel the baseboard units. They should all be heating evenly from end to end. Listen carefully — a successfully purged system should run quietly, with no gurgling or knocking sounds.
If you still notice cold spots or noise after the first bleed, it’s worth repeating the process once more. Sometimes a second pass is needed to fully clear stubborn air pockets, especially in larger systems or systems that haven’t been bled in several years.
How to Purge Air Using an Auto-Purge Valve
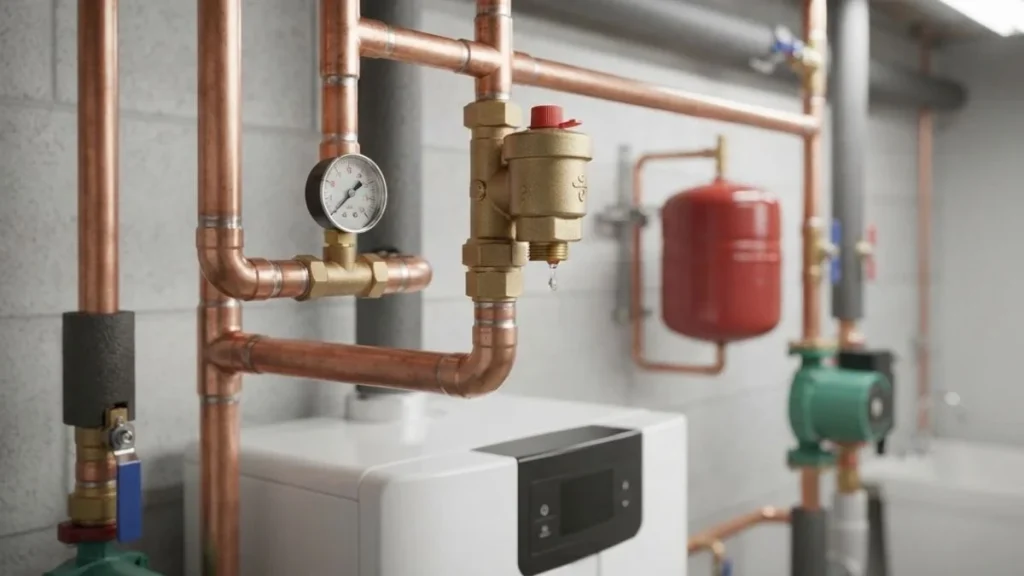
If manually bleeding your system every season sounds like more work than you want, an automatic air vent — also called an auto-purge valve — might be worth considering.
What Is an Auto-Purge Valve?
An automatic air vent is a small device installed at high points in your heating system or directly on the boiler. It continuously vents air from the system without any manual intervention. As air collects at these high points, the float mechanism inside the valve detects it and opens a small port to release it automatically.
How It Works and Whether It’s Worth It
The auto-purge valve works passively in the background. You don’t need to remember to bleed the system each season because the valve handles it on its own. For homeowners who deal with recurring air buildup or have a more complex multi-zone system, the upgrade makes a lot of sense.
The installation cost is relatively low — the valves themselves typically range from $10 to $30 each, and a plumber can install one in under an hour. If you find yourself bleeding your system more than once a year, this is an easy upgrade that pays for itself quickly in saved time and improved heating efficiency.
How Often Should You Purge Air from Your Baseboard Heating System
Most heating professionals recommend bleeding your baseboard system at least once a year, ideally at the start of the heating season before temperatures drop. This clears out any air that collected during the summer when the system was sitting idle.
You should also bleed the system any time you’ve had repair work done, after a pressure drop, or whenever the symptoms of trapped air return — regardless of when you last bled it. Think of it as seasonal maintenance, similar to changing your furnace filter or scheduling a boiler tune-up.
Preventive Tips to Reduce Air Buildup
- Keep your boiler pressure within the recommended range year-round
- Inspect bleed valves annually for corrosion or mineral buildup
- Consider installing an automatic air vent if manual bleeding is a recurring task
- Have your boiler serviced every one to two years by a licensed HVAC technician
When to Call a Professional Instead of DIY
Most cases of air in a baseboard heating system are straightforward and easy to fix yourself. But there are situations where the problem goes deeper than trapped air, and pushing forward with DIY repairs can make things worse.
Call a professional if your boiler pressure keeps dropping repeatedly within days of refilling it — this usually points to a hidden leak somewhere in the system. If water is visibly dripping from bleed valves or pipe joints, that’s another sign you need a technician to assess the situation. Similarly, if you’ve bled the system twice and still have cold spots or noise, the issue may be a failing circulator pump, a blockage in the pipes, or a problem with the zone valves.
A licensed HVAC technician will perform a full pressure test, identify any leaks or mechanical failures, and may recommend a chemical flush if the system has rust, sludge, or mineral deposits building up inside the pipes.
Read Also: Air Lock in Hot Water Baseboard
Conclusion
Purging air from your baseboard heating system is one of the most practical maintenance tasks a homeowner can learn. It doesn’t require specialized skills or expensive tools — just a bleed key, a bucket, and about an hour of your time. Done once a year before the heating season begins, it keeps your system running efficiently, your home heating evenly, and your energy bills from creeping up unnecessarily.
If you follow the steps in this guide and still have trouble getting consistent heat throughout your home, don’t hesitate to bring in a professional. Some problems go beyond air buildup, and catching them early is always better than dealing with a bigger repair down the road.