There’s nothing more frustrating than opening your kitchen cabinet and finding a puddle under the sink. A leaking kitchen faucet hose is one of those problems that starts small — a slow drip here, a damp spot there — and quickly turns into a bigger headache if you ignore it. The good news? You don’t need to spend $150–$400 on a plumber to fix it.
Most kitchen faucet hose leaks come down to a few simple causes: a worn O-ring, a loose connection, or a hose that’s just past its prime. With the right tools, a little patience, and this step-by-step guide, you can fix the problem yourself in under an hour — even if you’ve never touched a wrench before.
This guide covers everything you need to know — what causes the leak, how to find it, how to fix it, and how to make sure it doesn’t come back.
What Causes a Kitchen Faucet Hose to Leak?
Before you grab a wrench, it helps to understand why your kitchen faucet hose is leaking in the first place. There’s rarely one universal answer — the cause depends on your faucet type, the age of your plumbing, and your home’s water pressure. Here are the most common culprits.
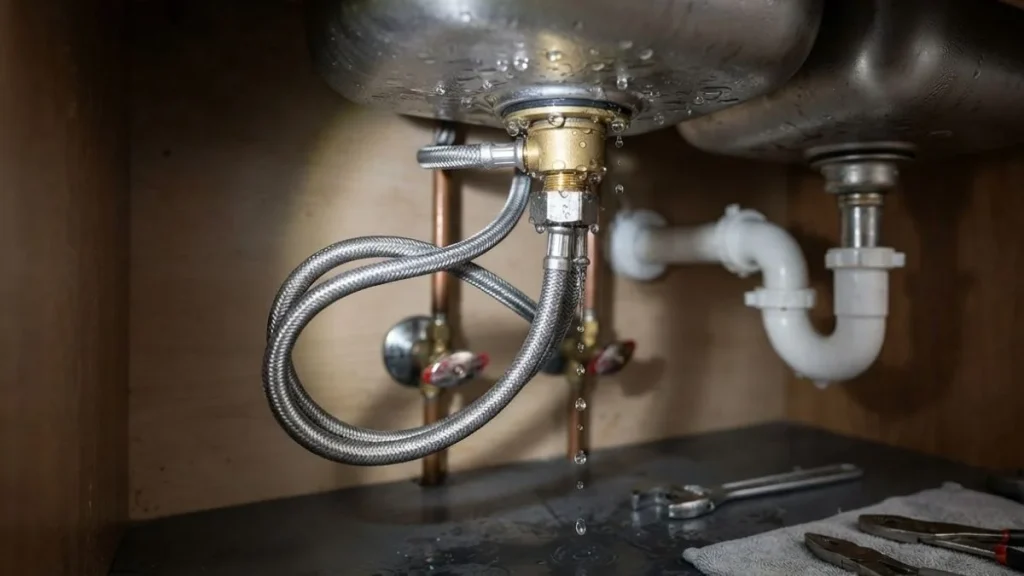
Worn-Out O-Rings
O-rings are small rubber seals that sit inside faucet connections to create a watertight barrier. Over time, constant water exposure, heat, and mineral buildup cause them to harden, crack, or flatten. Once they lose their shape, water finds a way through — and you end up with a leak at the base or connection point.
Loose or Cracked Hose Connections
Every time you use a pull-down or pull-out faucet, the hose moves. That repeated movement gradually loosens the fittings at the connection points. In some cases, the fittings develop hairline cracks that are hard to spot but allow water to seep through slowly.
Corroded Supply Lines
If your home has hard water, mineral deposits build up inside and outside your supply hoses over time. This corrosion weakens the hose material and fittings, eventually causing leaks. Plastic and rubber hoses are especially vulnerable — braided stainless steel hoses hold up significantly better.
High Water Pressure
Most home plumbing systems are designed to operate between 40 and 60 PSI. When pressure exceeds that range, it puts constant stress on hose fittings and connections. This can cause slow leaks that gradually worsen. You can check your water pressure with an inexpensive gauge that attaches to an outdoor spigot.
Faulty or Hardened Washers
Washers work alongside O-rings to seal connections. When they harden due to age or mineral deposits, they stop forming a proper seal. Budget washers tend to fail faster, which is why it’s always worth spending a little more on quality replacement parts.
How to Tell Where Your Kitchen Faucet Hose Is Leaking
Finding the exact source of a leak is the most important step — and the one most people skip. Without knowing exactly where the water is coming from, you risk replacing the wrong part and still ending up with a wet cabinet.
The best method is the dry paper towel test. Completely dry everything under your sink, then run the faucet for 30 seconds and watch carefully. Wherever you see moisture appear first is your leak source. Here’s what different locations typically mean:
- Leak at the faucet base — Usually points to a worn O-ring or loose mounting nut
- Leak at the connection under the sink — Often a loose fitting, bad washer, or degraded Teflon tape
- Leak in the middle of the hose — Typically means the hose itself is cracked and needs full replacement
- Leak at the spray head — Common in pull-down faucets; usually a worn quick-connect fitting
Take a photo of the leak location before you start disassembling anything. It’ll save you time when you’re looking for replacement parts at the hardware store.
Tools and Materials You’ll Need
One of the best things about fixing a leaking faucet hose is that you don’t need a lot of specialized equipment. Most homeowners already have half of these tools sitting in a drawer.
Tools:
- Adjustable wrench
- Basin wrench (for hard-to-reach nuts)
- Needle-nose pliers
- Flashlight or small work light
- Bucket and dry rags
Replacement Parts:
- Assorted O-ring kit
- Replacement washers
- Plumber’s tape (Teflon tape)
- Plumber’s grease
- Replacement supply hose (if needed)
When buying replacement parts, bring the old O-ring or washer with you to the store to match the size correctly. If you’re replacing a pull-down faucet hose, note your faucet brand and model number — Moen, Delta, and Kohler all have specific replacement hoses that fit their systems.
Step-by-Step Guide — How to Fix a Leaking Kitchen Faucet Hose
Shut Off the Water Supply
Look under your sink for two shut-off valves — one for hot water, one for cold. Turn both clockwise until they stop. Then turn on the faucet to release any remaining water pressure in the line. Place a bucket under the work area before you start disconnecting anything.
If your shut-off valves are stuck or too corroded to turn, don’t force them — this is one of the few situations where calling a plumber makes sense.
Locate the Exact Leak Point
With everything dry, run the faucet briefly and identify exactly where the water is coming from. Is it the hose-to-faucet connection? The supply line fitting? The hose itself? Knowing this saves you from replacing parts that don’t need replacing.
Tighten Loose Connections First
Before replacing any parts, try tightening the connection at the leak point with an adjustable wrench. Sometimes that’s all it takes. Use firm pressure — but don’t overtighten, especially on plastic fittings, as they can crack under too much force. Test by briefly turning the water back on.
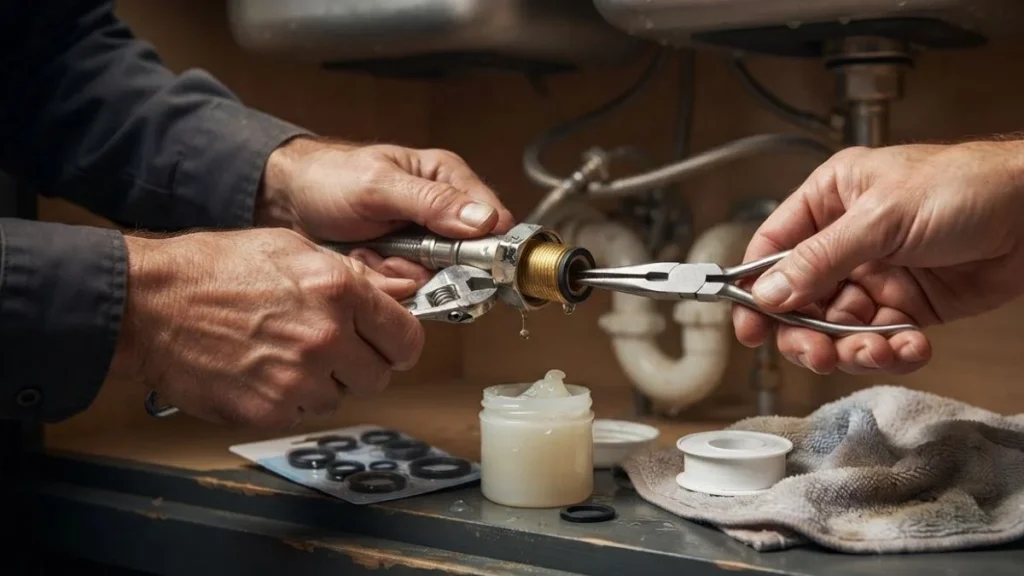
Replace the O-Ring or Washer
If tightening doesn’t fix it, the O-ring or washer is likely the problem. Here’s how to replace it:
- Disconnect the fitting at the leak point
- Use needle-nose pliers to carefully remove the old O-ring from its groove
- Match it to the correct size from your assorted kit
- Apply a thin layer of plumber’s grease to the new O-ring
- Seat it firmly in the groove and reassemble the connection
Wrap the Threads with Teflon Tape
Whenever you reconnect a threaded fitting, wrap the threads with Teflon tape first. Always wrap in a clockwise direction — 2 to 3 wraps is enough. This creates a tight seal that prevents future leaks at threaded joints and costs almost nothing to do.
Replace the Hose If Needed
If the hose itself is cracked, kinked, or corroded, replacement is the right call. Disconnect the old hose from both the faucet body and the shut-off valve. Take it to the hardware store to match the length and fittings. When installing the new hose, hand-tighten first, then snug it up with a wrench — just a quarter to half turn past hand-tight is enough.
Turn the Water Back On and Test
Slowly open both shut-off valves and watch every connection point as pressure returns. Run both hot and cold water and check again with a dry cloth. If everything stays dry, you’re done.
How to Fix a Leaking Pull-Down Faucet Hose
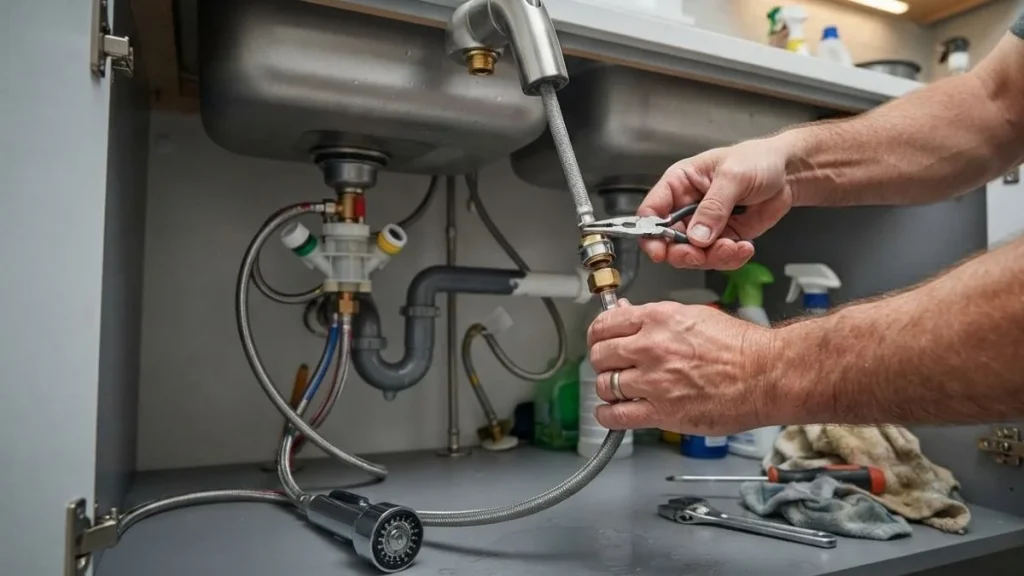
Pull-down faucets are more prone to hose leaks than standard faucets simply because the hose is in constant motion. Every time you pull the spray head down and retract it, the hose and its fittings experience stress. Over time, the quick-connect fitting at the bottom of the spray head wears out and starts to drip.
Here’s how to fix it:
- Pull the spray head down and twist it to disconnect it from the hose
- Locate the quick-connect fitting — it’s usually a plastic collar you press to release
- Disconnect the hose from the fitting and inspect both pieces
- If the fitting is cracked or the O-ring inside is worn, replace the fitting
- Thread the new hose up through the faucet body if replacing the full hose
- Reconnect, test, and make sure the hose retracts smoothly
Compatible replacement hoses by brand:
| Brand | Part Type | Where to Buy |
| Moen | Replacement pull-down hose | Home Depot / Moen website |
| Delta | Faucet spray hose assembly | Lowe’s / Delta website |
| Kohler | Pull-out hose kit | Kohler website / hardware stores |
Recommended Read: Moen Bathroom Faucet Has Low Water Pressure
How to Prevent Your Kitchen Faucet Hose from Leaking Again
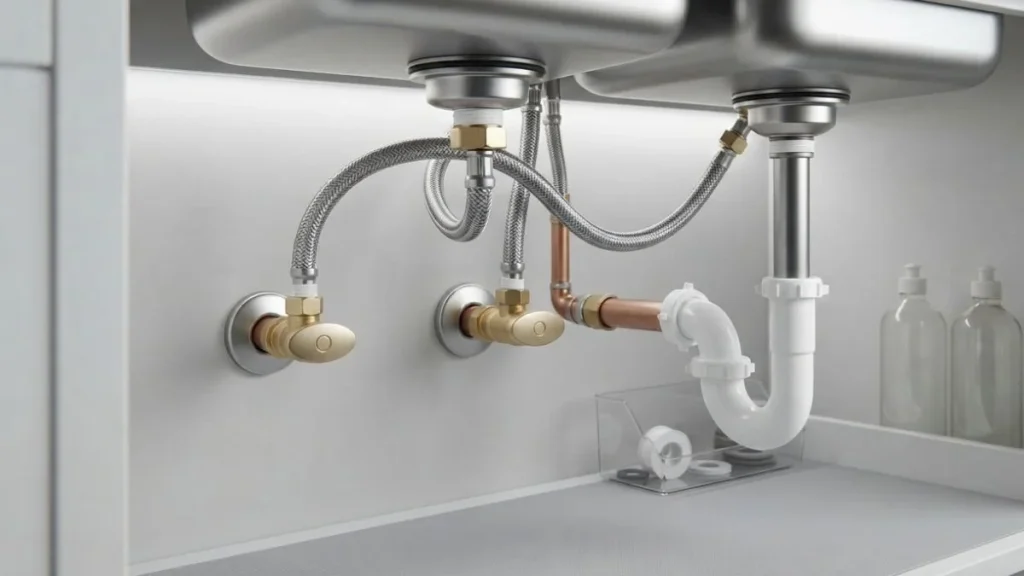
Fixing the leak is only half the job. A few simple habits can keep you from dealing with this problem again for years.
Check your water pressure. If your home’s pressure consistently runs above 60 PSI, install a pressure-reducing valve. It protects not just your faucet hose, but every plumbing fixture in the house.
Upgrade to braided stainless steel hoses. If your current supply lines are plastic or rubber, replace them with braided stainless steel versions. They cost $10–$20 more but last significantly longer and are far more resistant to corrosion and bursting.
Always use Teflon tape on threaded connections. Any time you disconnect and reconnect a threaded fitting — for any reason — wrap the threads with fresh Teflon tape before reassembling.
Do a quick visual check every six months. It takes two minutes to open the cabinet under your sink and look for moisture, rust stains, or mineral buildup. Catching a small drip early is far better than discovering water damage later.
When Should You Actually Call a Plumber?
This guide covers the vast majority of kitchen faucet hose leaks — but there are situations where DIY isn’t the right answer.
Call a plumber if:
- The leak is coming from inside the wall or floor
- Your shut-off valves are corroded and won’t close
- You’ve replaced the parts and the leak keeps coming back
- The faucet body itself is cracked or physically damaged
- Water pressure issues are affecting your entire home
These situations go beyond a simple hose fix and usually involve broader plumbing problems that need a professional diagnosis.
How Much Does It Cost to Fix a Leaking Kitchen Faucet Hose?
| Repair Type | DIY Cost | Plumber Cost |
| O-ring / washer replacement | $2–$10 | $150–$250 |
| Teflon tape | Under $5 | Included in labor |
| Supply hose replacement | $10–$30 | $200–$300 |
| Pull-down faucet hose | $15–$50 | $250–$400 |
The numbers speak for themselves. A DIY repair on a leaking kitchen faucet hose typically costs under $50 in parts. The same job handled by a plumber can run $150 to $400 once you factor in the call-out fee and labor. For a straightforward hose repair, that’s a significant amount of money saved for less than an hour of your time.
Conclusion
A leaking kitchen faucet hose is one of those repairs that sounds intimidating but is actually very manageable for most homeowners. In the majority of cases, the fix comes down to tightening a connection, swapping out an O-ring, or replacing an inexpensive hose — all things you can do with basic tools and parts from your local hardware store.
The key is catching it early, identifying the exact leak source before you start, and using quality replacement parts. Take your time, follow the steps in this guide, and you’ll have it sorted without spending a cent on a plumber.