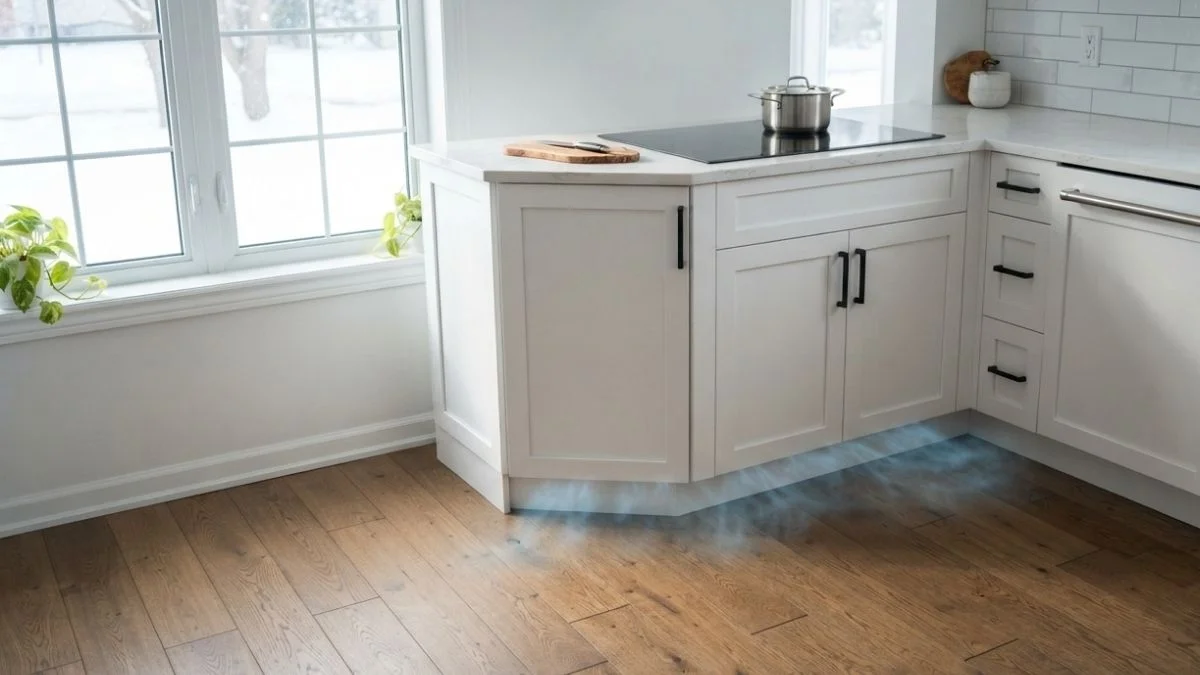
If you’ve ever stood in your kitchen and noticed a cold draft creeping along the floor near your cabinets, you’re not imagining it. That chill isn’t coming from your refrigerator, and it’s not just the weather. Cold air coming from under kitchen cabinets is a real and surprisingly common problem — especially in older homes, homes with crawl spaces, or houses that haven’t had proper air sealing done.
The frustrating part? Most homeowners ignore it for years, not realizing it’s quietly driving up their heating bills every single winter. The good news is that once you know what’s causing it, most fixes are straightforward, affordable, and absolutely something you can handle yourself.
We’ll walk through exactly why cold air gets under your kitchen cabinets, how to find where it’s coming from, and the best ways to fix it — for good.
Why Cold Air Comes From Under Kitchen Cabinets
To understand why cold air ends up under your kitchen cabinets, you need to understand something called the stack effect. Warm air naturally rises inside your home. As it moves upward and escapes through the attic or upper floors, it creates a vacuum effect at the lower levels — pulling cold outside air in through any gap, crack, or opening it can find near the floor.
Your kitchen cabinets sit directly on the floor, and that floor is often sitting above a crawl space, an unfinished basement, or a concrete slab with gaps around plumbing and utility lines. Cold air finds these weak spots and pushes through — right into the space beneath and behind your lower cabinets.
The kitchen is actually one of the most vulnerable rooms in the house for this kind of air infiltration. There are more floor penetrations in a kitchen than almost any other room — water supply lines, drain pipes, gas lines, and electrical conduits all pass through the floor. Each one is a potential entry point for cold air if it wasn’t properly sealed during installation.
The Most Common Causes of Cold Air Under Kitchen Cabinets

1. Poor or Missing Toe Kick Insulation
The toe kick is the recessed panel at the very base of your lower kitchen cabinets — the part you accidentally kick when you’re standing at the counter. Behind that panel, there’s an open cavity that connects directly to the floor space below.
Most builders don’t insulate or seal this area during construction. That means there’s often a wide-open channel between the cold air under your floor and the interior of your kitchen. If your toe kick area is the culprit, you’ll feel a noticeable draft right at floor level, especially when it’s cold outside.
2. Gaps in the Subfloor
Over time — and especially with seasonal temperature changes — wood subfloors expand and contract. This creates small cracks and gaps that allow cold air from below to migrate upward. Homes built over crawl spaces are particularly prone to this because the crawl space air is essentially outdoor air.
3. Unsealed Plumbing Penetrations
Every pipe that enters your kitchen through the floor creates a gap. Even a half-inch opening around a drain pipe can let in a surprising amount of cold air — and most homes have several of these under the kitchen sink alone. These gaps are easy to miss because they’re hidden behind cabinet doors and rarely inspected.
4. A Poorly Insulated Crawl Space
If your home has a crawl space beneath the kitchen, and that crawl space isn’t properly insulated or encapsulated, cold air is constantly available just inches below your floor. The crawl space essentially acts as a reservoir of cold air, and any gap in the floor allows it to move upward into your living space.
5. Rim Joist Air Leaks
The rim joist is the perimeter framing at the very top of your foundation wall, where your floor system meets the foundation. It’s one of the most common sources of cold air infiltration in any home, and it directly affects temperatures at floor level — including near your kitchen cabinets.
6. Damaged or Missing Floor Insulation
In homes where insulation was installed under the subfloor, it can sag, shift, or deteriorate over time — especially in crawl space environments with moisture issues. Once that insulation loses its integrity, cold air has a much easier path to the floor above.
How to Diagnose Where the Cold Air Is Coming From
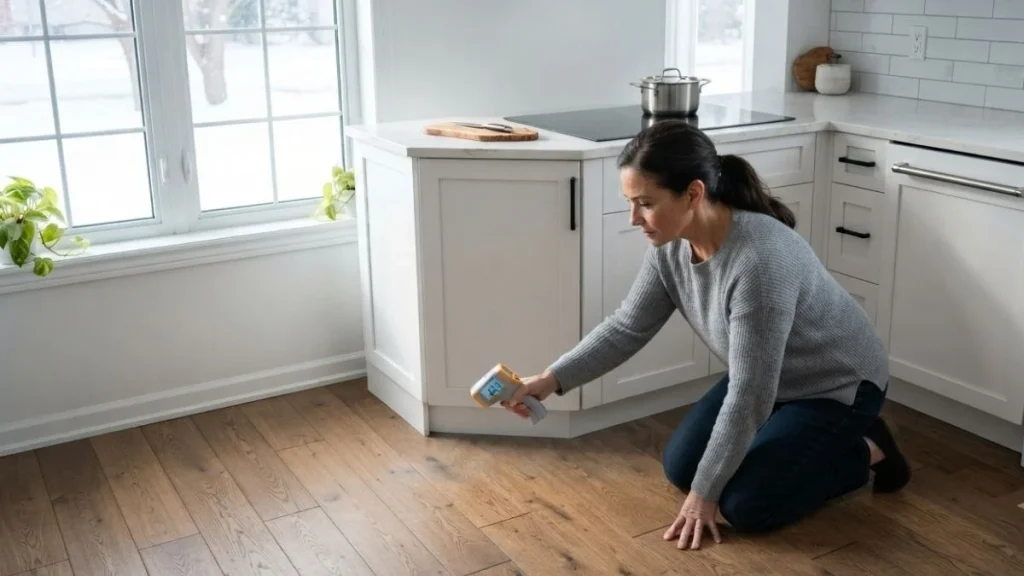
Before you start buying materials or tearing anything apart, it’s worth taking 20 minutes to figure out exactly where the cold air is entering. Here are three reliable methods:
The Hand Test is the simplest starting point. On a cold day, slowly run your bare hand along the base of your cabinets, along the floor near the toe kicks, and around the cabinet under your sink. You’re looking for spots where you can feel moving air. It’s surprisingly effective for finding major leaks.
The Incense or Candle Test gives you a more visual reading. Light a stick of incense or hold a candle near the suspected areas. Watch the smoke carefully — if it gets pulled toward a gap or flickers sharply, you’ve found an air leak. Do this slowly and carefully, keeping the flame away from any flammable materials.
A Thermal Leak Detector or Infrared Thermometer takes the guesswork out entirely. These handheld tools measure surface temperatures and will clearly show cold spots around gaps and air leaks. Basic models are available at most hardware stores for $20–$50 and are a worthwhile investment for any homeowner.
If you’ve tried all three methods and still can’t pinpoint the source — or if the problem seems severe — consider scheduling a professional home energy audit. An auditor will use a blower door test to depressurize your home and reveal every air leak in detail. Typical cost ranges from $200 to $600, but it can identify thousands of dollars in energy loss.
How to Fix Cold Air Coming From Under Kitchen Cabinets
Seal the Toe Kick Area
This is the first place to start because it’s easy, inexpensive, and often solves the problem entirely.
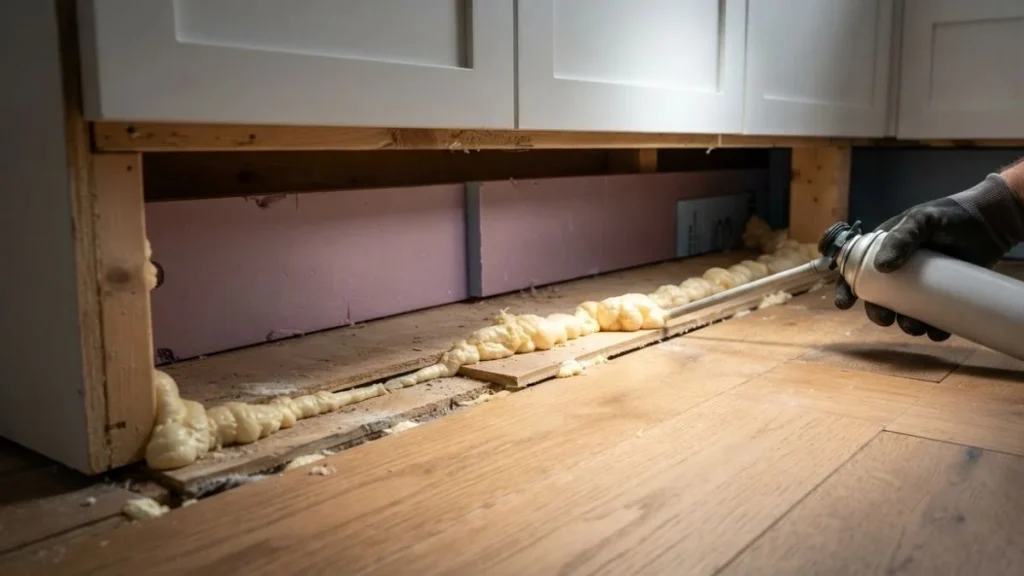
Carefully remove the toe kick panels at the base of your lower cabinets — most snap or pry off without damage. Inside, you’ll likely find an open cavity with gaps where the floor meets the wall framing. Use expanding spray foam (like Great Stuff) to seal any cracks or openings. For larger gaps, push in foam backer rod first, then apply foam or caulk over it. Once sealed, cut a piece of rigid foam insulation board (XPS or polyiso) to fit inside the toe kick cavity and press it in place before reinstalling the panel.
Best products for this job:
- Great Stuff Gaps & Cracks Expanding Foam
- Loctite TITE FOAM for smaller gaps
- 1-inch XPS rigid foam board for insulating the cavity
Seal Plumbing Pipe Gaps
Open the cabinet under your sink and look at where the drain pipe and supply lines pass through the floor. Use fire-rated caulk or expanding foam to fill any gaps around those pipes. For larger openings, a foam pipe collar works well and gives a cleaner finish. This fix takes about 15 minutes and costs less than $15 in materials.
Insulate and Seal the Crawl Space
If your home has a crawl space, this is likely the root of the problem — and addressing it will make a dramatic difference. The goal is to either insulate the floor joists above the crawl space or encapsulate the crawl space entirely.
For a DIY approach, start by laying a 6-mil polyethylene vapor barrier across the entire crawl space floor and secure it to the walls. Then cut rigid foam insulation boards to fit between the floor joists overhead and seal the edges with spray foam. This stops cold air from accumulating in the crawl space and pushing up through the floor.
Estimated DIY material cost: $300–$800 depending on crawl space size.
Insulate the Rim Joist

Access your rim joist from the basement or crawl space. Cut 2-inch rigid foam board to fit snugly between each floor joist bay along the perimeter wall. Press it firmly into place and seal every edge with spray foam. This single fix is one of the most cost-effective improvements you can make to reduce cold floors and drafts throughout the entire home — not just the kitchen.
Reseal Cabinet-to-Floor and Cabinet-to-Wall Gaps
If there are visible gaps where your cabinets meet the wall or the floor, a simple bead of paintable latex caulk can seal them off. This is a cosmetic fix as much as a practical one, but it eliminates small air pathways that add up over time. Use a color-matched caulk for a clean, professional look.
How Much Does It Cost to Fix Cold Air Under Kitchen Cabinets?
| Fix | DIY Cost | Professional Cost |
| Toe kick sealing & insulation | $30–$80 | $150–$400 |
| Plumbing pipe gap sealing | $10–$20 | $100–$200 |
| Crawl space vapor barrier | $150–$400 | $1,500–$5,000 |
| Rim joist insulation | $50–$150 | $300–$800 |
| Full air sealing service | — | $300–$1,500 |
For most homeowners, starting with the toe kick and plumbing fixes costs under $100 in materials and can be completed in a single afternoon. The EPA estimates that proper air sealing can save homeowners an average of 15% on annual heating and cooling costs — meaning most DIY fixes pay for themselves within the first heating season.
When to Call a Professional
Most of the fixes covered in this article are well within reach for the average homeowner with basic tools. However, there are situations where calling a professional makes more sense.
If you’ve sealed every visible gap and still feel a persistent cold draft, the problem may be structural — a significant crack in the foundation, major subfloor damage, or a crawl space with serious moisture and mold issues. In those cases, a certified building performance contractor or crawl space specialist should assess the situation before you invest in insulation materials.
You should also consider professional help if your home is older (pre-1980s), hasn’t had an energy audit in many years, or if your heating bills have been steadily climbing without a clear explanation. A professional audit gives you a complete picture of where your home is losing energy — and a prioritized list of what to fix first.
How to Prevent Cold Drafts Under Kitchen Cabinets Long-Term
Fixing the problem once is great. Keeping it fixed takes a little bit of ongoing attention. Add these tasks to your fall home maintenance routine each year:
- Inspect toe kick panels for damage or gaps before winter
- Check under the kitchen sink for new gaps around pipes after any plumbing work
- Recaulk cabinet-to-wall seams every 3 to 5 years as caulk shrinks and dries out
- Check your crawl space annually for moisture, shifting insulation, or damaged vapor barrier
If you want a more permanent upgrade, consider installing a toe kick heater — a low-profile heating unit that fits inside the toe kick cavity and gently warms the floor-level air in the kitchen. It’s a practical solution for homes where cold floors are a recurring problem.
Related Read: How to Stop Cold Air From Vents
Conclusion
Cold air coming from under kitchen cabinets is one of those home comfort problems that’s easy to overlook — until you’re standing barefoot in the kitchen on a January morning and can’t figure out why your feet are freezing.
The root cause is almost always the same: cold air is finding its way up from below through gaps in the toe kick area, around plumbing pipes, or through an uninsulated crawl space or rim joist. The fixes range from a $15 tube of caulk to a more involved crawl space project, but most homeowners can resolve the issue in a single weekend with basic tools and materials from their local hardware store.
Start by diagnosing the source. Then seal what you can from the inside — the toe kicks and pipe gaps. If the problem persists, look at what’s happening below your floor. Tackle it layer by layer, and you’ll not only eliminate that cold draft but likely notice a real difference in your heating bills by the end of the season.