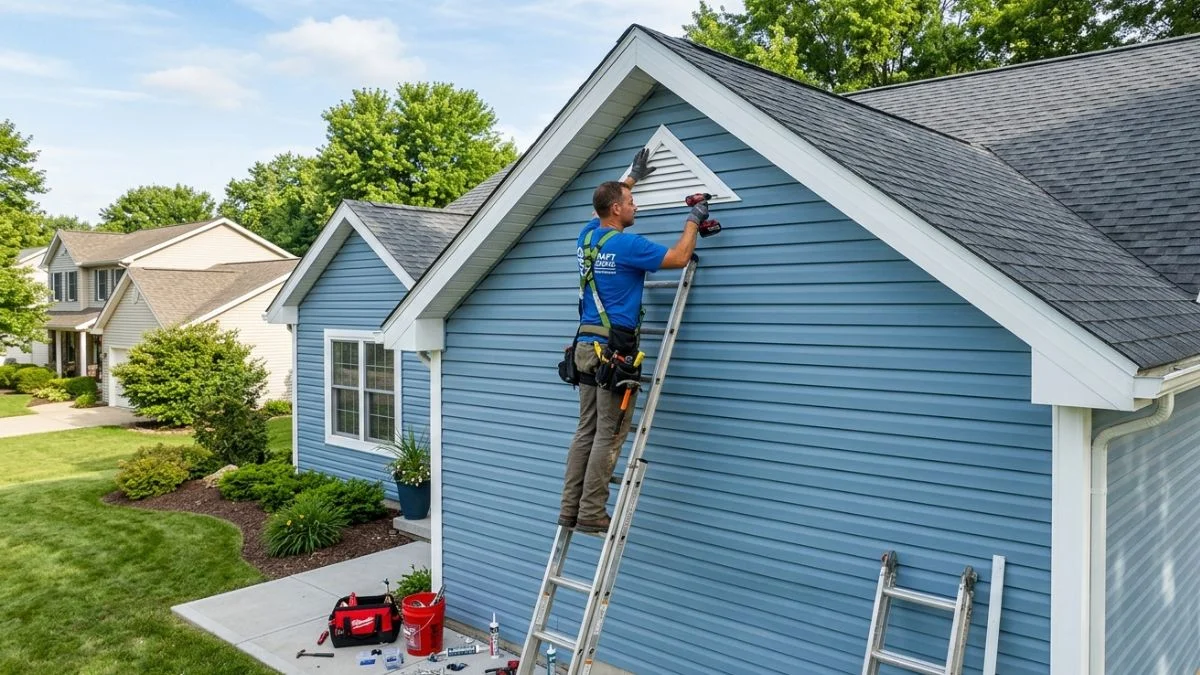
A properly installed gable vent is essential for maintaining good airflow inside your attic. It helps reduce heat buildup, controls moisture, and improves the overall energy efficiency of your home.
However, installing a gable vent on vinyl siding requires careful handling. Vinyl siding is flexible and temperature-sensitive, so incorrect cutting or fastening can easily cause cracks, warping, or long-term structural damage.
In this detailed guide, you will learn the correct and safe method to install a gable vent on vinyl siding without damaging your home’s exterior.
The Purpose and Importance of Gable Vents in Home Ventilation Systems
A gable vent is an opening placed near the upper section of a home’s exterior wall, typically close to the roof peak. Its main purpose is to allow continuous air circulation in the attic space.
Warm air naturally rises, and without proper ventilation, it gets trapped inside the attic. This trapped heat can increase indoor temperature, damage roofing materials, and create moisture-related problems over time.
A properly installed gable vent ensures:
- Continuous airflow inside the attic
- Reduced heat buildup during hot weather
- Lower risk of mold and moisture damage
- Improved energy efficiency of the home
How Vinyl Siding Behavior Affects Gable Vent Installation Process
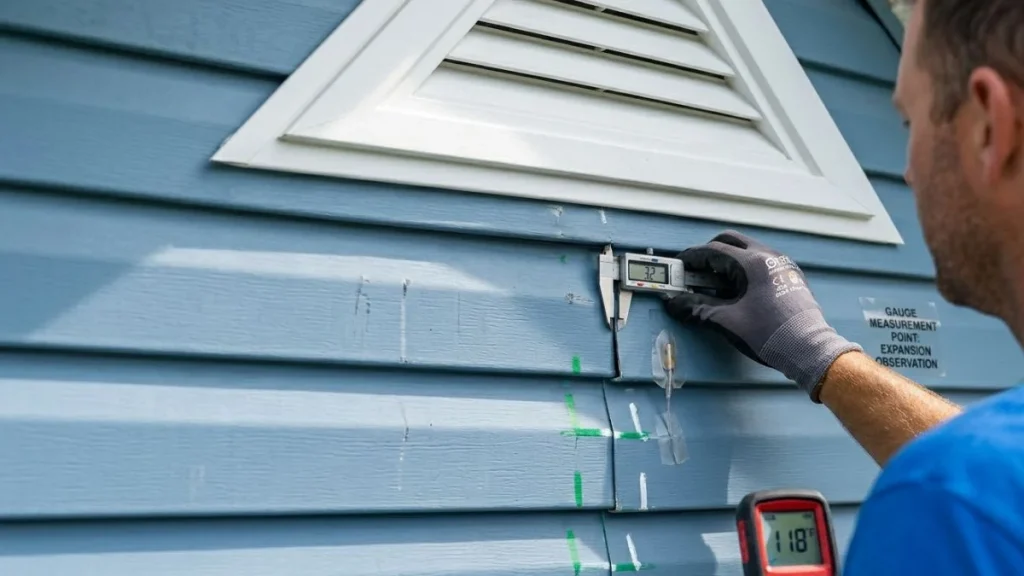
Vinyl siding is widely used because it is durable, cost-effective, and low maintenance. However, it has one important characteristic—it expands in heat and contracts in cold temperatures.
Because of this natural movement, any installation involving cutting or attaching objects to vinyl siding must allow flexibility.
If installed incorrectly:
- Siding panels may crack under pressure
- Warping or buckling may occur
- Water may enter behind the siding
- The overall appearance of the exterior may become uneven
This is why the gable vent must always be attached to the wall structure, not just the siding surface.
Essential Tools and Materials Required for a Safe Installation Process
Before starting the installation, it is important to gather all necessary tools and materials. This ensures a smooth workflow and reduces the chance of mistakes during the process.
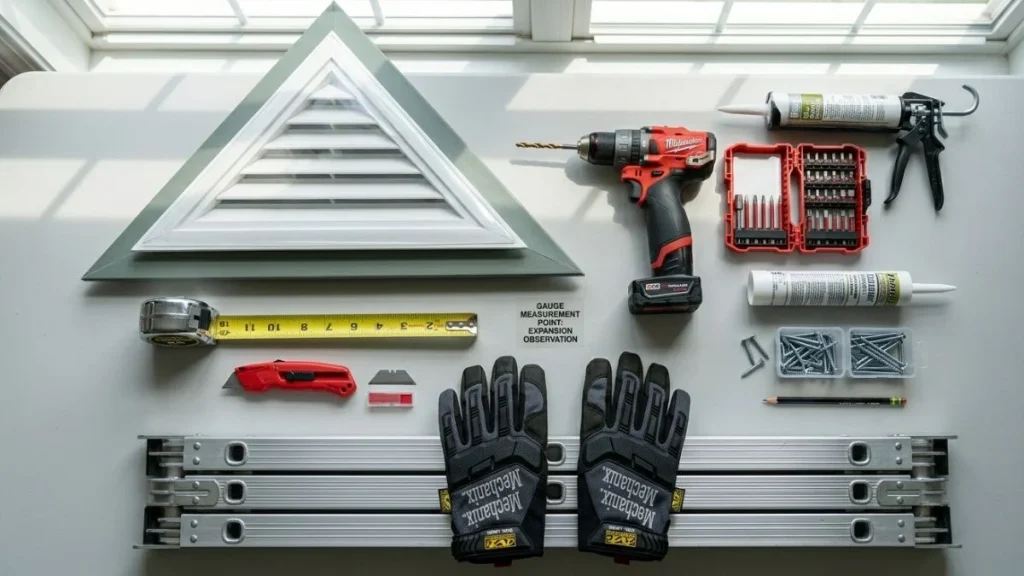
Required Tools for Installation Work
- Measuring tape for accurate marking
- Pencil or marker for outlining
- Level tool for proper alignment
- Utility knife or circular saw for cutting
- Drill or screwdriver for fastening
- Siding removal tool for safe panel detachment
- Safety gloves and protective eyewear
Required Materials for Long-Term Durability
- Correctly sized gable vent
- Corrosion-resistant screws
- Exterior-grade waterproof caulk
- Optional J-channel or trim for clean finishing
Choosing the right vent size is extremely important. A poorly sized vent can affect airflow efficiency and exterior appearance.
Step-by-Step Process to Install a Gable Vent on Vinyl Siding Without Causing Damage
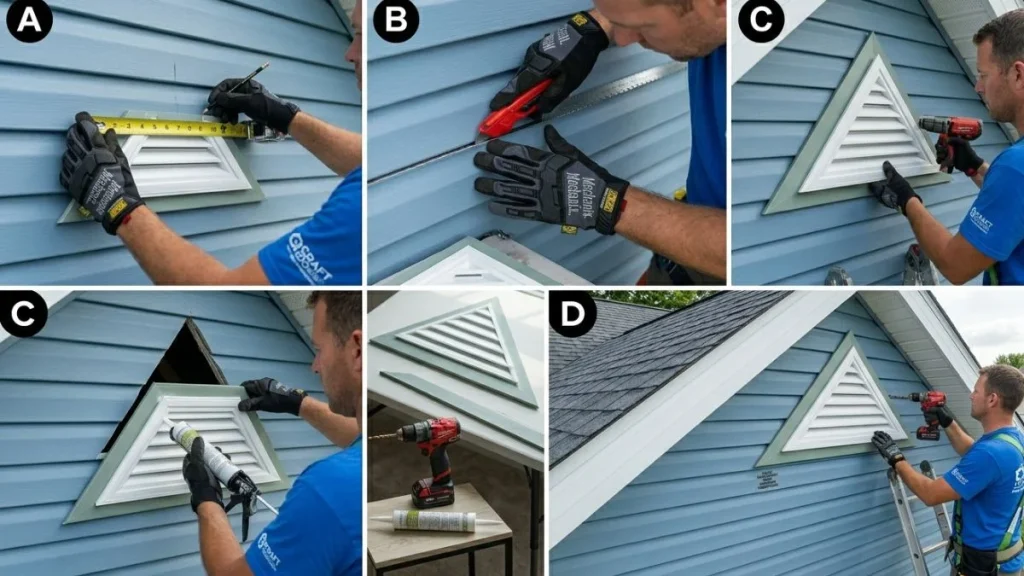
Accurate Planning and Marking of the Vent Installation Area
Start by selecting the exact location for the vent. In most cases, it is placed near the center of the gable wall close to the roof peak for maximum airflow efficiency.
Use a measuring tape and level tool to:
- Find the center point of the wall
- Mark the exact vent outline
- Ensure perfect alignment and symmetry
Before moving forward, always check for hidden electrical wiring or structural obstacles behind the siding.
Safe Removal of Vinyl Siding Panels Around the Installation Area
Vinyl siding panels are designed with interlocking edges, so they must be removed carefully.
Use a siding removal tool to gently unlock the panels. Work slowly from bottom to top to avoid bending or breaking them.
This step is very important because properly removed panels can be reused without damage, helping maintain the original exterior appearance.
Precise Cutting of the Wall Opening for Vent Installation
After removing the siding, the wall sheathing will be exposed. Now carefully trace the vent opening using your measurements.
Use a utility knife or circular saw to cut along the marked lines. Always ensure:
- Clean and straight edges
- No overcutting beyond the marked area
- Smooth finishing for proper vent fitting
A precise cut ensures better sealing and long-term durability.
Proper Installation and Alignment of the Gable Vent Frame
Place the vent into the prepared opening and check its alignment carefully.
Secure the vent using corrosion-resistant screws, making sure it is attached firmly to the wall framing structure, not the siding.
Do not overtighten screws, as vinyl siding needs space to move naturally with temperature changes.
Weatherproof Sealing Around the Vent Edges for Protection
Sealing is one of the most important steps in the entire process.
Apply exterior-grade caulk around all edges where the vent meets the wall. This helps to:
- Prevent water leakage
- Block insects and dust entry
- Seal air gaps effectively
- Protect wall structure from moisture damage
A continuous and smooth seal ensures long-term protection.
Careful Reinstallation of Vinyl Siding Panels Around the Vent Area
Once the vent is installed and sealed, carefully reinstall the vinyl siding panels.
Make sure:
- Each panel locks back properly
- No force is used during installation
- Small expansion gaps are left for natural movement
- The siding maintains its original alignment
This step ensures the exterior looks clean and professional.
Final Inspection and Performance Check of Installed Gable Vent System
After completing installation, perform a full inspection.
Check:
- Vent alignment and stability
- Quality of sealing around edges
- Proper attachment to wall structure
- Airflow efficiency through the vent
A final inspection ensures the installation is both functional and visually perfect.
Professional Tips to Prevent Damage During Vinyl Siding Vent Installation
Working carefully can significantly reduce the risk of damage.
- Always work in moderate weather conditions
- Use sharp and appropriate cutting tools
- Avoid overtightening screws
- Measure everything at least twice before cutting
These small practices ensure a smooth and damage-free installation process.
Common Installation Mistakes Homeowners Should Avoid
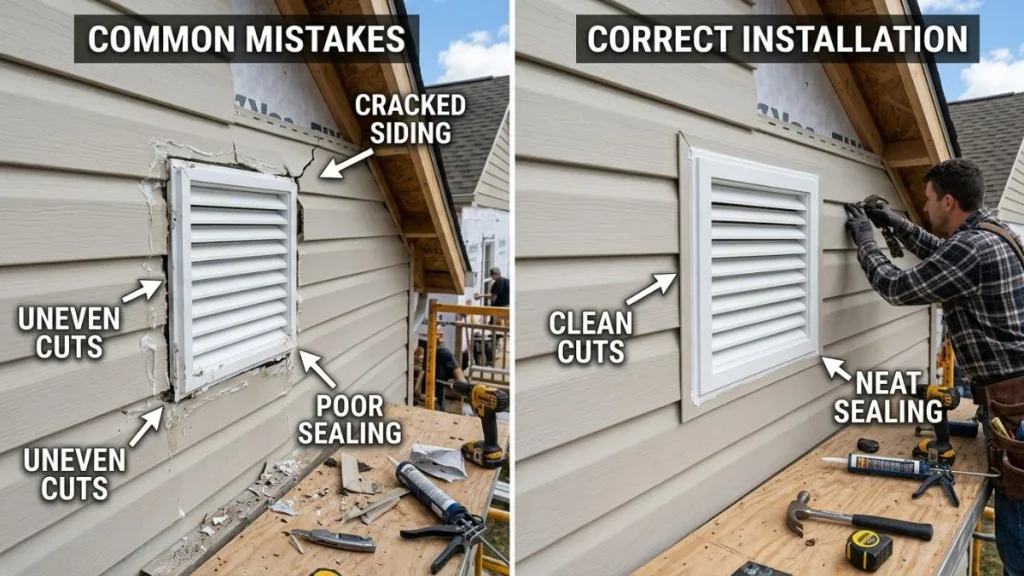
Many installation problems occur due to simple mistakes.
- Incorrect measurement before cutting siding
- Rough or uneven cutting of panels
- Poor sealing around vent edges
- Ignoring siding expansion space
Avoiding these mistakes ensures long-term durability and performance.
DIY Installation vs Hiring a Professional for Gable Vent Installation
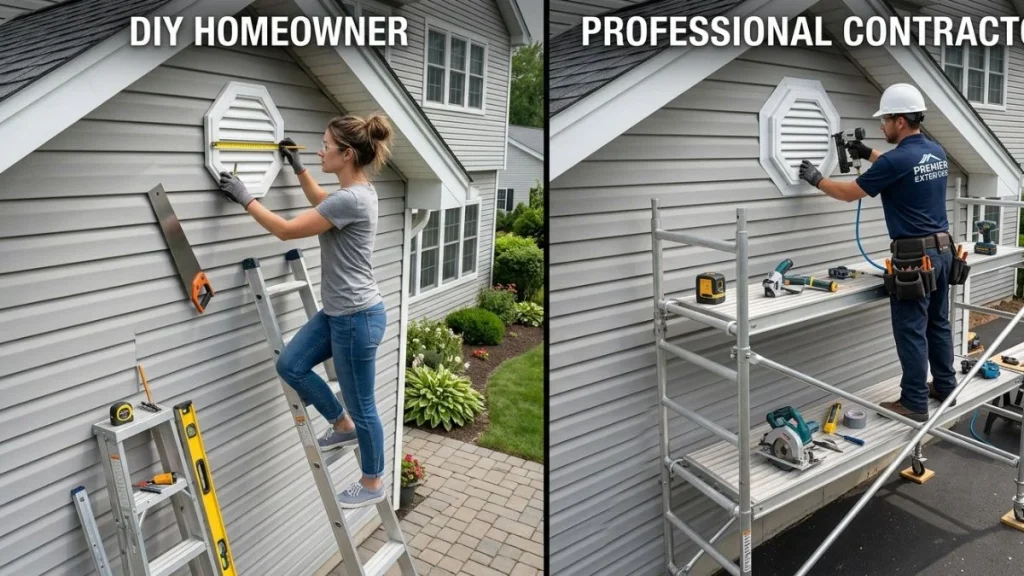
When DIY Installation is Suitable
DIY installation works best when:
- The structure is simple and single-story
- You have basic tools and experience
- You are confident in accurate measurement and cutting
When Professional Installation is Recommended
Hiring a professional is better when:
- The home is multi-story or complex
- There are hidden electrical or structural concerns
- You want a fully guaranteed waterproof finish
Professionals ensure safety, precision, and long-lasting results.
Read Also: Install an Exhaust Vent in Vinyl Siding
Conclusion
Installing a gable vent on vinyl siding is an important home improvement task that improves ventilation and protects your home structure.
Success depends on careful planning, accurate measurement, proper cutting, and correct sealing techniques.
Whether you choose DIY or professional installation, doing the job correctly ensures long-term durability, better airflow, and a well-protected home exterior.