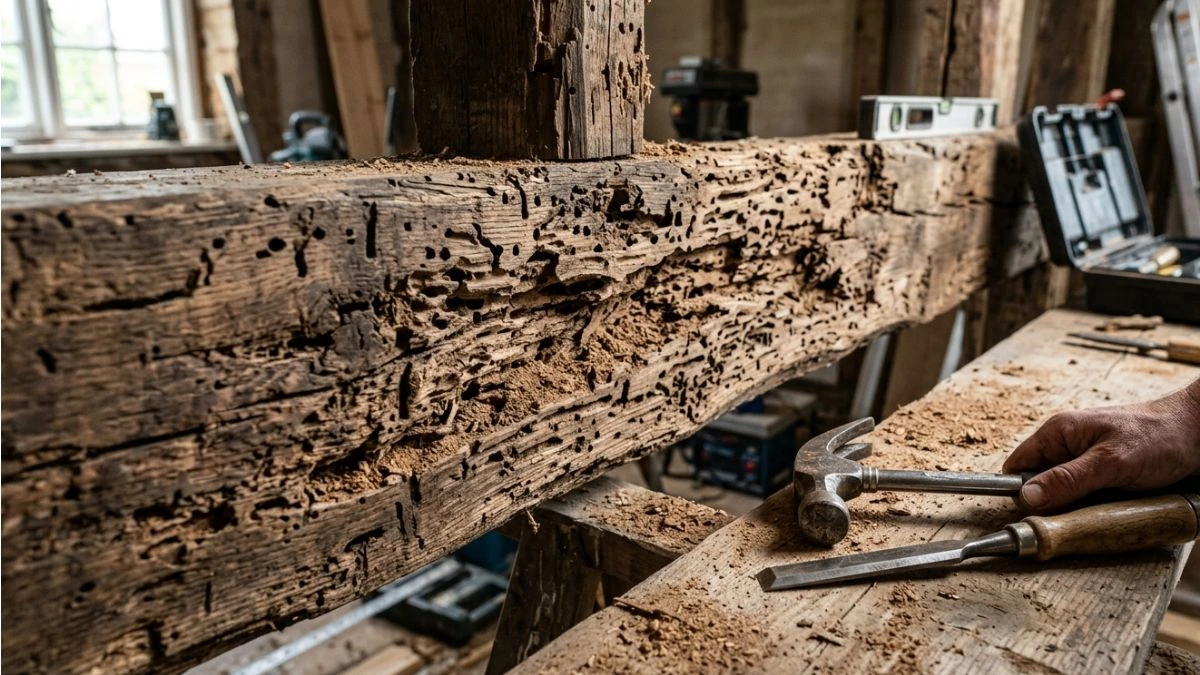
Termite damage can turn a strong wooden beam into a weak, unsafe hazard before you even notice it. If you’ve discovered that your beam is damaged by termites, you might be wondering how to fix it without spending a fortune or calling in expensive professionals.
You’re in the right place. This guide will show you simple, effective steps to repair your termite-damaged beam and restore its strength. Keep reading, because the safety of your home and your peace of mind depend on what you do next.
Signs Of Termite Damage
Termite damage to wooden beams often starts small and unnoticed. Early detection of termite signs can save a lot of repair cost. Recognizing these signs helps stop further damage and keeps your home safe. Termites eat wood from inside out, leaving hidden damage. Knowing what to watch for is key to repairing termite-damaged beams effectively.
Visible Damage Patterns
Termite damage leaves clear marks on wood surfaces. These patterns are often irregular and hard to miss once known. Look for:
- Hollowed Wood: Wood sounds hollow when tapped because termites eat inside.
- Blistering or Bubbling: The surface of the wood may appear blistered or peeling.
- Cracked Paint or Wallpaper: Termites push through walls, causing paint or wallpaper to crack.
- Frass: Small piles of termite droppings that look like sawdust near wood beams.
Structural Weakness Indicators
Termite damage weakens the beam’s strength. Identifying structural issues can prevent accidents. Signs include:
- Sagging Beams: Beams may bend or sag under weight due to wood loss.
- Cracks and Splits: Termites cause cracks that grow wider over time.
- Soft Spots: Press the wood; soft or spongy areas show damage.
- Unusual Flexibility: Damaged beams may flex more than usual.
Use a screwdriver or awl to gently poke suspect wood. If it sinks in easily, damage is likely. Structural damage increases risk of collapse. Acting quickly to repair prevents bigger problems.
Common Infestation Areas
Termites prefer certain beam locations. These areas often have moisture or contact with soil. Inspect these spots closely:
- Near Ground Level: Beams close to the soil are most at risk.
- Basements and Crawl Spaces: Dark, damp places attract termites.
- Joist Ends: Where beams connect to walls or floors.
- Windows and Door Frames: Wood around openings is vulnerable.
Moisture encourages termite activity. Fix leaks and improve ventilation to reduce risk. Keep soil and mulch away from wood beams. Regular inspection of these common spots helps catch infestations early.
Assessing The Damage
Repairing a termite damaged beam starts with a careful assessment of the damage. This step is crucial for understanding how deep the problem goes and what kind of repair work is needed. A thorough assessment helps prevent future structural issues and ensures the repair is safe and strong. It saves time and money by targeting the exact areas that need fixing.
Inspecting The Beam
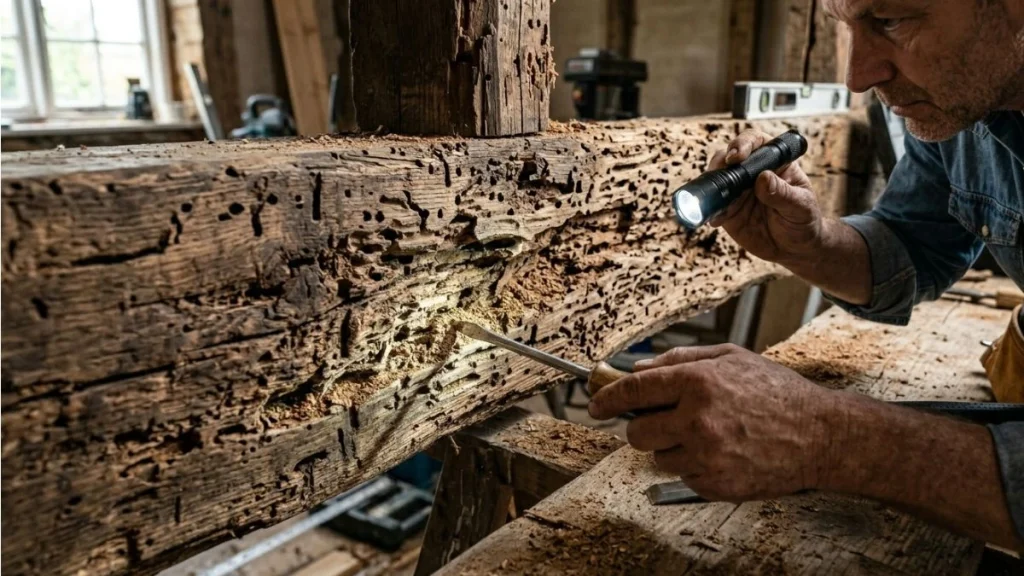
Begin by closely examining the beam for visible signs of termite damage. Look for small holes, tunnels, or powdery dust called frass. These signs show where termites have been active. Use a flashlight to inspect dark or hidden areas well.
- Tap the beam with a small hammer or screwdriver handle. A hollow sound may indicate internal damage.
- Look for cracks or splits in the wood surface. Termites often weaken the wood from inside out.
- Check for sagging or bending in the beam. This can mean the beam has lost strength.
- Use a screwdriver or awl to gently poke the wood. Soft spots may show decay or termite tunnels.
Record your observations carefully. Take photos and notes on each damaged area. This helps track progress and plan repairs better. A table can help organize this information:
| Area of Beam | Type of Damage | Severity | Notes |
| Left end | Holes, frass | Moderate | Visible tunnels under surface |
| Middle section | Soft wood, cracks | Severe | Beam slightly bent |
| Right end | Minor surface damage | Low | Small holes only |
Determining Damage Extent
Next, assess how deep and wide the damage goes. This step tells if the beam can be repaired or must be replaced. Termites often hollow out wood inside, making damage worse than it looks.
Use these methods:
- Probe deeper with a screwdriver to check internal wood condition.
- Measure affected areas to know how much wood is damaged.
- Check adjacent beams or structures for signs of termite spread.
Divide damage into three levels:
- Minor: Surface damage, small holes, wood still firm.
- Moderate: Larger holes, some soft spots, slight bending.
- Severe: Extensive hollowing, beam sagging or cracking.
Safety Precautions
Safety is vital during damage assessment. Termite damaged beams may be weak and unsafe to handle without care. Follow these precautions:
- Wear protective gear: gloves, safety goggles, and a dust mask.
- Use a sturdy ladder if inspecting high beams.
- Avoid putting weight on damaged beams to prevent collapse.
- Have a partner assist during inspection for safety.
- Keep the area clear of unnecessary items and people.
Preparing For Repairs
Repairing a termite damaged beam starts with thorough preparation. This stage ensures safety and improves repair quality. Careful planning helps avoid mistakes and extra work later. Before any work begins, gather all necessary tools and materials. Then, remove the damaged wood carefully to protect the structure. Finally, treat the surrounding areas to stop termites from returning. These steps set a strong foundation for successful repair.
Gathering Tools And Materials
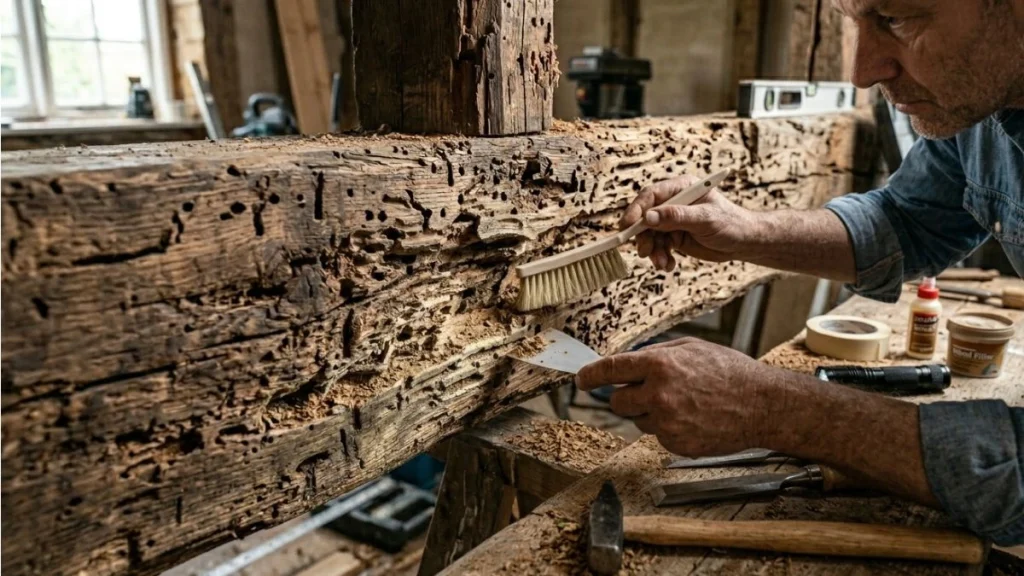
Having the right tools and materials ready saves time and effort during repairs. Start by listing what you need. Here is a basic list for termite beam repair:
- Protective gear: gloves, safety glasses, dust mask
- Cutting tools: saw, chisel, hammer
- Measuring tools: tape measure, square
- Replacement wood: treated lumber matching beam size
- Wood hardener: to strengthen remaining wood
- Epoxy wood filler: for filling small gaps
- Fasteners: nails, screws, metal brackets
- Termite treatment chemicals: liquid termiticide or foam
- Brushes or sprayers: to apply treatments
Organize your workspace before starting. Clear the area around the beam. Lay out tools within easy reach. Check all equipment for damage or wear. Replace any broken or dull tools. Using quality materials ensures a longer-lasting repair.
Removing Damaged Wood
Start removing wood only after preparing the area. Use a saw or chisel to cut away soft, crumbling wood. Work slowly to avoid damaging sound wood. Inspect the beam carefully. Remove all wood that feels hollow or weak. This step prevents future problems.
Follow these steps:
- Wear protective gear to avoid injury and dust inhalation.
- Mark the damaged areas clearly with a pencil or chalk.
- Use a saw for larger sections, then a chisel for finer removal.
- Check inside cavities for hidden damage with a screwdriver.
- Clean out dust and debris with a brush or vacuum.
Do not remove more wood than necessary. Over-removal weakens the beam and increases repair cost. If damage is extensive, consult a professional. Keep the beam stable during this process. Use temporary supports if needed to avoid collapse.
Treating Surrounding Areas
Treating the area around the beam stops termites from returning. Apply termiticide to wood and soil near the beam. This kills active termites and blocks new ones. Treat both inside and outside of the beam cavity.
Steps for treatment:
- Clean the area of dust and debris.
- Apply liquid or foam termiticide evenly on all exposed wood.
- Treat soil around the beam foundation to create a barrier.
- Allow the treatment to dry completely before proceeding.
Use a brush or sprayer for even coverage. Follow product instructions carefully. Avoid overuse to protect plants and pets. Keep treated areas dry after application. Repeat treatment if signs of termites reappear. This step protects your repair and home from future damage.
Repair Methods
Repairing a termite damaged beam requires careful selection of the right method based on the damage severity. Repair methods range from simple fixes to full replacements. Each method restores the beam’s strength and protects your home from further harm.
Epoxy Resin Application
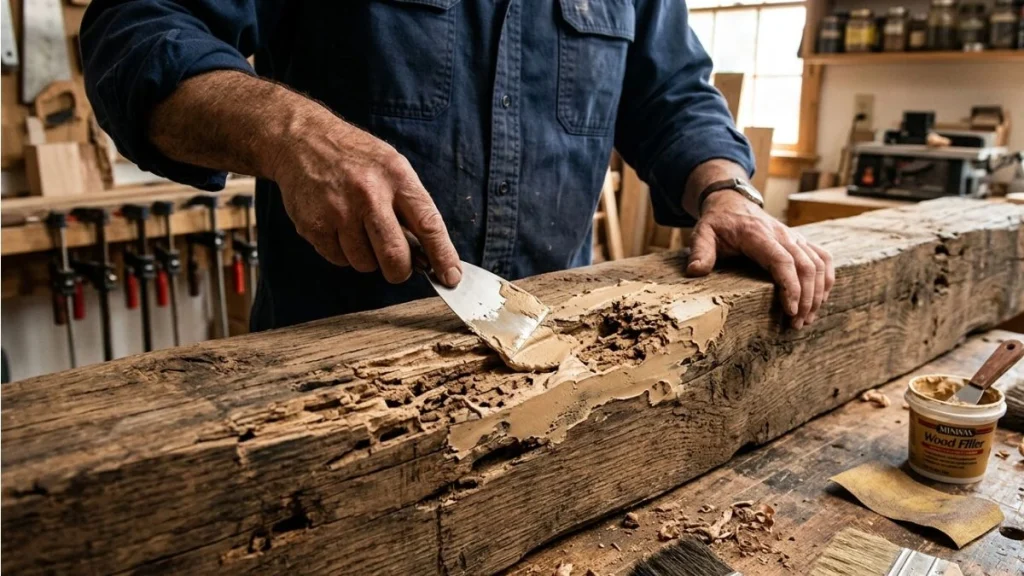
Epoxy resin is a popular choice for minor to moderate termite damage. It works by filling cracks and holes, bonding the wood fibers back together. This method is effective when the beam still has solid wood around the damaged area.
Steps for epoxy resin application:
- Clean the damaged area: Remove loose wood and dirt using a wire brush or vacuum.
- Apply wood hardener: This strengthens the remaining wood fibers.
- Mix epoxy resin: Follow the manufacturer’s instructions carefully.
- Fill the cracks and holes: Use a putty knife to push the resin deep into the damaged parts.
- Let it cure: Allow the resin to harden for the recommended time, usually 24 hours.
Sistering New Beams
Sistering involves attaching a new beam alongside the damaged one to add strength. This method suits moderate damage where the original beam still carries some load. The new beam shares the load, reducing stress on the damaged wood.
Steps for sistering new beams:
- Measure the length and size of the damaged beam.
- Select a new beam of the same size and type of wood.
- Clean the surface of the existing beam.
- Attach the new beam using construction adhesive and bolts or nails.
- Ensure tight contact between beams for maximum load transfer.
Replacing The Beam Entirely
Complete beam replacement is necessary when termite damage is severe. This method removes the damaged beam and installs a new one. It ensures full structural integrity but requires more work and cost.
Steps to replace a beam:
- Support the structure above with temporary shoring.
- Remove the damaged beam carefully without harming other parts.
- Select a new beam matching size, material, and grade.
- Install the new beam securely using bolts, nails, or brackets.
- Remove temporary supports once the beam is stable.
Challenges: Replacement requires skilled labor and may disrupt household activities. It usually costs more than other methods.
Preventing Future Infestations
Repairing a termite damaged beam is only the first step. Preventing future infestations protects your home and saves money. Termites thrive in hidden, damp places. Stopping them means using barriers, regular checks, and good airflow. These methods keep your beams strong and safe for years.
Applying Termite Barriers
Termite barriers act as a shield between your home’s wood and the soil where termites live. They stop termites from reaching the wood and causing damage. Barriers come in different types, such as physical, chemical, and biological.
Common termite barriers include:
- Physical barriers: Stainless steel mesh or sand layers block termite entry.
- Chemical barriers: Liquid termiticides create a treated zone around the foundation.
- Biological barriers: Use natural predators or fungi that kill termites.
Remember: Barriers work best when combined with regular inspections and proper ventilation.
Regular Inspection Tips
Routine checks catch termite problems early. The sooner you find them, the easier the repair. Make inspections a habit, especially in areas near the ground or wood.
Key spots to inspect:
- Wooden beams, joists, and frames.
- Areas where wood meets soil.
- Dark, damp corners and crawl spaces.
- Near plumbing or leaks.
Use these tips during inspection:
- Look for tiny holes or mud tubes on wood surfaces.
- Tap wood lightly; hollow sounds can mean damage.
- Check for discarded wings or termite droppings.
- Use a flashlight to see cracks or tunnels.
Maintaining Proper Ventilation
Good airflow keeps wood dry and less attractive to termites. Moist wood invites termites and speeds damage. Proper ventilation reduces humidity in crawl spaces and attics.
Steps to improve ventilation:
- Install vents in crawl spaces and attics.
- Use fans or dehumidifiers in damp areas.
- Keep vents clear of debris and blockages.
- Ensure proper spacing under floors and between beams.
Read Also: Splicing a Floor Joist
Conclusion
Repairing a termite damaged beam takes patience and care. Start by removing all damaged wood. Use strong materials to replace or support the beam. Check regularly for new termite signs. Keep your home dry and clean to stop termites. Small problems can grow fast if ignored.
Act early to save time and money. Protect your home’s structure and keep it safe. Simple steps can make a big difference. Stay alert and maintain your home well.