Finding a hole in your block foundation can feel overwhelming. You might worry about water damage, pests, or even the stability of your home.
But don’t panic—repairing that hole is easier than you think. You’ll discover simple, step-by-step methods to fix your block foundation quickly and effectively. By taking action now, you’ll protect your home and save money on costly repairs later. Keep reading to learn exactly what you need to do to restore your foundation’s strength and keep your home safe.
Assessing The Damage
Assessing the damage is the first step in repairing a hole in a block foundation. This stage helps you understand how serious the problem is and what repairs are needed. Careful evaluation prevents further damage and ensures safety. It involves examining the hole size, checking for structural problems, and looking at moisture levels around the foundation. Each part gives key information about the condition of your foundation.
Identifying The Hole Size
Start by measuring the hole in your block foundation. Use a tape measure or ruler to find the width, height, and depth. Knowing the exact size helps decide the repair method and materials needed.
- Small holes: Less than 1 inch wide, usually caused by minor cracks or chips.
- Medium holes: Between 1 inch and 4 inches, may need patching with mortar or concrete.
- Large holes: More than 4 inches, often require more extensive repair, like replacing blocks or professional help.
Mark the hole edges with chalk to see its full size. Check if the hole grows when you tap around it gently. This shows if the damage spreads beyond what you see.
Checking For Structural Issues
Look beyond the hole to find any signs of structural problems. These can make the foundation unsafe and need urgent repair. Start by inspecting cracks, shifting blocks, and wall alignment.
- Cracks: Check if cracks run vertically, horizontally, or diagonally. Diagonal cracks often mean shifting or settling.
- Block movement: Press gently on blocks near the hole. Loose or wobbly blocks mean weakened structure.
- Wall leaning: Use a level or straight edge to see if the wall leans inward or outward.
Recording the problem areas with photos and notes helps track any changes over time. Structural issues often need professional inspection to avoid danger.
Evaluating Moisture Levels
Moisture can cause holes and weaken block foundations. Check the area for dampness, leaks, and water stains. High moisture levels increase the risk of mold and damage.
- Visual signs: Look for water stains, efflorescence (white powder), or mold on the blocks.
- Touch test: Feel the block surface and soil nearby. Wet or damp spots show moisture problems.
- Use a moisture meter: This tool gives a digital reading of water content in the blocks.
Check these common moisture sources:
| Source | Signs | Action |
| Poor drainage | Pooling water near foundation | Improve grading and gutters |
| Plumbing leaks | Wet spots inside basement or crawlspace | Repair pipes and seals |
| Groundwater seepage | Persistent dampness after rain | Install waterproof barriers |
Fix moisture problems before repairing the hole. Dry foundation blocks last longer and repairs hold better.
Gathering Materials
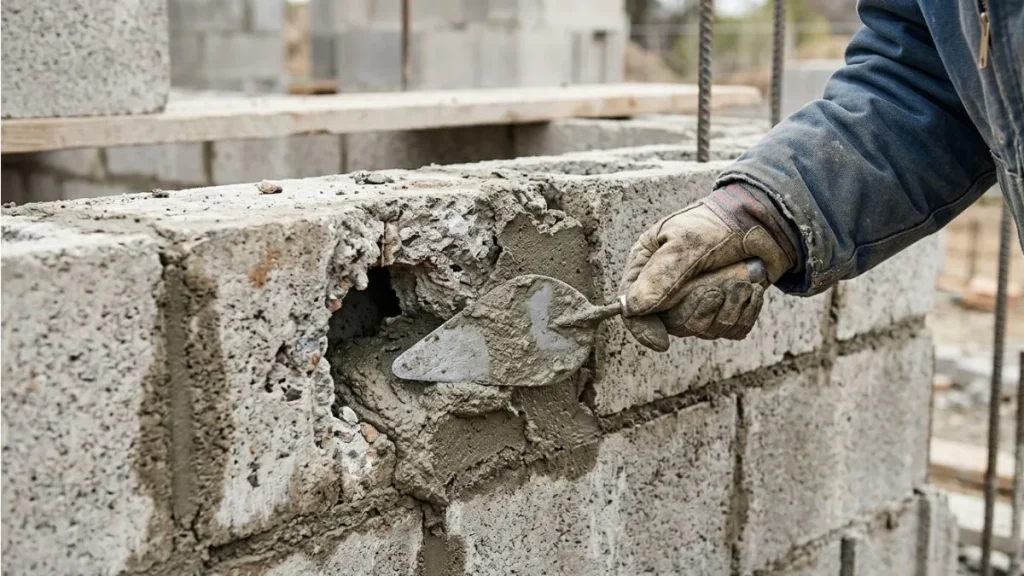
Repairing a hole in a block foundation starts with gathering the right materials. Using proper supplies ensures the repair lasts long and keeps your foundation strong. Prepare everything before starting. This step saves time and prevents mistakes. Choose patch materials and tools carefully for the best results.
Choosing The Right Patch Material
The patch material must bond well with the block foundation. It should resist moisture and temperature changes. Here are common options:
- Hydraulic Cement: Sets quickly and seals leaks effectively.
- Mortar Mix: Matches the original foundation texture.
- Concrete Patch: Durable and ideal for larger holes.
- Epoxy Repair Kits: Strong and waterproof for small cracks.
Hydraulic cement is best for wet areas because it expands as it dries. Mortar mix blends well with block walls but takes longer to cure. Concrete patch suits bigger holes but needs proper mixing. Epoxy kits offer easy application but can be costly.
| Patch Material | Best For | Drying Time | Water Resistance |
| Hydraulic Cement | Leaking holes | 10-20 minutes | High |
| Mortar Mix | Small to medium holes | 24-48 hours | Moderate |
| Concrete Patch | Large holes | 24-72 hours | High |
| Epoxy Repair Kit | Cracks and small holes | 1-2 hours | High |
Pick patch materials based on hole size and moisture level. Always read product labels for instructions.
Essential Tools For Repair
Having the right tools makes patching easier and more effective. Prepare these tools before starting:
- Wire Brush: Cleans loose debris from the hole.
- Chisel and Hammer: Opens and smooths edges around the hole.
- Trowel: Applies and shapes the patch material.
- Bucket: Mixes mortar or cement.
- Putty Knife: For smaller patch jobs and smoothing.
- Gloves and Safety Glasses: Protect hands and eyes.
- Spray Bottle: Keeps the surface damp before patching.
Use a wire brush to remove dust and loose chunks. Chisel the edges for a better bond. Mix patch material in a bucket, following the instructions. Apply with a trowel or putty knife, depending on the hole size.
| Tool | Purpose | Notes |
| Wire Brush | Clean surface | Remove dust and loose particles |
| Chisel and Hammer | Prepare hole edges | Create rough edges for better adhesion |
| Trowel | Apply patch | Shape and smooth the material |
| Bucket | Mix materials | Use clean water and mix thoroughly |
| Putty Knife | Small repairs | For cracks and minor holes |
Keep tools clean during and after use. Proper preparation helps the patch stick and last longer. Safety gear prevents injury during the repair process.
Preparing The Area
Repairing a hole in a block foundation starts with proper preparation of the damaged area. This step ensures the patch will stick well and last long. Taking time to prepare the hole avoids future cracks and water leaks. The surface must be clean, solid, and ready to bond with repair materials. Follow these steps carefully before applying any patching compound.
Cleaning The Hole
Cleaning the hole is the first and most important step. Dirt, dust, and old mortar can stop new materials from sticking properly. Use a stiff brush or wire brush to scrub inside the hole thoroughly. Remove all dirt, algae, and loose surface material.
- Use a garden hose or pressure washer to rinse the hole.
- Let the hole dry for at least 30 minutes before continuing.
- A clean hole provides a strong base for repair compounds.
For stubborn stains or mold, mix a mild detergent with water and scrub again. Rinse well to avoid leaving soap residue, which may weaken the bond. The goal is a clean, rough surface that helps the patch stick well.
Removing Loose Debris
After cleaning, check for any loose debris inside the hole. Small pieces of crumbling concrete or mortar can reduce patch strength. Use a chisel and hammer to chip away weak, loose bits carefully. Do not enlarge the hole unnecessarily, just clear unstable parts.
- Wear safety glasses and gloves for protection.
- Tap gently to avoid damaging solid areas.
- Brush out debris with a stiff brush or use a vacuum to remove dust.
Ensuring no loose debris remains is crucial. Loose material creates weak spots and can cause the patch to fail. A solid, stable hole will support the repair product and keep the foundation strong.
Applying Bonding Agent
Apply a bonding agent to the clean, debris-free surface before patching. Bonding agents improve adhesion between old concrete and new repair material. They act like a glue, making the patch stronger and longer-lasting.
Follow these steps to apply bonding agent:
- Use a brush or roller to coat the entire hole surface.
- Apply evenly to cover all edges and corners.
- Wait for the bonding agent to become tacky, usually 10–15 minutes.
Some bonding agents require mixing with water or primer, so read the product label carefully. Do not let the bonding agent dry completely before applying the patch. Applying patch material too soon or too late can reduce effectiveness.
Proper application of bonding agent ensures the patch sticks firmly. This step prevents cracks and water seepage by creating a tight seal between old and new concrete.
Filling The Hole
Filling the hole in a block foundation is a critical step to restore strength and prevent water damage. This process requires careful preparation and attention to detail. The key is to use the right materials and techniques to ensure a lasting repair. Filling the hole properly seals the gap and supports the structure around it. Follow simple steps for mixing, applying, and smoothing the repair mortar for a solid fix.
Mixing The Repair Mortar
Mixing the repair mortar correctly is essential for a strong foundation patch. Use a high-quality mortar mix designed for concrete or block repairs. Follow the product instructions closely to get the right consistency. The mixture should be thick but workable, not too dry or too runny.
Steps to mix repair mortar:
- Measure water and dry mortar according to package directions.
- Pour water into a clean mixing container first.
- Add the dry mortar gradually while stirring.
- Use a trowel or a mixing paddle on a drill to blend well.
- Mix until the mortar looks like thick peanut butter.
Properly mixed mortar holds better and resists cracking. Avoid mixing too much at once to prevent drying out. Only prepare as much as you can apply within 30 minutes to one hour. Store leftover dry mix in a sealed container for future use.
Applying The Mortar In Layers
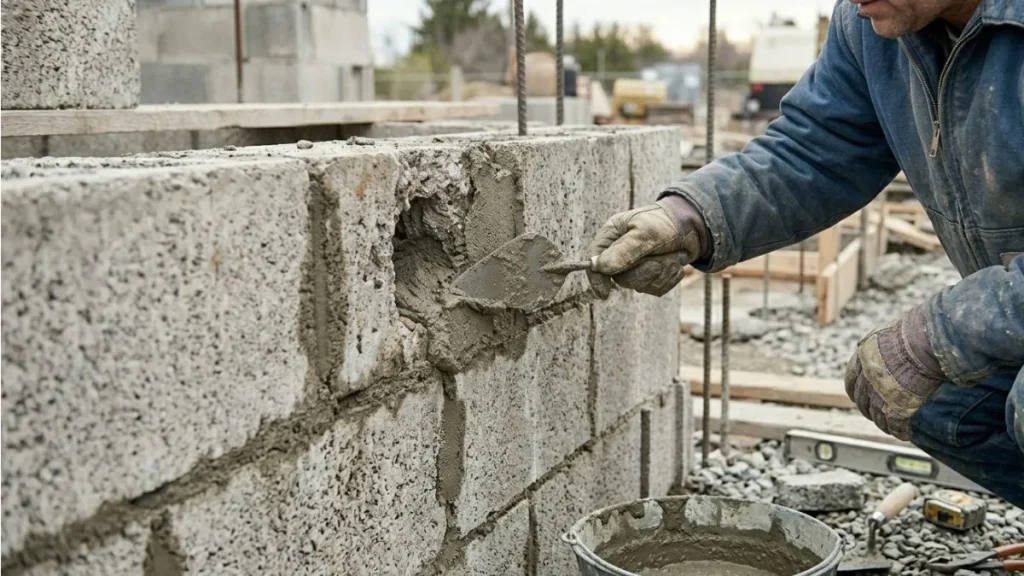
Applying mortar in layers builds strength and prevents shrinking cracks. Large holes should never be filled in one go. Instead, add the mortar in 1 to 2-inch thick layers. Allow each layer to slightly set before adding the next.
Layer application tips:
- Start from the bottom of the hole and press mortar firmly in place.
- Use a trowel to push mortar into all corners and gaps.
- Fill each layer evenly and avoid air pockets.
- Let each layer cure for 20 to 30 minutes until it firms up but is still damp.
- Repeat until the hole is filled.
This method ensures the mortar adheres well to the block surface. It also reduces shrinkage and cracking risks. Patience during layering results in a durable repair that lasts for years.
Smoothing The Surface
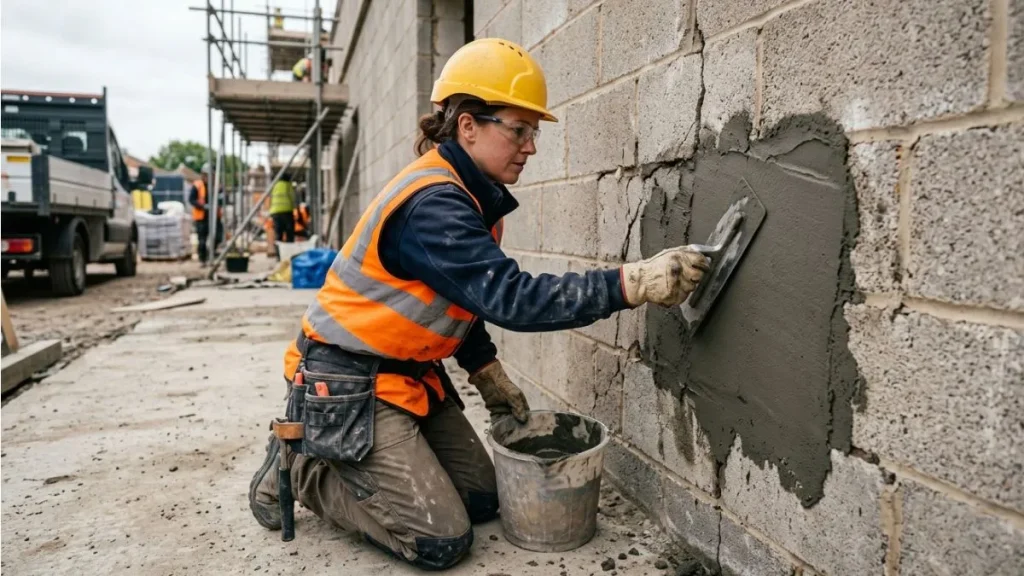
Smoothing the surface of the repair mortar completes the job and improves appearance. A smooth finish helps water run off and prevents dirt buildup. Use a trowel or float to level the surface after the final layer is applied.
Steps for smoothing the surface:
- Wait until the mortar starts to firm but remains workable.
- Lightly moisten the trowel to avoid sticking.
- Use gentle, even strokes to smooth the surface.
- Feather the edges to blend the patch into the surrounding block.
- Remove any excess mortar before it hardens.
For a professional look, finish with a damp sponge to gently smooth the mortar texture. Avoid overworking, which can weaken the surface. Proper smoothing protects the repair and gives a clean, finished look.
Curing And Finishing
Repairing a hole in a block foundation involves several steps, but the curing and finishing stages are crucial for a strong, lasting fix. Proper curing helps the repair material gain strength and resist future damage. Finishing the surface protects the foundation from water, weather, and wear.
Maintaining Moisture For Curing
After applying the patching material, keeping it moist is essential for proper curing. Concrete and mortar need water to harden correctly and reach full strength. Without enough moisture, the repair can crack or weaken.
Follow these tips to maintain moisture during curing:
- Cover the repair with plastic sheeting or wet burlap to trap moisture.
- Spray water lightly on the patch several times a day for at least 3 to 7 days.
- Avoid direct sunlight on the repair to prevent quick drying.
- Keep the temperature between 50°F and 85°F for ideal curing conditions.
Use this simple schedule to water cure your repair:
| Day | Action |
| 1-3 | Spray water every 2-3 hours and cover with plastic |
| 4-7 | Spray water 2-3 times daily, keep cover on |
Do not let the patch dry out too fast. Slow, steady moisture ensures a durable repair.
Sealing The Repair
Sealing the repaired hole protects it from water damage and weather effects. A good sealer stops moisture from entering the foundation and causing cracks or mold. Choose a sealer designed for masonry or concrete surfaces.
Steps to seal the repair:
- Wait until the patch fully cures (usually 7 days).
- Clean the surface to remove dust and debris.
- Apply a masonry sealer with a brush or roller.
- Allow the first coat to dry, then add a second coat.
Painting Or Coating Options
Painting or coating the repaired area adds extra protection and improves appearance. Choose products made for masonry and concrete. They help block moisture and resist peeling or cracking.
Popular painting and coating choices include:
- Masonry paint: Designed for concrete walls, resists mildew and fading.
- Elastomeric coating: Flexible, bridges small cracks, and waterproofs.
- Waterproof sealant paint: Combines paint with waterproofing properties.
Steps to paint or coat the repair:
- Make sure the surface is clean and dry.
- Apply a masonry primer if needed.
- Use a brush or roller to apply paint/coating evenly.
- Apply 2 coats for best coverage and durability.
Check drying times between coats. Avoid painting in very cold or wet weather.
You May Read Also: Drilling Holes in Floor Joists for Electrical Wiring
Conclusion
Fixing a hole in a block foundation protects your home from damage. Use the right tools and materials to get the job done well. Take your time and follow each step carefully. Small holes need quick attention to stop bigger problems.
Keep your foundation strong and safe by checking it often. A good repair adds years to your home’s life. You can handle this repair with patience and care. Stay safe and work slowly for the best results.