

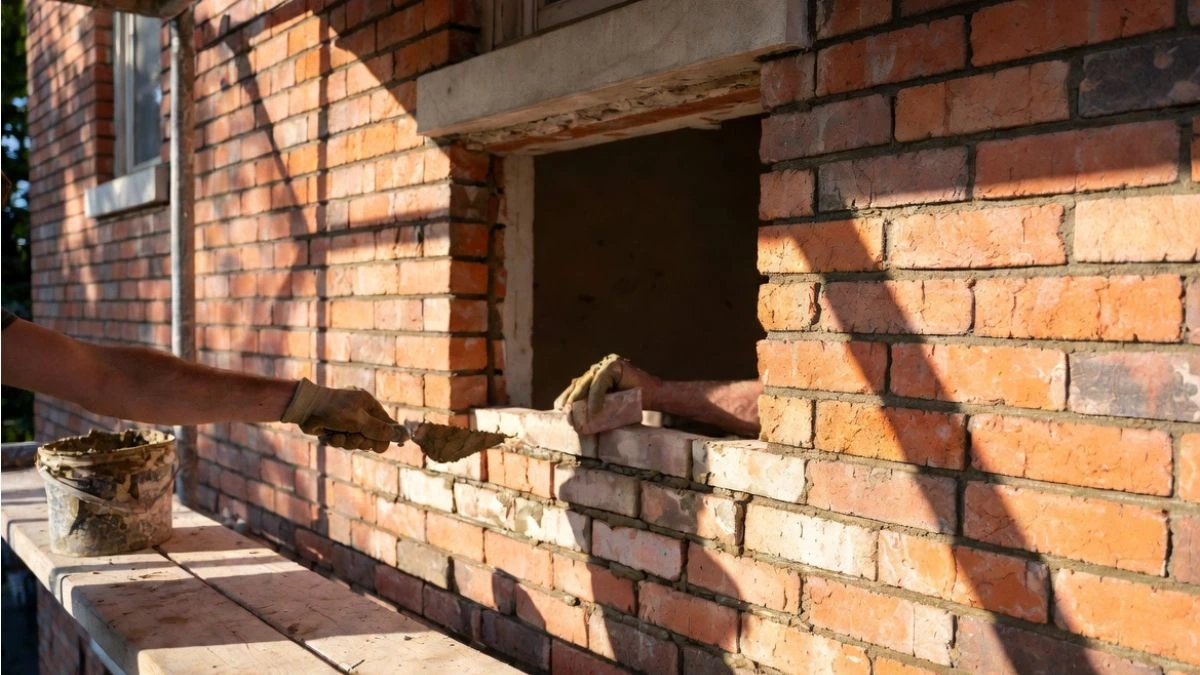
Are you looking to fill in a window on your brick house but don’t know where to start? Closing off a window can boost your home’s energy efficiency, increase privacy, and give your exterior a fresh new look.
But the idea of working with bricks might feel overwhelming if you’ve never done it before. Don’t worry—this guide will walk you through each step in a simple, clear way. By the end, you’ll have the confidence to tackle this project yourself or know exactly what to ask for when hiring help.
Preparing The Window Opening
Filling in a window on a brick house requires careful preparation of the window opening. This step ensures a smooth and durable finish. Proper preparation avoids future issues like cracks or water leaks. The process starts with removing the old window frame, then cleaning the brickwork, and finally inspecting for any damage. Each step plays a crucial role in making the filled area look natural and last long.
Removing The Window Frame
Start by taking out the existing window frame completely. This task needs patience and the right tools. Use a crowbar or a pry bar to gently lift the frame from the brick opening. Avoid damaging the surrounding bricks during removal.
- Remove any screws or nails holding the frame in place.
- Cut through old caulk or sealant with a utility knife.
- Take out the glass panes carefully to prevent breakage.
- Use protective gloves and safety glasses for safety.
After removing the frame, check for leftover debris such as old sealant, nails, or wood pieces. Clean these out thoroughly to create a clear and even surface. A clean opening helps the new filling material adhere better.
Cleaning The Brickwork
Cleaning the brickwork inside the window opening is vital. Dirt, dust, and old mortar can prevent new materials from sticking properly. Use a stiff brush to scrub the brick surfaces. Remove loose mortar and dust thoroughly.
For deeper cleaning, use a mixture of water and mild detergent. Apply it with a sponge or soft brush. Rinse well with clean water and let the bricks dry completely before proceeding.
- Brush away loose mortar and dust.
- Scrub with water and detergent solution.
- Rinse with clean water.
- Allow bricks to dry fully.
Cleaning improves adhesion and ensures the new fill blends seamlessly with the existing brickwork. Avoid using harsh chemicals that may damage the bricks or mortar.
Inspecting For Damage
Before filling the window opening, inspect the brickwork carefully for damage. Look for cracks, loose bricks, or crumbling mortar. These issues can weaken the structure and cause problems later.
If you find damaged bricks, plan to replace them. Loose mortar should be removed and re-pointed. Repairing these problems ensures the filled area stays strong and stable.
- Check for cracked or chipped bricks.
- Test bricks for looseness by tapping gently.
- Look for gaps or missing mortar.
- Note any water stains or mold indicating moisture problems.
Fix any damage before filling the window. Use appropriate mortar mix and brick repair techniques. This step increases the longevity of the filled-in window area.
Choosing Materials For Filling
Filling in a window on a brick house requires careful selection of materials to ensure a seamless and durable result. Choosing the right bricks, mortar, and tools affects the strength and appearance of the filled area. Matching the existing wall’s look and structure helps keep the house’s charm intact.
Selecting Bricks To Match
Choosing bricks that match the original wall is key. The new bricks should blend in well with the old ones in color, size, and texture. This makes the filled window look like part of the original construction.
- Color: Look for bricks close to the color of your house. Brick colors can range from red to brown, tan, or even white.
- Size: Standard bricks have uniform sizes, but older houses may use different sizes. Measure your existing bricks before buying.
- Texture: Some bricks are smooth, while others have rough or patterned surfaces. Match the texture as closely as possible.
Visiting a local brick supplier with a sample brick or a picture helps find the closest match. Sometimes, mixing two similar bricks creates a natural blend. Old bricks from demolition sites can also be reused for a perfect match.
Picking The Right Mortar
Mortar holds bricks together and fills gaps. Choosing the right mortar type and color impacts both strength and appearance. Mortar comes in different mixes, each suited for specific jobs.
Common mortar types include:
- Type N: Medium strength, good for above-ground walls.
- Type S: Stronger, used in load-bearing walls and outdoor projects.
- Type M: Very strong, used in heavy-duty applications like foundations.
For filling a window on a brick house, Type N mortar is usually best. It balances strength and flexibility, matching most brick walls.
Mortar color affects how the filled area blends with the wall. Choose a color close to the old mortar or use mortar color additives to get the right shade.
Gathering Tools And Supplies
Having the right tools and supplies makes the work easier and the result better. Prepare everything before starting the filling job.
Essential tools include:
- Trowel: For spreading mortar evenly between bricks.
- Brick Hammer: For cutting and shaping bricks to fit.
- Chisel: Helps remove old mortar and shape bricks.
- Level: Ensures bricks are laid straight and even.
- Mortar Board: Holds mortar while working.
- Brush: Cleans dust and debris from bricks.
- Gloves and Safety Glasses: Protect hands and eyes during work.
Supplies to gather:
- Matching bricks (measured and selected)
- Mortar mix of chosen type and color
- Water for mixing mortar
- Plastic sheeting or tarp to protect work area
Organize tools and supplies close to the work area. This helps keep the project smooth and efficient. Clean tools after use to keep them in good condition.
Filling The Window Space
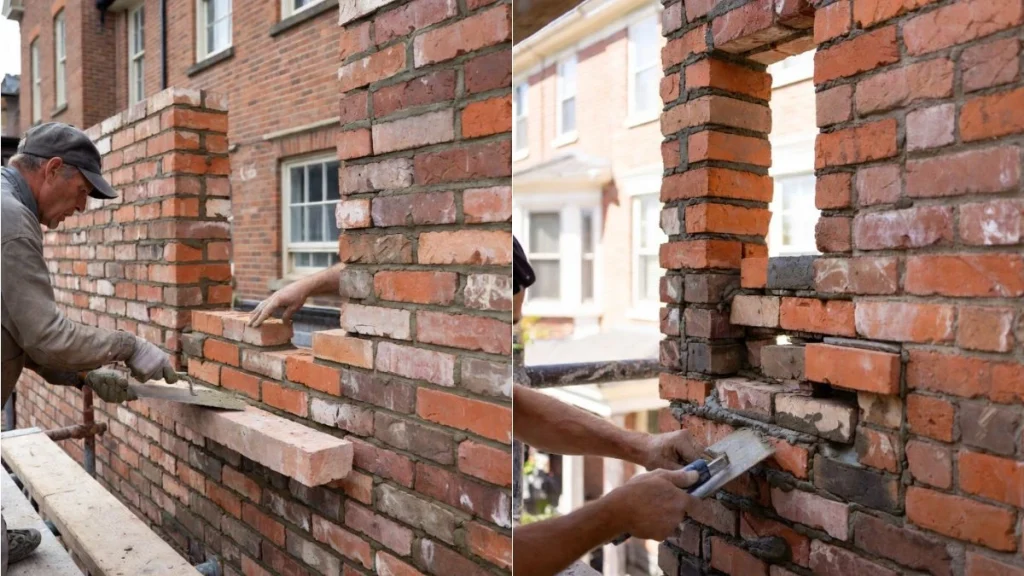
Filling the window space on a brick house requires care and precision. It is not just about placing bricks but making sure they fit well and look natural. This process restores the wall’s strength and appearance. The space left by the window must be fully filled to prevent drafts and moisture.
Laying The First Course Of Bricks
The first course of bricks sets the foundation for the fill. It must be level and stable to support the following rows. Start by cleaning the window opening edges and removing any loose debris. This cleaning helps mortar stick better.
Steps to lay the first course:
- Measure the opening width and height. Cut bricks if needed to fit.
- Mix mortar to a thick, creamy consistency.
- Apply a mortar bed along the bottom of the opening.
- Place the first brick at one corner, pressing it firmly into the mortar.
- Continue laying bricks across the opening, leaving small gaps for mortar joints.
Applying Mortar Correctly
Mortar holds bricks together and seals gaps. Applying it correctly is key to a strong wall. Use a mortar mix of one part cement, two parts sand, and water. Mix until smooth but not runny.
Follow these steps for applying mortar:
- Dampen bricks slightly before laying them. This stops bricks from absorbing water from mortar.
- Use a trowel to spread a layer of mortar on the brick bed and sides.
- Fill joints fully without leaving gaps or air pockets.
- Remove excess mortar to keep joints neat.
- Tool the joints with a jointing tool for smooth finish.
Aligning Bricks With Existing Wall
New bricks must match the existing wall’s pattern and level. This keeps the wall looking natural and solid.
To align bricks correctly:
- Study the existing brick pattern. Note the size, color, and bond style (running bond, stack bond, etc.).
- Use a string line stretched across the wall to keep bricks level.
- Check vertical alignment with a plumb line.
- Cut bricks carefully to fit the pattern and space.
- Match mortar color to blend new joints with old.
Maintaining alignment helps the new fill blend seamlessly. It prevents cracks and weak spots caused by uneven brick placement. Patience and precision are essential for a clean finish that looks like it was always part of the wall.
Recommended: Changing Window Size on a Brick House
Finishing Touches
These final steps ensure the patch blends well and protects your home from the weather. Taking time on these tasks helps the new brickwork look neat and last longer. Focus on the joints, clean up carefully, and seal the area well. These actions complete the project professionally.
Pointing The Joints
Pointing the joints means filling the spaces between bricks with mortar to create a smooth, uniform look. It also strengthens the structure and prevents water from entering. Use a pointing trowel or a jointing tool to press mortar firmly into the gaps. Make sure the mortar matches the color of the existing brickwork for a natural finish.
Steps to point the joints properly:
- Remove loose debris and dust from the joints.
- Mix mortar to a thick, paste-like consistency.
- Press mortar into the joints using a pointing tool.
- Smooth the mortar surface to match the texture of the surrounding bricks.
- Allow mortar to dry slightly before shaping it with a jointing tool.
Use one of these common joint styles for a neat finish:
| Joint Style | Description | Visual Effect |
| Concave | Rounded inward finish using a curved tool. | Classic look, good water runoff. |
| Flush | Mortar level with the brick face. | Smooth, modern appearance. |
| Raked | Mortar pushed back slightly from the brick face. | Creates shadow lines, textured look. |
Pointing takes patience. Work carefully to avoid gaps or uneven spots. Proper pointing improves both look and weather resistance.
Cleaning Excess Mortar
After pointing, cleaning excess mortar is important to keep the brick surface clean and tidy. Mortar stains left on bricks can harden and become difficult to remove later. Clean the area while the mortar is still fresh but firm enough to avoid smearing.
Follow these tips for effective cleaning:
- Use a stiff brush or a mortar rake to remove loose mortar.
- Dampen the bricks gently with water before scrubbing.
- Avoid using harsh chemicals that may damage bricks.
- For stubborn spots, use a mixture of water and mild detergent.
- Rinse thoroughly to remove all residue.
Sealing And Weatherproofing
Sealing and weatherproofing protect the filled window area from moisture and weather damage. Bricks and mortar absorb water, which can cause cracks or mold. Applying a sealant prevents water from penetrating and extends the patch’s life.
How to seal and weatherproof properly:
- Wait for the mortar to cure fully, usually 7 days.
- Choose a breathable masonry sealant suitable for brick.
- Use a brush or sprayer to apply an even coat over the patched area.
- Make sure to cover all joints and edges.
- Allow the sealant to dry completely before exposure to rain.
You May Like Also: Filling Gaps Around Window Frames
Conclusion
Filling a window on a brick house is doable with patience and care. Use the right materials to match your wall’s look. Take your time to measure and cut pieces correctly. Clean the area well before starting to work. Seal gaps to keep out water and air.
Small steps lead to a strong, neat finish. This simple project can improve your home’s appearance and energy use. Try it yourself or ask for help if needed. The result will make your house look complete and sturdy.


