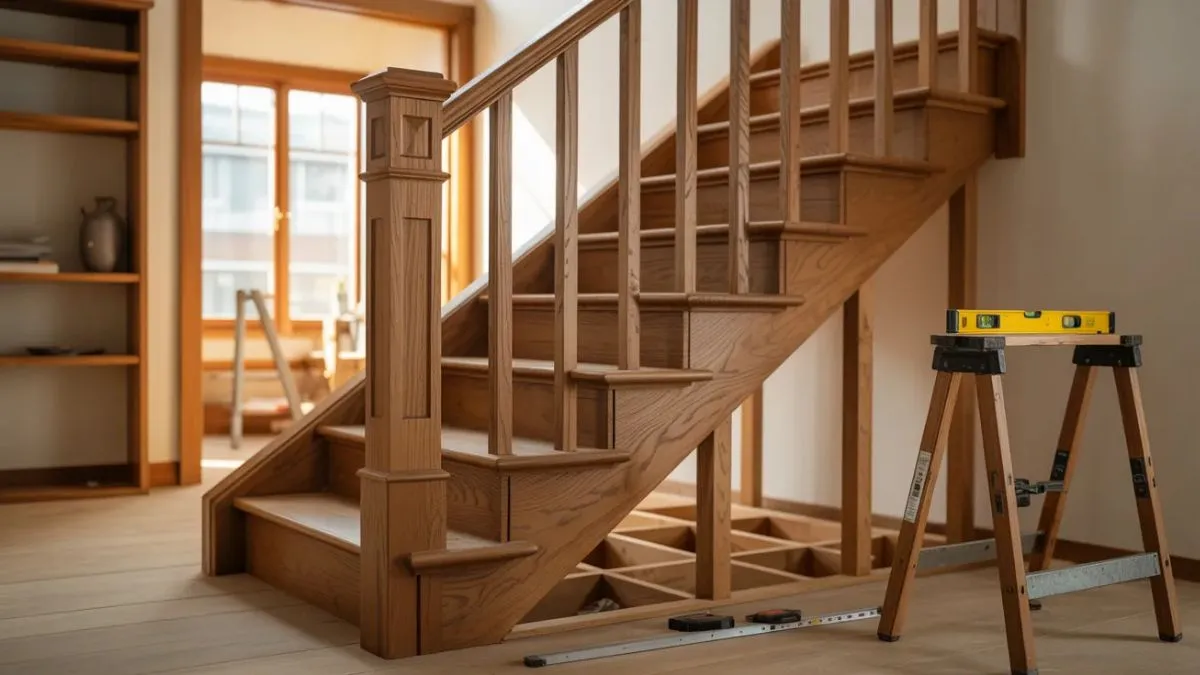
Are you tired of climbing a shaky ladder every time you need to access your attic? Building permanent stairs to your attic can make your life easier, safer, and add value to your home.
Imagine having a solid, reliable staircase that lets you move up and down without worry. In this guide, you’ll learn simple, step-by-step instructions to build your own sturdy attic stairs. Whether you’re a beginner or just looking for tips, this article will help you create a lasting solution you’ll be proud of.
Planning The Staircase
Building permanent stairs to your attic requires careful planning. The staircase must fit well, be safe, and comfortable. Planning the staircase is the first step to ensure success. This step includes measuring the available space, choosing the right type of stairs, and following building codes. Proper planning helps avoid costly mistakes and creates a sturdy, usable staircase.
Measuring The Space
Start by measuring the area where the stairs will go. Accurate measurements help determine the stair size and style. Use a tape measure and note the following:
- Floor-to-floor height: Measure from the finished floor below to the attic floor level.
- Available width: Measure the width of the opening and the space beside it.
- Length for the staircase: Check how much room you have to run the stairs forward or to the side.
- Headroom clearance: Measure the vertical space above the stairs for safe walking.
Check your attic entrance size too. This affects stair placement and design. Small spaces need compact stairs, while larger areas allow for wider stairs.
Choosing The Stair Type
Selecting the right stair type is key. Consider space, comfort, and usage. Here are common stair types for attics:
- Straight stairs: Simple and easy to build. Needs enough length.
- L-shaped stairs: Turns 90 degrees. Good for corner spaces.
- Spiral stairs: Saves space but harder to climb.
- Alternating tread stairs: Steep but compact. Used in tight areas.
Compare stair types based on space, cost, and ease of use. Use the chart below for quick comparison:
| Stair Type | Space Needed | Comfort Level | Ease of Building |
| Straight | High | High | Easy |
| L-shaped | Medium | High | Medium |
| Spiral | Low | Low | Hard |
| Alternating tread | Very low | Low | Hard |
Choose stairs that fit your attic space and needs. Think about who will use the stairs. For example, children or elderly need safer, easier stairs.
Considering Building Codes
Building codes ensure stairs are safe and legal. Follow local rules before construction. Common codes include:
- Minimum width: Usually at least 36 inches (91 cm).
- Maximum riser height: Often 7.75 inches (20 cm) or less.
- Minimum tread depth: Around 10 inches (25 cm) for safe footing.
- Handrail requirements: Height and strength rules.
- Headroom clearance: At least 6 feet 8 inches (203 cm) recommended.
Gathering Materials And Tools
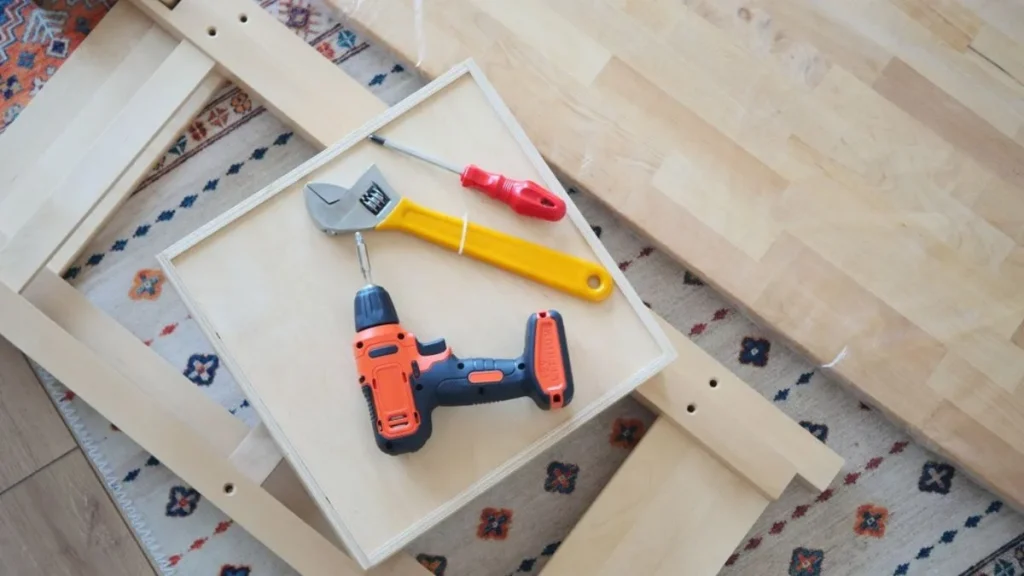
Building permanent stairs to your attic requires careful planning and the right supplies. Gathering materials and tools beforehand saves time and ensures a smooth project. Preparing everything ahead helps avoid interruptions and keeps the work safe and efficient.
Lumber And Hardware
Choosing the right lumber is critical for strong, durable attic stairs. Use quality wood that can handle weight and pressure over time. Common choices include:
- Pine: Affordable and easy to work with.
- Oak: Strong and durable but more expensive.
- Douglas Fir: A good balance of strength and cost.
For the stair stringers (the side supports), use 2×12 lumber to allow enough depth for steps. For treads (the steps themselves), 1-inch thick boards work well. Risers can be made from thinner wood or plywood.
Hardware secures the stairs safely. Key items include:
- Galvanized screws and nails: Prevent rust and hold wood firmly.
- Metal brackets and joist hangers: Add extra support where stairs attach to framing.
- Wood glue: Strengthens joints.
- Safety handrails: Required by many building codes.
| Material | Purpose | Recommended Size |
| 2×12 Lumber | Stringers | 8-10 feet length |
| 1×12 Lumber | Treads | 12 inches wide |
| Galvanized Screws | Fastening wood | 3-inch length |
| Metal Brackets | Support and stability | As needed |
Essential Tools
Having the right tools helps build attic stairs quickly and safely. Start with basic hand tools and power tools for accuracy and ease. Here is a list of essential tools:
- Measuring Tape: Measure wood and space accurately.
- Carpenter’s Square: Ensure straight cuts and right angles.
- Hand Saw or Circular Saw: Cut lumber to size.
- Power Drill: Drill holes and drive screws fast.
- Level: Make sure stairs are even and safe.
- Clamps: Hold wood steady while cutting or fastening.
- Hammer: For nails and minor adjustments.
Safety gear is also important. Use:
- Safety glasses to protect eyes.
- Gloves to avoid splinters.
- Ear protection if using loud power tools.
Building The Stair Stringers
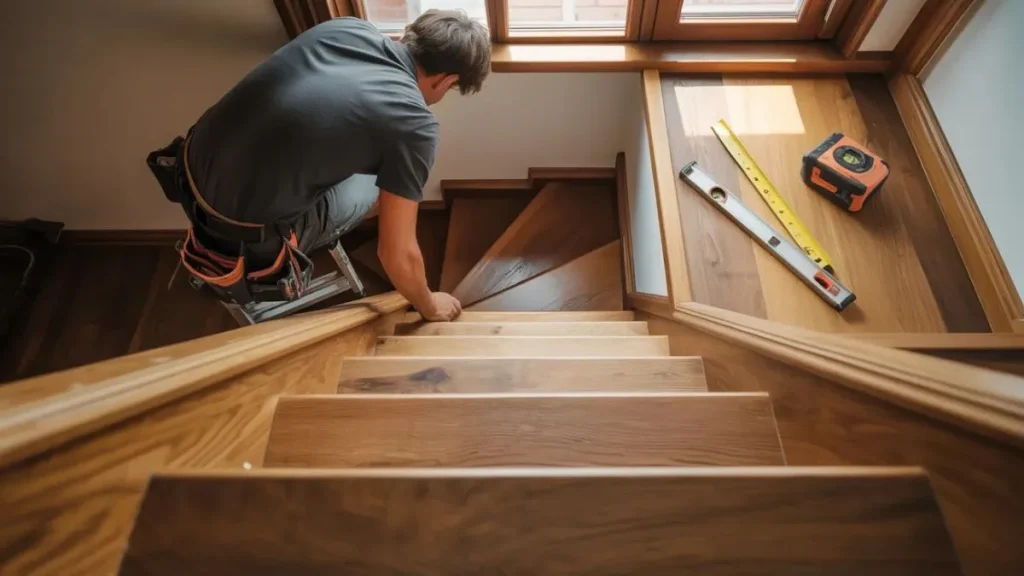
Building the stair stringers is a key step in creating permanent stairs to your attic. These stringers act as the backbone of your staircase, supporting each step securely. You need to measure and cut the stringers carefully to ensure the stairs are safe and comfortable to use. This process starts with marking the rise and run, followed by cutting the stringers to match those marks. Taking your time here will make the rest of the stair-building process much easier and successful.
Marking The Rise And Run
The first task in building stair stringers is to mark the rise and run accurately. The rise is the height of each step, while the run is the depth or length of each step. These measurements help define how steep and comfortable the stairs will be.
Use a framing square to mark the rise and run on a 2×12 piece of lumber, which is the typical stringer material. Follow these steps:
- Measure total height: Measure the vertical distance from the attic floor to the base floor.
- Decide stair rise: Divide total height by the number of steps you want. The usual rise is 7 to 8 inches.
- Set stair run: The run is usually 10 to 11 inches for each step.
- Mark with framing square: Place the framing square on the lumber. Align the rise measurement on the vertical arm and the run on the horizontal arm.
- Trace step outline: Draw the outline of each step on the stringer board.
Cutting The Stringers
Cutting the stair stringers requires precision and care. Follow the marks you made in the previous step exactly. Use a circular saw for most cuts, but finish corners with a handsaw to avoid overcutting.
Steps to cut the stringers:
- Clamp the stringer: Secure the board on a stable surface before cutting.
- Cut along the lines: Start cutting the rise and run notches carefully with the circular saw.
- Finish with a handsaw: Use a handsaw to clean up corners and avoid damage to the board.
- Check the fit: Place the cut stringer on the stair location to check the fit and angle.
- Repeat for other stringers: Use the first stringer as a template to mark and cut the others.
Assembling The Steps
Building permanent stairs to your attic requires careful assembly of the steps. This part is crucial for safety and durability. Assembling the steps means putting together the treads, risers, and stringers. Each piece must fit well and be securely fastened.
Attaching Treads And Risers
The treads are the horizontal parts you step on. The risers are the vertical boards between each tread. Attaching them correctly ensures comfortable and safe stairs.
Start by cutting the treads and risers to fit the width of the stairs. Use sturdy wood like pine or oak for durability. Sand the edges to avoid splinters.
- Attach the risers first: Place each riser vertically between the stringers. Use wood glue and nails or screws to fix it in place.
- Install the treads: Lay each tread horizontally on the stringers, resting on the top edge of the riser. Secure it with screws or nails.
- Check alignment: Make sure the treads are level and the risers are flush with the stringers.
Securing The Stringers
Stringers are the side supports that hold the treads and risers. They carry the stair’s weight. Securing them firmly is essential for strong stairs.
First, cut the stringers to the correct length and shape. Use a framing square to mark the cuts for the treads and risers. Cut carefully with a saw.
Follow these steps to secure the stringers:
- Attach to the floor or bottom support: Use heavy-duty screws or lag bolts. Drill pilot holes to avoid wood splitting.
- Fix the top of the stringers: Secure the stringers to the attic floor or header beam. Use metal brackets or strong joist hangers.
- Add cross braces: Install braces between stringers for extra strength if stairs are wide.
Installing The Stairs
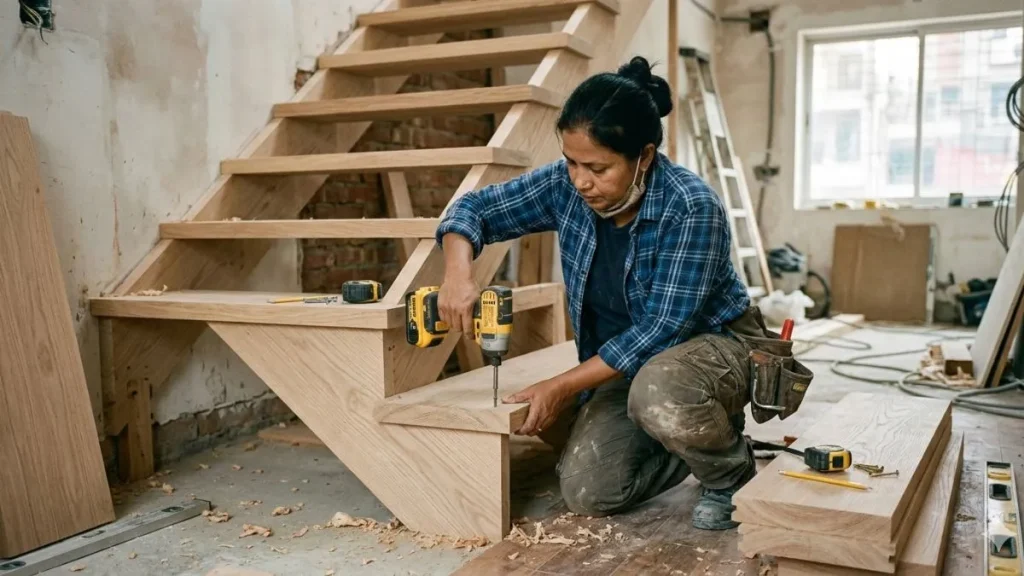
Installing the stairs to your attic is a critical step in making the space safe and easy to use. Proper installation ensures stability and long-lasting performance. This part covers how to position the staircase correctly and secure it firmly to both the floor below and the attic above. Taking your time during installation prevents future issues like wobbling or uneven steps.
Positioning The Staircase
Choosing the right spot for your attic stairs affects comfort and safety. The stairs need enough space at the bottom and top to open fully without obstruction.
- Measure the height from the floor to the attic opening carefully.
- Allow clearance around the staircase for easy movement.
- Check for obstacles like doors, furniture, or low ceilings near the stair area.
Use this table to help determine the ideal location based on your attic opening size and room layout:
| Factor | Recommendation |
| Ceiling height | Minimum 7 feet clearance at the top landing |
| Floor space | Allow 3 feet by 8 feet area for stair footprint |
| Obstacles | Clear all doors and furniture within 3 feet radius |
Mark the stair location with a pencil or tape before cutting or assembling. Check that the stairs will not block any essential pathways or utilities.
Anchoring To The Floor And Attic
Securing the stairs firmly prevents movement and ensures safety. Both the base on the floor and the top frame in the attic need strong anchors.
- Prepare the floor: Make sure the floor surface is level and clean.
- Attach the bottom stringers: Use heavy-duty screws or bolts to fix the stringers to the floor joists or a solid frame.
- Secure the top frame: Fasten the stair frame to attic joists with lag screws or metal brackets.
Use hardware designed for structural strength:
- Galvanized lag screws
- Steel angle brackets
- Heavy-duty wood screws
Adding Safety Features
Building permanent stairs to your attic is not just about creating a path; it is about ensuring safety every step of the way. Adding safety features makes the stairs secure and easy to use. These features reduce the risk of falls and injuries. Safety should be a top priority when designing and constructing attic stairs. Simple additions can protect everyone who uses the stairs, including children and older adults. Let’s explore key safety features that make attic stairs safer and more comfortable.
Installing Handrails
Handrails provide essential support and balance while climbing or descending attic stairs. They help users steady themselves and prevent falls. When installing handrails, follow these important points:
- Height: Position handrails 34 to 38 inches above the stair tread for easy reach.
- Material: Use smooth, sturdy materials like wood or metal for durability and comfort.
- Length: Handrails should run the full length of the staircase for continuous support.
- Grip: Choose a round or oval shape for a firm, comfortable grip.
Adding Non-slip Surfaces
Non-slip surfaces prevent slips and falls, especially in areas prone to moisture or dust. Attic stairs often have steep or narrow treads. Adding grip makes them safer to use. Here are effective ways to add non-slip surfaces:
- Non-slip tape: Apply strips of non-slip tape on each stair tread. It is easy to install and affordable.
- Rubber treads: Attach rubber or vinyl stair treads for long-lasting grip and comfort.
- Textured paint: Use special anti-slip paint that adds texture without changing the stair look.
You May Also Like: How to Attach Stair Stringers to Joist
Finishing Touches
Finishing touches make your permanent attic stairs both safe and attractive. After installing the main structure, these final steps improve the stairs’ look and feel. Proper sanding and painting protect the wood from damage and give a clean, polished appearance. Checking stability ensures your stairs hold up well for years of use. Focus on these details to complete your project successfully.
Sanding And Painting
Sanding smooths the wood surface and removes rough spots or splinters. Use medium-grit sandpaper first, then fine-grit for a soft finish. Sand all parts: treads, risers, handrails, and stringers. Sanding helps paint or stain stick better, making the stairs last longer.
- Start by wiping dust off after sanding.
- Apply a primer coat to protect wood from moisture.
- Choose paint or stain that suits your attic style.
- Use a brush or roller for even coverage.
- Apply at least two coats for durability.
Here is a simple table to guide your sanding and painting process:
| Step | Material Needed | Purpose |
| Sanding | Medium and fine-grit sandpaper | Smooth surface and remove splinters |
| Cleaning | Cloth or vacuum | Remove dust for better paint adhesion |
| Priming | Wood primer | Protect wood and improve paint hold |
| Painting | Paint or stain, brushes/rollers | Enhance appearance and protect wood |
Let each paint layer dry fully before applying the next. This prevents peeling and uneven color. Well-painted stairs look neat and resist wear over time.
Inspecting For Stability
Check every part of the stairs to confirm they are strong and safe. Stability depends on solid connections, proper fasteners, and no loose pieces. Walk up and down carefully and listen for creaks or movement.
- Check all screws and nails for tightness.
- Look for cracks in wood or joints.
- Ensure handrails are secure and do not wobble.
- Confirm treads are firmly attached and level.
- Test stringers for any signs of bending or damage.
Use this checklist to inspect your attic stairs:
| Inspection Point | What to Look For | Action If Problem Found |
| Screws and Nails | Loose or missing fasteners | Tighten or replace immediately |
| Wood Condition | Cracks, splits, or rot | Repair or replace damaged parts |
| Handrails | Movement or looseness | Secure with extra brackets or screws |
| Treads | Loose, uneven, or damaged steps | Refasten or replace as needed |
| Stringers | Bending or cracks | Reinforce or rebuild if necessary |
Perform inspections regularly. Safe stairs prevent accidents and provide peace of mind. Fix small issues quickly to avoid bigger problems later.