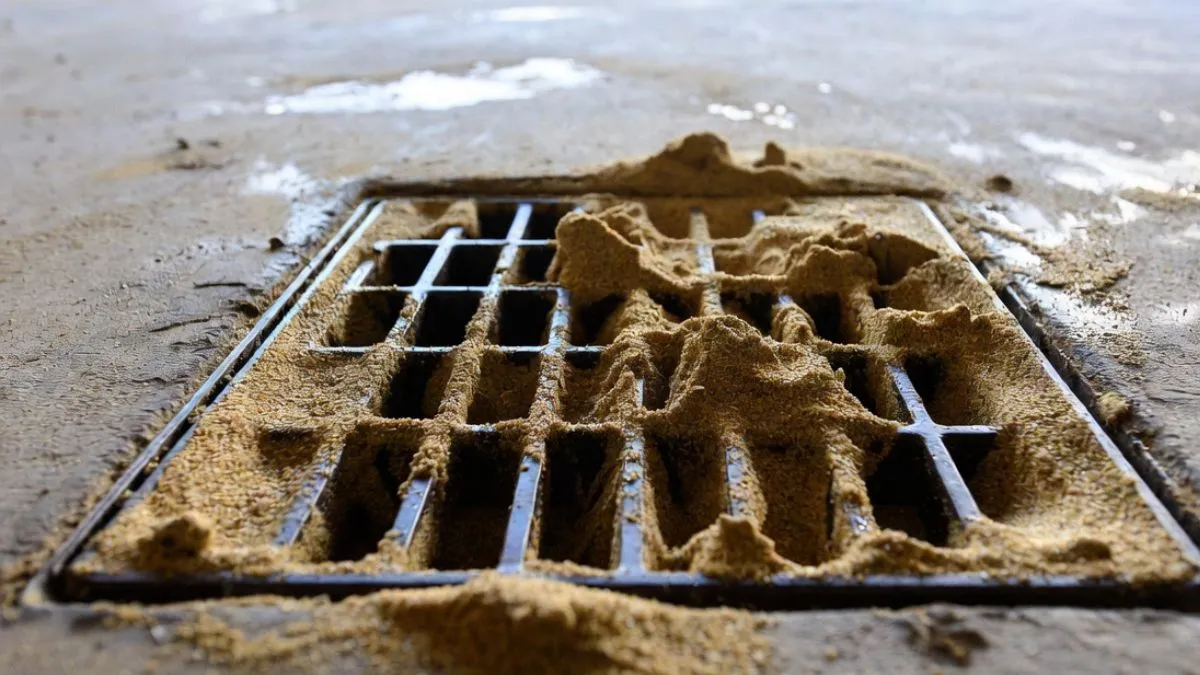
Is your garage drain clogged with sand? It can be frustrating to see water backing up or draining slowly every time it rains.
Sand buildup might seem harmless, but it can cause serious blockages that damage your garage floor and create unwanted messes. If you want to protect your space and avoid costly repairs, understanding why this happens and how to fix it is key.
Causes Of Sand Buildup
Sand buildup in garage drains often causes slow drainage and blockages. Understanding the causes of sand accumulation helps to prevent clogs. Sand can enter drains through various sources and settle inside pipes. Over time, this buildup restricts water flow and may lead to costly repairs. Identifying these causes is key to maintaining a clear drainage system.
Sources Of Sand In Garage Drains
Sand finds its way into garage drains from many common sources. These particles are usually small but can quickly accumulate and cause blockages. Here are the main ways sand enters the drainage system:
- Outdoor runoff: Rainwater can carry sand from driveways, yards, and nearby streets into the garage drain.
- Construction activities: Nearby construction sites often produce sand and dirt that wash into drains.
- Vehicle tires: Sand stuck in tire treads can drop off inside the garage and get washed into drains.
- Wind and dust: Sand and dust blown by the wind can settle near drain openings and enter the pipes.
- Landscaping materials: Mulch, soil, and sand used in garden beds may be carried into the garage drain.
Impact Of Sand On Drainage
Sand buildup in garage drains causes several problems that affect drainage performance. The particles do not dissolve or wash away easily. Instead, they settle and form layers inside the pipes. This buildup narrows the drain passage and slows water flow.
Common effects include:
- Slow drainage: Water pools in the garage and drains slowly.
- Partial blockages: Sand clogs can reduce pipe diameter, causing backups.
- Complete clogs: Heavy buildup stops water flow entirely, leading to flooding.
- Pipe damage: Sand abrasion can wear down pipe walls over time.
- Unpleasant odors: Standing water trapped by sand promotes bacterial growth and bad smells.
Signs Of A Clogged Drain
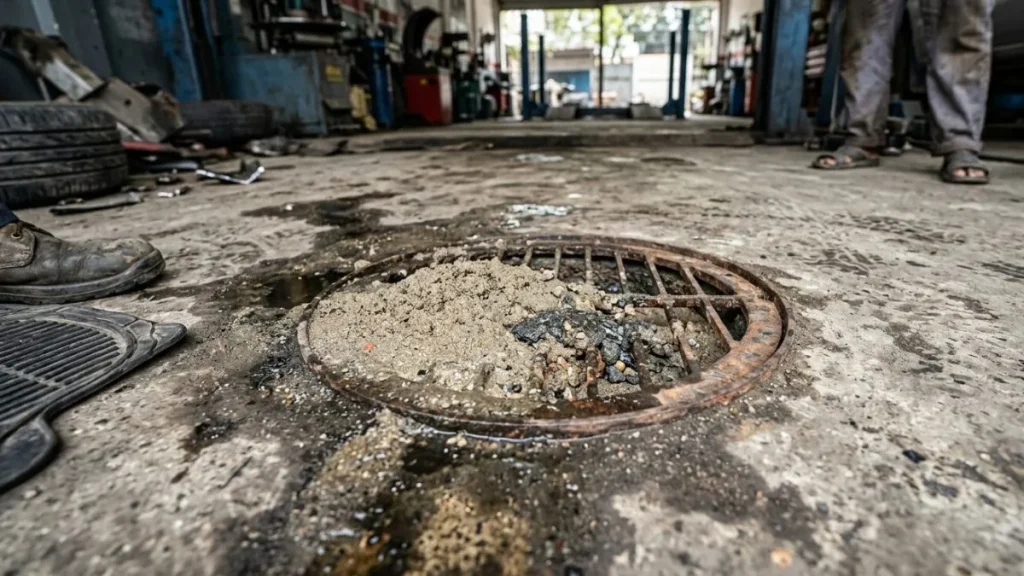
Garage drains clogged with sand often cause hidden problems. Sand builds up over time, blocking water flow. Recognizing signs of a clogged drain helps prevent damage and costly repairs. Watch for early symptoms to act quickly. These signs show your drain needs cleaning or fixing before issues worsen.
Slow Water Drainage
One clear sign of a clogged garage drain is slow water drainage. Water takes longer to disappear after washing your car or during rain. This happens because sand and debris reduce the pipe’s space. The drain struggles to carry water away.
Notice these points about slow drainage:
- Water pools near the drain or garage floor.
- Draining feels sluggish or stops completely.
- Small amounts of water remain after heavy rain.
Unpleasant Odors
Sand clogging your garage drain can cause unpleasant odors. When water cannot flow freely, it stays trapped. This wet environment encourages bacteria and mold growth. These microbes create bad smells that enter your garage.
Smell signs to watch for:
- A musty or damp odor near the drain.
- Foul smells that get stronger over time.
- Bad odor after rain or washing your car.
These odors affect air quality and comfort in your garage. They can also signal health risks. Bacteria and mold spores may trigger allergies or breathing problems. Proper drain cleaning removes the cause and freshens your space quickly.
Water Backup And Flooding
Water backup and flooding are serious signs of a clogged garage drain. Sand buildup blocks water flow completely. Water then returns or spills onto the garage floor. This can damage your belongings and floor surface.
Watch for these flooding symptoms:
- Standing water around the drain or garage entrance.
- Water rising higher than usual during rain.
- Wet spots that stay for days after rainfall.
Flooding can cause cracks, stains, and mold on your garage floor. It also creates slipping hazards. Acting fast prevents water damage and costly repairs. Regular drain checks avoid sudden floods caused by sand clogs.
Step-by-step Cleaning Process
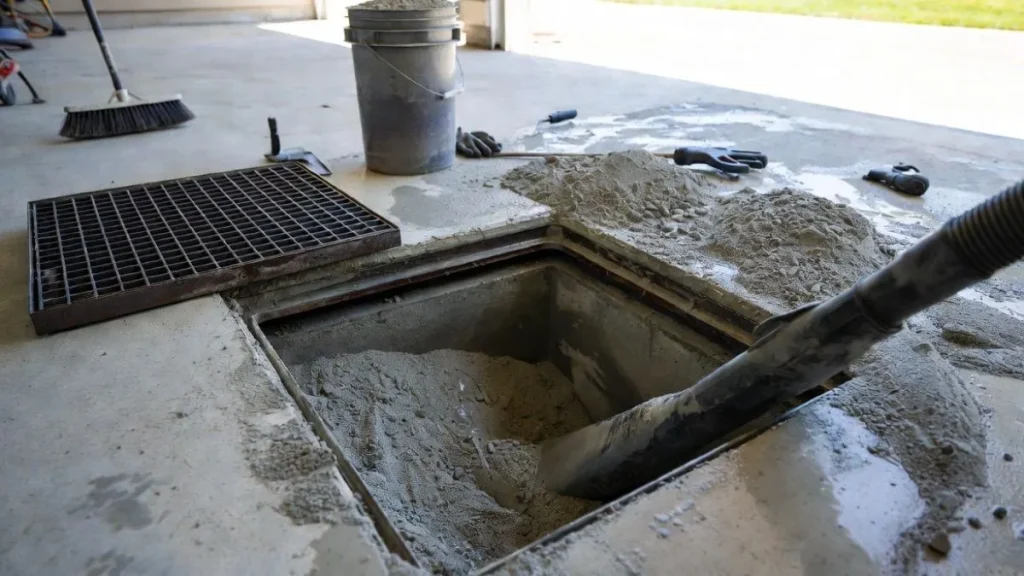
Cleaning a garage drain clogged with sand requires a clear and careful approach. The step-by-step cleaning process helps restore proper drainage and prevents water buildup. Following these steps ensures the drain works smoothly again. The process includes inspection, sand removal, flushing, and safe use of cleaners. Each step targets the clog to avoid damage and maintain the drain’s function.
Initial Inspection
Start with a thorough inspection of the garage drain. This step identifies the clog’s location and severity.
- Check the drain cover: Remove any visible debris or dirt on top.
- Look inside the drain: Use a flashlight to see how much sand has settled.
- Test water flow: Pour water slowly and watch if it drains or pools.
Inspecting helps decide the right tools and methods for cleaning. Note any cracks or damage in the drain structure. These might need repair before cleaning.
| Inspection Step | Purpose | Tools Needed |
| Remove debris from cover | Clear surface blockage | Gloves, brush |
| Visual check inside drain | Locate sand buildup | Flashlight, mirror |
| Test water flow | Check drain function | Bucket or hose |
Perform this inspection slowly to avoid pushing sand deeper into the drain. Document what you find for the next cleaning steps.
Manual Removal Of Sand
After inspection, the next step is to remove the sand manually. This step reduces the blockage and helps water flow freely.
Use tools like a small hand shovel, scoop, or wet/dry vacuum. Follow these tips:
- Wear gloves to protect your hands from sharp objects.
- Remove the drain cover carefully.
- Scoop out the sand in small amounts to avoid pushing it further down.
- Use the vacuum to collect loose sand and fine particles.
Manual removal requires patience. Rushing can spread the sand and worsen the clog.
Flushing The Drain
Flushing clears out leftover sand and small particles after manual removal. Use water to push debris out of the drain system.
Follow these steps for effective flushing:
- Use a garden hose with a strong nozzle.
- Insert the hose into the drain opening without forcing it.
- Turn on water slowly to avoid disturbing the drain structure.
- Let water run for several minutes to wash away loose sand.
- Check water flow at the exit point to confirm clearance.
Flushing helps prevent future clogs by removing fine sand grains. Avoid using high-pressure water as it can damage pipes or wash sand deeper.
Using Drain Cleaners Safely
Drain cleaners can help clear remaining debris but require careful use. Many cleaners contain strong chemicals that can harm pipes and skin.
Follow these safety tips:
- Read instructions: Use only as directed by the manufacturer.
- Wear protective gear: Gloves and eye protection are essential.
- Choose the right cleaner: Use non-corrosive, biodegradable types if possible.
- Avoid mixing chemicals: Mixing can cause dangerous reactions.
- Ventilate area: Keep the garage open for fresh air.
Apply the cleaner after flushing the drain. Let it sit the recommended time, then flush again with water.
Proper use of drain cleaners helps keep your garage drain clear without damage. Always store chemicals safely away from children and pets.
Read Also: Basement Stair Drain Clogged
Conclusion
A garage drain clogged with sand can cause water to back up quickly. Cleaning the drain regularly helps keep it clear and working well. Use simple tools like a hose or a drain snake to remove sand. Avoid letting sand build up near the drain to prevent blockages.
Taking small steps now saves big problems later. Keep your garage dry and safe by maintaining the drain. Clear drains help protect your garage floor and walls. A little care goes a long way in preventing clogs.