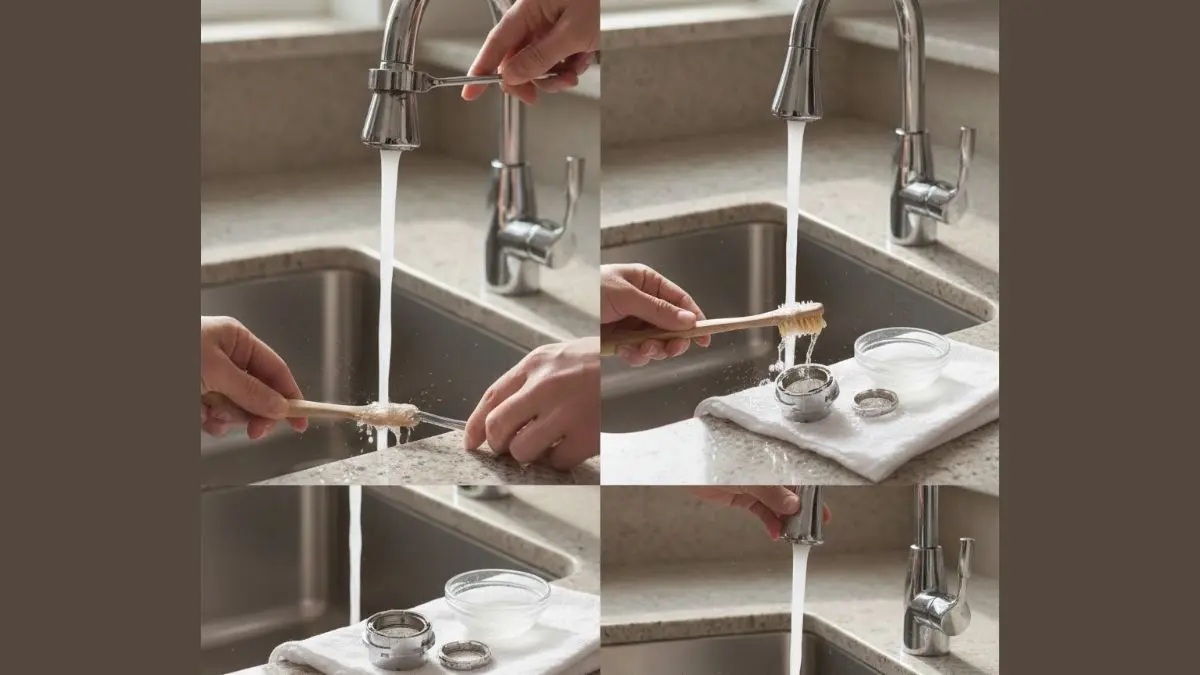
Is your Moen kitchen faucet not working like it used to? You might be dealing with a clogged aerator.
Cleaning the aerator can bring your faucet back to full strength, improving water flow and saving you from frustration. In this guide, you’ll learn simple, step-by-step tips to clean your Moen kitchen faucet aerator quickly and easily. Keep reading to discover how a small fix can make a big difference in your daily kitchen routine.
Tools Needed
Cleaning the aerator on your Moen kitchen faucet helps keep water flow steady and clean. To do this task safely and easily, gather the right tools first. Having the correct tools makes the job faster and prevents damage to your faucet. Below are the tools you will need for this simple maintenance task.
Basic Tools
- Adjustable wrench – to loosen and tighten the aerator.
- Pliers – useful if the aerator is stuck or hard to remove.
- Soft cloth or rag – protects the faucet finish when using tools.
Cleaning Supplies
- White vinegar – dissolves mineral buildup inside the aerator.
- Old toothbrush – for scrubbing away dirt and debris.
- Small bowl – to soak the aerator parts in vinegar.
Optional Tools
- Needle or toothpick – to clear tiny holes in the aerator screen.
- Teflon tape – seals threads if needed after reassembly.
Locate The Aerator
Cleaning the aerator on a Moen kitchen faucet starts with locating the aerator. The aerator is a small part at the tip of the faucet where water comes out. It mixes air with water to control flow and save water. Finding this part is important before cleaning or removing it.
What Is An Aerator?
The aerator is a small screen or mesh inside a metal or plastic piece at the faucet’s end. It helps prevent splashing and adds air to the water flow. Over time, dirt and mineral buildup can clog it, reducing water pressure.
Where To Find The Aerator On A Moen Kitchen Faucet
On most Moen kitchen faucets, the aerator is located right at the tip of the spout. It looks like a small round cap or ring that screws onto the faucet’s end. Sometimes it has a small notch or grooves for easy removal.
Tools To Help Locate And Remove The Aerator
- Flashlight: Helps see the aerator clearly under the faucet.
- Cloth or Tape: Protects the aerator surface if you use tools to unscrew it.
- Adjustable Wrench or Pliers: Useful if the aerator is tight or stuck.
Signs You Need To Clean The Aerator
| Problem | What to Check |
| Low Water Pressure | Check if the aerator is clogged with dirt or minerals. |
| Water Sprays Unevenly | Look at the aerator screen for blockage or damage. |
| Water Drips or Leaks | Inspect the aerator for cracks or loose fitting. |
Tips For Easy Aerator Location
- Turn off the faucet and dry the spout tip.
- Look closely at the faucet’s end under bright light.
- Feel for the round piece that can be unscrewed.
- Use gentle force to check if it twists off by hand.
Remove The Aerator
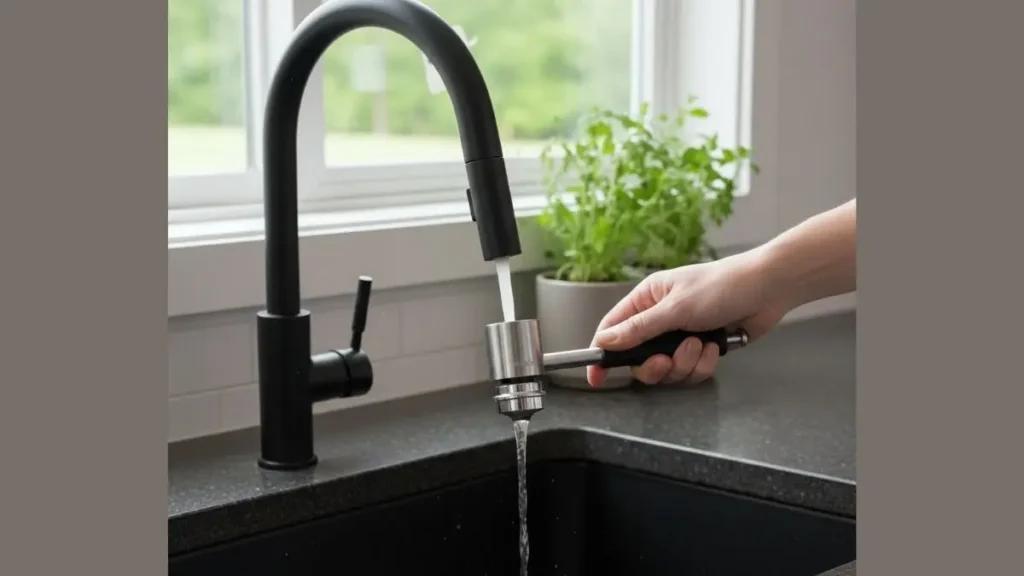
There are two main ways to remove the aerator: using your hands or using pliers. Choose the method that suits your faucet’s condition and your comfort level. Follow simple steps to avoid damage and prepare the aerator for cleaning.
Use Your Hands
Start by trying to unscrew the aerator with your hands. This method is gentle and reduces the risk of scratching or damaging the faucet. Most Moen kitchen faucets have aerators that twist off easily without tools.
- Turn off the water supply to avoid water spraying out.
- Dry the aerator area with a towel for a better grip.
- Grip the aerator firmly between your thumb and fingers.
- Turn the aerator counterclockwise to loosen it.
- Apply steady pressure but do not force it.
Use Pliers Safely
Use pliers only if the aerator is stuck and cannot be removed by hand. Pliers provide more grip and force but can damage the aerator or faucet if used carelessly. Follow these steps to protect your faucet while using pliers.
- Wrap the aerator with tape (masking or painter’s tape) to prevent scratches.
- Choose slip-joint or adjustable pliers for a better fit.
- Adjust the pliers to grip the aerator firmly but not too tight.
- Turn the aerator counterclockwise slowly and steadily.
- Stop if you feel resistance to avoid breaking the parts.
- Try loosening it back and forth gently instead of forcing it.
Clean The Aerator Components
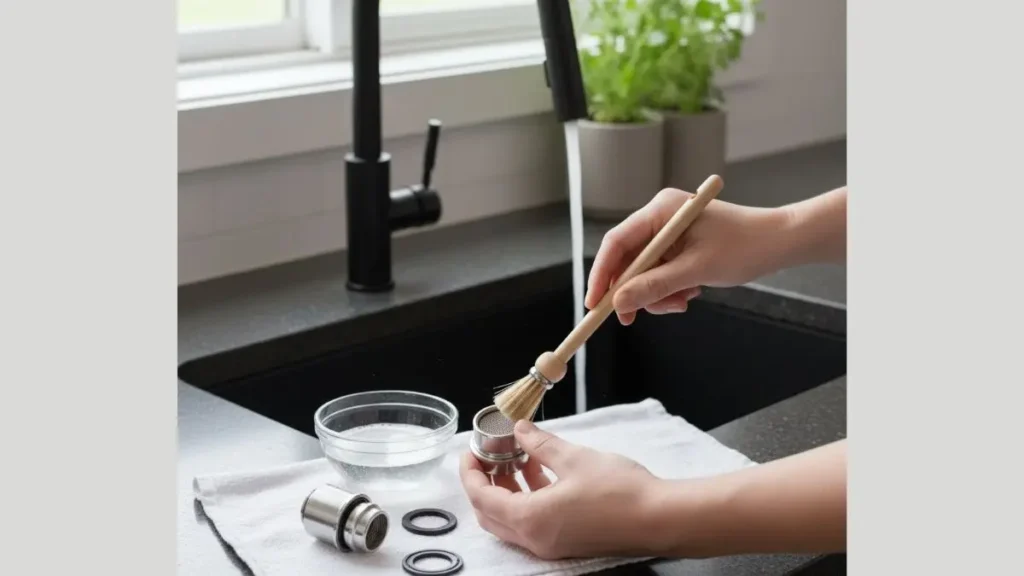
Cleaning the aerator components of your Moen kitchen faucet helps maintain steady water flow and prevents buildup. The aerator mixes air with water, so debris and minerals can clog it over time. Regular cleaning keeps water pressure strong and stops splashing.
Disassemble The Aerator
Start by removing the aerator from the faucet’s spout. Use your hands or a wrench wrapped in a soft cloth to avoid scratches. Turn counterclockwise to loosen it. If stuck, apply gentle pressure or use pliers carefully.
Once removed, disassemble the aerator into its parts:
- Outer casing (the metal or plastic housing)
- Screen or mesh filter
- Flow restrictor or plastic washer
- Rubber gasket or O-ring
Place each piece on a clean towel to avoid losing small parts. Note their order for easy reassembly. Inspect for visible damage or heavy buildup. This step ensures each part can be cleaned properly.
| Component | Function | Cleaning Tip |
| Outer Casing | Protects inner parts | Soak and scrub gently |
| Screen Filter | Traps debris | Remove buildup carefully |
| Flow Restrictor | Controls water flow | Check for cracks and clean |
| Rubber Gasket | Prevents leaks | Inspect for wear |
Soak In Vinegar
Soaking the aerator parts in vinegar helps dissolve mineral deposits and grime. Use white distilled vinegar for best results. Fill a small bowl with enough vinegar to cover all components.
Place the disassembled parts into the vinegar. Let them soak for 30 minutes to 1 hour. For heavy buildup, soak longer but not more than 2 hours to avoid damage.
Benefits of vinegar soaking:
- Breaks down calcium and lime deposits
- Removes rust stains
- Disinfects parts
After soaking, rinse the parts under warm water. Check if the deposits softened or dissolved. Repeat soaking if necessary. Avoid harsh chemicals that could harm the faucet components.
Scrub With A Brush
After soaking, scrubbing removes loosened debris and dirt. Use a soft toothbrush or small nylon brush. Avoid metal brushes that can scratch parts.
Follow these steps for effective scrubbing:
- Gently scrub each component, focusing on the screen and flow restrictor.
- Work on stubborn spots with circular motions.
- Use toothpicks or cotton swabs for hard-to-reach areas.
- Rinse parts under warm water to wash away loosened debris.
Inspect each piece after scrubbing to ensure cleanliness. Replace worn or damaged parts before reassembling. Proper scrubbing restores water flow and prevents clogging.
Rinse And Reassemble
Cleaning the aerator on your Moen kitchen faucet helps keep water flowing smoothly. After soaking and scrubbing, the next step is to rinse and reassemble the parts carefully. This process removes any leftover debris and ensures the aerator works well. Taking time to rinse and put everything back correctly saves you future problems.
Rinse Each Component Thoroughly
Use clean, warm water to rinse all aerator parts. This removes loosened dirt and mineral deposits. Rinse the screen, housing, and washer separately to clear every piece.
- Hold each part under running water for 20 to 30 seconds.
- Use a soft brush or cloth to wipe away stubborn spots.
- Check that no grit or particles remain stuck.
Dry The Parts Carefully
Dry each piece with a clean towel. Avoid leaving moisture inside the parts. Moisture can cause future buildup or rust on metal parts.
- Pat dry gently with a soft cloth or paper towel.
- Let the parts air dry for a few minutes if needed.
- Make sure no water stays trapped inside the aerator.
Reassemble The Aerator Correctly
Put the parts back in the right order to avoid leaks or poor water flow. The typical order is:
| Part | Position |
| Rubber Washer | First, inside the housing |
| Screen | Next, on top of the washer |
| Aerator Housing | Last, screw back onto faucet |
Turn the housing clockwise by hand until snug. Avoid overtightening to prevent damage.
Test The Faucet After Reassembly
Turn on the water to check for leaks or uneven flow. Watch for any dripping around the aerator. If water sprays or drips, unscrew and reassemble again.
- Check water pressure feels steady and smooth.
- Ensure no water escapes from the sides.
- Repeat cleaning if flow remains weak.
Reinstall The Aerator

After cleaning the aerator on your Moen kitchen faucet, the next step is to put it back properly. Reinstalling the aerator ensures your faucet works smoothly and prevents leaks. This part controls water flow and keeps debris out. Proper installation saves water and improves performance.
Check The Aerator Parts
Before reinstalling, make sure all parts are clean and in place. The aerator usually has:
- Screen – catches debris
- Housing – holds the screen
- Rubber washer – prevents leaks
Inspect each part for damage. Replace any cracked or worn pieces to avoid leaks.
Align And Insert The Aerator
Hold the aerator with the rubber washer facing the faucet spout.
- Line up the threads of the aerator with the faucet opening.
- Insert the aerator gently into the spout.
- Turn it clockwise by hand to start threading.
Do not force it. Cross-threading can damage both parts.
Tighten The Aerator Securely
Once the aerator is hand-tight, use a wrench or pliers for a final turn.
- Wrap the aerator with a cloth to avoid scratches.
- Turn the wrench slowly, about a quarter turn.
- Stop tightening when it feels snug.
Over-tightening can crack the aerator or faucet.
Test For Leaks And Water Flow
Turn on the faucet slowly. Watch for leaks around the aerator.
- No leaks mean it is properly installed.
- Check if water flows evenly.
- Uneven flow may require removing and reinstalling the aerator.
Adjust the aerator if needed until water runs smoothly.
Test The Faucet Flow
Testing the faucet flow is an important step after cleaning the aerator on your Moen kitchen faucet. It helps you check if water flows smoothly and without splashes. This step confirms the aerator is clean and working well. Follow simple tests to see the faucet’s performance.
Check For Steady Water Stream
Turn the faucet on at full flow. Watch the water stream carefully. It should be even and steady, not weak or uneven. A smooth flow means the aerator is clear of blockages.
Look For Water Leaks
Examine the area around the faucet and aerator. Watch for drips or leaks. No leaks show the aerator is properly installed and sealed.
Feel The Water Pressure
Place your hand under the water stream. The pressure should feel strong and consistent. Low pressure may mean some debris remains inside the aerator.
Test For Water Spray
Observe if water sprays out at odd angles. Sprays show the aerator mesh may be damaged or dirty. A clean aerator produces a straight, controlled stream.
Use A Bucket To Measure Flow Rate
Fill a bucket in 10 seconds. Measure the water volume. Compare it to your faucet’s normal flow rate. This test shows if the aerator limits or allows normal water flow.
| Test | What to Check | What It Means |
| Steady Stream | Even, steady water flow | Aerator is clean and clear |
| Water Leaks | No drips around faucet | Aerator installed correctly |
| Water Pressure | Strong, consistent pressure | No blockages in aerator |
| Water Spray | No spraying water | Aerator mesh is intact |
| Flow Rate | Expected volume in 10 seconds | Normal water flow through aerator |
Related Read: How to Remove Moen Kitchen Faucet
Conclusion
Cleaning your Moen kitchen faucet aerator keeps water flow smooth and strong. Regular cleaning stops dirt and minerals from building up. You save money by avoiding costly repairs. The process is simple and quick to do. Just follow the easy steps and keep your faucet working well.
A clean aerator means better water pressure and less splash. Try this cleaning routine every few months. Your kitchen faucet will thank you.