That raised concrete shelf running along the interior base of your garage wall stops most renovation projects cold — and almost no homeowner knows it’s coming.
For new homeowners and DIYers converting garage space into a workshop or living area, this concrete ledge in garage construction is a mystery: it looks like a mistake, but removing or ignoring it causes real structural and waterproofing problems.
By the end of this guide, you will know exactly what the ledge is, why builders put it there, and how to finish around it — or work with it — without compromising your foundation.
Definition and Purpose
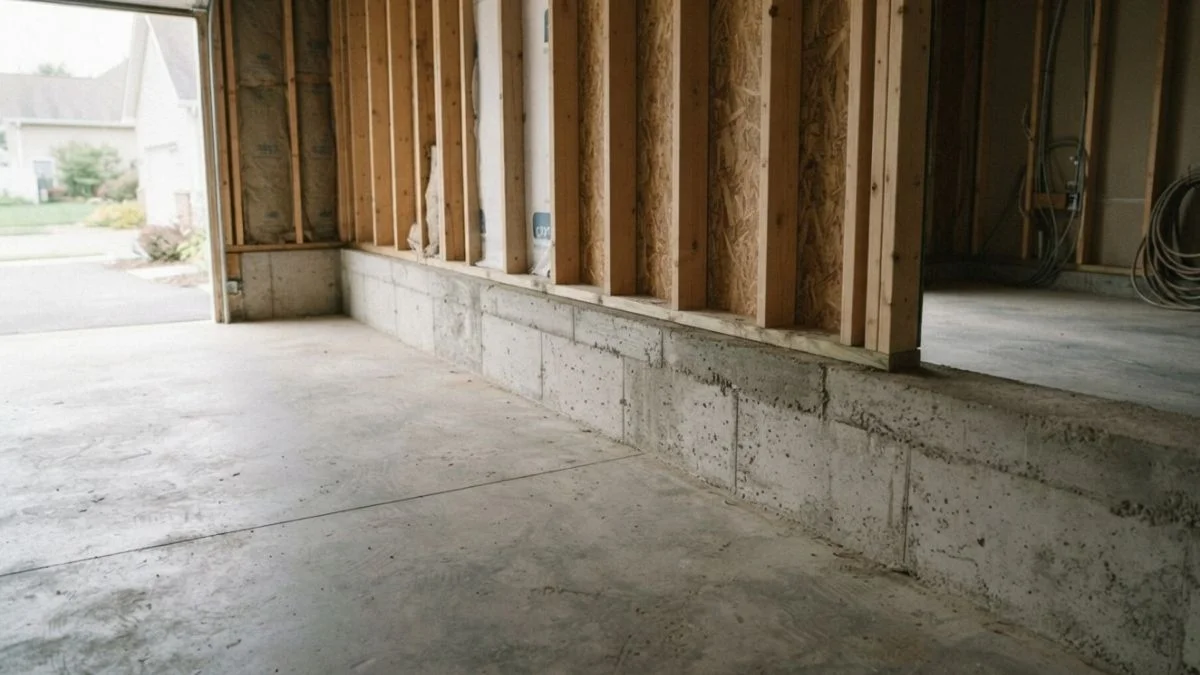
A concrete ledge in a garage is the raised structural shelf built into the base of the garage’s perimeter walls. Contractors also call it a foundation ledge, stem wall, foundation shelf, or concrete curb. It is not a mistake or a leftover from construction — it is a deliberate, load-bearing component of the foundation system.
Why Builders Include It
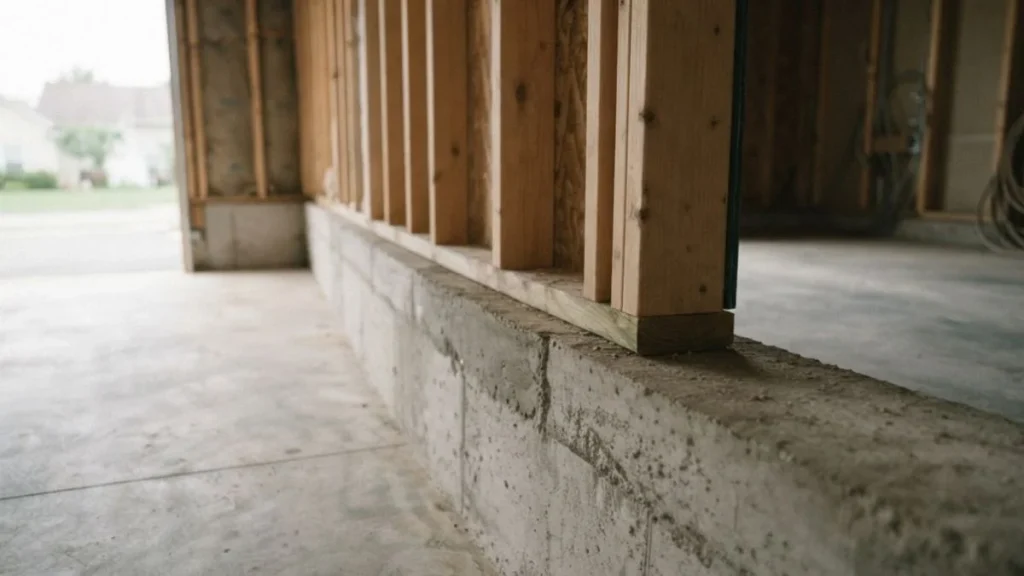
The ledge is part of a slab-on-grade foundation system. In this system, the concrete floor slab sits inside a perimeter stem wall, which rises several inches above the slab surface. That raised edge — the ledge you see — is where the wood-framed walls of the garage sit. It transfers the weight of the wall framing, roof load, and any attached structure down into the footing below.
Without it, wall framing would rest directly on the slab surface, leaving it vulnerable to moisture wicking up from the concrete. The ledge also acts as a capillary break — a physical separation that slows moisture movement from the ground into the wall framing above.
Standard Dimensions and Variations
Most garage foundation ledges run 6 to 12 inches tall and extend along the full perimeter of the garage interior. The exact height depends on local grading, drainage requirements, and the builder’s design.
Construction method also affects what you see:
- Poured-in-place concrete creates a monolithic stem wall with a smooth or formed face
- Precast concrete wall systems, such as those from Superior Walls or Molin Concrete, produce a stepped or paneled profile
- Tuck-under garages and split-level homes often show a taller foundation step where the garage floor sits below the main living level
Each variation presents slightly different finishing challenges, but the structural role is identical across all three.
Practical Ways to Finish or Cover It
Covering a concrete ledge in a garage comes down to three approaches, each with a different cost, skill level, and visual result. Match the method to your end goal — utility space, workshop, or finished living area.

Painting and Sealing
Painting is the fastest and cheapest solution. Clean the ledge surface with a concrete degreaser, fill any cracks with hydraulic cement or concrete patching compound, then apply an epoxy-based concrete paint like Rust-Oleum EpoxyShield or Quikrete Concrete & Garage Floor Paint.
Epoxy coatings bond directly to the concrete curb and resist moisture, oil, and abrasion better than standard latex paint. Budget $100 to $200 for materials on an average two-car garage perimeter.
PVC Baseboard and Vinyl Trim
PVC baseboard trim is the most popular DIY method for garage wall construction concrete portions. It installs directly over the ledge face using construction adhesive and concrete screws, requiring no framing changes.
The trim bridges the baseboard transition between drywall and the concrete foundation shelf, giving the wall a clean finished edge. Azek and Versatex both make PVC trim board in widths up to 12 inches — enough to cover most standard ledges. Total material cost runs $150 to $400 depending on garage size.
Drywall Finish to Floor
Extending drywall down to the slab — or to the top of the ledge — produces the most polished result and fully conceals the garage foundation concrete shelf. This approach requires:
- Adding a pressure-treated bottom plate on top of the ledge
- Framing the wall cavity to accommodate insulation
- Installing a moisture barrier between the stem wall and framing
- Finishing with standard drywall and baseboard
Material and labor costs for this method range from $800 to $2,000-plus for a two-car garage, depending on insulation choice and finish quality.
Ledge Considerations for Garage Conversions
Converting a garage into livable space raises the stakes on every decision around the foundation ledge. What works fine in a utility garage creates moisture, comfort, and code problems in a conditioned room.
Flooring Transitions
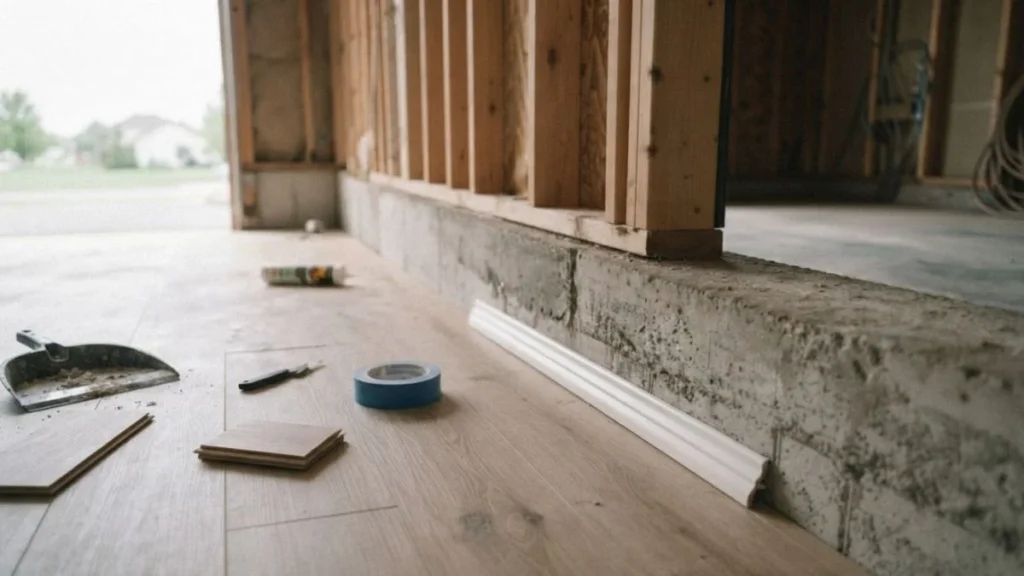
The concrete curb creates a height difference between the slab and the finished wall plane. When you add flooring — engineered hardwood, luxury vinyl plank, or sleeper-system subfloor — that height difference either disappears or becomes a visible step.
Plan your finished floor thickness first. A 1.5-inch sleeper subfloor system, for example, may bring the floor surface flush with or above the ledge top, eliminating the transition problem entirely. Measure the ledge height before purchasing any flooring materials.
Moisture and Waterproofing
The foundation step is the most common entry point for moisture in a garage conversion. Concrete is porous, and ground moisture wicks upward through the stem wall and ledge surface year-round.
Apply a penetrating concrete sealer like Drylok Masonry Waterproofer or RadonSeal to the full ledge surface and the stem wall face before framing. This step is non-negotiable in climates with high groundwater or seasonal freeze-thaw cycles.
Insulation and Vapor Barrier Placement
Insulating around the foundation ledge requires layering in the right order:
- Seal the concrete surface with waterproofer
- Apply rigid foam insulation — 1 to 2 inches of XPS board works well against the stem wall face
- Install a 6-mil polyethylene vapor barrier over the foam, lapped onto the slab
- Frame the interior wall over the assembly
According to the International Building Code, vapor retarders are required on the warm-in-winter side of insulation in Climate Zones 5 through 8 — most of the northern United States. Skipping this layer in a finished garage conversion leads to condensation, mold, and rotted framing within a few years.
You May Like Also: Driveway to Garage Floor Transition
Common Questions Homeowners Ask
Why Don’t Builders Finish Garage Walls Completely?
Garages are classified as unoccupied, unfinished spaces under most residential building codes, so builders are not required to finish them beyond the structural and fire-separation minimums. Finishing the garage wall construction concrete portion — drywalling over the stem wall, adding baseboard transitions, painting the ledge — adds cost with no code requirement driving it. Builders stop where the code stops.
Can You Remove or Level Out a Concrete Ledge?
Removing the ledge is possible but rarely the right move. The foundation ledge is structurally connected to the footing below and the wall framing above. Cutting it down requires a concrete saw, a structural assessment to confirm the footing depth is sufficient, and in many jurisdictions a building permit.
A safer alternative is to level the ledge visually rather than physically — use self-leveling concrete resurfacer to create a smooth ramp from slab to ledge top, or bring the floor up to meet it with a sleeper subfloor system. Both approaches preserve the stem wall’s structural role while eliminating the visible foundation step.
Does a Concrete Ledge Cause Moisture or Mold Problems?
The ledge itself does not cause moisture problems — unmanaged moisture does. The garage foundation concrete shelf is porous, and without a sealer or vapor barrier, ground moisture migrates through it and into adjacent framing and drywall.
The fix is straightforward: seal the concrete curb with a penetrating waterproofer like Drylok before any framing or finishing work begins. Add rigid foam insulation against the stem wall face in conditioned spaces to keep the surface above the dew point and prevent condensation.
Next Steps for Your Garage Project
The concrete ledge in your garage is a structural asset, not a problem — every finishing decision you make should work with it, not against it. Start by measuring your ledge height today and comparing it against your target finished floor thickness to determine whether a flooring transition exists at all.
Then pull your local building code requirements for wall insulation and vapor barriers before buying a single material, since climate zone requirements vary and getting that layer wrong is expensive to fix after framing is complete.