


Search “no condensation coming from air conditioner” and Google returns music results — not the HVAC diagnostics you actually need.
When your AC stops producing visible condensation or your drain line runs dry, it signals something is wrong with your system’s cooling cycle, and ignoring it can lead to mold growth, refrigerant issues, or full system failure.
This guide walks you through exactly how to identify the root cause, what you can safely fix yourself, and when the problem requires a licensed HVAC technician.
Common Causes of Missing or Reduced Condensation
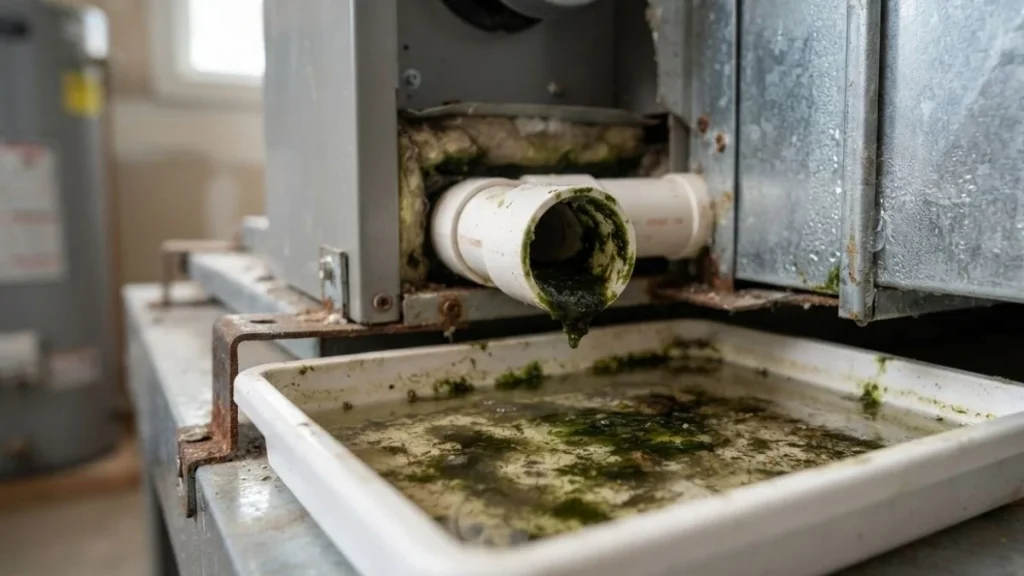
Clogged Condensate Drain Line
A clogged condensate drain line is the single most common reason an air conditioner stops draining water. Algae, dust, and debris accumulate inside the PVC drain pipe over time, narrowing the passage until water backs up into the condensate pan and triggers a float switch that shuts the system down — or overflows onto your ceiling or floor.
The line’s location varies: central air systems typically route it through a wall or ceiling to a floor drain, while window units drain directly through the back of the unit. A wet/dry shop vacuum held against the outdoor drain opening for 30–60 seconds often clears minor blockages without tools.
Frozen Evaporator Coil
A frozen evaporator coil blocks condensation at the source, not just at the drain. Ice forms on the coil when airflow is restricted — usually by a dirty air filter — or when refrigerant levels drop too low to maintain proper pressure. The result is a coil so cold it freezes any moisture on contact rather than allowing it to drip into the condensate pan.
Turn the system off and let it thaw completely (2–4 hours) before inspecting further. Running the system while frozen can damage the compressor.
Low Refrigerant Levels
Low refrigerant reduces the evaporator coil’s ability to absorb heat, which means less moisture is pulled from indoor air. The AC condensation line stays dry not because drainage failed, but because condensation never fully formed. EPA Section 608 regulations prohibit homeowners from purchasing or handling refrigerants like R-410A — this is a licensed technician job.
Installation, Tilt, and Thermostat Settings
Window and portable units rely on gravity to move water toward the drain outlet, so improper tilt traps water in the pan instead. Most manufacturers specify a slight rear-downward slope — check your unit’s installation manual for the exact angle. If your thermostat is set above 78°F or your humidity control is set very low, the evaporator coil may not reach the temperature differential needed to produce noticeable condensation drainage.
Diagnosing the Problem Yourself
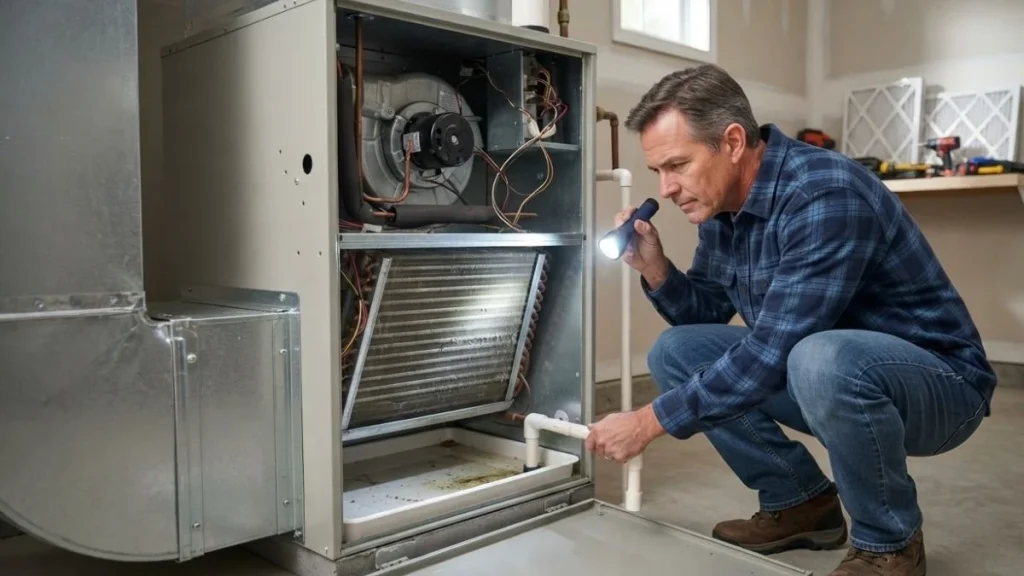
A systematic visual inspection takes less than 10 minutes and eliminates most guesswork before you spend money on a service call.
Step 1: Inspect the Condensate Pan and Coil
Locate the condensate pan — the shallow tray directly beneath the evaporator coil inside your air handler. A completely dry pan during active cooling suggests condensation isn’t forming at all, pointing toward a refrigerant or airflow issue. Standing water or overflow stains around the pan edge indicates a drainage blockage downstream. While you’re there, look at the evaporator coil itself: visible ice or frost confirms a frozen coil situation that requires the system to be shut off immediately.
Step 2: Test the Drain Line
Pour about one cup of water directly into the condensate pan and watch what happens. Water that drains within 30 seconds means the line is clear. Water that pools or backs up confirms an AC condensation line clog. For a more thorough test, attach a wet/dry vacuum to the exterior drain outlet and run it for 60 seconds — this pulls debris toward you rather than pushing it deeper into the line.
Step 3: Check the Air Filter
Pull the air filter and hold it up to a light source. A filter so clogged you cannot see light through it is restricting airflow enough to cause coil icing and reduced condensation. Most manufacturers recommend replacement every 30–90 days depending on household conditions.
Step 4: Document Before You Call
Before contacting an HVAC technician, record the outdoor temperature, indoor thermostat setting, current humidity reading, and how long the problem has been present. A normal central AC unit drains roughly 5–20 gallons of water per day in humid conditions — noting how far your system deviates from that range gives the technician a faster diagnostic starting point.
DIY Maintenance and Quick Fixes
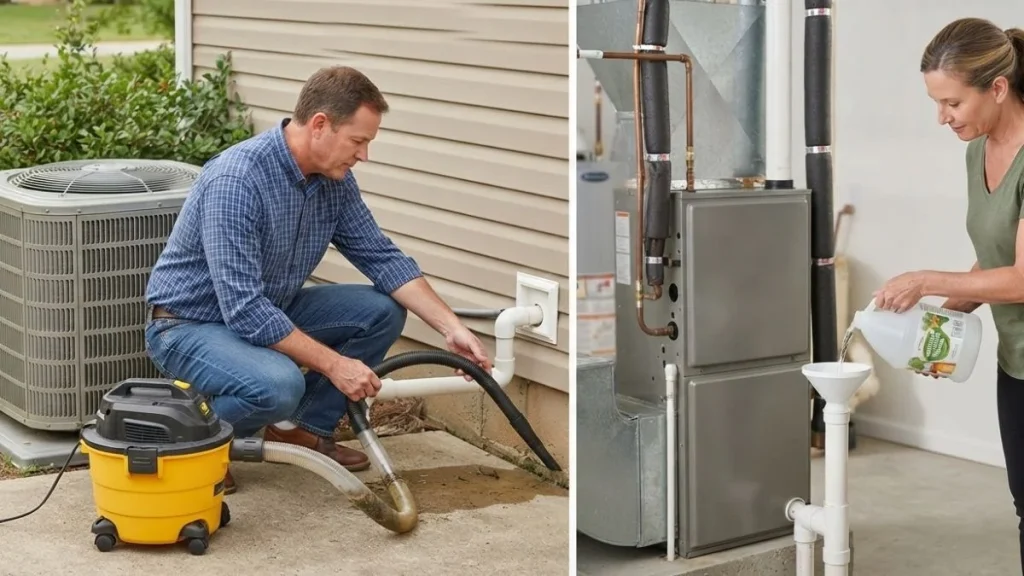
Two maintenance tasks resolve the majority of AC condensation and drainage problems without professional help: clearing the condensate drain line and replacing the air filter.
Condensate Drain Line Cleaning
What you need: wet/dry vacuum, stiff pipe brush or drain snake, 1 cup of distilled white vinegar or diluted bleach solution (1 part bleach, 16 parts water), safety glasses, and rubber gloves.
Step-by-step:
- Turn the AC system completely off at the thermostat.
- Locate the condensate drain access point — typically a T-shaped PVC fitting with a removable cap near the air handler.
- Remove the cap and pour your vinegar or bleach solution directly into the line. Let it sit for 30 minutes to break down algae and debris.
- Attach a wet/dry vacuum to the exterior drain outlet and run it for 60 seconds to pull the loosened debris out.
- Pour one cup of clean water into the access point to confirm the line flows freely.
- Replace the cap and restore power.
The most common mistake here is forcing a pipe brush too aggressively, which can push a soft algae clog deeper or crack older PVC fittings. Work slowly.
For prevention, drop one or two commercial condensate pan tablets — brands like AC Safe or Rectorseal Tab-Treat are widely available — into the pan every 30 days during cooling season. A monthly vinegar flush achieves similar results at lower cost.
Filter Replacement and Airflow Restoration
A clogged filter is the fastest fix for why your air conditioner is not condensing normally. Restricted airflow drops the volume of warm, humid air passing over the evaporator coil, which reduces the temperature differential needed to pull moisture from indoor air.
Check your manufacturer’s documentation for the recommended replacement interval — most residential systems specify every 30–90 days, but homes with pets or high dust levels need monthly changes. After replacing the filter, visually inspect the evaporator coil face for a layer of dust or debris. A heavily coated coil requires professional cleaning with coil cleaner spray, since improper cleaning can bend the fragile aluminum fins and permanently reduce airflow.
Read Also: Air Conditioning Working Downstairs But Not Upstairs
Stay Ahead With Seasonal Maintenance
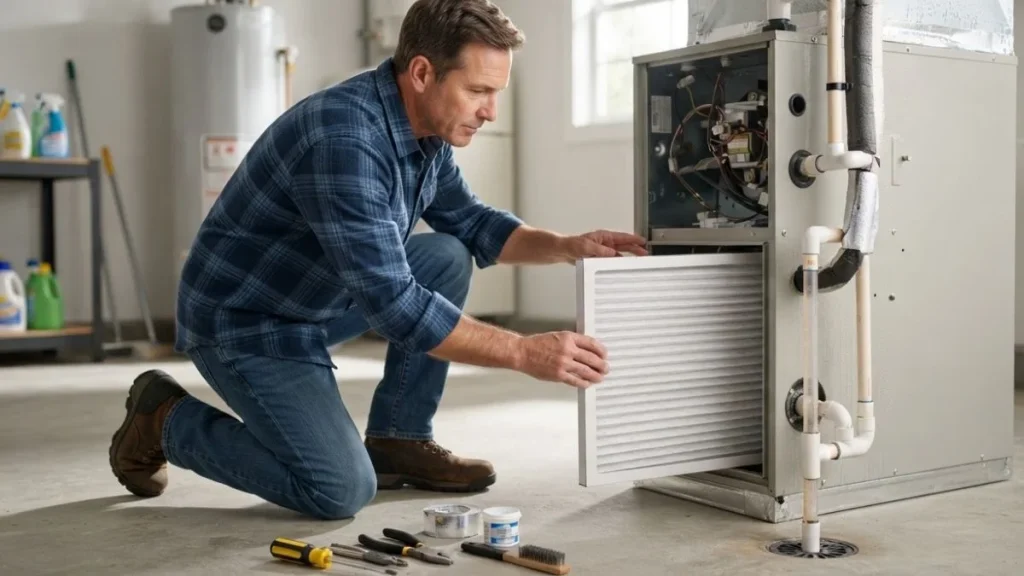
A monthly condensate drain flush prevents the majority of AC drainage problems before they interrupt cooling season or cause water damage. This spring, before you run the system for the first time, replace the air filter, pour a cup of vinegar down the drain access point, and confirm the condensate pan is dry and clean. If your system still shows reduced drainage after those steps, that is the right moment to call a licensed HVAC technician — not before.


