Removing a wall can open up your space and bring new life to your home. But once the wall is gone, you’re left with a patch of hardwood floor that needs fixing.
If you want your floor to look smooth and seamless again, you need to know the right way to patch it. You’ll discover simple steps and expert tips to restore your hardwood floor quickly and beautifully. Keep reading, and you’ll learn how to make your floor look like the wall was never there.
Assessing The Damage
After removing a wall, the hardwood floor often needs patching to restore its original look and function. Assessing the damage is the first step. This process helps you understand the extent of harm and plan repairs carefully.
Inspecting The Floor Area
Start by cleaning the floor area thoroughly. Dust and debris can hide damage. Use a soft broom or vacuum to remove dirt. Look for:
- Scratches and dents: Check if the floor surface is scratched or dented from wall removal tools.
- Gaps and holes: Look for missing wood pieces or holes where the wall base was.
- Water damage or stains: Notice any discoloration or warping caused by moisture.
- Uneven surfaces: Check for raised or sunken areas that may need leveling.
Mark the damaged spots with painter’s tape or chalk. Measure the total area that needs patching. Use a tape measure and note length and width in feet or inches. Note any loose boards. Gently press around the area to test stability. Loose planks need to be secured before patching. Document all findings to guide the repair process. This careful inspection prevents surprises during patching.
Identifying Wood Types And Patterns
Matching the new patch to the existing floor requires knowing the wood type and pattern. Hardwood floors come in various species and finishes. Use these steps:
- Check wood grain and color: Look at the floor’s texture and shade. Oak, maple, cherry, and pine have distinct grains.
- Measure plank size: Note the width and length of the boards around the damaged area.
- Observe the finish: Identify whether the floor is matte, glossy, or satin. The finish affects the patch’s appearance.
- Identify the pattern: Common patterns include:
- Straight plank
- Herringbone
- Chevron
- Parquet
Use a small piece of scrap wood or a hidden floor section to test stain color. Compare samples before finalizing. A good match avoids a patch that stands out.
| Wood Type | Grain Characteristics | Common Uses |
| Oak | Coarse grain, visible rays | Durable floors, traditional homes |
| Maple | Fine, uniform grain | Modern floors, smooth finish |
| Cherry | Fine grain, reddish hue | Luxury floors, warm tones |
| Pine | Soft, wide grain | Rustic floors, softer wood |
Record these details for your wood supplier or contractor. Correct identification helps source matching materials. It also guides sanding and finishing steps after patching.
Preparing The Floor
Preparing the floor is the first critical step after removing a wall and before patching a hardwood floor. This phase sets the foundation for a smooth, durable repair. Proper preparation ensures the new boards fit well and the finish looks seamless.

Cleaning And Clearing Debris
Start by cleaning the exposed area carefully. Use a broom or vacuum to remove dust, dirt, and small debris. Even tiny particles can affect how well the new boards fit and adhere. After sweeping, wipe the floor with a damp cloth to pick up any leftover dust. Let the floor dry completely before moving on.
Check the floor for nails, screws, or staples left from the removed wall or baseboards. Remove all metal pieces with pliers or a nail puller. These can damage tools or make it hard to install new boards.
Essential cleaning steps include:
- Sweeping or vacuuming the entire area
- Removing nails and screws
- Wiping with a damp cloth
- Allowing the floor to dry fully
Cleaning creates a clear workspace. It helps avoid gaps and bumps in the patched section. This simple step improves the overall look and durability of your floor repair.
Removing Damaged Boards
After cleaning, inspect the floor for damaged or splintered boards near the removed wall. These boards may have cracks, warping, or rot from exposure during demolition. Removing them is key to a strong patch.
Use a chisel or pry bar to lift damaged boards carefully. Avoid harming surrounding good wood. Work slowly to keep edges smooth for easier fitting of new boards.
Tools needed for board removal:
| Tool | Purpose |
| Chisel | Loosen and lift boards |
| Pry Bar | Remove boards without damage |
| Hammer | Tap chisel and nails |
Dispose of the damaged wood properly. Measure the empty space left behind. This helps when cutting replacement boards. Removing bad boards ensures the patch is level and stable. It stops future problems like squeaks or loose planks.
Selecting Replacement Wood
After removing a wall, patching the hardwood floor is a key step to restore the room’s look. Selecting replacement wood is crucial for a smooth, natural finish. The right wood helps the patch blend with the existing floor, avoiding noticeable differences. Choosing the correct species, color, and size ensures the new boards fit perfectly with the old ones.
Matching Wood Species And Finish
Matching the wood species exactly is the first step. Each hardwood type has unique grain patterns, colors, and hardness. Common species include oak, maple, cherry, and walnut. Using the same species prevents visible patches and keeps the floor uniform.
Check the original floor’s finish too. The finish affects the color and shine of the wood. Different finishes include:
- Oil-based polyurethane: Adds a warm, amber tone.
- Water-based polyurethane: Clear finish with less color change.
- Wax finish: Soft, natural look.
- Penetrating oil: Enhances natural grain and color.
Test small wood pieces under light to compare color and grain. Sometimes, sanding or staining the new boards helps match the existing finish better.
| Wood Species | Grain Pattern | Common Color | Hardness (Janka) |
| Oak | Prominent and open | Light to medium brown | 1290 |
| Maple | Fine and consistent | Light cream to pale brown | 1450 |
| Cherry | Fine, smooth | Reddish brown | 995 |
| Walnut | Wavy to straight | Dark brown | 1010 |
Sizing And Cutting New Boards
Precise sizing and cutting make the patch look seamless. Measure the gap carefully, noting length, width, and thickness of the removed boards. The new boards must match these dimensions exactly.
Follow these steps:
- Measure the opening twice for accuracy.
- Cut boards slightly longer to allow trimming.
- Use a table saw or miter saw for clean cuts.
- Check thickness to match the existing floor.
- Dry fit the boards before installation.
Thicker boards sit higher, causing uneven floors. Thinner boards create low spots. Use a caliper or thickness gauge to check.
For a perfect fit, cut the boards with a tongue and groove profile if the original floor has one. This allows boards to lock together tightly. If the original floor uses a different joining method, match that style.
Installing The Patch
Installing the patch after removing a wall is a critical step in restoring the hardwood floor’s appearance and strength. This process involves placing new boards carefully, securing them firmly, and blending the seams for a smooth, natural look. Proper installation ensures the patch looks like part of the original floor and lasts for years.

Fitting The New Boards
Start by measuring the gap left after the wall removal. Cut the new hardwood boards to fit precisely within this space. Accurate measurements help avoid gaps or uneven edges.
Tips for fitting the new boards:
- Choose boards that match the original floor’s wood type and thickness.
- Leave a small expansion gap (about 1/4 inch) around the edges to allow wood movement.
- Test fit each board before securing it to check for tight joints.
Sometimes, boards need trimming or sanding to fit perfectly. Use a saw for straight cuts and a planer or sander for fine adjustments. Arrange the boards in the same pattern as the existing floor to maintain continuity.
Securing The Patch
Once the boards fit well, secure them to the subfloor. Proper fastening prevents movement and squeaks. Use nails or screws designed for hardwood floors.
Best practices for securing the patch:
- Use a flooring nailer to drive nails at an angle into the tongue of each board.
- Place nails about 6-8 inches apart along each board.
- For glue-down floors, apply hardwood adhesive evenly on the subfloor before placing boards.
- Clamp boards if necessary to ensure strong bonding while glue dries.
Check that the patch is level with the surrounding floor. Uneven boards can cause tripping hazards and look unprofessional. Use a rubber mallet and tapping block to gently tap boards down if needed.
Blending Seams
Blending the seams between the patch and the existing floor creates a seamless look. This step hides the repair and protects the wood from moisture.
Steps to blend seams effectively:
- Fill gaps with wood filler matching the floor color.
- Sand the filled area smoothly once dry, using fine-grit sandpaper.
- Apply stain or finish to match the surrounding floor’s tone and sheen.
- Buff the area gently to blend the finish with the original floor.
Use a small brush or cloth to apply stain in thin layers. Let each layer dry before applying the next. This gradual process helps achieve a natural color match.
Inspect the patch under different lights to ensure the seams are invisible. If needed, repeat filling and staining to improve the blend. Proper seam blending enhances the floor’s beauty and value.
Sanding And Refinishing
After removing a wall, the hardwood floor often needs careful patching to restore its beauty. Sanding and refinishing are essential steps to make the floor smooth and uniform. These processes remove any uneven spots and old finish, preparing the surface for a fresh look. Proper sanding and refinishing help the floor blend seamlessly with the rest of the room, enhancing the overall appearance.
Sanding For Smoothness
Sanding is the key to creating a smooth surface after patching hardwood floors. It removes rough edges, glue residue, and any unevenness caused by the wall removal. Start with a coarse grit sandpaper to level out the patch. Then, use finer grits to smooth the floor completely.
- Coarse grit (36-40): Removes old finish and levels high spots.
- Medium grit (60-80): Smooths the surface and removes scratches from coarse sanding.
- Fine grit (100-120): Prepares the wood for staining and finishing.
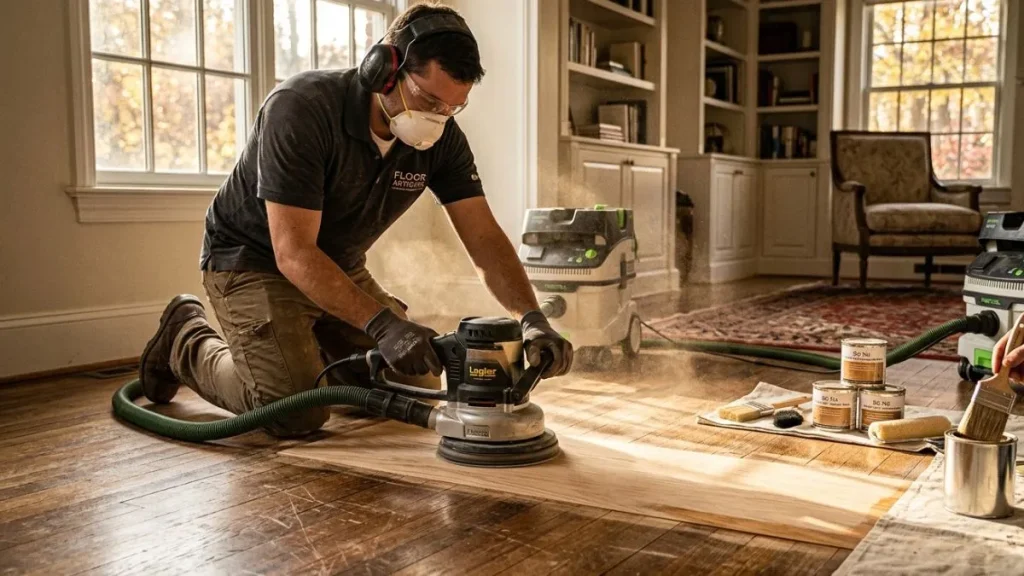
Use a floor sander for large areas and a hand sander or sanding sponge for corners. Keep the sander moving to avoid grooves. Always sand along the grain of the wood to prevent damage. Vacuum the dust thoroughly between sanding steps to get a clean surface.
Applying Stain And Finish
After sanding, staining and finishing bring back the hardwood’s natural beauty. Stain adds color and highlights the wood grain. Choose a stain that matches the existing floor color or a shade you prefer.
Apply stain evenly with a brush or cloth. Work in small sections and wipe off extra stain quickly to avoid blotches. Let the stain dry completely before applying the finish.
- Use a polyurethane finish: Protects the wood from wear and moisture.
- Water-based finish: Dries faster and has less odor.
- Oil-based finish: Offers a rich, warm look but takes longer to dry.
Apply the finish in thin coats with a clean brush or applicator. Lightly sand between coats using fine sandpaper (220 grit) for a smooth surface. Usually, 2-3 coats are enough for strong protection. Let each coat dry fully before adding the next.
Maintaining The Patched Area
After removing a wall, patching the hardwood floor is only the first step. Maintaining the patched area is essential to keep the floor looking good and lasting long. Proper care prevents damage and helps the patch blend well with the rest of the floor.
Cleaning The Patched Area Gently
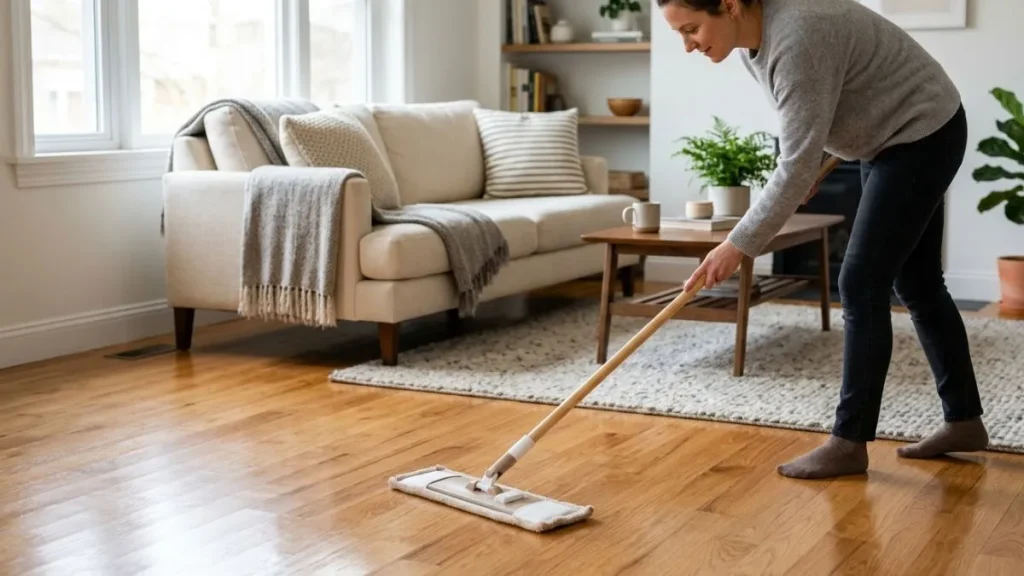
Use a soft broom or vacuum to remove dirt and dust. Avoid hard brushes or vacuum attachments with stiff bristles. Clean the patched area with a damp mop, not a wet one. Too much water can damage the wood and the patch.
- Use mild wood floor cleaner.
- Wipe spills immediately.
- Dry the floor after cleaning.
Protecting The Patched Spot
Place felt pads under furniture legs to stop scratches. Use rugs or mats in high traffic areas. Avoid dragging heavy items over the patch. This keeps the patched wood safe from dents and marks.
- Apply a protective finish if needed.
- Keep pets’ nails trimmed.
- Use area rugs with non-slip backing.
Monitoring For Changes
Check the patched area regularly for signs of wear or damage. Look for cracks, gaps, or discoloration. Early detection allows quick repair and keeps the patch strong.
| Signs to Watch | Action to Take |
| Small cracks | Fill with wood filler |
| Discoloration | Apply matching stain or finish |
| Loose boards | Re-glue or nail down |
Maintaining Humidity Levels
Wood reacts to humidity. Keep the room’s humidity between 35% and 55%. Use a humidifier or dehumidifier as needed. Stable humidity prevents the patched wood from expanding or shrinking.
- Use a room hygrometer to measure humidity.
- Avoid sudden temperature changes.
- Ventilate the room well.
Read Also: Hardwood Floor Transition from Room to Hallway
Conclusion
Patching a hardwood floor after removing a wall takes patience and care. Choose wood that matches your floor for the best look. Cut pieces carefully to fit the gap exactly. Sand the patched area smooth to blend with the rest.
Finish with stain or sealant to protect your work. Small steps make a big difference in the final result. With time and effort, your floor will look whole again. Keep your space safe and beautiful with proper patching. Simple fixes can restore your home’s charm quickly.