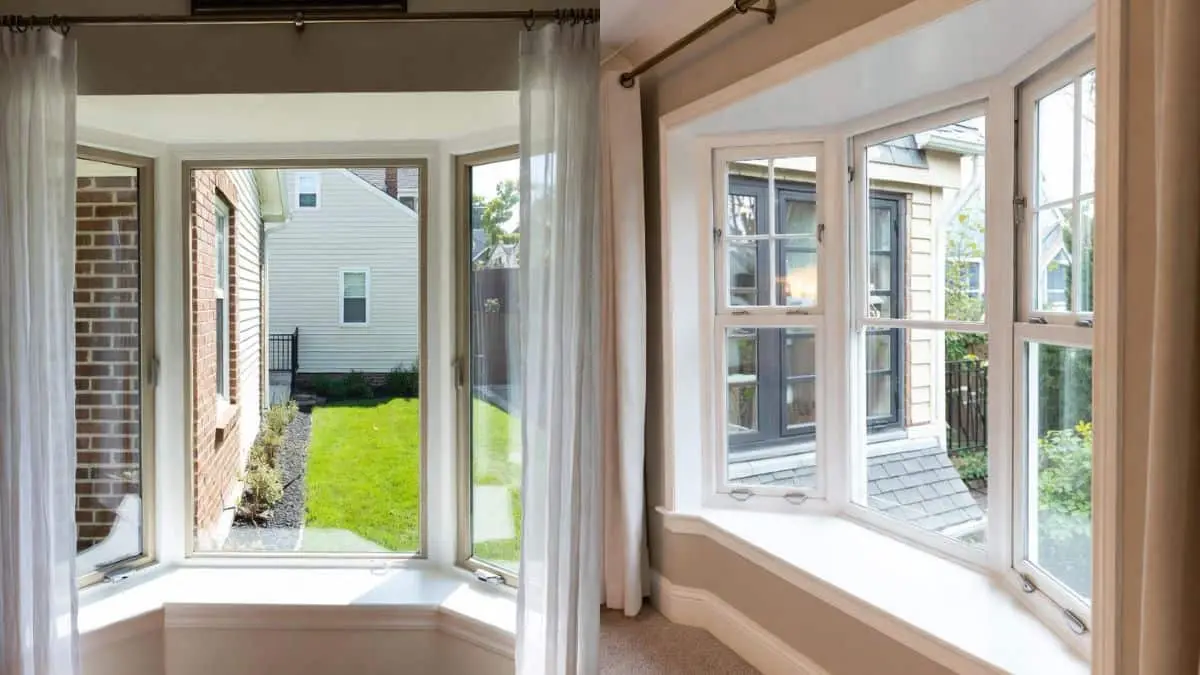
Is your bay window sill looking worn out or damaged? Replacing it can instantly brighten up your space and protect your home from drafts and moisture.
But you might wonder—how hard is it to replace a bay window sill, and what should you watch out for? You’ll discover simple steps and expert tips to help you tackle your bay window sill replacement with confidence. Keep reading to learn how to refresh your window area and improve both the look and function of your home.
Signs Of A Damaged Bay Window Sill
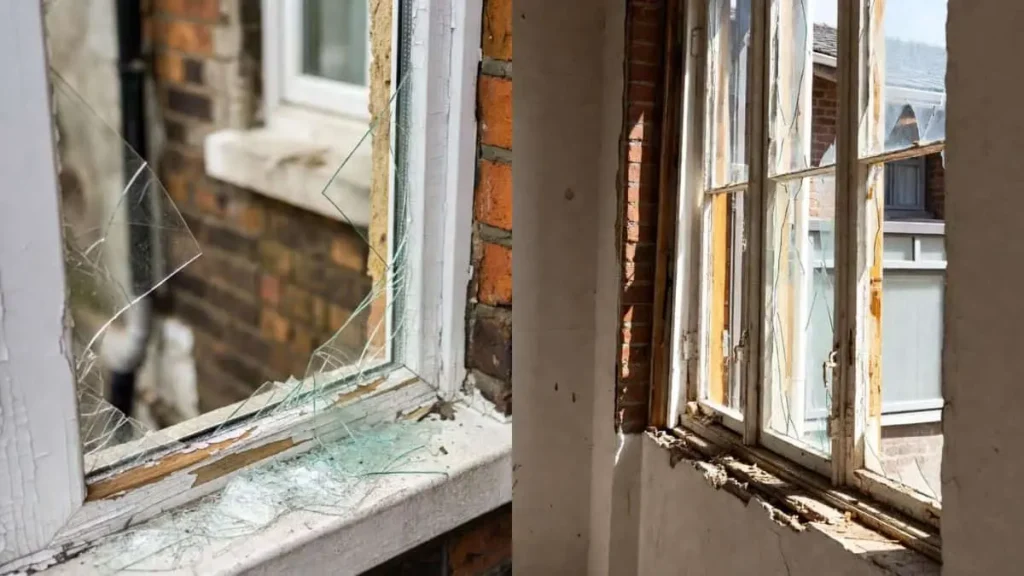
The bay window sill is a key part of your home’s exterior and interior. It supports the window and keeps water out. Over time, sills can wear down or get damaged. Recognizing signs of a damaged bay window sill early helps prevent bigger problems like leaks or structural issues. Watch for changes in the sill’s look, feel, and function. These signs show the need for replacement or repair to protect your home and keep the window safe.
Visible Rot And Decay
Rot and decay often appear first on bay window sills made of wood. These problems happen when moisture stays on or inside the sill for too long. Wood starts to soften and break down. You may notice:
- Discoloration: Dark spots or a faded, dull surface
- Soft or crumbly texture: The wood feels weak or breaks easily when pressed
- Peeling paint or blistering: Paint lifts off or bubbles form on the surface
- Fungus or mold growth: Black, white, or green patches on or near the sill
Rot spreads quickly and makes the sill unsafe. Check the following areas carefully:
| Area | Signs of Rot |
| Bottom edge | Soft spots, cracking, or crumbling wood |
| Under the paint | Discoloration or flaking paint |
| Joints and corners | Loose or separating wood |
Rot and decay require prompt attention. Replacing the sill prevents damage to the window frame and walls.
Water Damage Indicators
Water damage is a common cause of bay window sill problems. It happens when rain or melting snow seeps inside. Look for these signs:
- Stains or discoloration: Yellow, brown, or dark marks on the sill or surrounding wall
- Warping or swelling: The sill surface looks uneven or raised
- Musty or damp smell: A sign of trapped moisture or mold growth
- Peeling or bubbling paint: Water pushes the paint off the surface
Structural Cracks And Gaps
Cracks and gaps in the bay window sill affect the window’s strength and insulation. These problems often start small but grow over time. Signs include:
- Visible cracks: Lines or splits in the sill material
- Gaps between sill and wall: Spaces that let air and water inside
- Loose or shifting sill: The sill moves or feels unstable
Removing The Old Sill
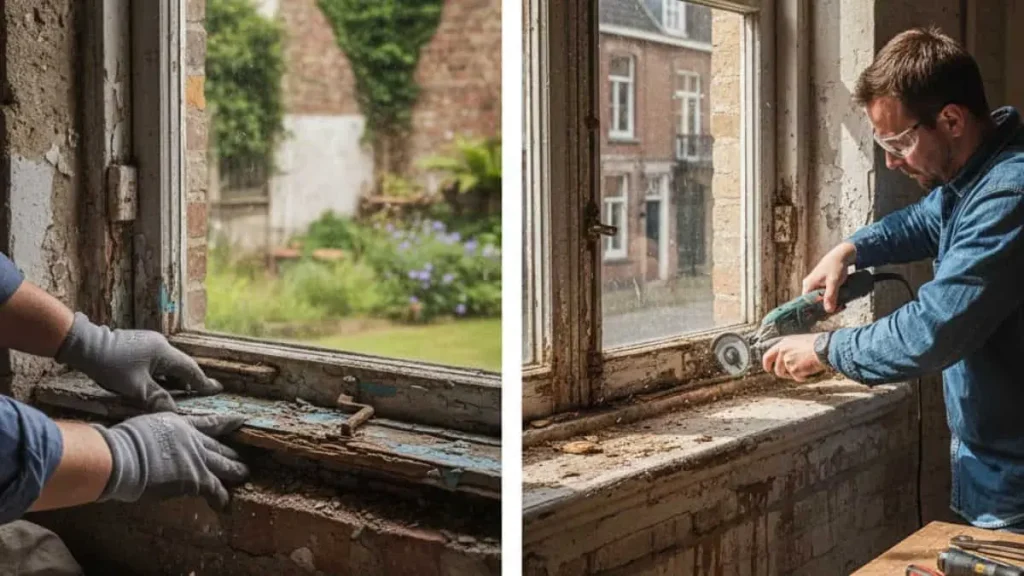
Replacing a bay window sill starts with removing the old sill. This step requires care to avoid damage to the window frame or surrounding walls. Removing the old sill clears the way for a new, sturdy, and attractive sill. It also helps spot any hidden damage that needs repair before installation. Proper removal sets the foundation for a successful replacement.
Preparing The Work Area
Preparation is key for smooth sill removal. Begin by clearing the area around the bay window. Remove furniture, curtains, and any fragile items. Cover the floor and nearby surfaces with a drop cloth or plastic sheet to catch dust and debris.
- Gather tools: Pry bar, utility knife, hammer, screwdriver, gloves, safety glasses.
- Turn off heating or cooling vents: This prevents dust from spreading through the home.
- Check for electrical outlets or wiring: Avoid cutting or damaging any wires inside the sill area.
- Wear protective gear: Gloves and safety glasses protect hands and eyes from sharp edges and dust.
Set up a small workbench or table nearby for placing removed parts and tools. Good lighting is important. Use a portable lamp if natural light is weak.
| Tool | Purpose |
| Pry Bar | Lift and remove sill carefully |
| Utility Knife | Cut paint or caulk sealing the sill |
| Hammer | Assist in prying or removing nails |
| Screwdriver | Remove screws holding the sill |
Step-by-step Removal Process
Follow these steps to remove the old bay window sill safely and effectively:
- Cut the seal: Use a utility knife to slice through any paint, caulk, or sealant around the sill edges.
- Remove screws or nails: Unscrew or pry out fasteners that hold the sill in place.
- Loosen the sill: Gently insert the pry bar under the sill. Start from one end and work slowly.
- Lift carefully: Apply steady pressure to lift the sill without cracking or breaking nearby wood or drywall.
- Clear away debris: Remove any leftover nails, screws, or old sealant from the frame.
Take breaks if needed. Rushing may cause damage. Inspect the sill frame for rot or damage once the old sill is removed. Repair any issues before fitting the new sill.
Dealing With Difficult Sections
Some parts of the sill may be stubborn or damaged. These require extra care and specific techniques to remove without harm.
- Painted or glued areas: Use a heat gun to soften paint or glue. Heat briefly and then pry gently.
- Rotten wood: If the sill is rotted, it may crumble. Remove loose pieces carefully with a chisel or scraper.
- Hidden fasteners: Look for hidden nails or screws under layers of paint or wood filler. Use a flashlight and probe carefully.
- Tight corners: Use a thin putty knife or flexible scraper to get into narrow gaps without causing damage.
Patience and gentle work pay off. Avoid forcing any part that resists removal. Use proper tools designed for delicate work to protect the window frame and surrounding wall.
Measuring And Cutting The New Sill

Replacing a bay window sill requires precise measuring and cutting to fit the new sill perfectly. This step ensures the sill is stable, looks good, and lasts long. Careful attention during measuring and cutting avoids costly mistakes and material waste. The process includes taking accurate measurements, choosing the right wood, and using proper cutting techniques.
Accurate Measurements
Begin by measuring the existing window sill carefully. Use a steel tape measure for the best accuracy. Measure the length, width, and thickness of the old sill. Take measurements at several points because bay windows often have slight angles or curves.
- Measure the front edge length of the sill.
- Measure the depth from the front edge to the window frame.
- Check the thickness of the old sill or decide on a new thickness.
- Measure angles where the sill meets the wall or window frame.
Write down all measurements clearly. Double-check each number. Accurate measurements prevent gaps or uneven edges during installation.
Selecting The Right Wood
Choosing the right wood for the new sill is essential for durability and appearance. Bay window sills face sunlight, moisture, and temperature changes. Select wood that handles these well.
Hardwoods like oak, maple, or cherry offer strength and a smooth finish. Softwoods like pine or cedar are easier to cut but may need more protection against moisture.
- Hardwoods: Durable, resist dents and scratches, look elegant.
- Softwoods: Affordable, lightweight, easier to work with.
- Pressure-treated wood: Resists rot, ideal for moisture-prone areas.
- Engineered wood: Stable, less prone to warping.
Consider the wood’s grain, color, and whether it matches your window and room style. Also, check for any knots or defects that could weaken the sill.
Here is a simple comparison:
| Wood Type | Pros | Cons |
| Oak | Strong, attractive grain, long-lasting | Expensive, heavy |
| Pine | Affordable, easy to cut, light | Soft, dents easily, needs sealing |
| Cedar | Natural rot resistance, aromatic | Soft, may fade in sunlight |
| Engineered Wood | Stable, less warping | Less natural look |
Cutting Techniques
Cutting the new sill requires steady hands and the right tools. Begin by marking the wood with a pencil and a straight edge. Mark all cuts clearly to avoid mistakes.
Use a miter saw or circular saw for straight cuts. A jigsaw helps cut curves or angles. Always wear safety goggles and gloves during cutting.
- Clamp the wood firmly to a stable work surface.
- Follow your marked lines carefully.
- Cut slowly to avoid splintering.
- Sand edges smooth after cutting.
For angled cuts, set the saw to the correct angle using a protractor. Test the cut on scrap wood first. Small adjustments ensure the sill fits flush against the window frame.
Installing The Replacement Sill
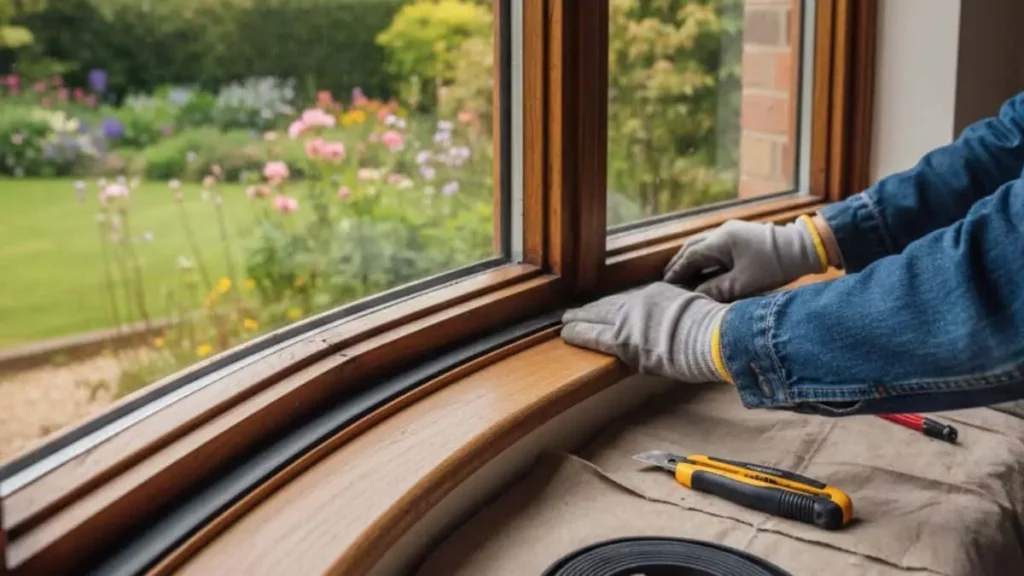
Replacing a bay window sill is a key step to keep your window strong and looking good. Installing the replacement sill needs care to make sure it fits well, stays secure, and protects your home from water damage. The process includes positioning the new sill, securing it properly, sealing it tightly, and adding final touches to complete the job.
Positioning And Securing
Start by placing the replacement sill carefully in the bay window frame. The sill should fit snugly without gaps or pressure points. Check that it sits level and flush with the surrounding surfaces. Use a level tool to confirm this.
- Slide the sill into position slowly to avoid damage.
- Make small adjustments to align it perfectly.
- Ensure the front edge extends slightly beyond the window frame for water runoff.
Sealing For Weatherproofing
Sealing the sill is crucial to protect your home from rain, wind, and cold. Proper sealing stops water from entering and causing damage. Use a high-quality exterior sealant or caulk designed for windows.
- Clean the sill and surrounding area before sealing.
- Apply a continuous bead of sealant along all edges where the sill meets the frame.
- Smooth the sealant with a wet finger or tool for a tight bond.
Focus on these areas for sealing:
- Front edge where water flows off
- Joints between the sill and window frame
- Any cracks or gaps in the sill itself
Use flashing tape under the sill if needed for extra water protection. This tape creates a barrier that directs water away from your wall. Here is a quick checklist for sealing:
| Step | Action | Tip |
| 1 | Surface Cleaning | Remove dust and dirt for better adhesion |
| 2 | Sealant Application | Use a steady hand for even bead |
| 3 | Smoothing | Wet finger/tool ensures no gaps |
| 4 | Drying Time | Allow sealant to cure fully before exposure |
Finishing Touches
Finish the installation by cleaning and protecting the sill. Remove any excess sealant or adhesive for a neat look. Sand rough edges gently to prevent splinters or cracks. Paint or stain the sill to match your window and home exterior.
Follow these tips for the best finish:
- Use exterior-grade paint or stain for durability.
- Apply primer before painting on wood sills.
- Let each coat dry fully between applications.
- Check the sill regularly for damage or wear.
Adding weatherstripping or insulation around the sill area can improve energy efficiency. Inspect the window frame and sill yearly to catch issues early. Proper finishing makes your bay window sill last longer and keeps your home comfortable.
Related Read: Filling Gaps Around Window Frames
Conclusion
Replacing a bay window sill improves both appearance and function. It stops water damage and keeps your home safe. Choose materials that last and match your style. Proper installation helps avoid future problems. Regular care will keep the sill looking new longer.
Small upgrades can make a big difference in your space. Take your time and do the job right. Your bay window will feel fresh and strong again.