

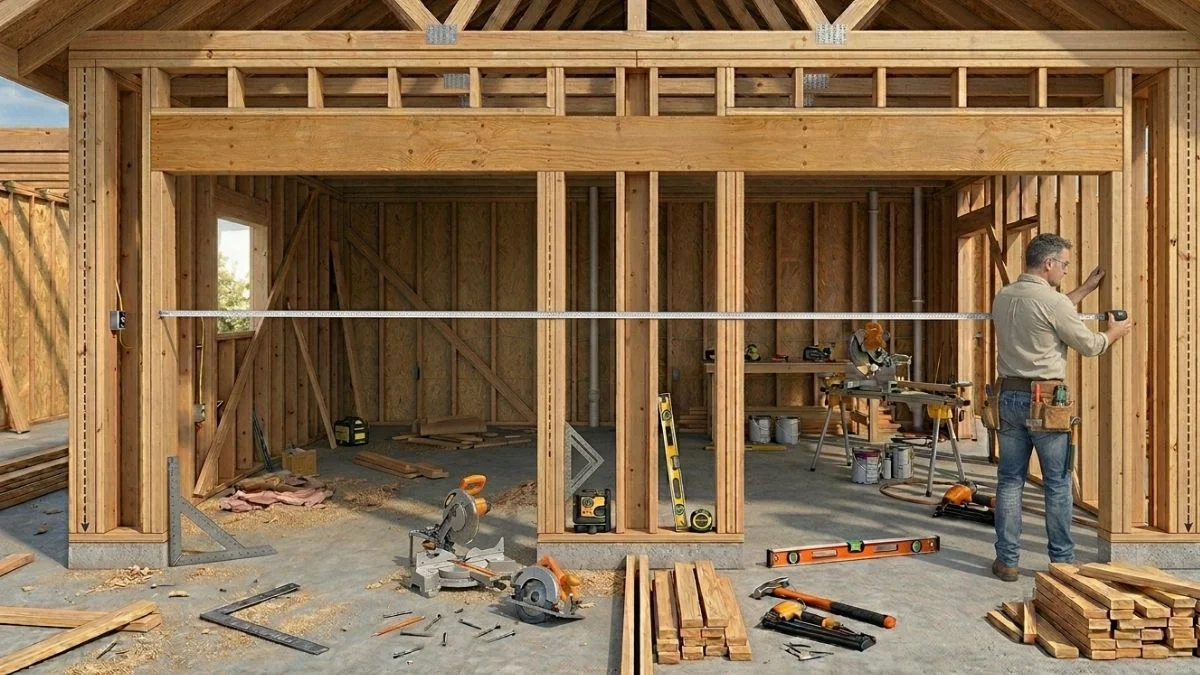
If you’ve ever ordered a garage door only to find out it doesn’t fit the opening, you already know how painful and expensive that mistake can be. The rough opening is the foundation of the entire installation — and getting it wrong, even by an inch or two, can mean costly reframing, delayed projects, and a lot of unnecessary stress.
This guide is written for homeowners who are planning a garage door replacement, building a new garage from scratch, or simply trying to understand what their contractor is telling them. By the time you finish reading, you’ll know the exact rough opening dimensions for an 8×7 garage door, how to measure correctly, what framing requirements to follow, and how to avoid the most common mistakes people make before installation day.
Let’s get the numbers right the first time.
What Is a Garage Door Rough Opening?
A rough opening is the framed structural hole in your garage wall where the door will eventually sit. It’s not the same as the door’s finished size. Think of it as the “skeleton” that holds everything together — the door, the hardware, the tracks, and the weatherstripping all need room to fit inside that framed space.
When manufacturers say a door is 8 feet wide by 7 feet tall, they’re referring to the finished door panel size. But the rough opening needs to be slightly larger to accommodate the door frame, mounting hardware, and installation clearances on all sides.
Rough Opening vs. Actual Door Size — What’s the Difference?
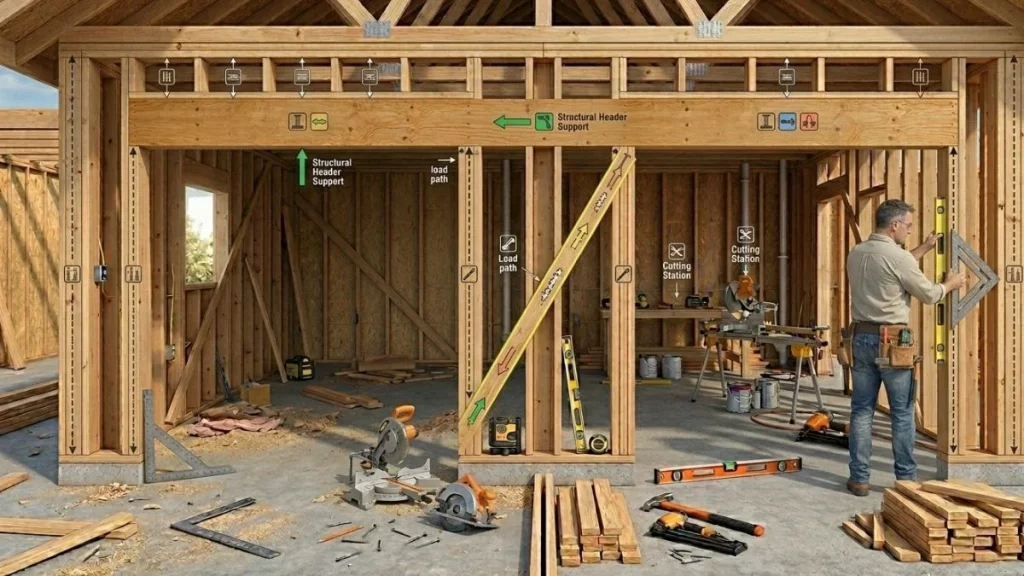
This is where most homeowners get confused. An 8×7 garage door measures 96 inches wide by 84 inches tall as a finished product. But the rough opening for that same door needs to be approximately 98 inches wide by 86 inches tall — that’s 2 extra inches in width and 2 extra inches in height.
Those extra inches aren’t wasted space. They allow room for the door’s side tracks, the bottom seal, the weatherstripping along the sides, and the mounting brackets. Without that additional clearance, the door simply won’t operate correctly — it may bind, rub against the frame, or fail to seal properly against weather.
Why Getting the Rough Opening Right Matters
A wrongly sized rough opening doesn’t just cause installation headaches. It can void your manufacturer warranty, create air gaps that drive up your energy bills, and in some cases, make it impossible to mount the torsion spring system at all. If you’re hiring a professional installer, they’ll measure the rough opening before they ever bring the door off the truck. If the measurements don’t match, the job stops until the framing is corrected.
8×7 Garage Door Rough Opening — The Exact Dimensions You Need

Here’s the bottom line that most homeowners are searching for. The standard rough opening for an 8×7 garage door is:
| Dimension | Required Size | Explanation |
| Width | 98 inches (8 ft 2 in) | 1 inch clearance on each side for tracks |
| Height | 86 inches (7 ft 2 in) | 1.5–2 inches above door height |
| Headroom | Min. 10–12 inches | Space above opening to ceiling/obstruction |
| Side Room | Min. 3.75 inches each side | For vertical track mounting |
| Backroom (Depth) | Min. 102 inches (8.5 ft) | Door height + 18 inches |
These are industry-standard measurements. Always cross-reference with your specific door manufacturer’s installation manual, as some brands may require slight variations based on their hardware design.
Headroom, Side Room, and Backroom — Why Each One Counts
Headroom Clearance
Headroom is the vertical distance between the top of your rough opening and the nearest ceiling obstruction — whether that’s the ceiling itself, a beam, or a garage door opener rail. For a standard torsion spring system on an 8×7 door, you need a minimum of 10 to 12 inches of headroom above the rough opening.
If your headroom falls short of 10 inches, you’ll need to look into low-clearance hardware kits, which are specifically designed for garages with limited overhead space. These kits use a different track angle and spring configuration to make the door work within tighter constraints.
Side Room Clearance
Side room refers to the horizontal space available on both sides of the rough opening for mounting the vertical tracks. The minimum side room required is 3.75 inches on each side. If you have less than that — for example, because there’s a wall, a water heater, or shelving unit close to the opening — the door tracks can’t be installed correctly. In those situations, you may need to reconfigure your garage layout before proceeding with installation.
Backroom (Depth) Requirements
Backroom is the depth of your garage measured from the door opening to the back wall (or the nearest obstruction along the ceiling, like a light fixture or HVAC duct). For a 7-foot door, you need at least 102 inches — or 8.5 feet — of backroom. This allows the door panels to travel horizontally overhead when the door is fully open. If the backroom is insufficient, the door won’t open completely and may contact the car or ceiling-mounted items.
How to Measure Your Garage Door Rough Opening Correctly
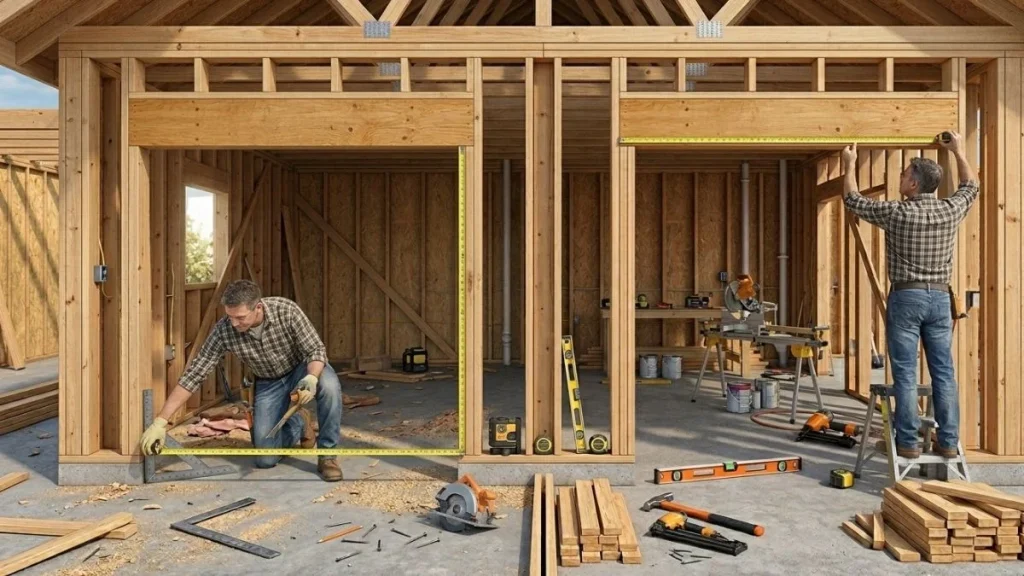
Even if you have a rough opening that looks “about right,” taking precise measurements before ordering or installing is non-negotiable. A quarter inch off in the wrong direction can create problems you won’t notice until installation day.
Tools You’ll Need
• 25-foot tape measure
• 4-foot level
• Pencil and notepad or a phone to record measurements
• Stud finder (for existing walls)
• Stepladder for headroom measurement
Step-by-Step Measuring Guide
Step 1 — Measure the width: Measure across the opening at three points — at the top, the middle, and the bottom. Use the smallest of the three measurements. Openings are rarely perfectly uniform, and the narrowest point dictates what door size will actually fit.
Step 2 — Measure the height: Measure the height on both the left and right sides of the opening, from the floor to the underside of the header. Again, use the smallest measurement. If the floor is uneven, measure from the highest floor point on each side.
Step 3 — Measure headroom: Stand inside the garage and measure from the top of the rough opening to the ceiling or nearest overhead obstruction. Note any pipes, beams, or ductwork that might interfere with track or opener installation.
Step 4 — Measure side room: Measure the distance from each side of the rough opening to the nearest wall or fixed object. Do this on both left and right sides.
Step 5 — Measure backroom depth: Measure along the ceiling from the front wall inward to the back wall (or nearest ceiling obstruction). This confirms whether your garage can accommodate the horizontal door tracks.
Common Measuring Mistakes to Avoid
• Measuring the existing door panel instead of the framed opening
• Taking only one measurement instead of checking multiple points
• Forgetting to account for weatherstripping, which adds thickness to the frame
• Ignoring an out-of-square opening — always check for square with a level or the 3-4-5 method
• Measuring headroom to the ceiling but missing a low-hanging beam or opener bracket
How to Frame an 8×7 Garage Door Rough Opening
Whether you’re building a new garage or reframing an existing opening, the framing has to be done right. A poorly framed rough opening will cause door alignment issues, header sag over time, and potentially create structural problems if it’s a load-bearing wall.

Framing Materials You’ll Need
• Pressure-treated lumber for the bottom plate (moisture and rot resistance)
• Standard dimensional lumber — 2×6 or 2×8 for studs depending on wall depth
• LVL (laminated veneer lumber) or doubled 2×10 for the header
• King studs, jack studs, and cripple studs
• Structural screws or nails rated for your load
Header Size Requirements for an 8-Foot Opening
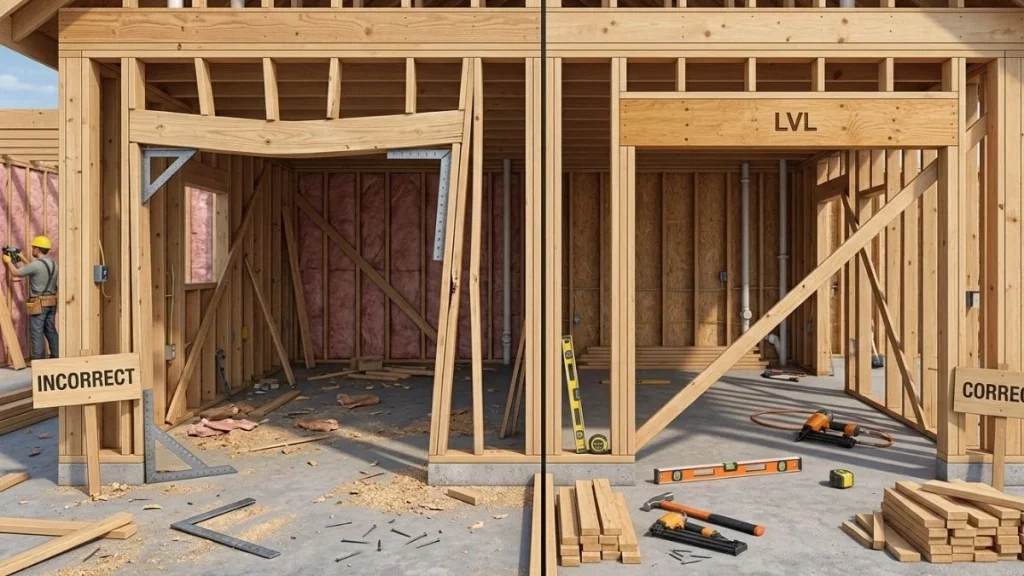
The header is the horizontal structural member that carries the load above the garage door opening. For an 8-foot wide opening, a minimum of a doubled 2×10 or an LVL beam is required. Undersized headers flex and sag over time, which causes the rough opening to shift out of square and leads to door binding, uneven gaps, and premature hardware wear.
If the wall is load-bearing — meaning it supports the weight of a roof, floor, or other structure above — you may need an even larger header or a structural engineer’s input before proceeding. Don’t skip this step. A failed header is a serious and expensive fix.
Framing the Rough Opening — Key Steps
Mark the rough opening width (98 inches for an 8×7 door) on the bottom plate of the wall. Install the king studs first, running full height from the bottom plate to the top plate. Then install the jack studs (also called trimmer studs) inside the king studs, cut to the height of the rough opening bottom — 86 inches from the floor.
Set the header on top of the jack studs and secure it to the king studs. Install cripple studs above the header to fill the space up to the top plate. Before you call it done, check the opening for square by measuring diagonally from corner to corner in both directions. If both diagonal measurements are equal, the opening is square. If not, adjust until they match.
New Construction vs. Existing Garage
If you’re building new, framing the rough opening during the initial wall framing stage is straightforward. But if you’re modifying an existing garage opening — say, widening it or raising it — the process is more involved. You’ll need to temporarily support any load above the opening while you remove the old framing and install the new header and studs. In most areas, modifying structural walls also requires a building permit, so check with your local municipality before you start swinging a hammer.
Troubleshooting Common Rough Opening Problems
Opening Is Too Wide or Too Narrow
If your rough opening is slightly too wide, you can add framing lumber to reduce the effective width. Attach additional framing to the inside of the king studs, secure it properly, and verify the new measurement before proceeding. If the opening is too narrow, you’ll need to remove the existing framing on one or both sides and reframe to the correct width — a more involved fix that often requires temporarily supporting the header above.
Not Enough Headroom
When headroom is below 10 inches, standard torsion spring systems simply won’t fit. Your options include installing a low-clearance track kit, switching to a jackshaft opener (which mounts to the wall beside the door rather than the ceiling), or adjusting the horizontal track angle to a flatter pitch. Each solution has trade-offs in cost and operation, so review them carefully before deciding.
Opening Is Out of Square
Minor out-of-square issues — within 1/4 inch — can often be corrected with shimming during the door installation process. More significant deviations need to be fixed at the framing level. Check the header for levelness and the jack studs for plumb. If the concrete floor is uneven, that can also affect squareness; in that case, shimming the door’s bottom bracket may be necessary
Conclusion
Getting the rough opening right for your 8×7 garage door is one of those things that seems minor until it goes wrong. The correct width is 98 inches, the correct height is 86 inches, and those numbers need to be verified — not assumed — before any door is ordered or any installation begins.
Take the time to measure all five clearances: width, height, headroom, side room, and backroom. If the framing needs adjustment, handle it before the installation crew shows up. And if you’re at all unsure about the structural side of things — especially load-bearing walls and header sizing — spend the money to consult a professional. It’s far cheaper than fixing a sagging header or a misaligned door frame after the fact.
A properly sized and framed 8×7 garage door rough opening sets the stage for a smooth installation, a door that operates quietly and correctly for years, and the peace of mind that comes from knowing the job was done right from the start.


